I adore this fruity tutti super fun trend that’s popping up this year! Taking a cue from my own pineapple cake, I present to you an adorable and simple pink strawberry cake! This cake would be so much fun for a kid’s birthday party: string up some pink and green garlands, serve fresh strawberries and ice cream or berry popsicles, and light the candles on this truly easy-to-make strawberry cake.
What You Need
- 1 recipe for a pink strawberry cake, OR a cake box mix and pink gel food color
- 1 heart shaped cake pan
- 4 cups of vanilla buttercream or 2 cans of frosting tinted pink – I used “electric pink” color.
- 1 offset spatula
- 1 cake board or cake plate
- 1 piping bag fitted with an open star tip such as Wilton 4B
- 24 white chocolate chips
- 1 green craft paper
- 1 wooden BBQ skewer
- Scotch tape
Step One
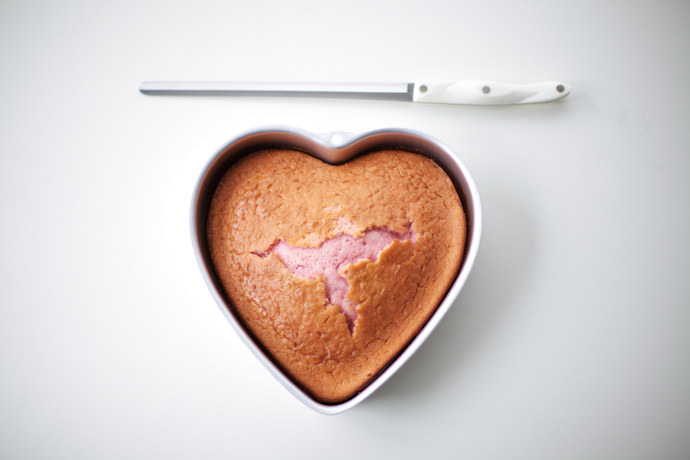
Bake your cake according to recipe or box instructions and let cool completely.
Step Two
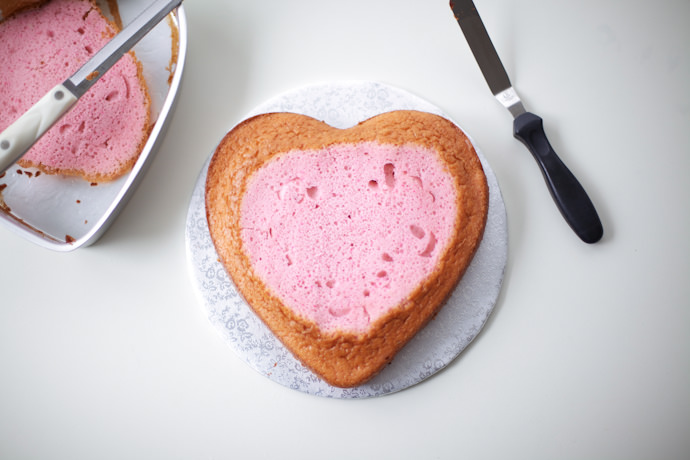
Using a serrated knife, trim the dome from your cake for an even surface. Go ahead, snack on the trimmings. Place the trimmed cake on a cake board or cake plate.
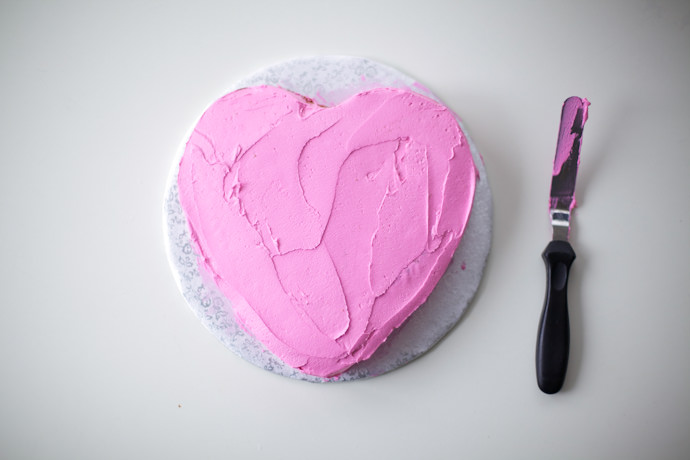
Step Three
Frost the entire exterior of your cake using your offset spatula.
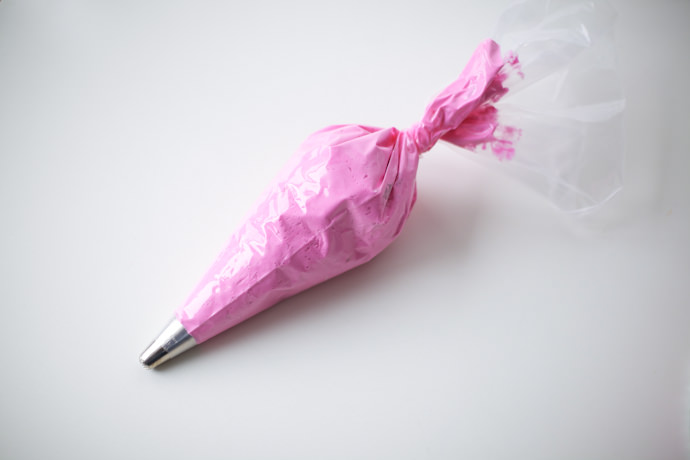
Step Four
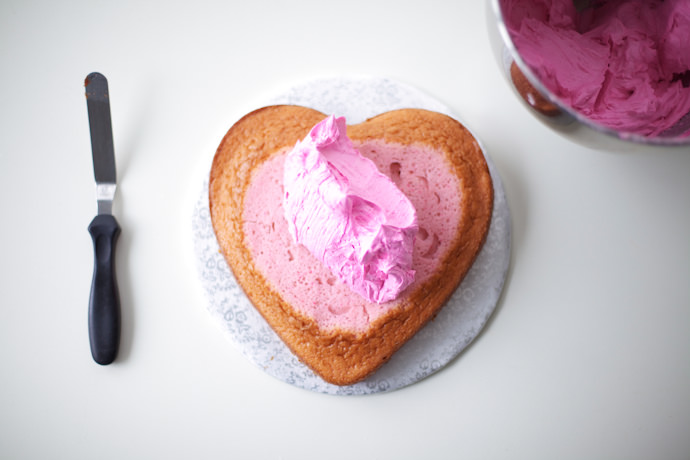
Fill the piping bag fitted with the open star tip with the remaining buttercream.
Tip: check out this tutorial for an easy way to fill a piping bag.

Step Five
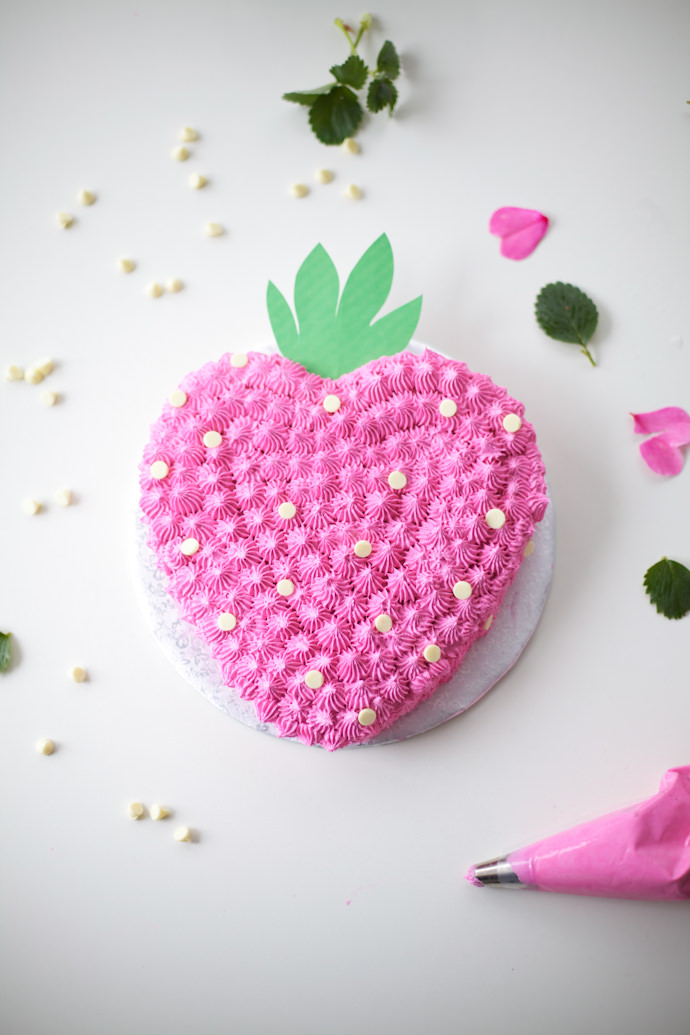
Cover the entire cake (sides and all) with drop stars: apply pressure and squeeze the piping bag, then pull away to create a cute little drop star.
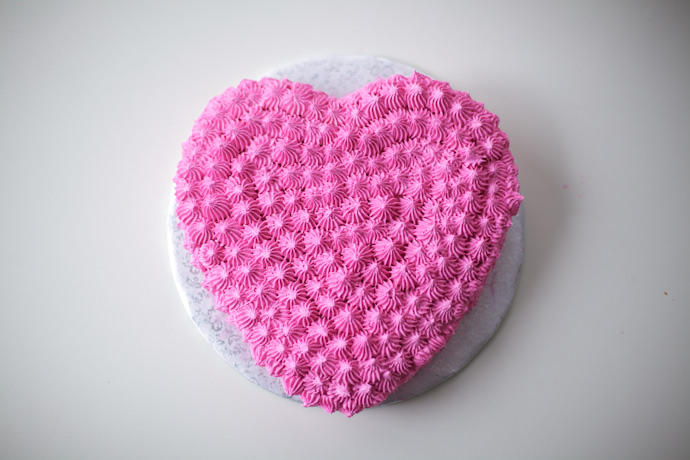
Oh, yes you did. Look at that cute, fluffy pink thing!
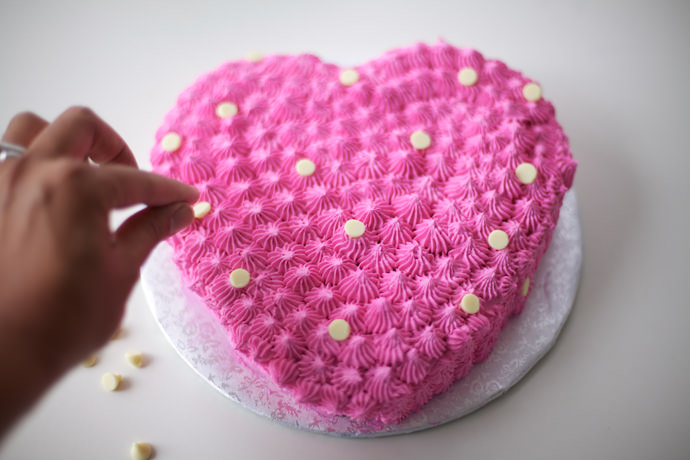
Step Six
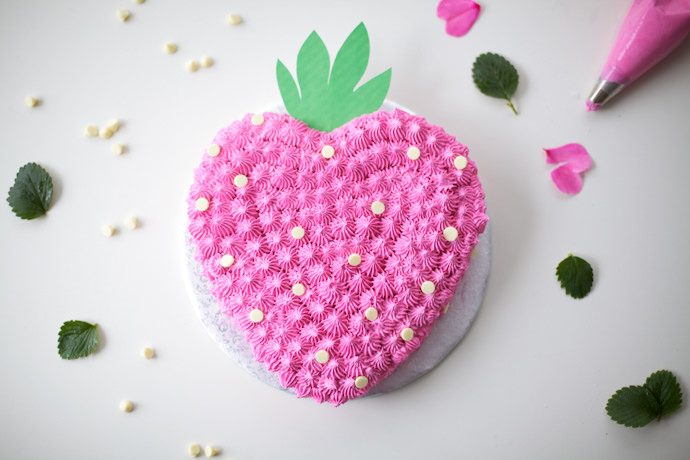
Place the white chocolate chips, swirl-side-down, into the top and sides of the cake to resemble strawberry seeds!
Step Seven
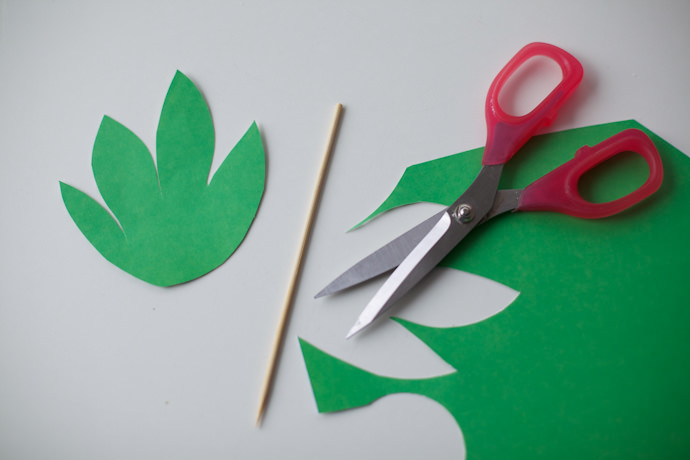
Using some green craft paper, cut out a stem using scissors.
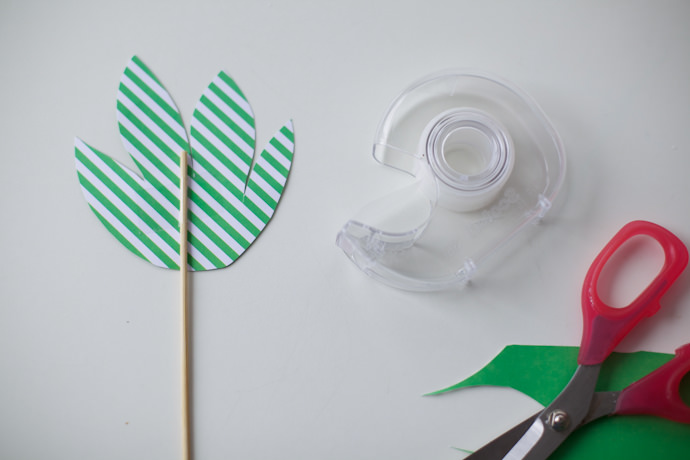
Adhere to a wooden skewer using a piece of tape.
Step Eight
Place the green stem skewer into the top of the cake, et voilà! You made a strawberry! CUTE!
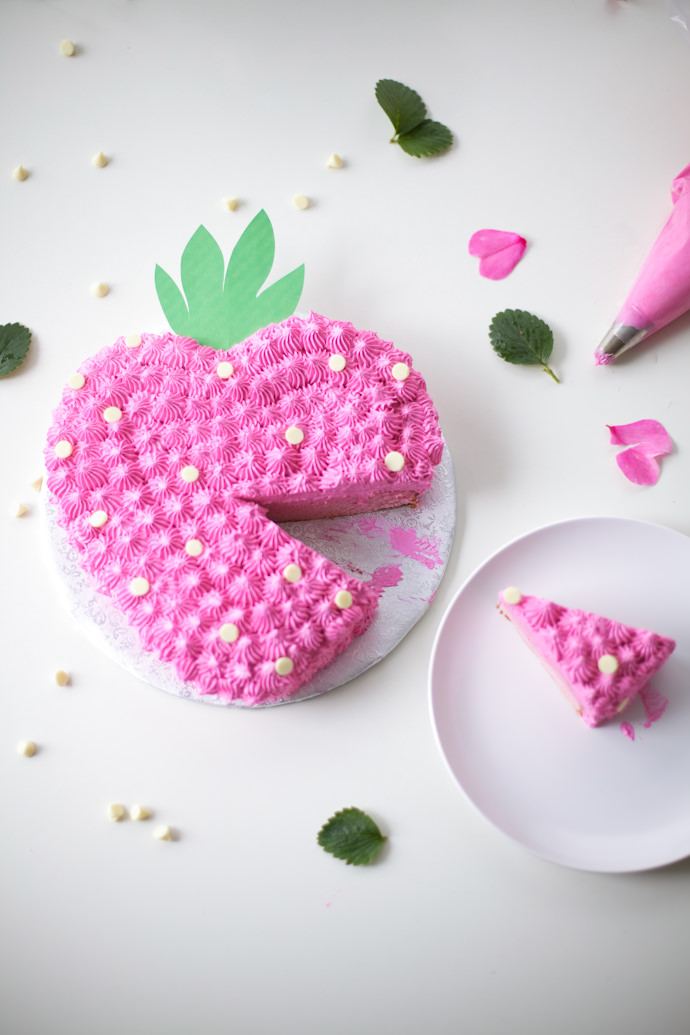
Kids and adults alike will love cutting into this pink strawberry confection – so fun for a birthday or BBQ! Happy summer! See you again soon with more cake tutorial cuteness!