
These cute and playful DIY Peekaboo Reindeer Stockings are a fun sewing craft for the whole family to engage in this holiday season. Guaranteed to achieve family heirloom status!
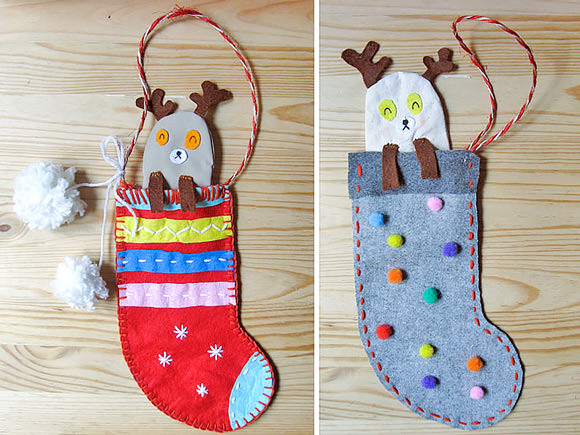
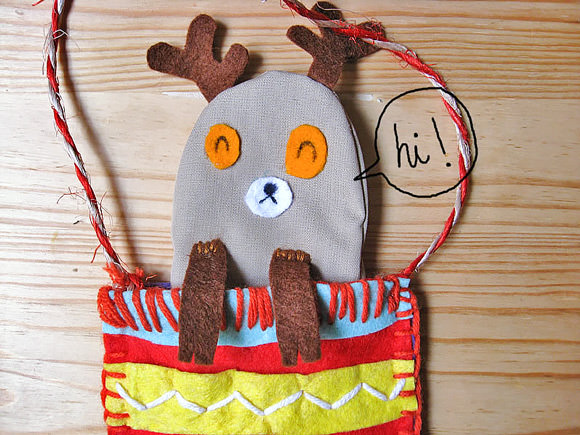
The reindeer pattern can be used to make different gifts, like finger puppets or cell phone cases, and the felt sock could easily become a cute little bag. Just add a longer strap and enjoy for the rest of the year!
Let’s get started on this playful holiday craft!
What You Need
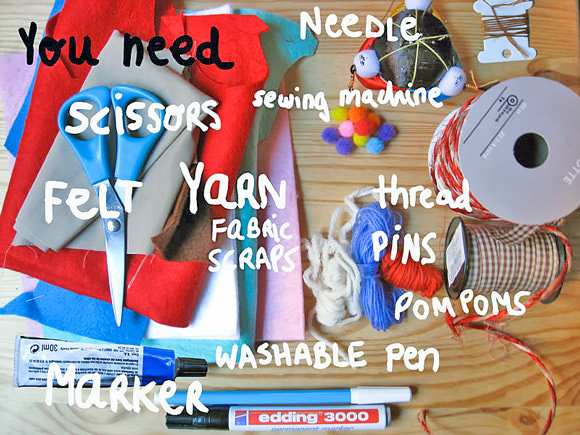
- Printable Christmas Stocking & Reindeer template (download here)
- Felt
- Fabric
- Needle (regular)
- Embroidery thread
- Yarn
- Scissors
- Water-soluble pen
- Markers
- Cord
- Pom-poms
- Pins
- Sewing machine
Step 1
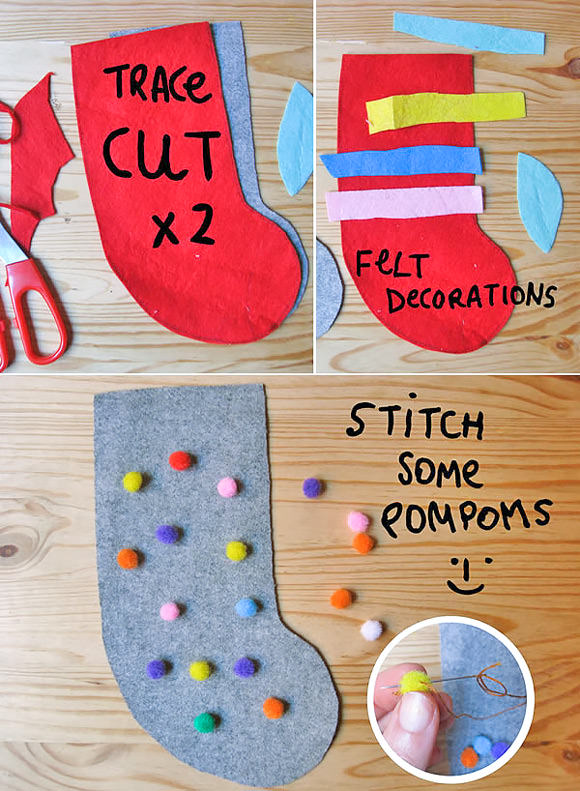
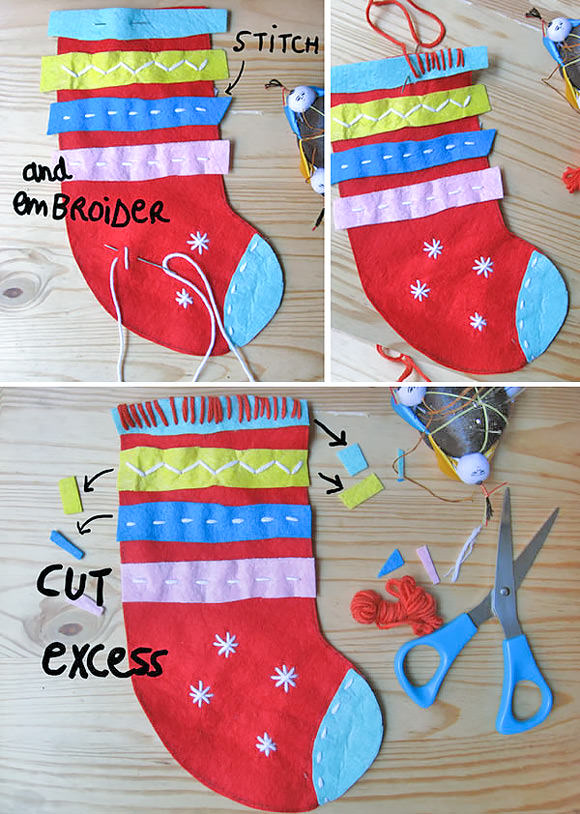
Download and print the template. Cut out the patterns and trace the sock (twice), the cuff (if desired), and the toe caps onto felt, then cut the felt pieces. Cut some felt bands to embellish your stocking. For an easy alternative: you can also just thread and stitch small pom-poms to the front panel of your sock for an express decoration!

Step 2
Decorate your sock with the felt bands and embroidery! Pin the color felt bands onto the front of your stocking and stitch them on using yarn and a running stitch, arrowhead stitches, or simple straight stitches. Combine those stitches using different colors of yarn.
Step 3
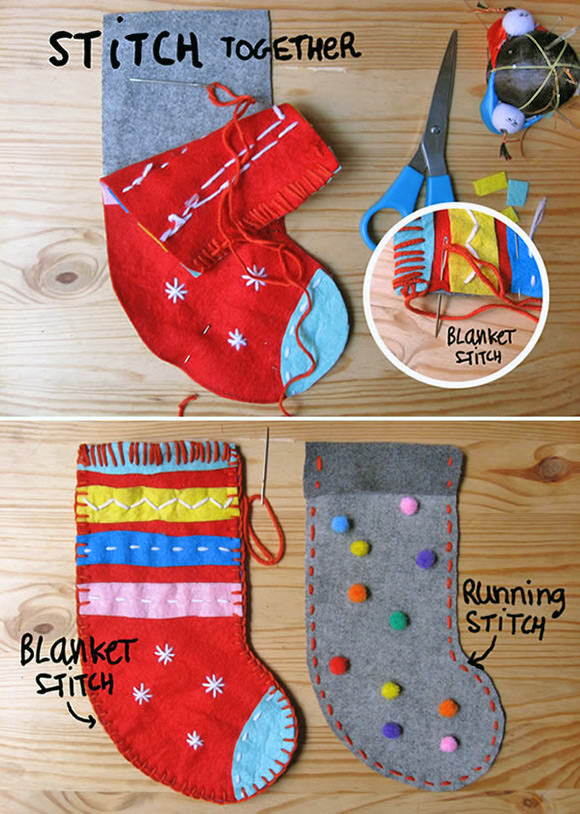
Once you have your beautiful stocking embellished, pin the front sock panel to the back panel and stitch both pieces together using a blanket stitch, a simple running stitch, or a whipstitch with yarn. Leave the top of the sock open.
Step 4
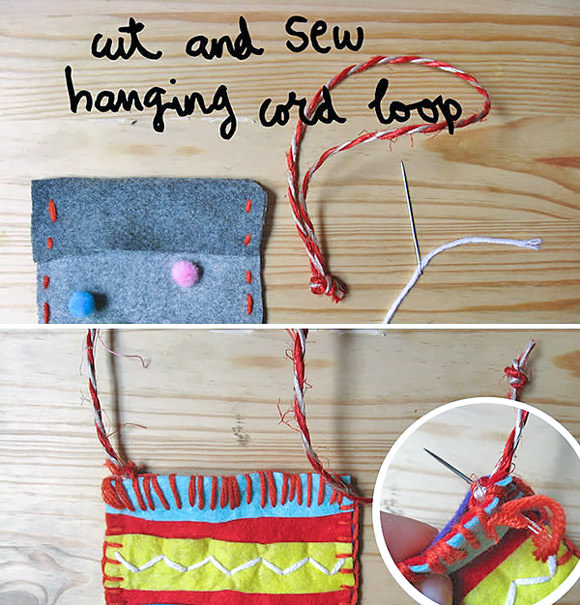
Knot both ends of your cord together, or leave them open, and stitch the hanging loop, or strap, inside of the sock.
Step 5
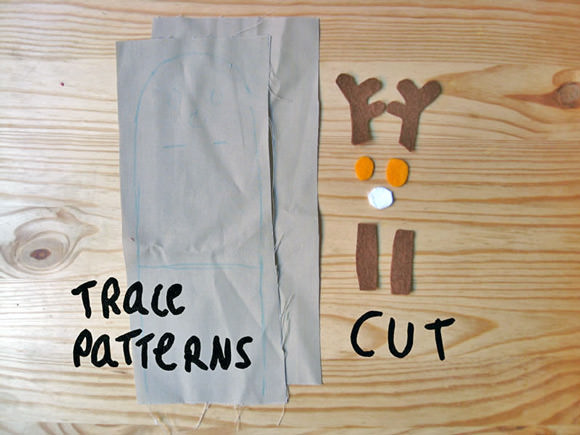
Now let’s sew the reindeer! You can follow my Topsy Turvy Rag Doll tutorial for detailed instructions. You will need felt for the horns, paws, eyes, and snout, as well as fabric for the body. Transfer all marks and cut out the templates. Make sure to leave a 1/4-inch seam allowance when cutting the body.
Step 6
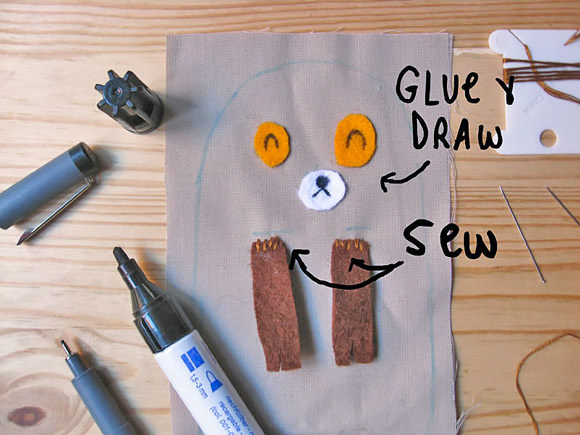
Place the felt pieces on the front of one of your fabric panels. Glue and draw the eyes, nose, and mouth using markers.
Step 7
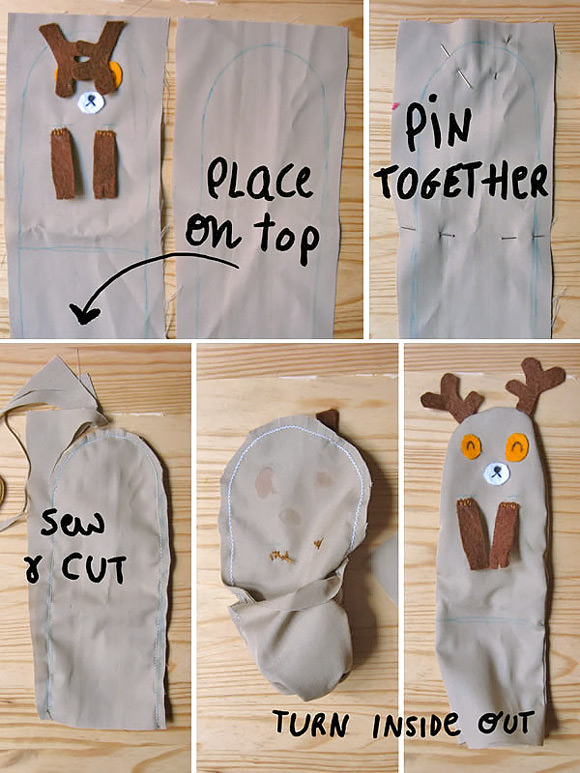
Place the horns on the front piece of the reindeer body (as shown above), sandwich them between the two fabric pieces, and pin. Then sew around the edge of the body leaving the bottom open. Cut the excess fabric, clip the curved seam allowances, and turn right side out.
Step 8
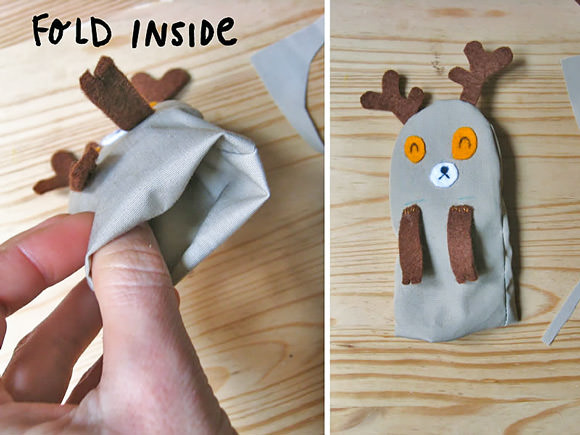
Fold the fabric inside the bottom of the reindeer for a sturdier body. That’s it! Now put your reindeer inside the sock with his little paws and head sticking out.
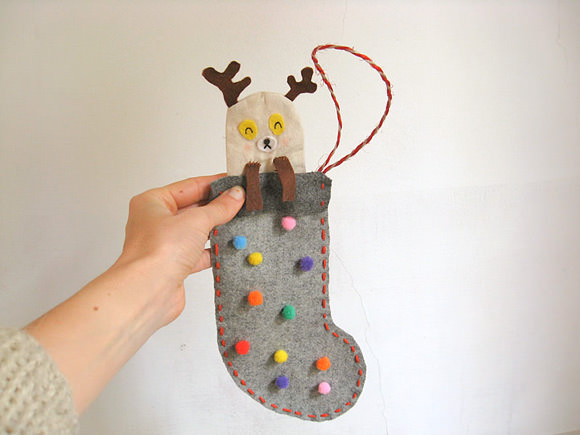
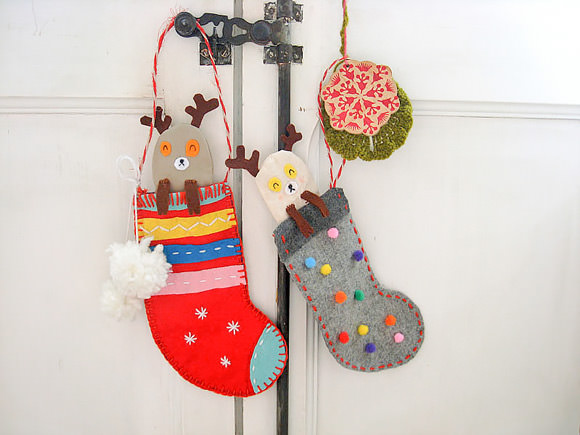
Big pom-poms tied to the side of the stocking will add a perfect finishing touch. Now hang your stocking.
Happy holidays!