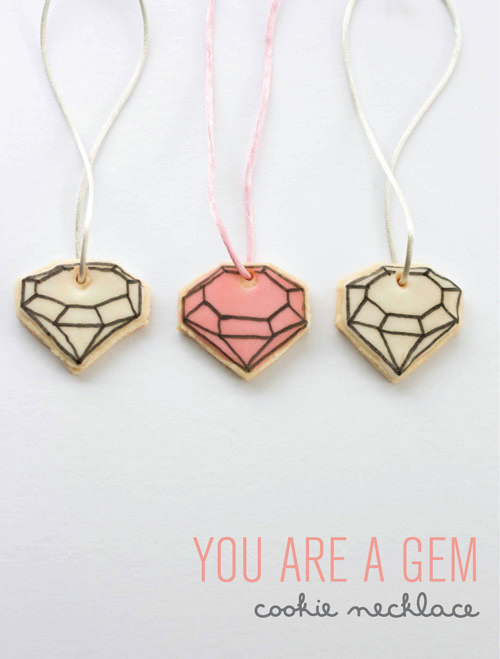
If diamonds are a girl’s best friend, what could be a more perfect treat than a diamond cookie? These edible gem necklaces are simple to make using your favorite sugar cookie recipe and sure to be a hit wherever you take them.
Decorating sugar cookies with royal icing isn’t all that difficult, but it does take a little planning. Make sure to take the time to properly chill your dough before baking. After icing your cookies, the icing will need to set for about 12 hours before you can write on it with the edible pen. I usually make my cookies 2-3 days in advance and let the process unfold naturally from there.
Materials
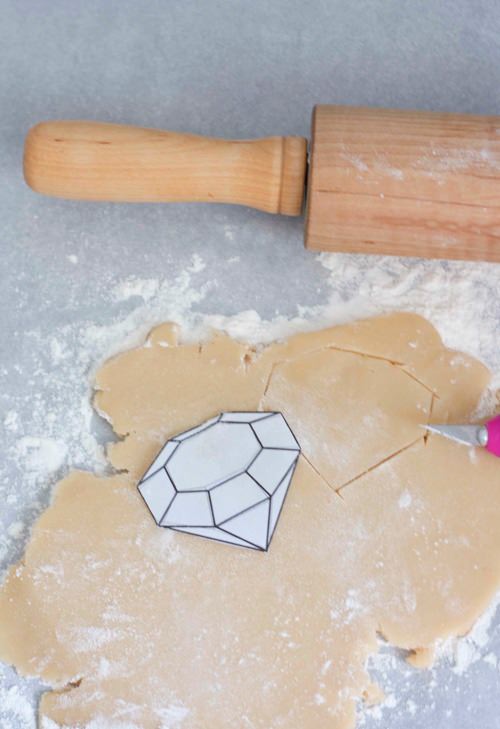
- Printable template (download here). Print the template on card stock and cut out the diamond. This will be used as your makeshift cookie cutter.
- 1 batch chilled cookie dough
- Utility knife (with a clean blade)
- 1 Straw to make a hole for the necklace
- Royal icing (if you’re unfamiliar with royal icing, there’s a great video tutorial / recipe here)
- 12-inches cord or twine for each necklace
- Edible writing pen (this can be found in the baking section of your local craft store)
Step 1: Roll The Dough
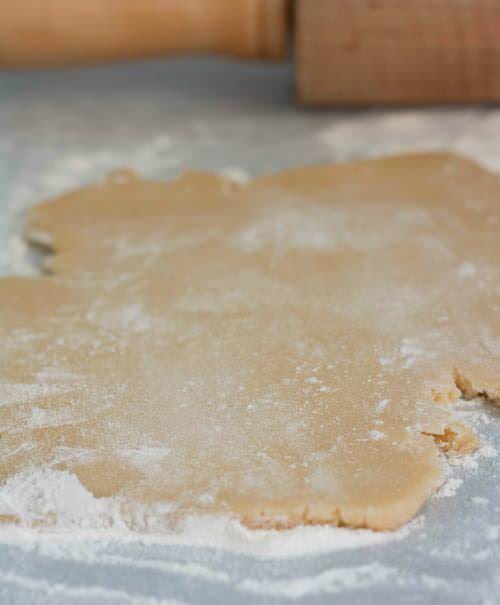
Mix a batch of cookie dough using your favorite sugar cookie recipe and let it chill for at least four hours. Chilling the dough ensures a better-shaped cookie. After chilling, roll out your dough until it is roughly 3/8-inch thick.
Step 2: Cut The Diamonds
Using the printable Gem Cookie Template (download here), cut around the stencil with your utility knife. For cleaner lines, lift the blade after cutting each side.
Step 3: Make A Hole For The Necklace
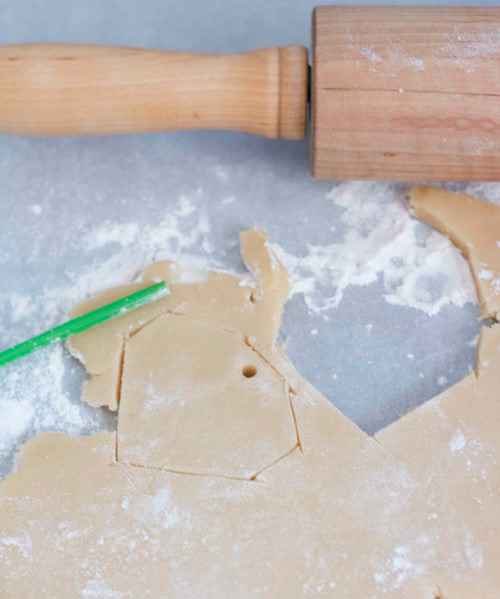
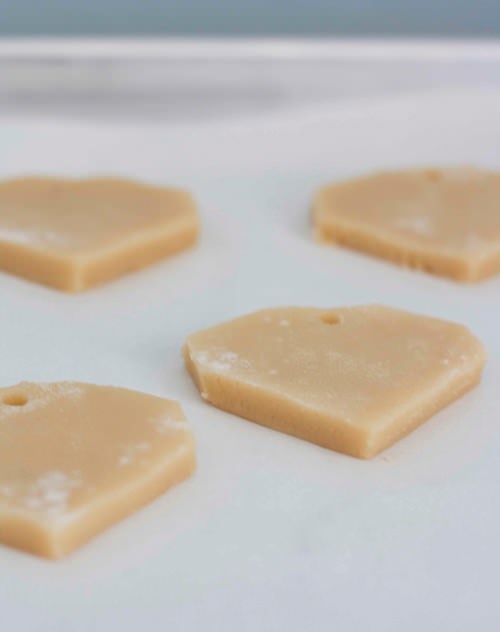
Using the straw, make a hole at the top center of each cookie.
Step 4: Bake The Cookies
Bake the cookies until they are just beginning to brown on the bottom. Under-baked cookies don’t make good necklaces!
Step 5: Decorate The Cookies
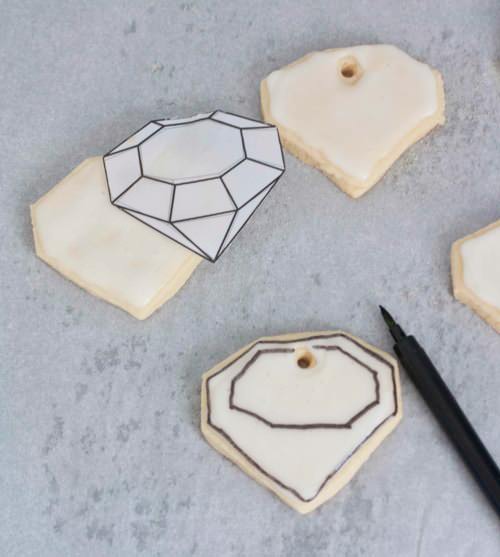
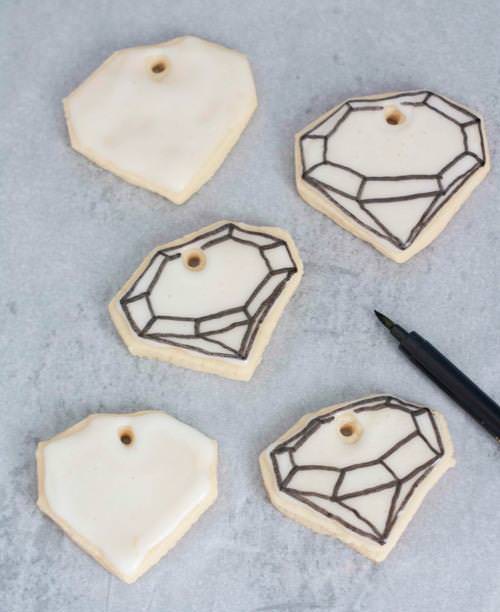
Ice the cookies with royal icing and let them sit for at least twelve hours. Next, use the edible writing pen to draw an outline of the gem on the iced cookie, followed by an oblong octagon. Using the Gem Cookie Template as your guide, connect the octagon to the edges of your cookie.
Step 6: Make The Necklace
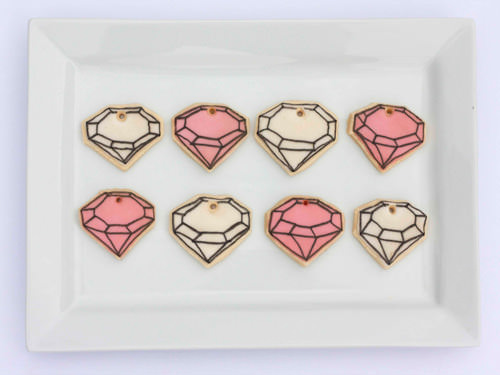
Let the edible ink dry and then string each cookie on a strand of cord, yarn, or twine. Bask in the praise of your friends!

The cookies should keep for up to seven days in an airtight container. If you stack the cookies, be sure to separate each layer with parchment paper. Happy baking!

Project by Alison Faulkner for Handmade Charlotte, photos by Heather Mildenstein.