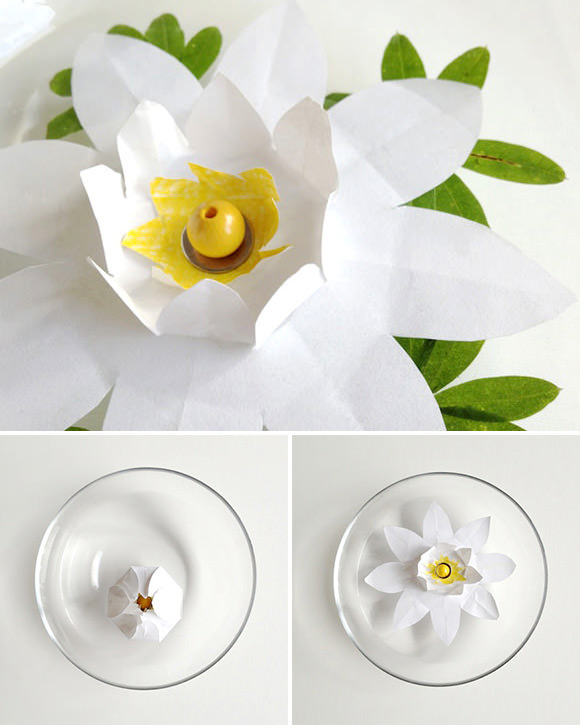
Drop this easy-to-make paper lily bud in a bowl of water and watch it slowly bloom before your eyes! Take it out of the water, let it dry, and presto! The magical bud will be ready to bloom again.
Both children and adults alike will be mesmerized by this simple paper craft.
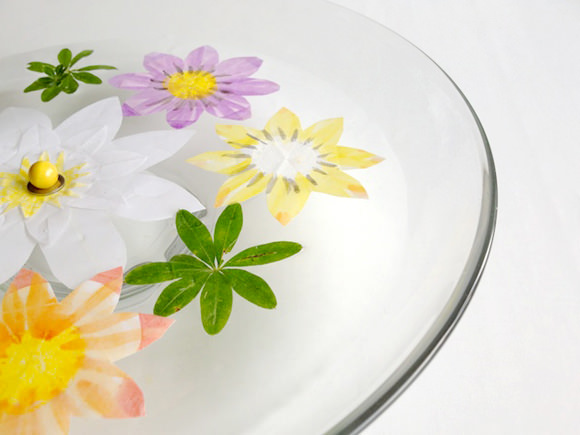
Whether made as a teatime adornment or a late summer party decoration, I love the surprise the magic flower brings to the table. Before guests arrive let the kids cut, color, fold, and assemble these easy-to-make flowers and place bowls filled with water and fresh leaves on the table. A bit later, put the flowers on the water’s surface. Voila! Your guests will love the magic trick and your kids will have fun helping with the preparations.

What You Need
- Printer paper
- Cup and saucer
- Scissors
- Yellow pencil and regular pencil
- Washer and wooden bead
- Bowl with water
Step 1
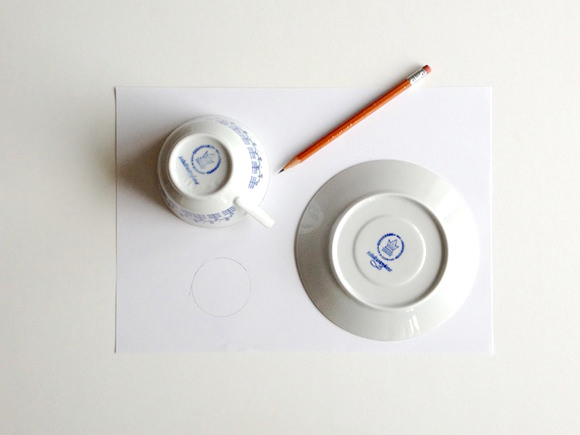
Use the cup and saucer to draw three circles on the paper, sized 5½, 3½, and 2 inches. Color the smallest circle yellow. Cut out the circles.
Step 2
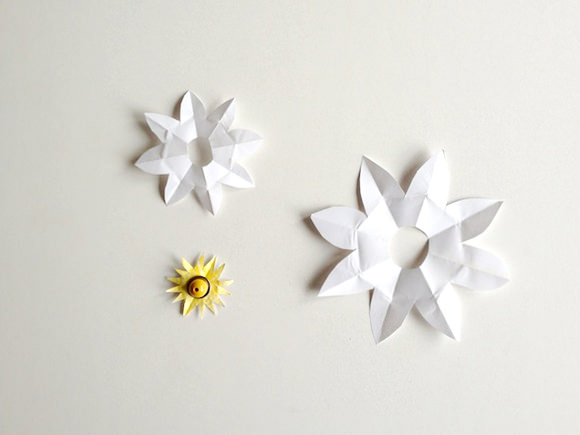
Fold the circles three or four times, then open up to a half circle and cut out notches to get pointed flower petals by cutting halfway to the center. Cut holes into the middle of the two larger flowers.
Step 3
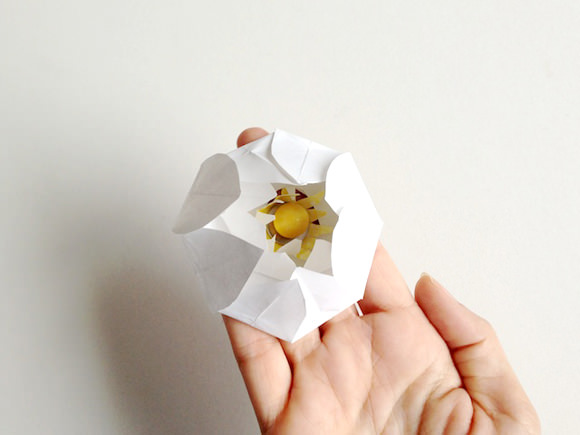
Put the washer and bead in the middle of the two smallest circles, then fold the petals over one by one. Lay this on the largest paper flower and fold again.
Step 4
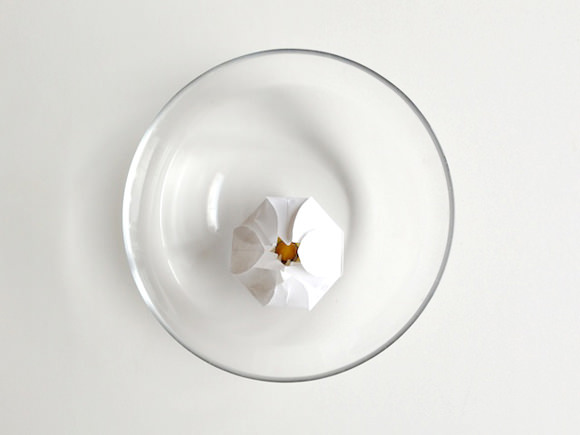
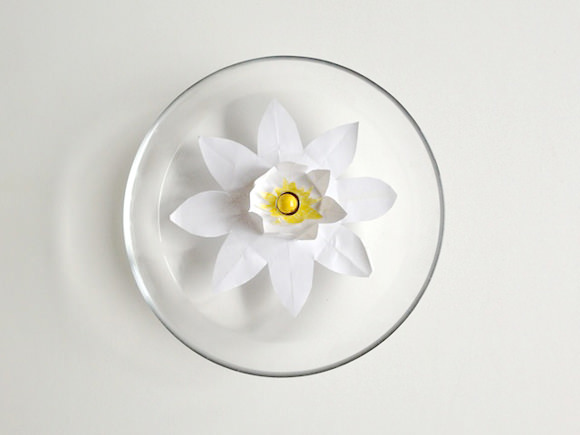
Carefully set the flower on the water’s surface and wait to see what happens: Slowly your paper flower will open up like a real water lily blossoms.
Let the wet flowers dry on a plate afterward and use again. They will open up faster than new ones.
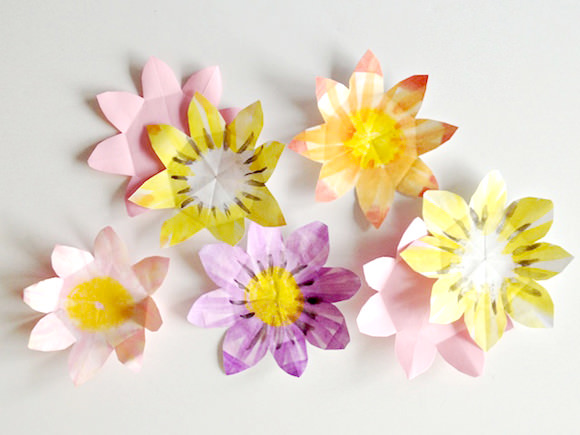
The flowers shown here are made with white wax crayons and watercolor. For more fun and variation, use colored paper or decorate the flowers with wax crayons, colored pencils, or watercolor in a variety of hues, just avoid markers.
Happy crafting!