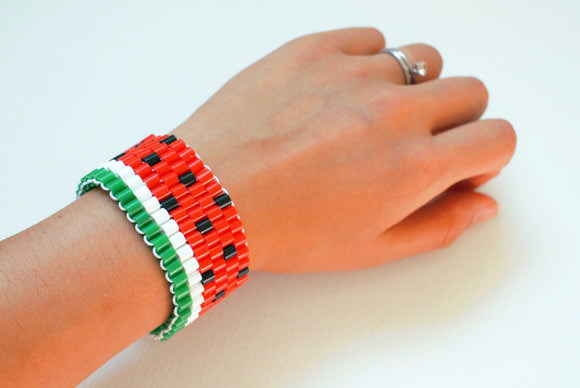
Does fall seem to be approaching a bit too quickly? Are you looking for crafty ways to keep the summer vibes going? This Perler bead watermelon bracelet should do the trick. It’s super cute, unique, and best of all, easy to make. Nothing says summer like a slice of juicy watermelon!
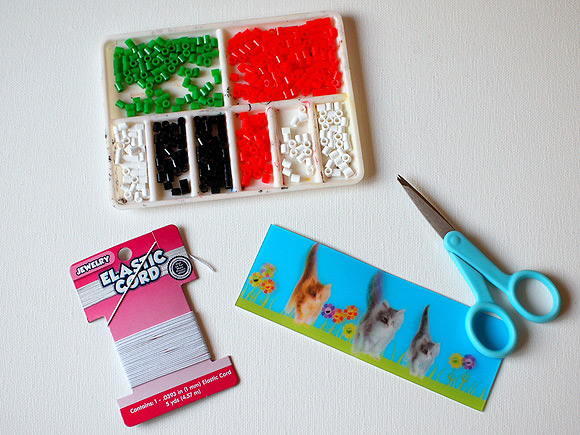
What You Need
- Red, white, green, and black Perler Beads
- Scissors
- Elastic Cord (I used around 130 inches)
- Ruler
Instructions
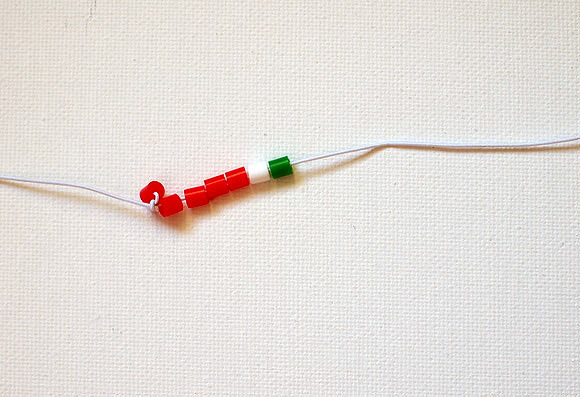
Step 1
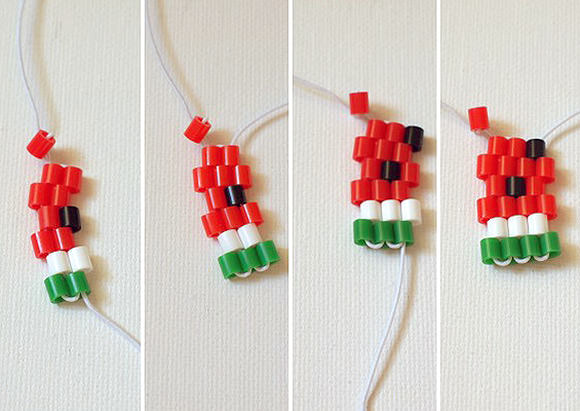
Cut about 40 inches of cord. Now you’re going to make the first two columns of the bracelet.
Column 1:
- Tie on a bead to act as a stopper.
- String your first 6 beads (4 red, 1 white, and 1 green).
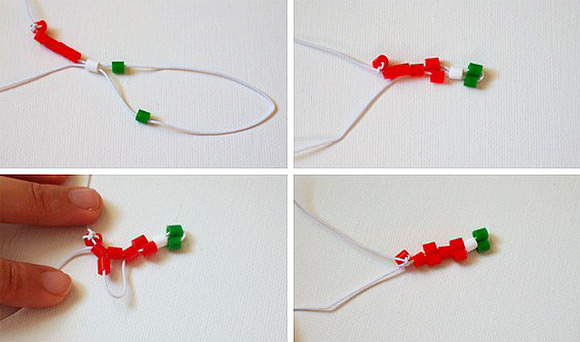
Column 2:
- String on a green bead, then slip the cord through the white bead.
- String on a red bead, then slip the cord through the 3rd red bead in column 1.
- String on another red bead, then slip the cord through the 1st red bead in column 1.
- Pull tight.
Now you’ve got the backbone for the bracelet. As you can see, the beads alternate between those that jut out and those that don’t. Continue adding columns of beads. You’ll string your cord through the beads that jut out and add beads to the fill the parts that don’t.
Step 2
Continue making the bracelet, pulling your cord tight after stringing each column:
- Column 3: Add a red bead, string through a red bead, add a black bead, string through a red bead, add a white bead, string through a green bead. (From now on, I’ll just tell you what colors to add. Remember to alternate between slipping the cord through the beads that jut out, and stringing beads to fill the parts that don’t.)
- Column 4: Add green, red, and red.
- Column 5: Add black, red, and white.
- Column 6: Add green, red, and red.
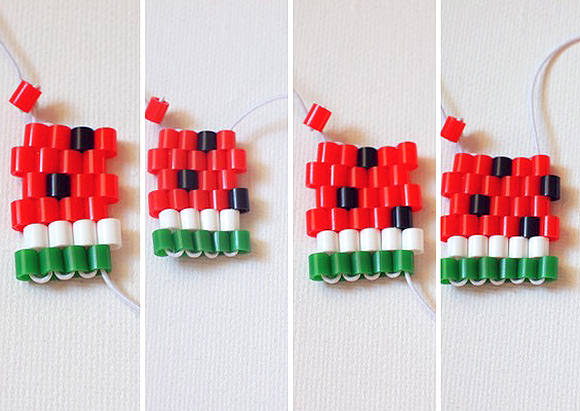
- Column 7: Add red, red, and white.
- Column 8: Add green, black, and red.
- Column 9: Add red, red, and white.
- Column 10: Add green, red, and black.
Step 3
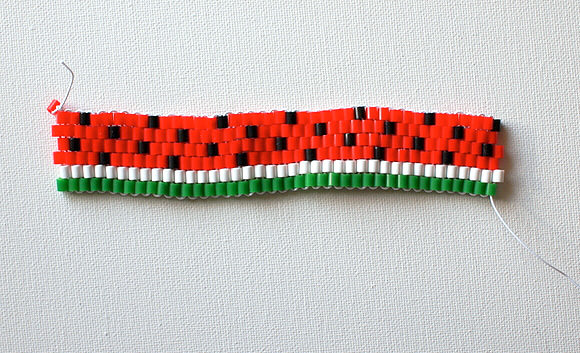
Keep on stringing! For a uniform design 5 red beads should lie between each black bead in every horizontal row. Continue making the bracelet until it covers your wrist. When you run out of string, simply tie on another one and slide the knot into a bead to hide it.
Step 4
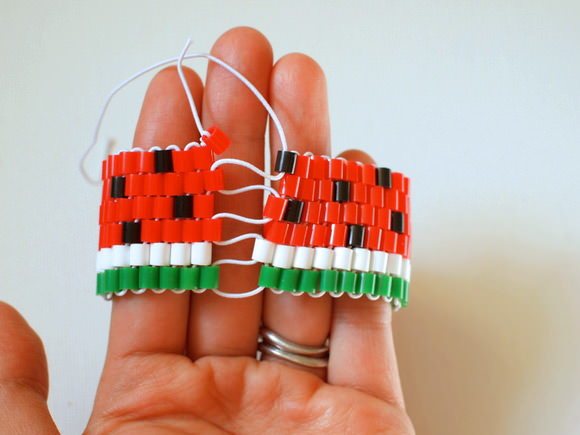
Once you’re done, make sure both ends of the bracelet fit together like a zipper. Thread your cord through alternating beads on both ends. Then, undo your red stopper bead, and tie both the beginning and ending cords together. Trim off any excess.
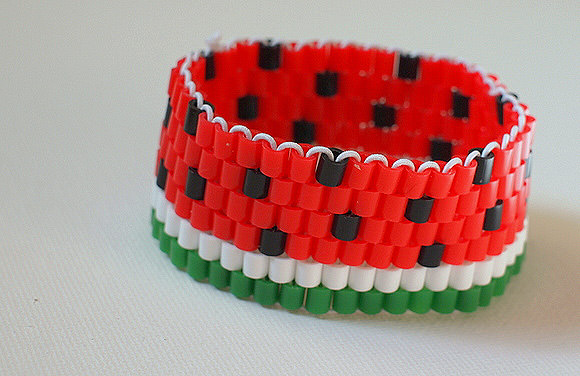
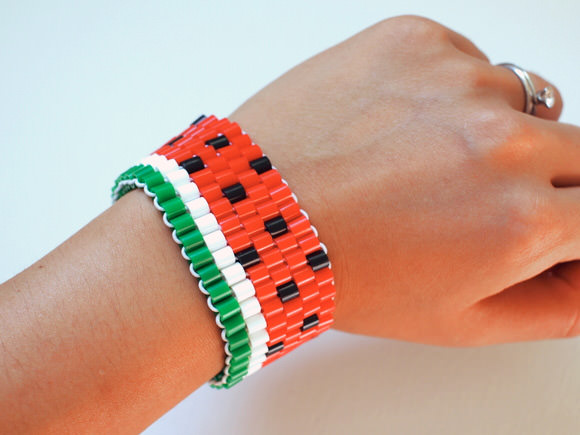
Now you’ve got your very own one-of-a-kind summery bracelet. Sweet!