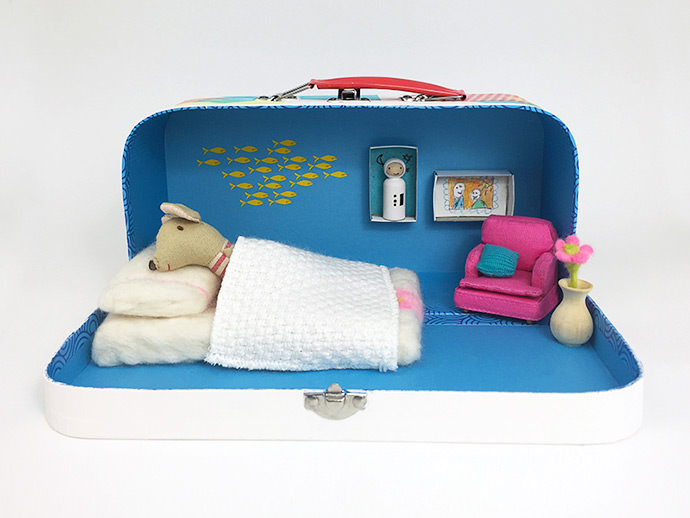
My daughter Molly has always been fascinated with all things miniature, so I thought it was high time that all her mini friends (and mice) had a dollhouse to live in for the summer holidays. A lunchbox is the ideal size for a portable dollhouse, and more importantly, it’s a great way to reuse items after the school year that would normally be discarded.
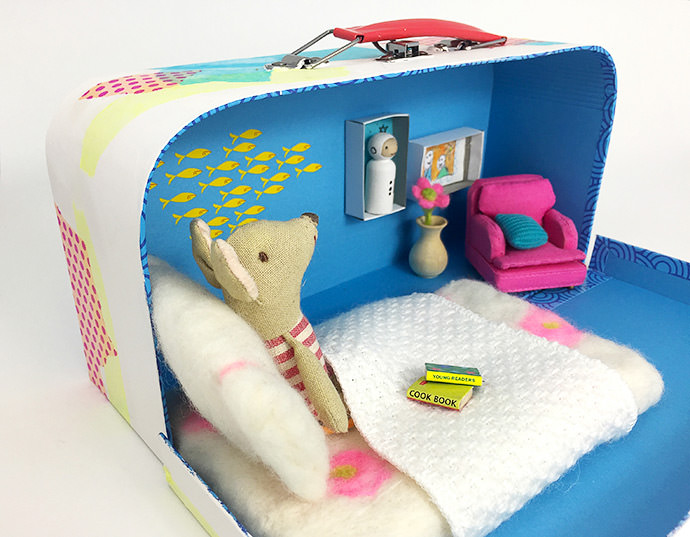
This portable little mouse house has everything that your kid will need for pretend play. When they are finished playing, they can just snap it closed and travel with it in any direction. Into the garden, off to camp, out on a car trip, or even all the way to the beach – anywhere their adventurous hearts desire!
Ok, it’s time to get to repurposing! Let’s turn old lunch boxes into something really unexpected and cool. Here’s how:
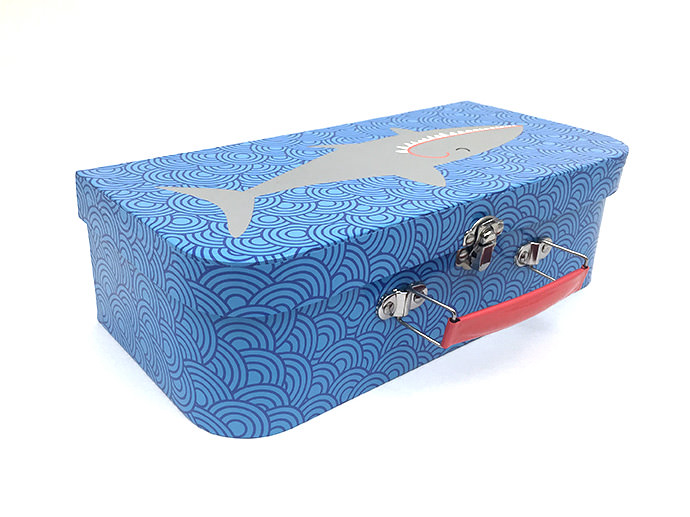
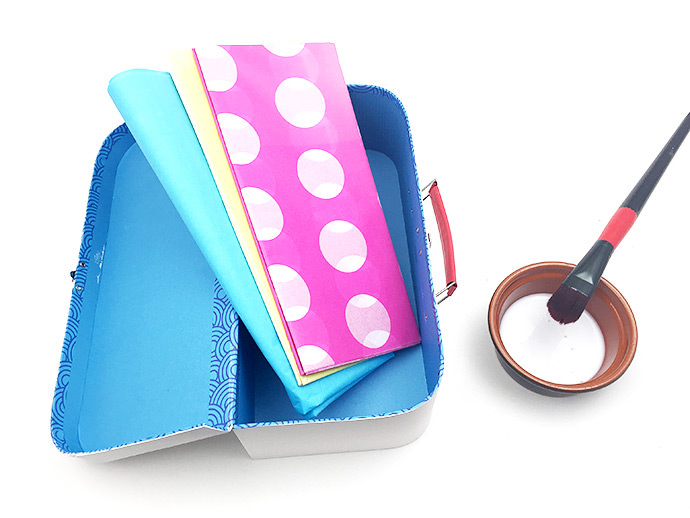
What You Need
- Lunch box (or shoebox)
- White paint or household emulsion (for primer)
- Tissue paper
- Craft glue and small bowl
- Paint brush
How-To
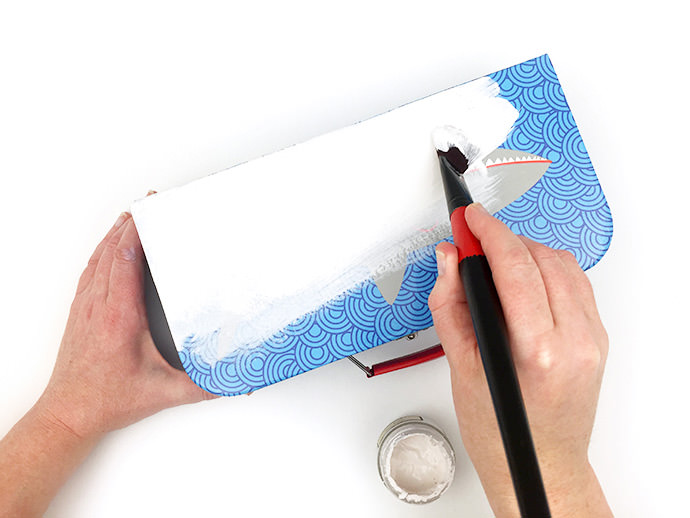
Step 1
Paint the outside of the lunch box with white paint (acrylic paint or a little household emulsion will cover the printed graphics in just two coats.)
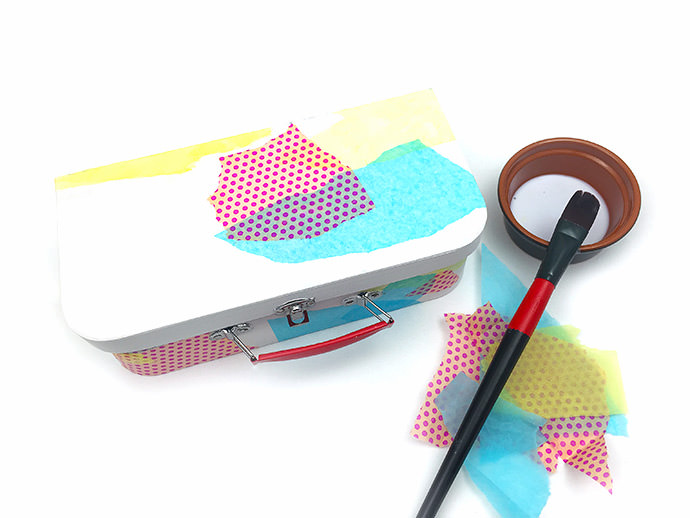
Step 2
When the paint is dry, rip up pieces of the tissue paper (into whatever shapes and sizes you like) and use your paint brush and craft glue to smooth them into place. Layering the tissue pieces looks great, too. It makes it so that you don’t need that many different colors of paper at all(we only used three!). The more you layer, the more new colors are created.
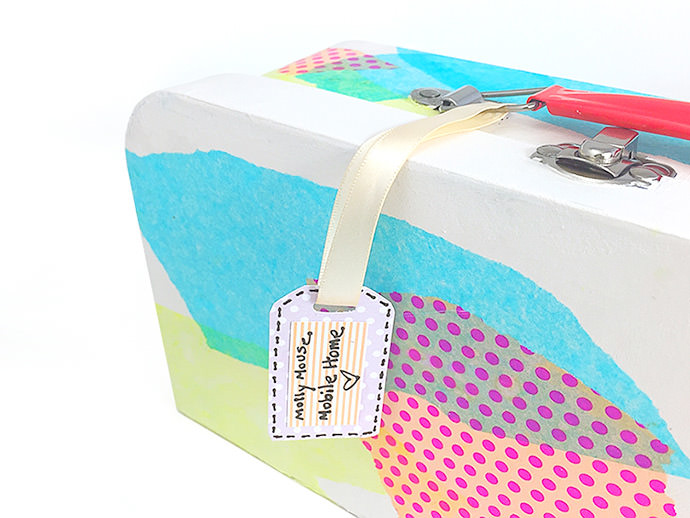
How cool does this look?! A humble lunchbox has been reborn into an adorable piece of DIY art.
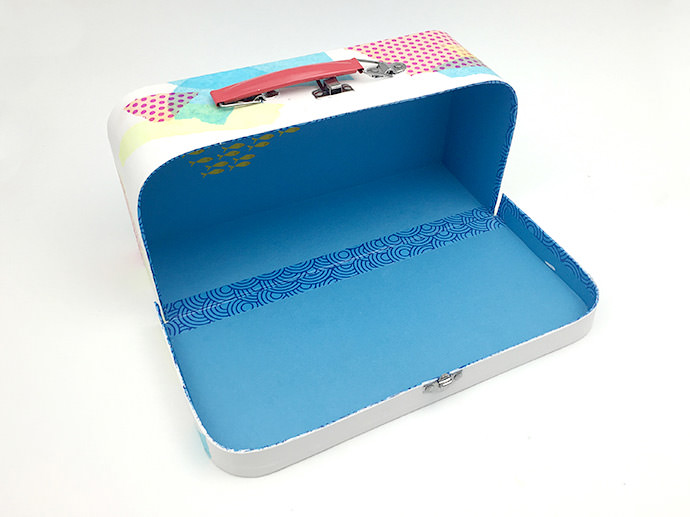
Step 3
Now it’s time for some interior decorating! I used little matchstick boxes on the wall for picture frames, and a few bits and pieces from Molly’s playroom dollhouse to decorate the rest of the space. I also think it would be adorable to use stencils to create a patterned wallpaper or even a tiled floor.
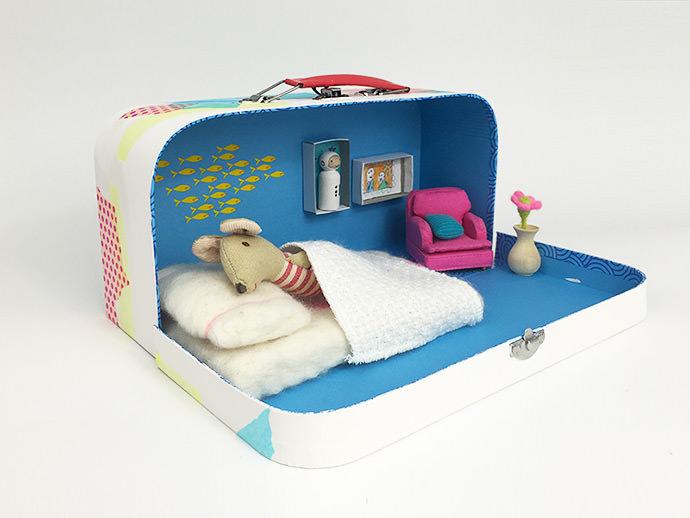
Ok, wakey wakey Molly Mouse! No time for sleeping. It’s time to head to the airport for you next big adventure.
Bon voyage! We’ll see you there :)