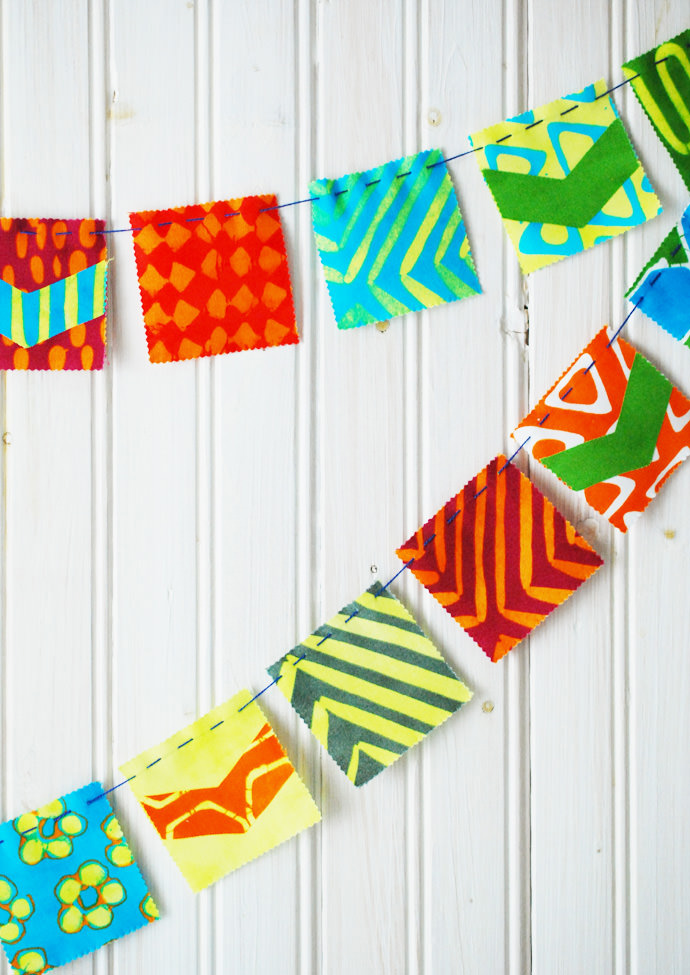
At my house, we are huge fans of garlands and buntings and banners and flags. We change them with each season or celebration, amd sometimes just because we feel like freshening things up a bit! And therein lies the brilliance of them – a string of little flags is such an easy way to make a change to decor, whether it’s in a child’s room or in a shared family space.
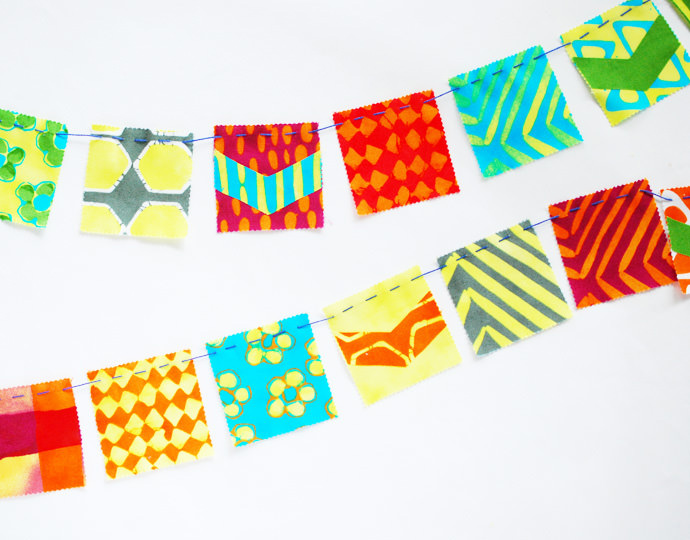
These simple stitched flag banners can be whipped up in an hour or so – tops! They’re perfect to use as DIY party decor, or for hanging in your little ones’ bedroom or playroom. If you have older children, these would be a great introduction to sewing and would give them something special to make for themselves.
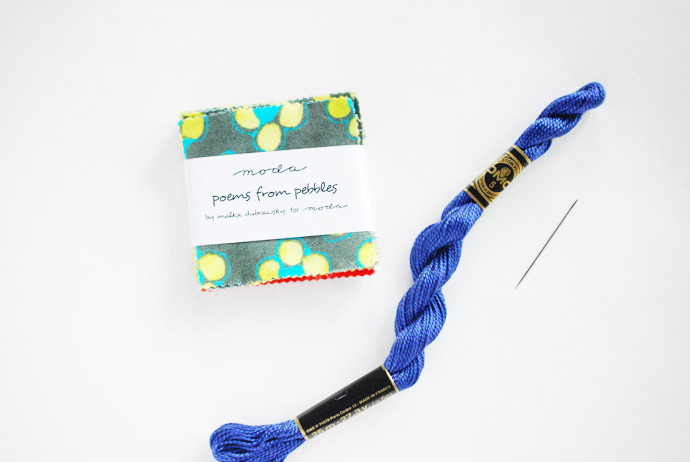
You Will Need
- 2-1/2 inch fabric squares
- Perle cotton embroidery thread
- Needle with a large eye
- Scissors
- Optional: Paper-backed fusible interfacing and an iron
A note about fabric squares:
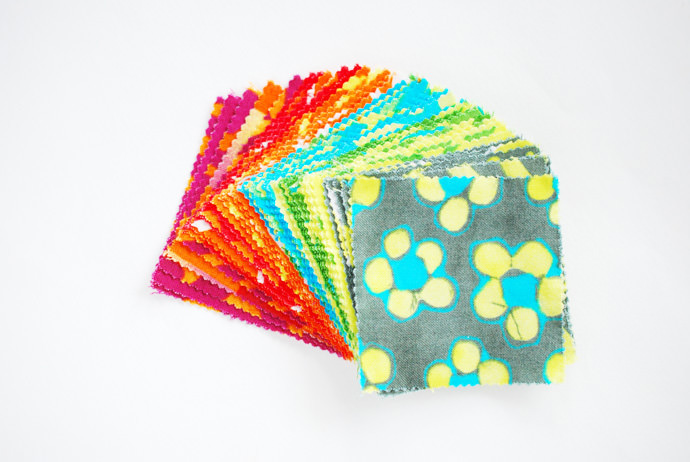
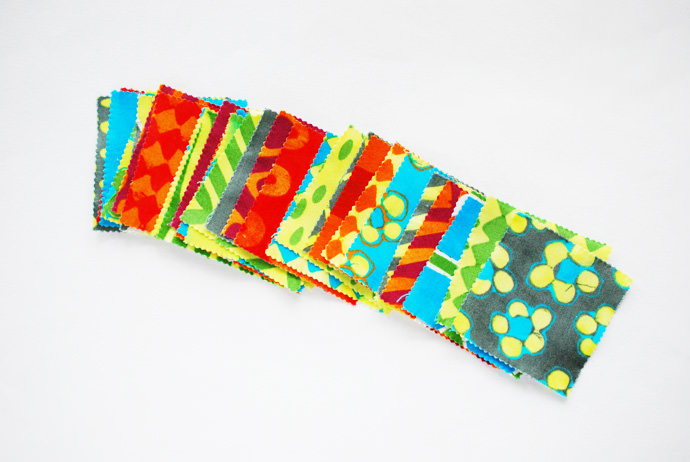
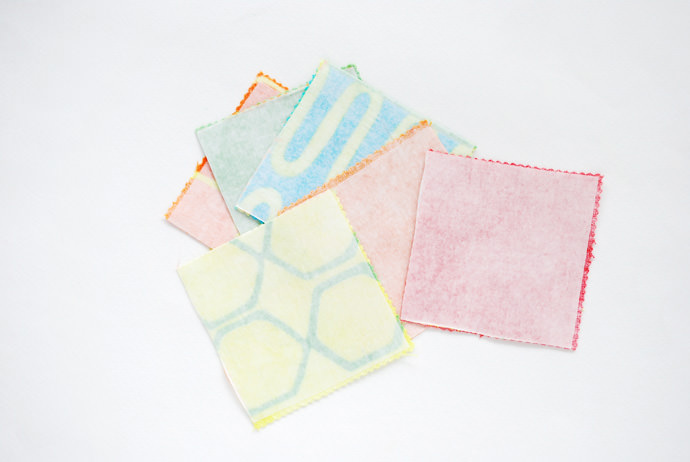
The little pack shown above is called a mini charm pack (find them online or at your local quilt shop). They contain 42 squares, all pre-cut, and in a whole bunch coordinating fabrics. They make this project especially quick, but you can swap in your own favorite fabrics or scraps and cut the squares yourself. But again, I’d highly recommend them!
How-To
Step 1
Spread out your fabric squares and arrange them in an order that you like.
Step 2
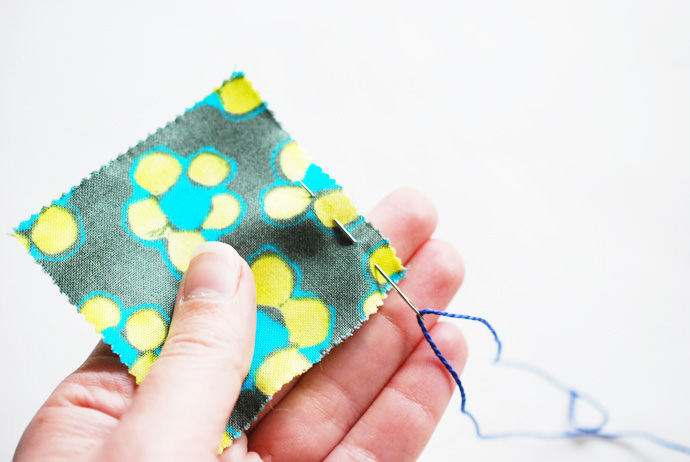
Cut a piece of perle cotton thread about 4-5 feet long and thread the needle.
Stitch through the top of a square of fabric, as shown.
Step 3
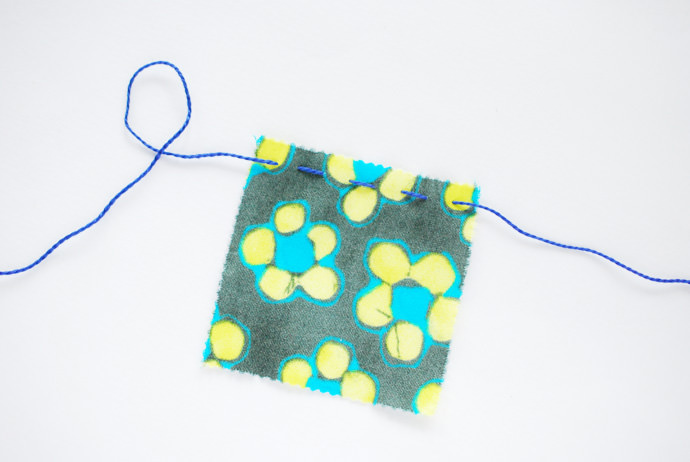
Slide the flag to the end of the thread. It will bunch together a bit as you do that, so smooth it out when you get it in place.
Step 4
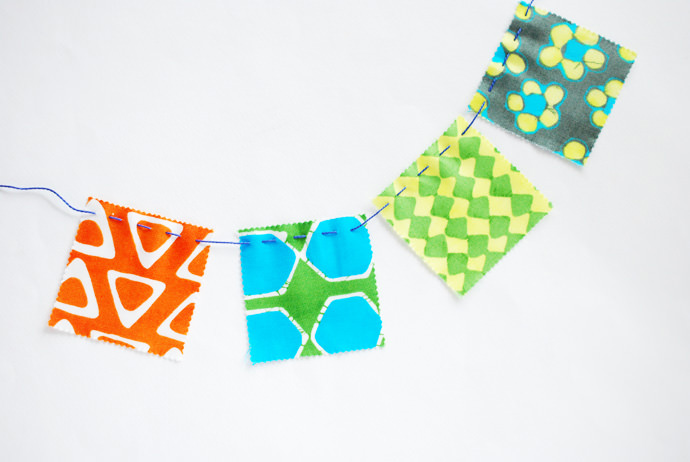
Continue adding mini flags and sliding them down the string. You can put them close together, spread them way out, or find a happy medium.
When you reach the end of the piece of thread, start another one and join them together with a strong knot. Of course you can also keep them a little shorter for hanging in smaller areas!
Step 5 (optional)
To add extra decoration to your flags, don’t be afraid to layer fabrics! Start by ironing some paper-backed fusible interfacing to the back of a few squares of fabric.
Step 6
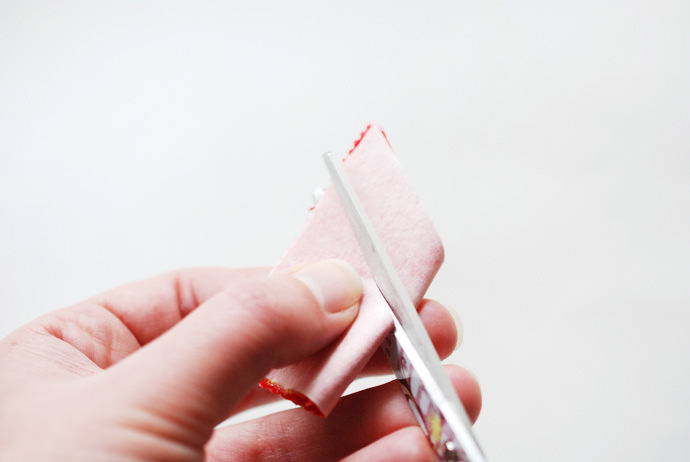
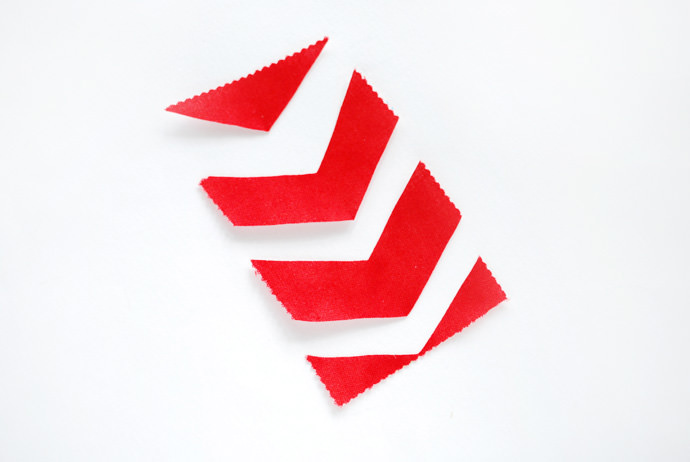
Fold a square in half and make three angled cuts, which will give you two little chevron pieces.
Step 7
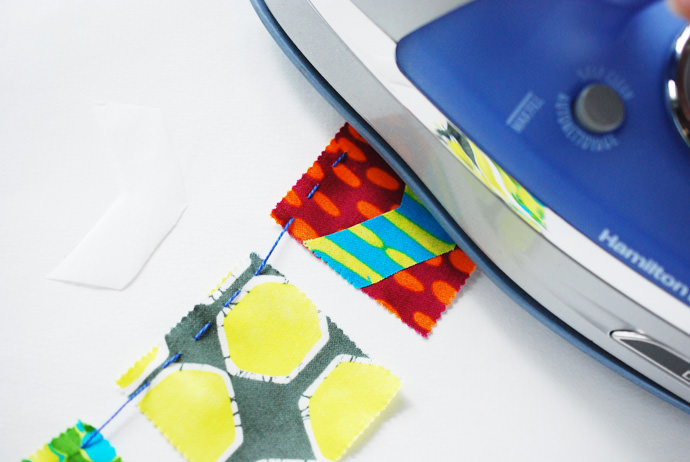
Peel off the paper backing, then iron the chevrons onto a few flags of your choice.
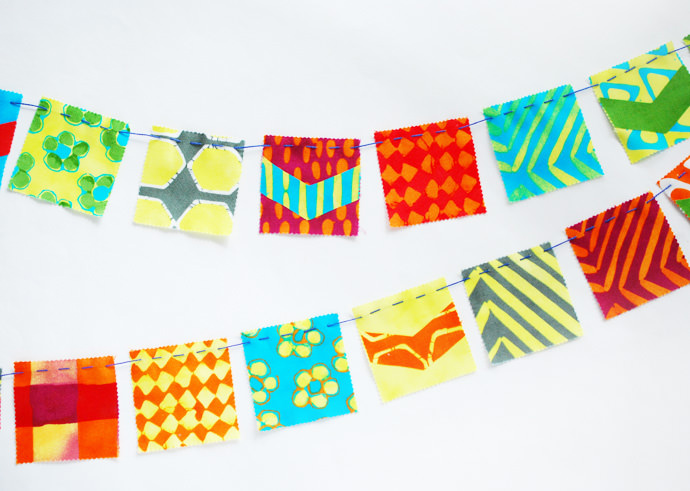
Now your garland is ready to display! You can tie a loop at each end for easy hanging, or simply stick them up on a wall with a bit of washi tape.
Happy crafting, friends!