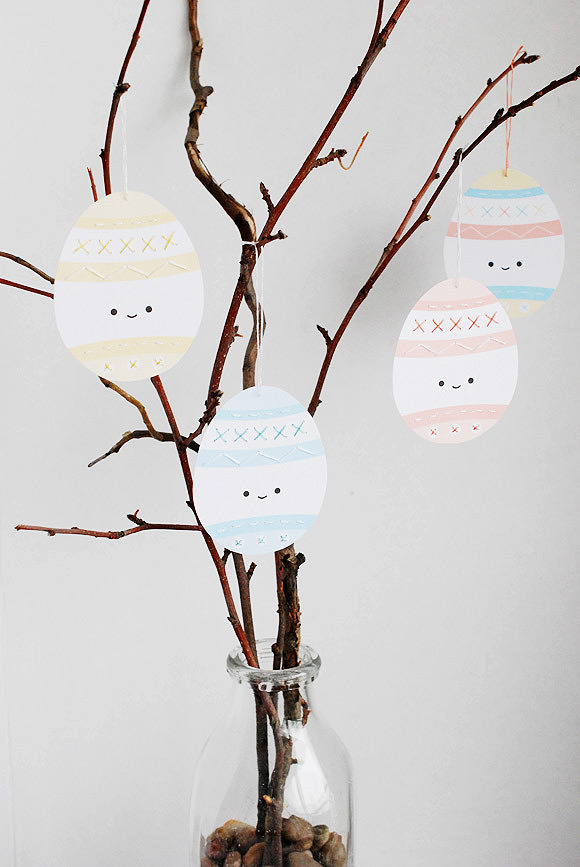
At my house, we love getting into the spirit of the holidays with a fun craft. Sometimes it’s in a big way, and other times it’s as simple as adding a few cut out shapes to the windows or hanging them from a branch. These printable eggs can be used just as they are, or you can embellish them with a few stitches.
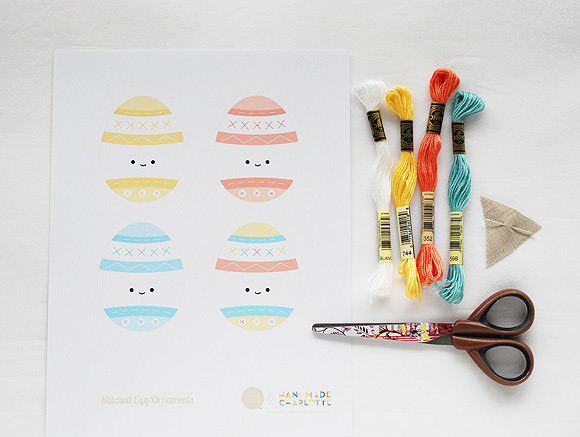
What You Need
- Printable Stitched Egg Ornaments template (download here)
- Card stock
- Scissors
- Needle
- Embroidery floss
Step 1
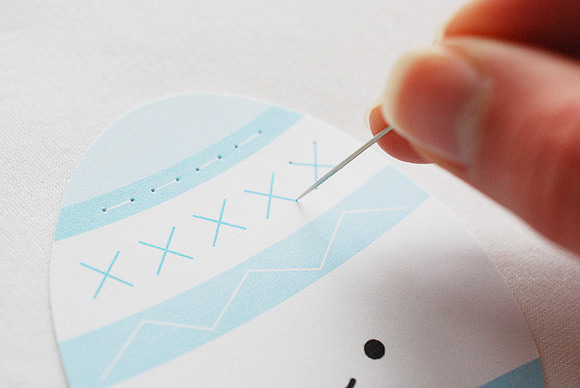
Print the eggs onto card stock and cut them out. Use your needle to poke holes at the end of each of the stitching lines. Each of the thin lines on the eggs can be used as a stitch guide, or you may only want to embroider only a few spots.
Step 2
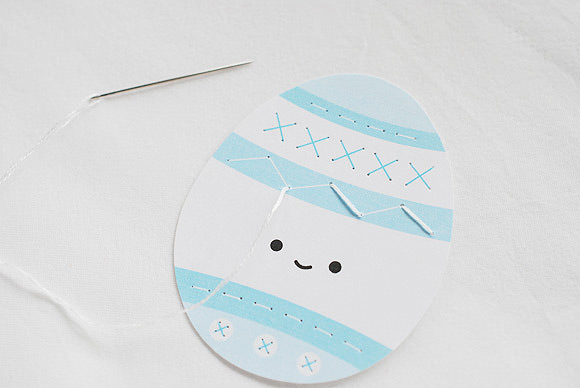
Cut a piece of embroidery floss and separate out 2 to 3 strands. Thread your needle and tie a double knot at the other end. Start from the back and start stitching, bringing the needle through the holes you pre-punched. To ensure that you don’t make any stray holes, flip the egg over with each stitch so you can see where your needle is going. Tie a double knot close to the back of the egg when you’re finished, and add more colors if you like.
Step 3
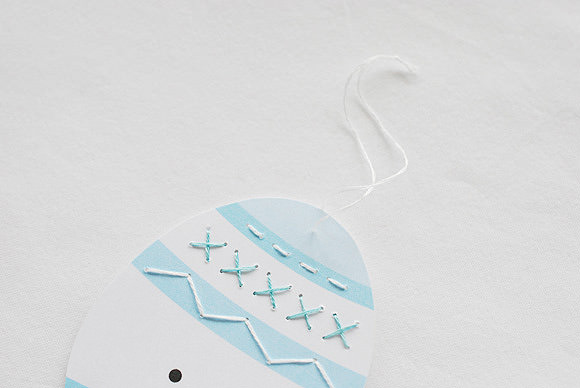
Thread another piece of embroidery floss through your needle and poke it through at the top of the egg. Make a hanging loop by tying a knot about two inches from the egg.
Step 4
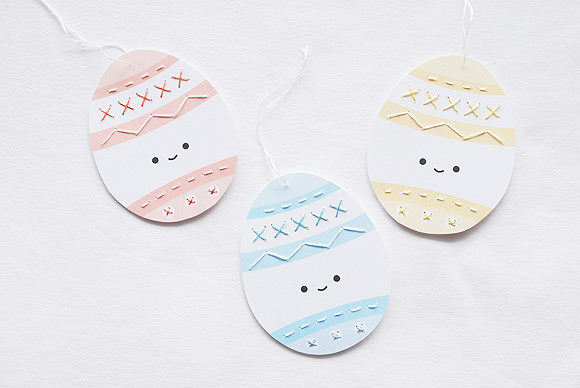
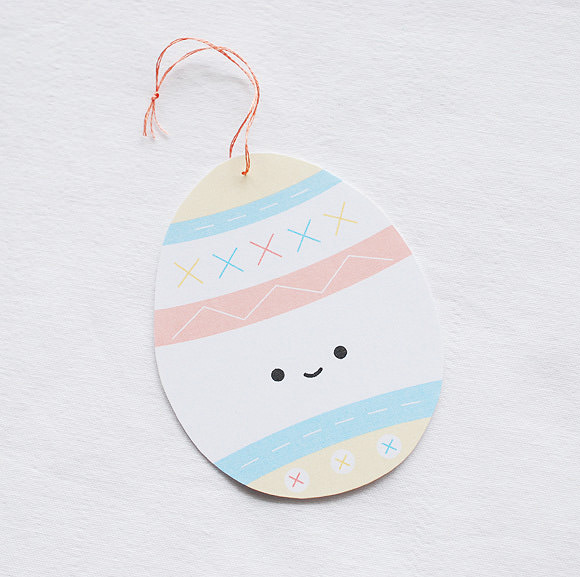
Stitch a carton’s worth of eggs, or leave them plain and simple. Whichever you choose, these happy Easter eggs will surely bring a smile!
Step 5
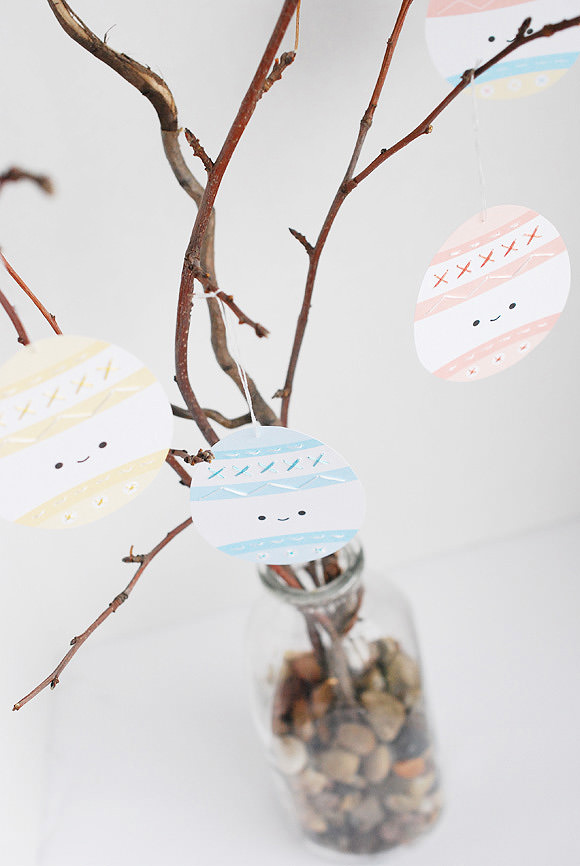
To display your eggs on a branch, place some rocks in the bottom of a vase or bottle, then nestle a branch or two into the rocks. Hang your egg ornaments to welcome spring and Easter!

Happy crafting!