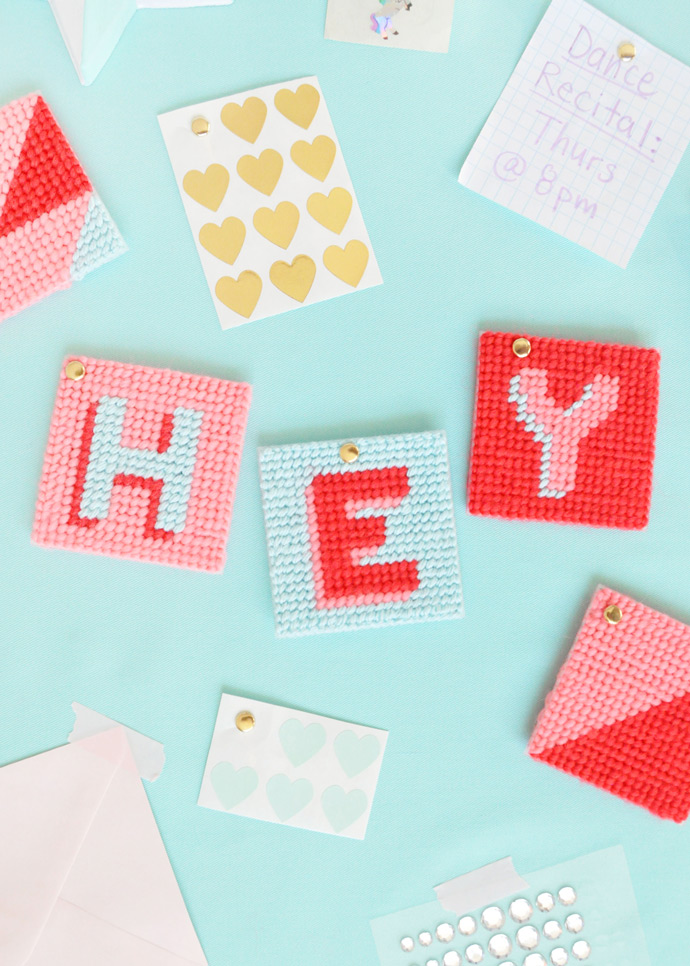
Have you ever cross stitched before? I used to do a fair bit of freehand embroidery when I was younger, but I’d never used plastic canvases for cross stitching until this project. While browsing at the thrift store recently I stumbled upon a brand new bag of these small canvas squares and thought I should give it a shot!

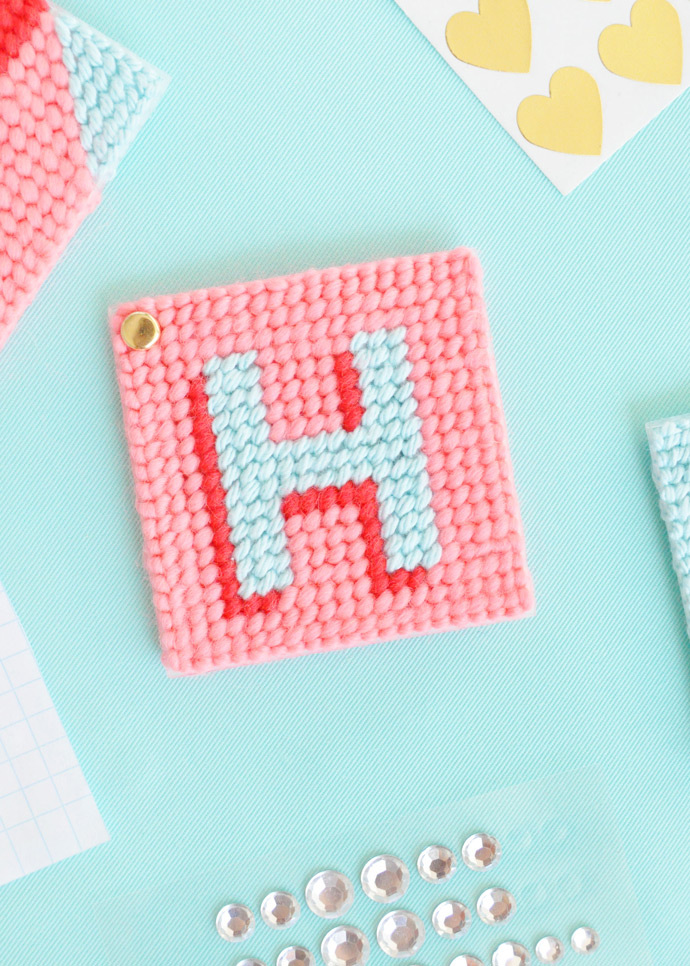
When browsing other cross stitch designs, most of what I saw was a bit dated looking. Never fear – pick yarn in bright colors and use modern, geometric shapes to completely avoid this! I love how playful and bright these tags turned out. They’re perfect to use as room decor, strung together as a garland, or as a monogrammed gift tag!

What You Need
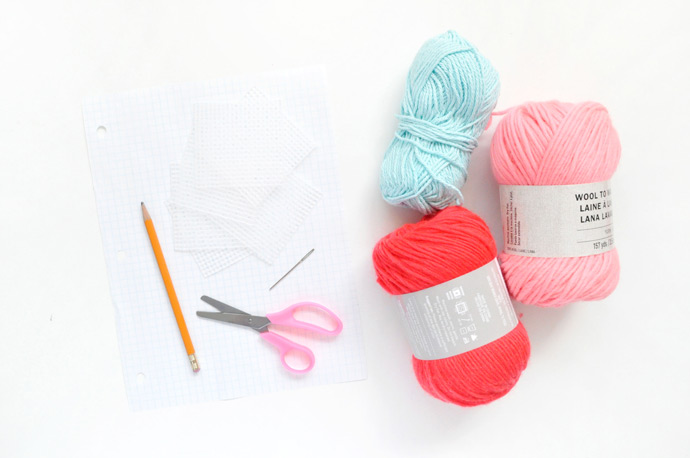
- Plastic cross stitch canvas squares
- Graph paper
- Pencil
- Scissors
- Darning needle
- Yarn
How-To
Step 1
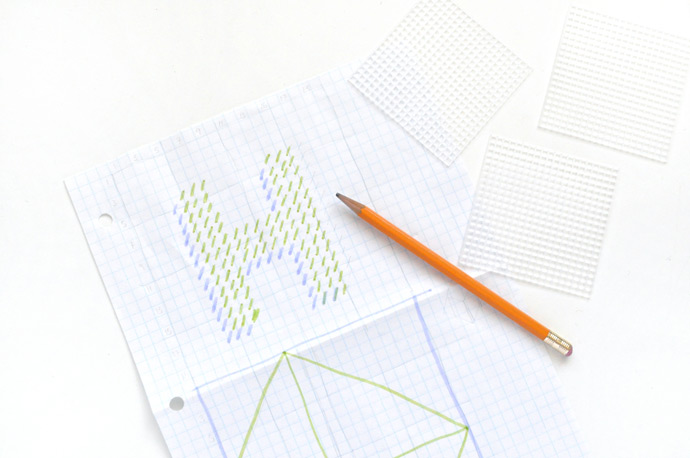
On a piece of graph paper, outline a square that is the same number of smalls squares as your plastic cross stitch canvas. The ones pictured here are 20 by 20. Use a pencil (and colored markers) to make your design. For theses tags, I made block letters 3 grids wide with a 1 grid shadow.

Step 2
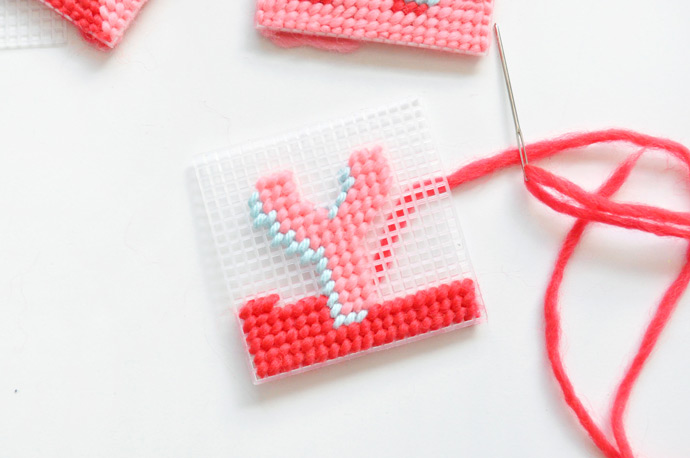
Pick your yarn color and thread your needle. The basic stitch used on these tags is called a continental or tent stitch – it’s a diagonal stitch formed by threading the needle up through one hole and then down through the hole kitty-corner to it. Keep doing this until your done using that color of yarn and tie off on the back.
Step 3
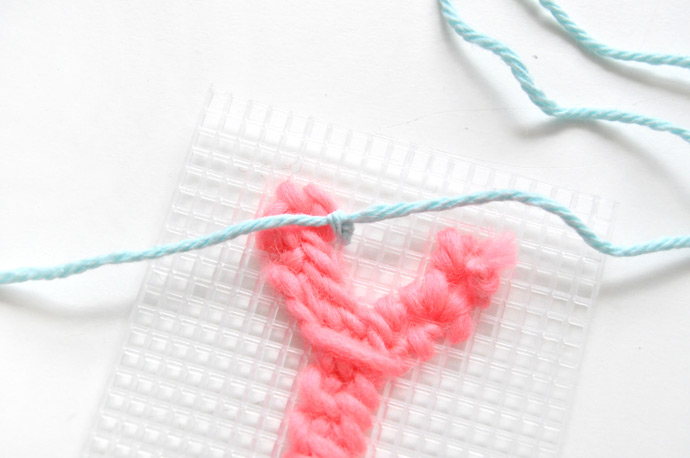
Continue in the same way for the shadow – this image shows a close-up of the back of the canvas where I tied off the yarn when I started.
Step 4
Finally, fill in the background color, again tying off when complete. If the yarn tails bother you, use a small dab of glue on the back to secure them out of the way. Depending on how you plan to use your tags, you can also glue a yarn loop onto the back of the canvas.
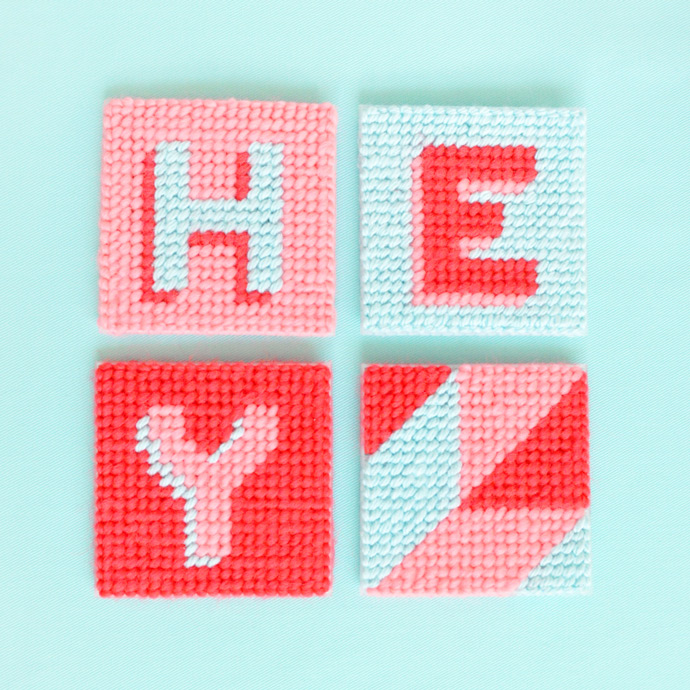

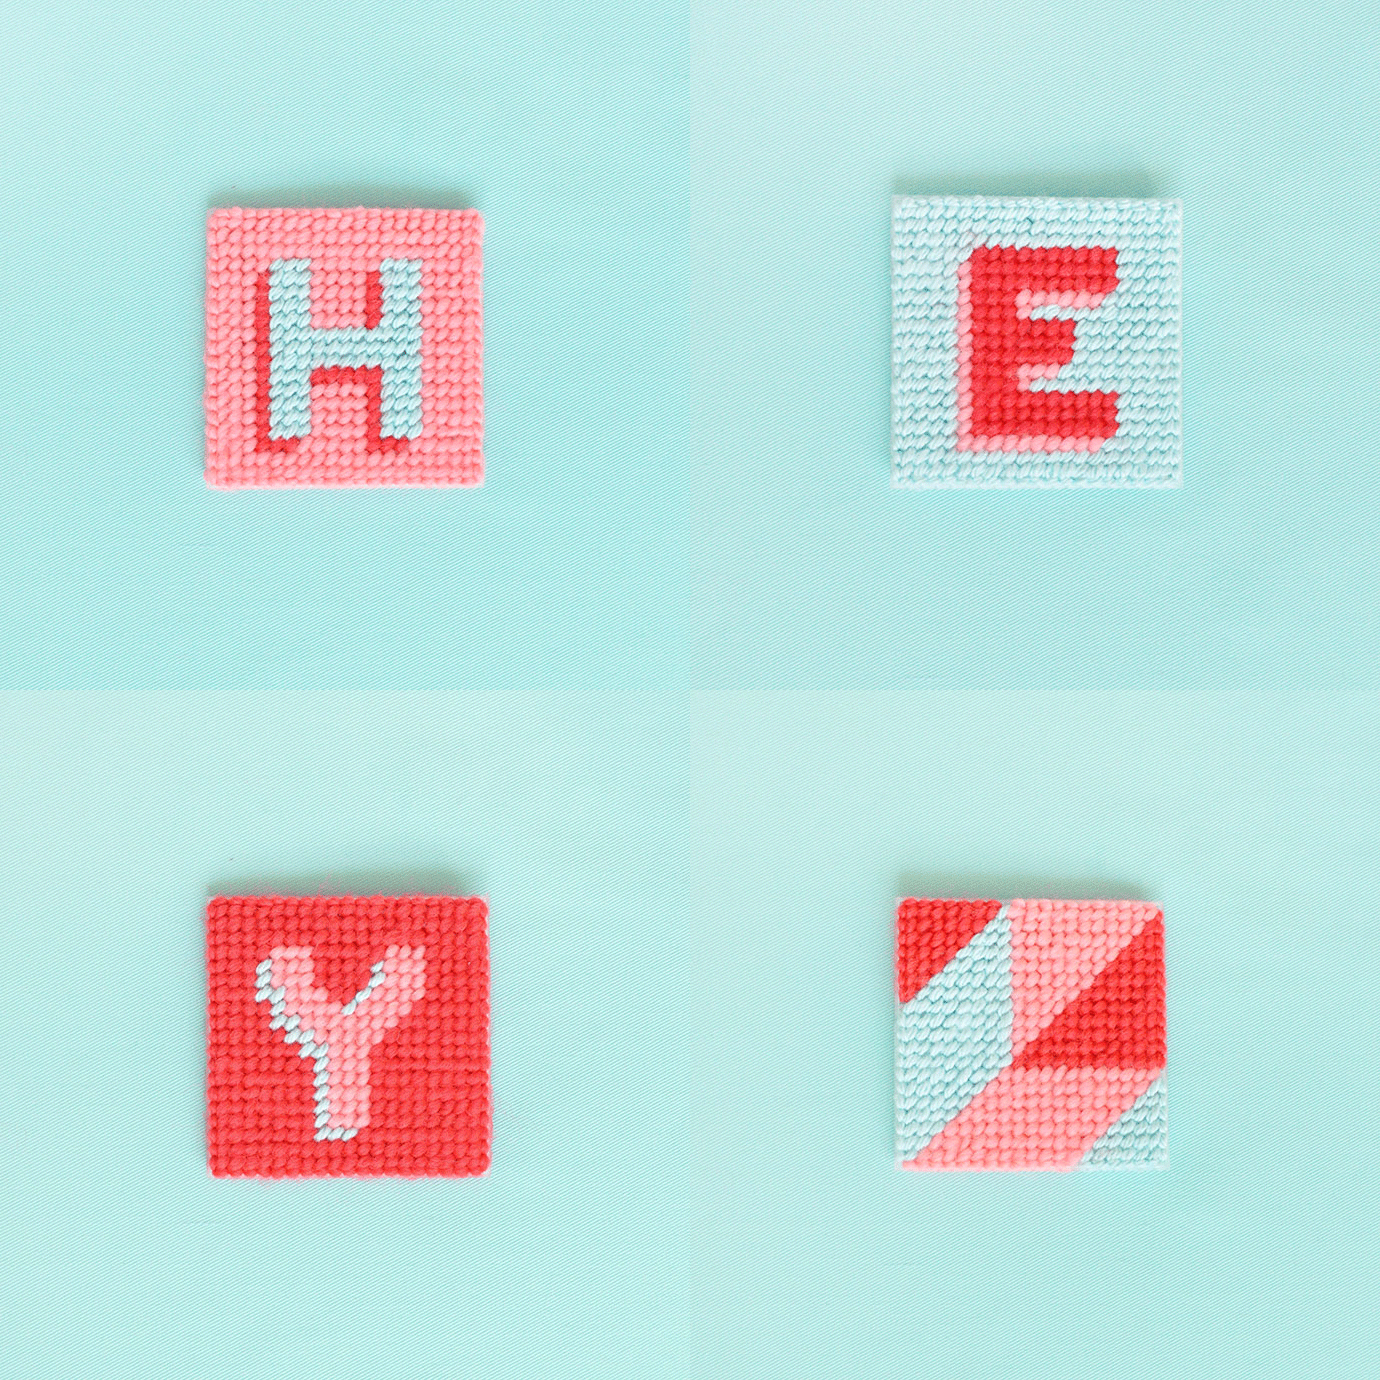
Happy stitching!