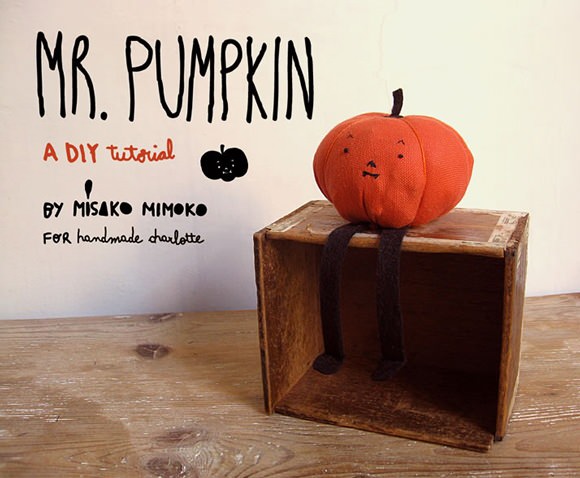
Turn your fabric scraps into the perfect little friend for autumn! Inspired by those cute tomato pincushions, all it takes takes to make Mr. Pumpkin is a scrap of orange fabric, some felt, and a little bit of stuffing.
Misako Mimoko makes this fun & simple craft project a snap with detailed, easy-to-follow instructions to guide you every step of the way.
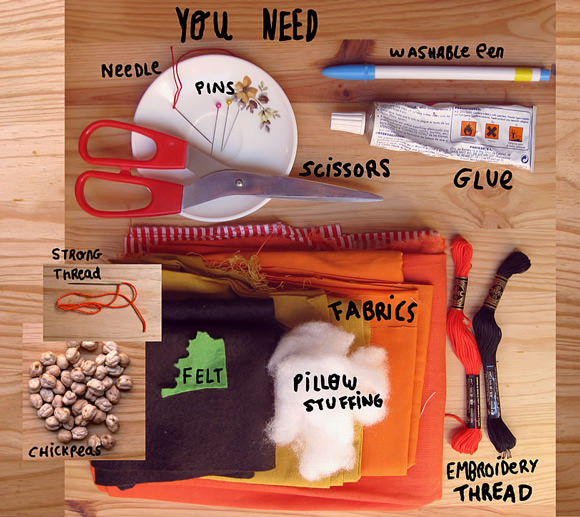
Materials
- Printable template (download here)
- Fabric scrap
- Felt
- Needle
- Embroidery thread
- Strong thread (such as perle cotton)
- Scissors
- Washable water-soluble pen
- Polyfill
- Chickpeas
- Glue
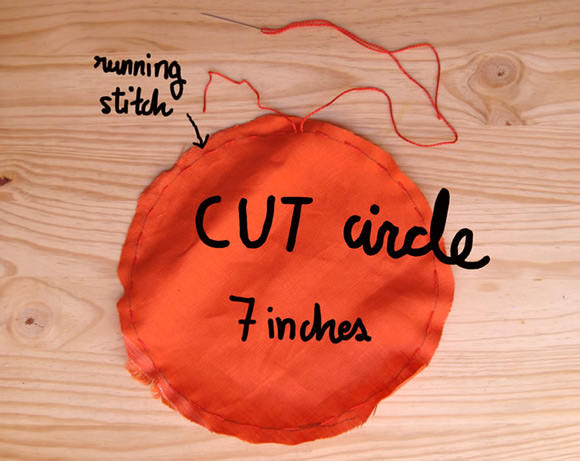
Step 1: Cut & Sew
Cut a 7-inch diameter circle of fabric and sew a running stitch along the edge using strong thread.
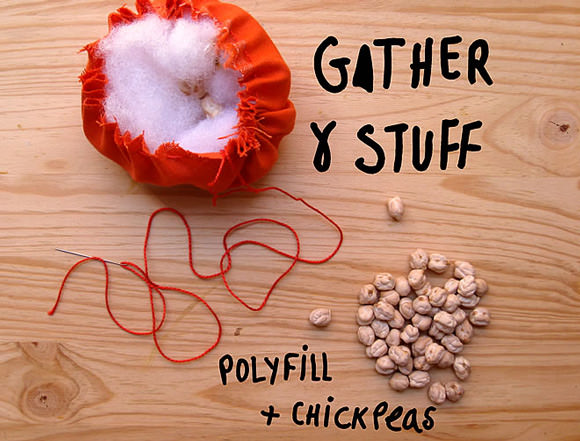
Step 2: Gather & Stuff
Gather and stuff with a mix of polyfill and chickpeas. The chickpeas are optional but highly recommended – I love how they give an irregular surface to the pumpkin and provide extra weight.
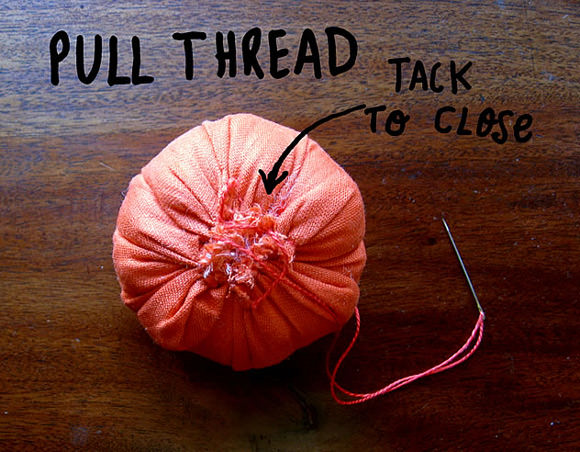
Step 3: Tack To Close
Continue adding polyfill / chickpeas to desired firmness. Pull the thread and knot the end. Tack with a few stitches to close.
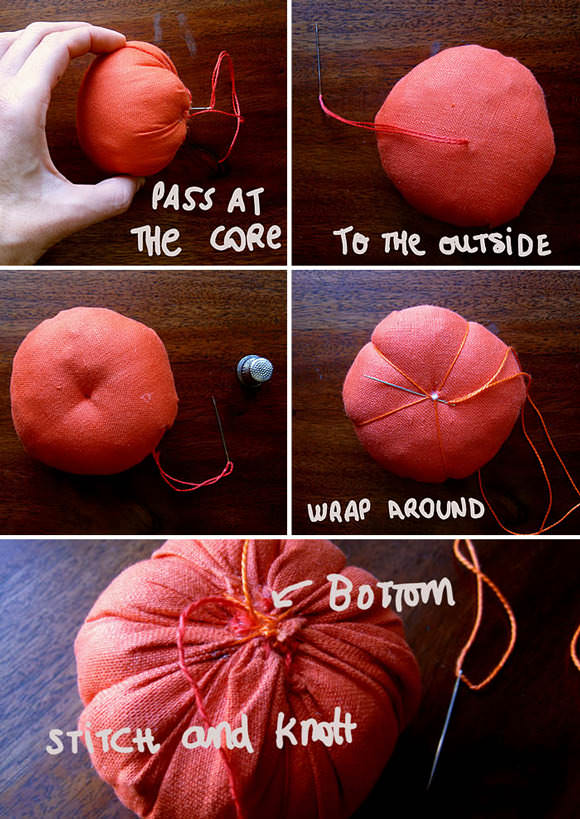
Step 4: Add The Details
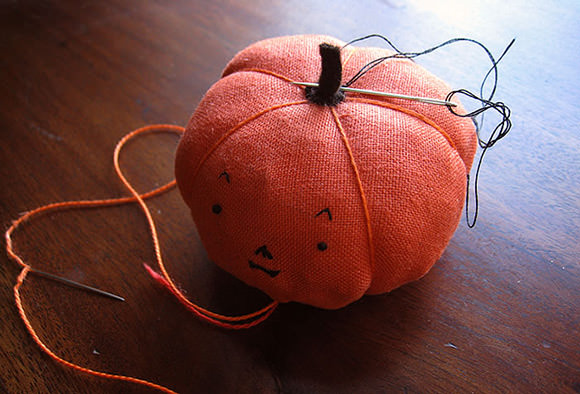
Pass a threaded needle with perle cotton at the “core” to the outside and wrap it around the pumpkin a few times. Knot the thread at the bottom to secure.
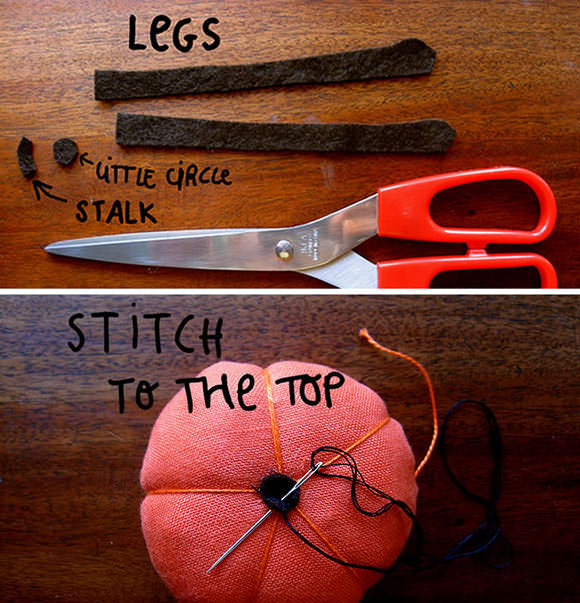
Step 5: Add The Legs And Stalk
Download, print and cut out the template. Make the legs, stalk, and the tiny circle from brown felt using the templates as your guide. Stitch the tiny felt stalk and circle to the top of Mr. Pumpkin.
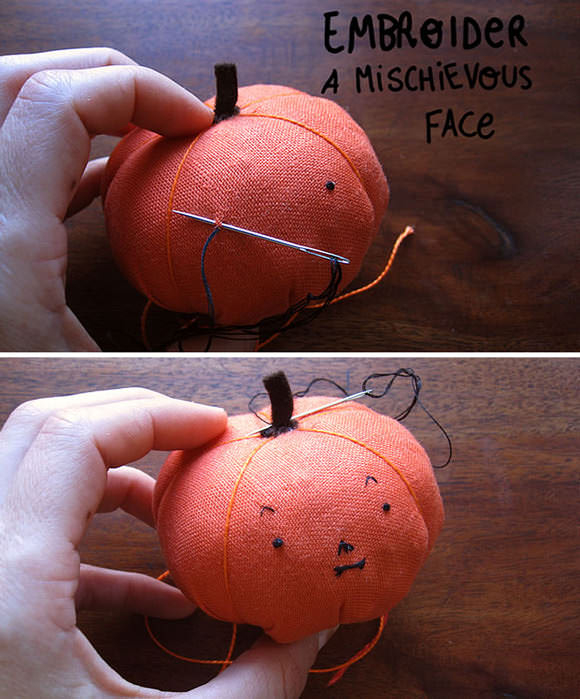
Step 6: Embroider The Face
Embroider a mischievous face using black embroidery floss. You can use one or two strands to get thin stitches.
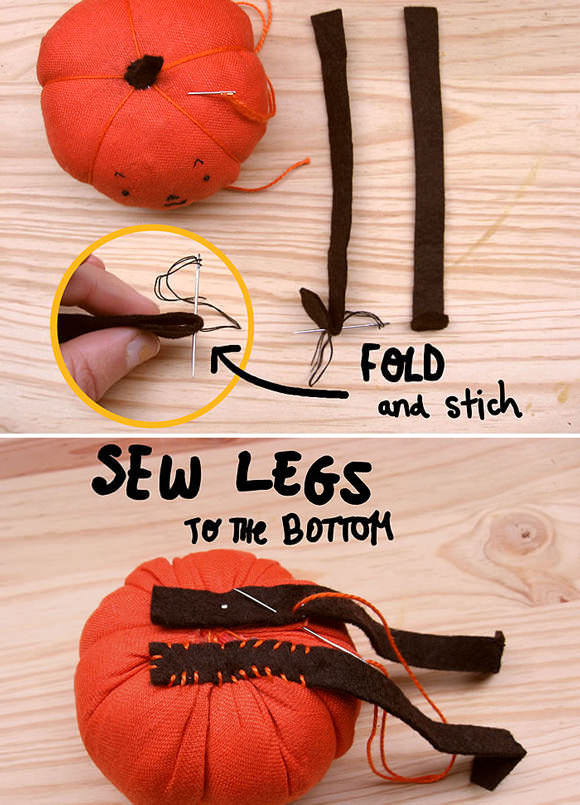
Step 7: Finish It Up
Take one leg from its curved top, fold and stitch to make a right angle. Repeat using the other leg, and then sew both legs to the bottom of Mr. Pumpkin.
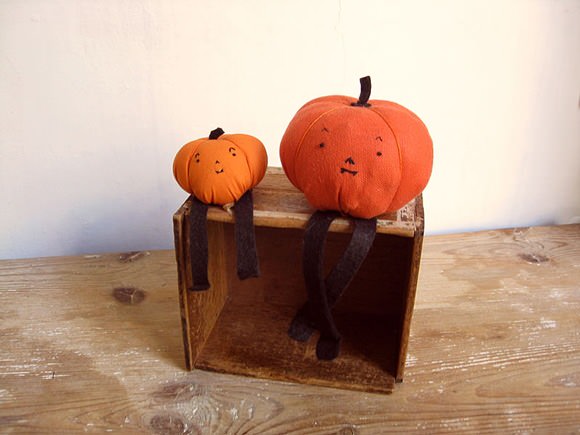
Voila, say hello to Mr. Pumpkin :) Place him on a shelf in your sewing room or child’s bedroom and he’ll provide the fall inspiration you need to keep crafting all season long.