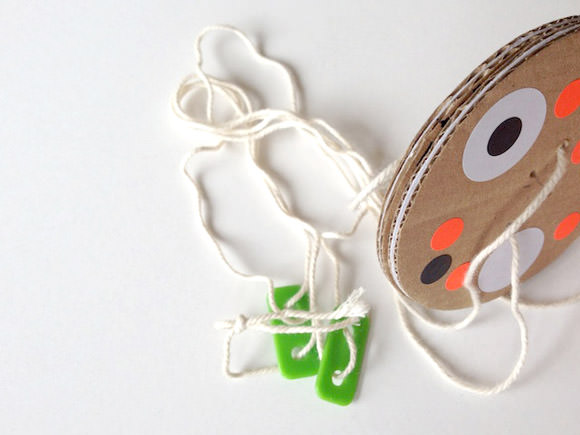
Looking for an easy recycled craft for kids? Your lille one will spend hours playing with this DIY cardboard take on the classic twirly whirly toy. It’s fun, easy to make, and your child ends up with a cool new toy to enjoy.
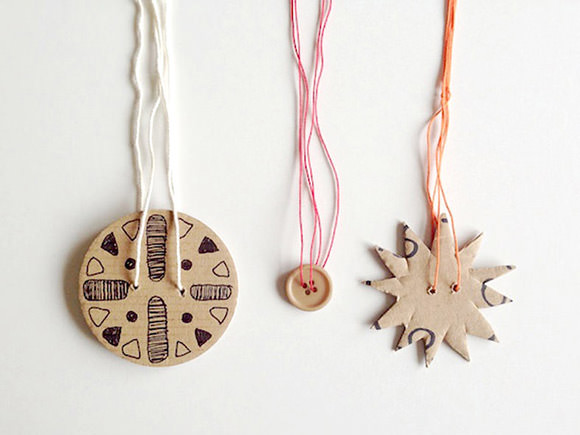
Spin, pull and let up, watch it whirl between your hands, and listen to the “whooshing” sound… Kids have been enjoying twirly whirlies for generations. Here are three DIY versions of the toy that can easily be made by kids ages 4 and up.
We’ll start with a simple button + string and work our way up to two cardboard twirly whirlies that are a bit more involved. Let’s get started!
Simple Button Twirly Whirly
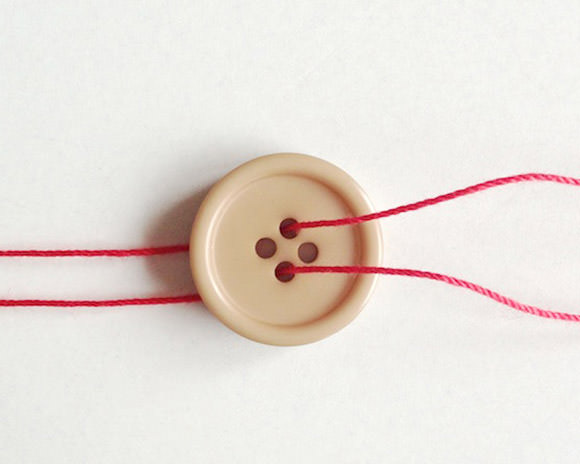
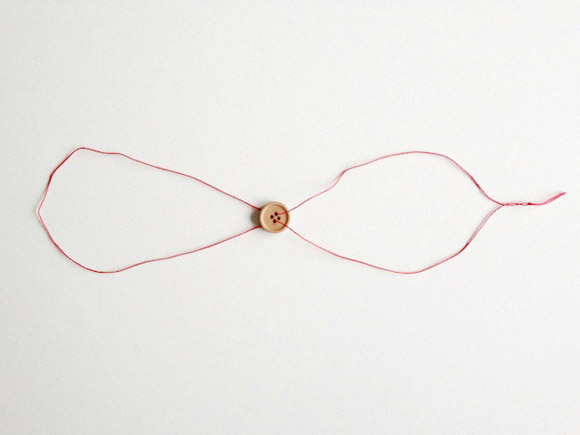
A button and some string is all you need to make a simple toy. Take the string (with the button in the middle), spin it, pull, and let up.
What You Need
- Button
- 1 yard string
- Scissors
Step 1
Slip the string through two holes of the button.
Step 2
Tie the ends of the string together.
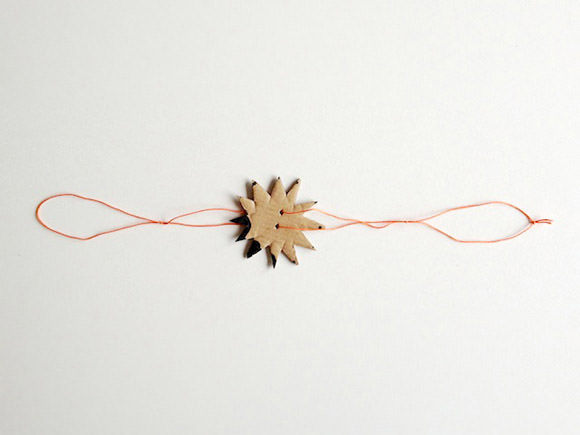
Cardboard Twirly Whirly #1
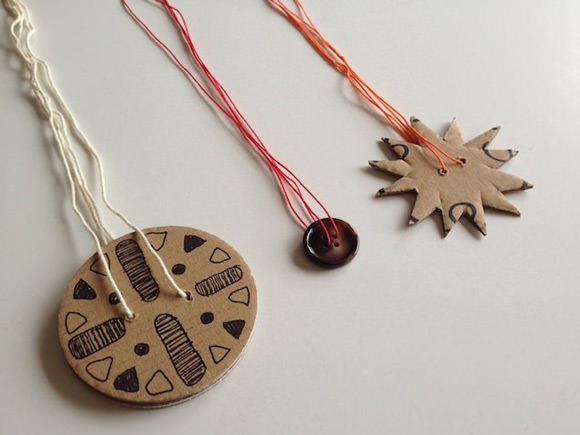
This simple twirly whirly toy can be made using cardboard and kitchen string. To play, take the string with both hands (with the cardboard star in the middle), spin it, pull, and let up. Do you hear the whoosh?
What You Need
- Small piece of cardboard
- 1 yard kitchen string
- Scissors
Step 1
Cut a 2 3/4-inch circle out of cardboard. Punch 2 holes 0.4-inch on either side of the center (0.8-inch from each other).
Step 2
Cut the cardboard circle into the shape of a star.
Step 3
Slip the string through the two holes and tie the ends together. Create two knots at the ends for your fingers.

Cardboard Twirly Whirly #2
This twirly whirly is also made using cardboard and kitchen string, but it’s a bit more involved than the last one. It will be totally worth it in the end, I promise!
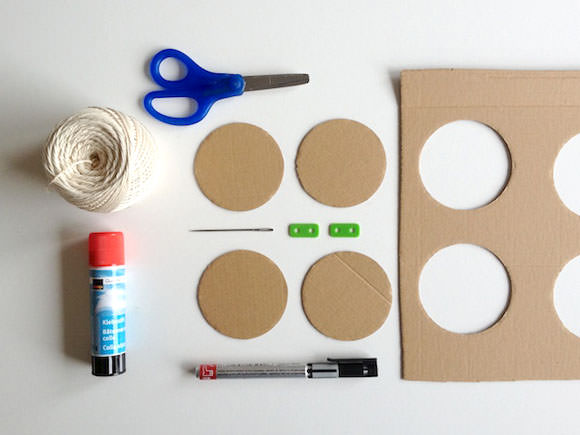
What You Need
- Cardboard scraps (enough for four 2 3/4-inch circles)
- 1 3/8-yard kitchen string
- Two plastic pieces with holes (mine are from a toy package, you could also use buttons or small plastic rings)
- Scissors
- Glue stick
- Wool needle
- Markers and stickers for decorating
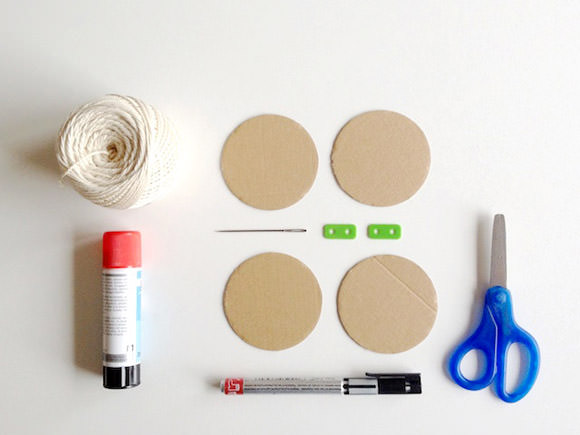
Step 1
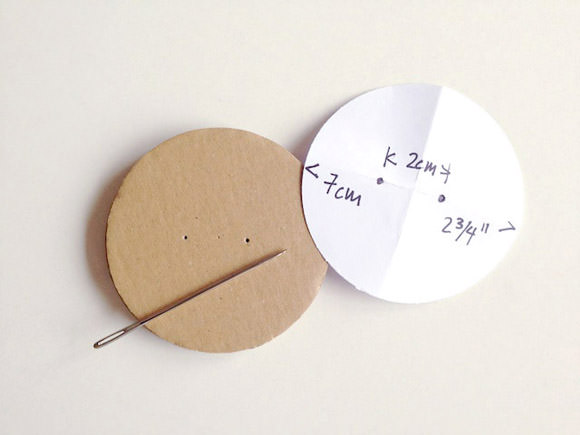
Punch or cut four circles from the cardboard. I used a 2 3/4-inch paper shaper.
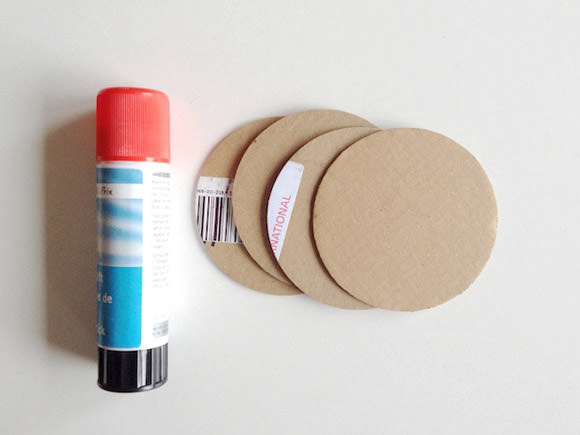
Step 2
Glue them together with the glue stick, leaving the middle part free.
Step 3
Punch two holes in the cardboard circles using the wool needle. Each hole should be 0.4-inch from the center (0.8-inch from each other).
Step 4
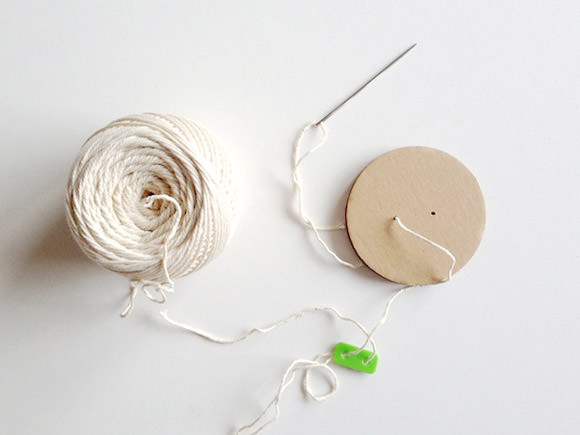
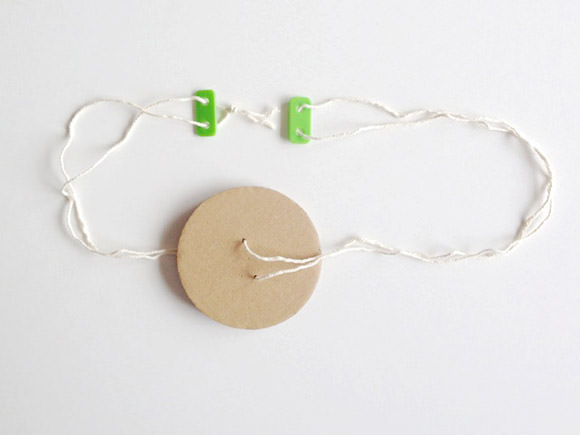
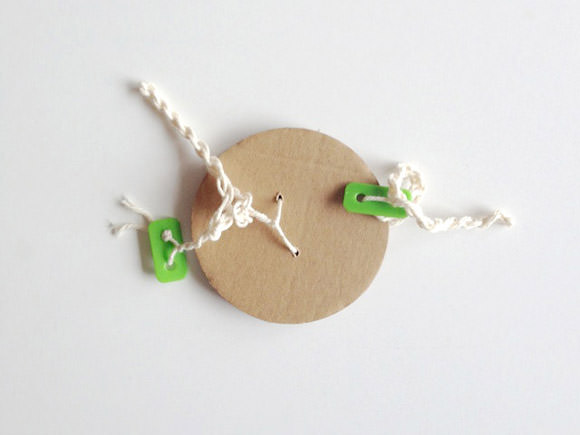
Cut a 1 3/8-inch piece of kitchen string. Put it through the two plastic pieces and the cardboard in the following sequence: the first hole of the plastic piece > the first hole of the cardboard > both holes of the second plastic piece > the second hole of the cardboard > the second hole from the first plastic piece. Tie a knot.
Step 5
Your new twirly whirly is ready for play! Use your markers and/or stickers to decorate however you like.
How To Play
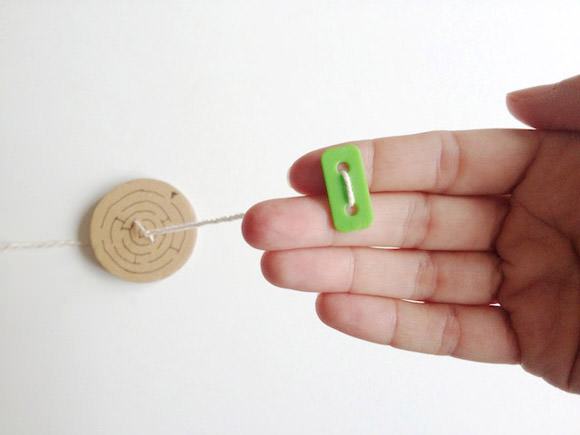
Take the two plastic pieces with your hands. Twist the cardboard in the middle a bit and let it twirl. Pull and let up (you’ll hear a “whoosh” sound). You’ll need to find the rhythm—once you do, the circle will start to whirl back and forth until the cord is twisted completely together.
Here are some pictures of it in action…
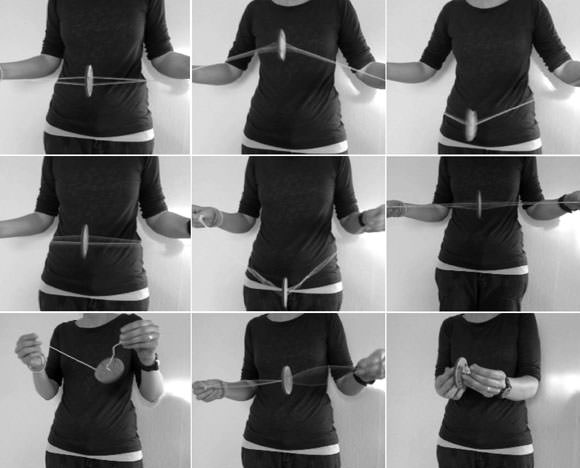
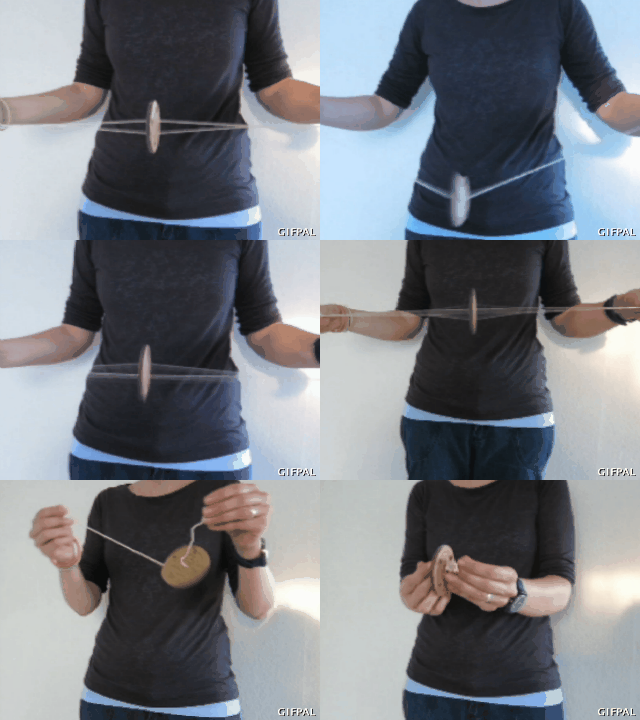
Note: I used the thin envelope cardboard from a book delivery service. The kitchen string has to be a bit elastic and the holes not too big, so that the cardboard stands upright with tense string. If it doesn’t work properly, try another string; add more cardboard, etc.
Science Facts
The sound comes from moving air (waves) and that’s exactly what you do by playing the twirly whirlies.