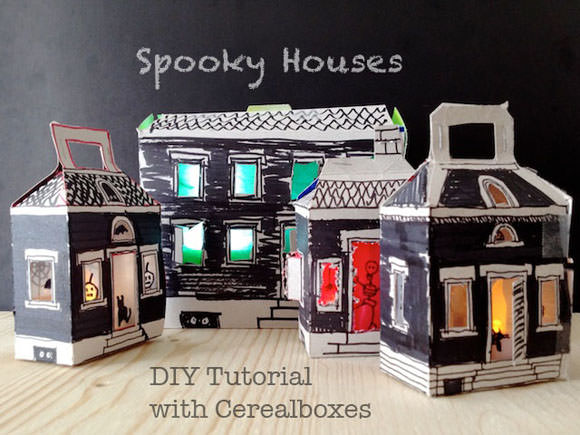
Recycle your empty cereal boxes into spooky light-up haunted houses for halloween! Your kids will have so much fun making them, you’ll have an entire ghost town in no time.
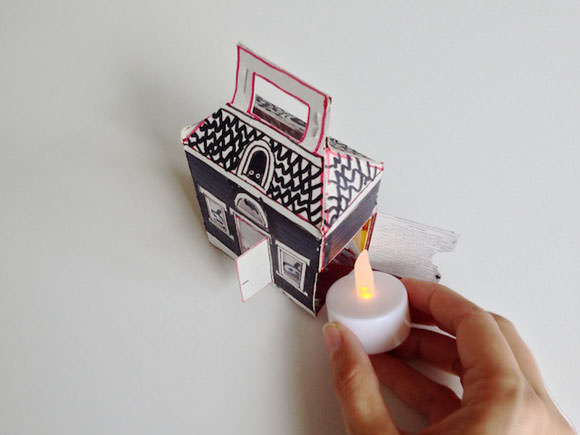
The cardboard and plastic easily turn into a spooky house with a working light!
Haunted houses are old rambling buildings, so you don’t need to work or draw with perfection, and you can doodle and sketch as much as you like!
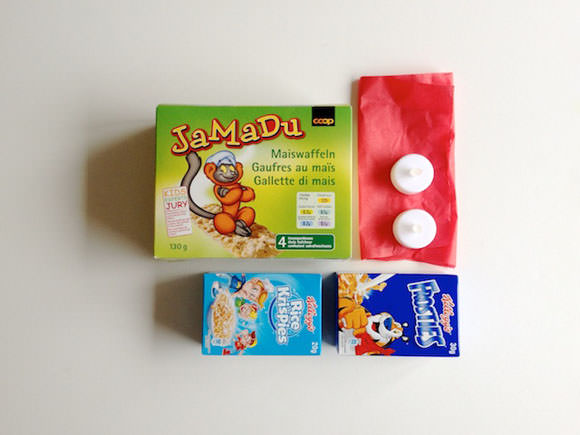
What You Need
- Small empty cereal box, both the cardboard and plastic
- Red and green tissue paper
- LED candle
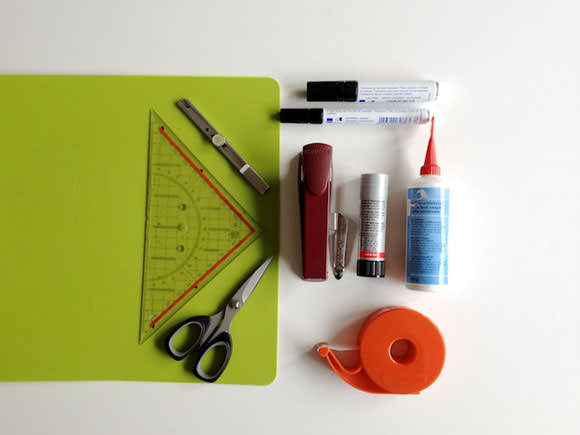
Tools
- Scissors
- Utility knife
- Set square or ruler
- Pad (for cutting)
- Black permanent marker
- Scotch tape
- Glue, paste stick, or stapler
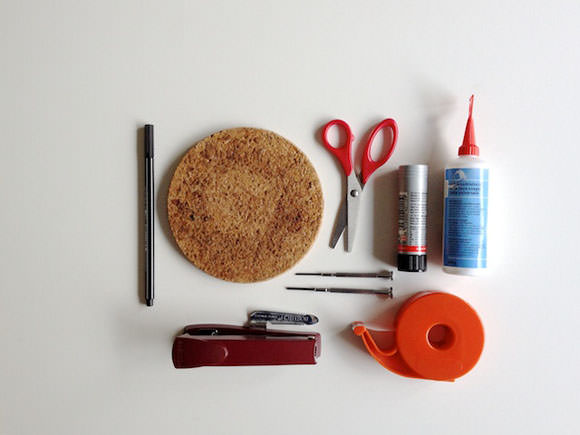
For The Little Ones
- Scissors, kid-friendly
- Small screwdriver
- Pad (for pricking)
- Black marker (washable)
- Scotch tape
- Glue, paste stick, or stapler
Note: Use only electrical light sources with the cardboard house. No candles!
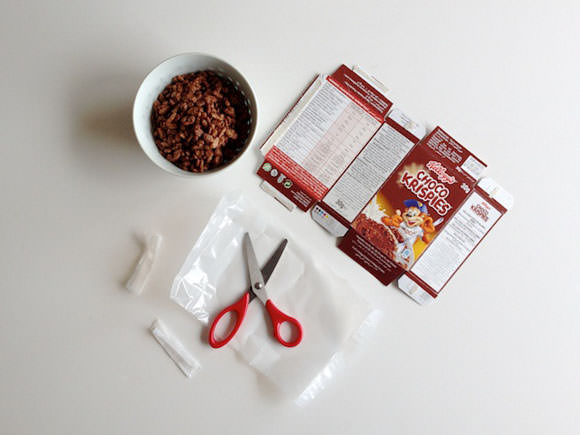
Step 1
Carefully open the cereal box. Cut the plastic open.
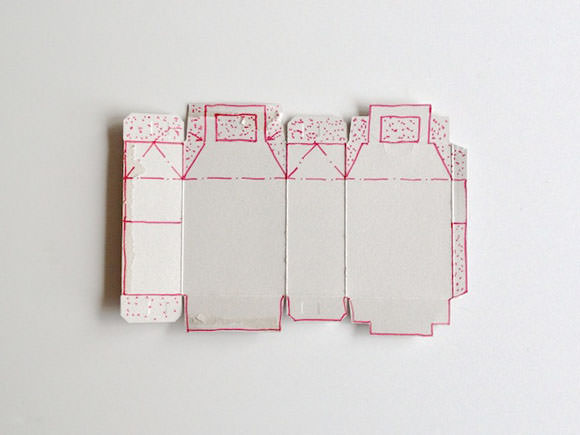
Step 2
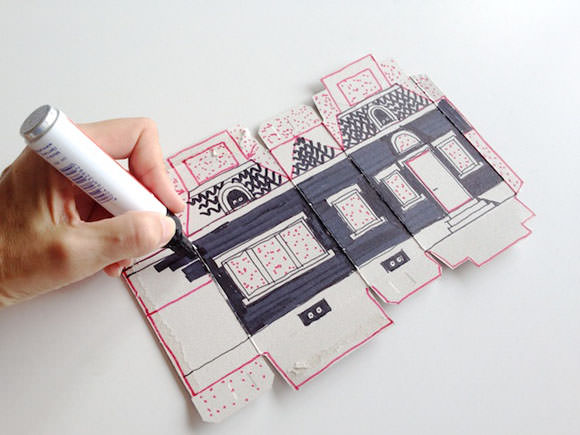
Turn the inside of the cardboard up and draw the outline for the house, marking where to cut. Then add doors and windows. Don’t forget the side door for the LED candle (see photo in step 4). I chose to draw white frames and black walls. The roof tiles are like doodles.
Step 3
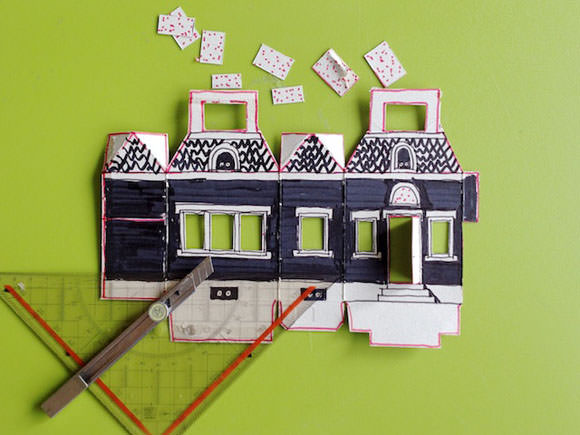
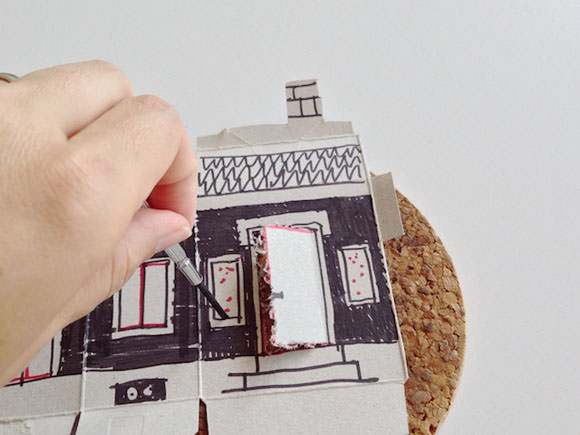
Cut out the outline and the windows. Cut the doors on only 3 sides so that you can open them. I personally like to prick one at a time and then cut with scissors. Little ones can use a small screwdriver to prick the windows on a pad.
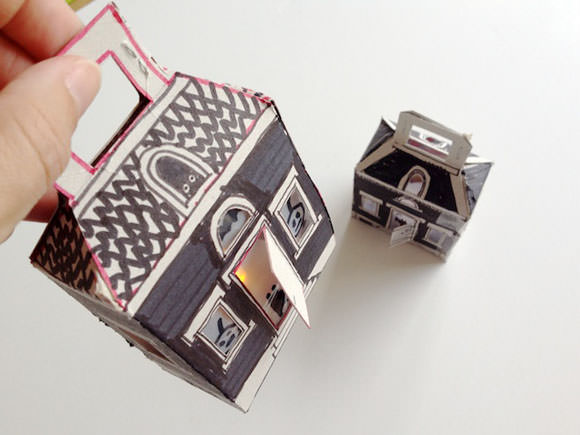
Step 4
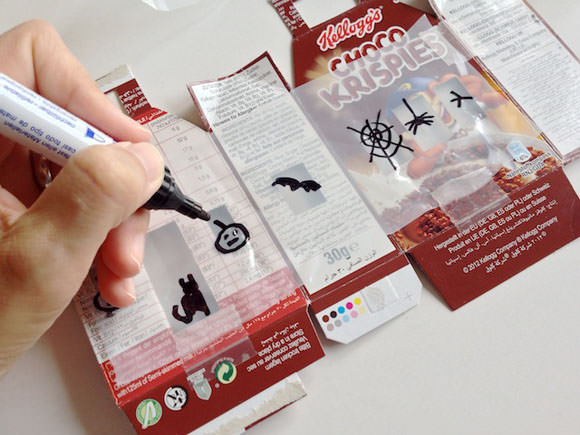
Cut a piece from the plastic and tape it inside. Now you can draw some black cats, spiderwebs, and skeletons in the windows.
Step 5
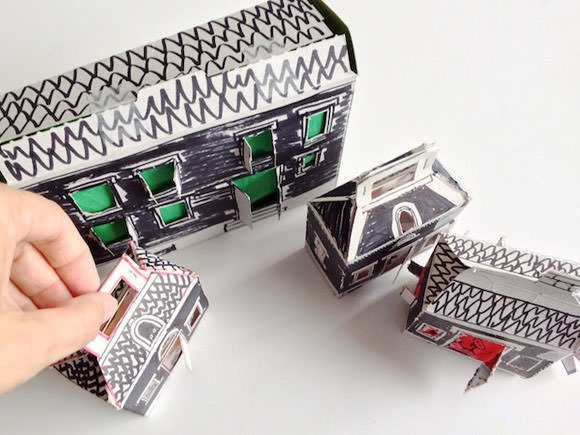
Glue, tape or staple your house together.

Use red or green tissue paper for colorful windows.
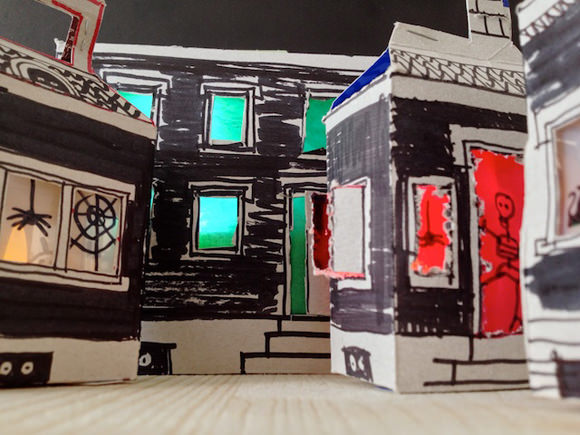
Have fun with your spooky houses—go ahead and make an entire ghost town! We’ve made four so far, but I’m sure we’ll make even more before Halloween.
Happy crafting!