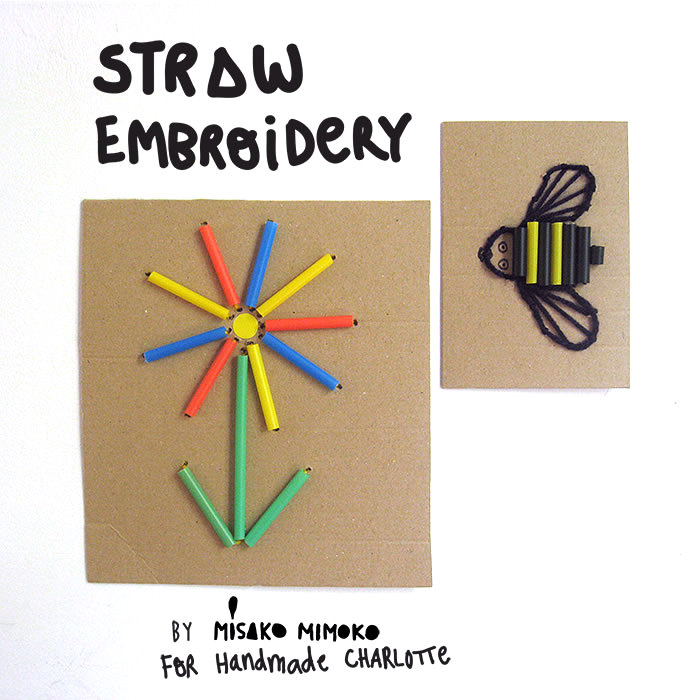
I love straws! They’re readily available, easy to work with, and super fun. I thought it would be cool to add some plastic straw pieces to a stitching project for kids, cutting the straws and using them as big beads. Besides the wide variety of sizes and colors, you can even use bendy straws to draw smooth curves. The possibilities are endless…
Let’s get started!
What You Need
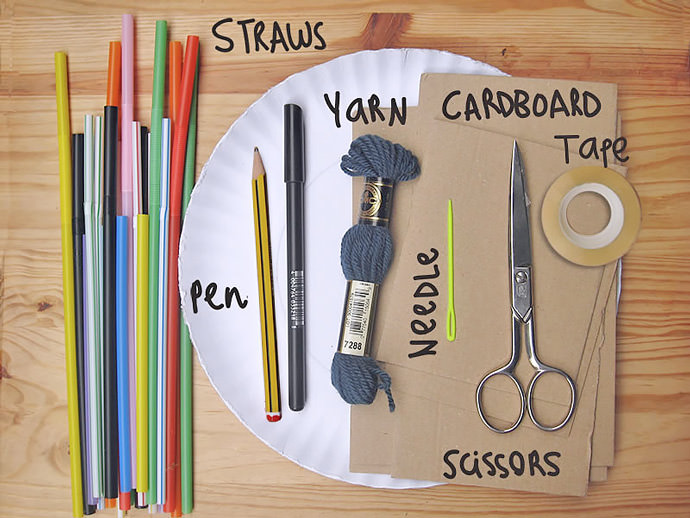
- Printable templates (download here)
- Straws
- Yarn
- Plastic yarn needle
- Cardboard
- Scissors
- Pencil
- Tape
Instructions
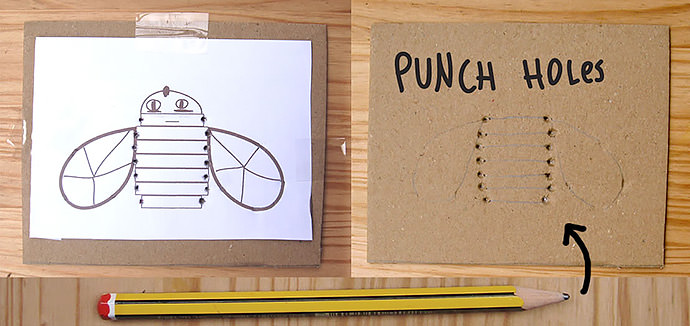
Step 1
Download and print templates. Choose the design you want to embroider and cut it centered on a piece of paper a bit smaller than your cardboard. Fix printed template to cardboard with tape. Then punch holes using a sharpen pencil.
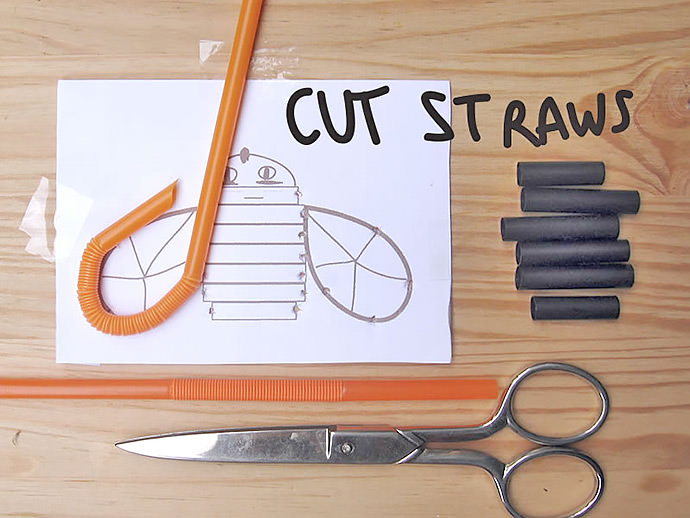
Step 2
Cut straw pieces following template measures. Use bendy straws for wings.
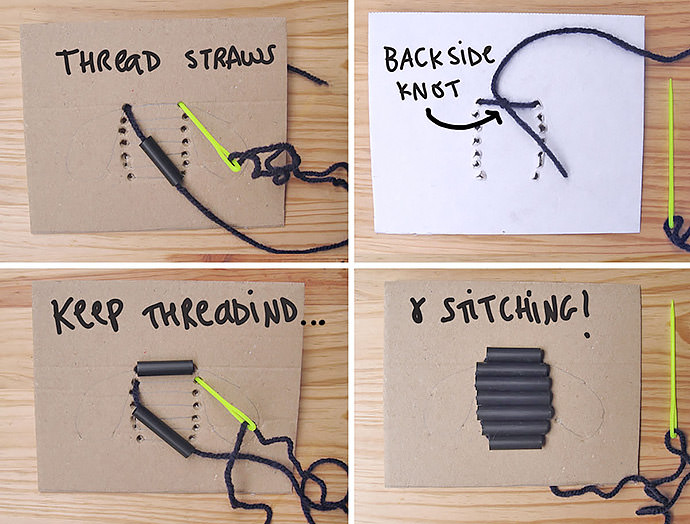
Step 3
Take your punched cardboard and bring up your yarn-threaded needle though the first hole of the design. Then pass the needle through a straw piece, bring needle down and make a knot at the backside of the cardboard to fix stitches. Now thread a straw piece on each stitch until design is complete.
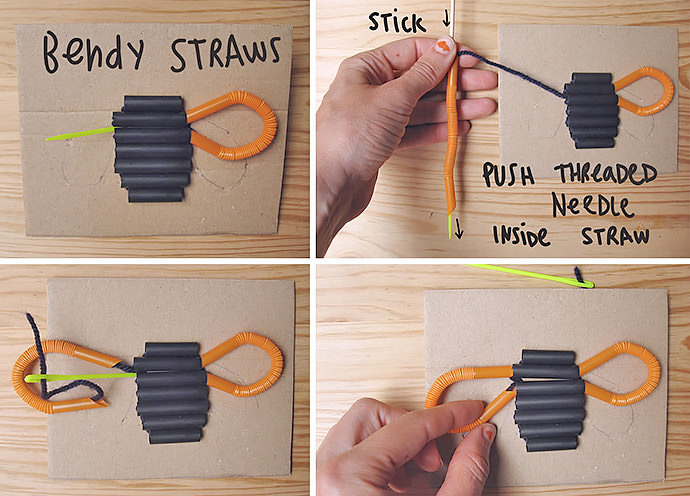
Step 4
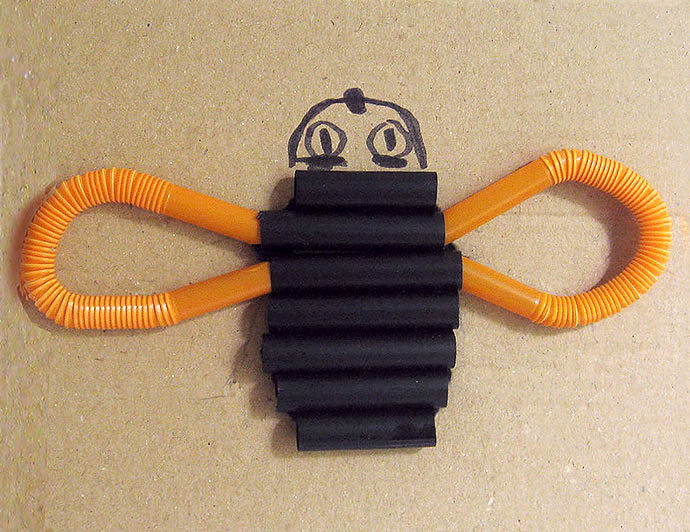
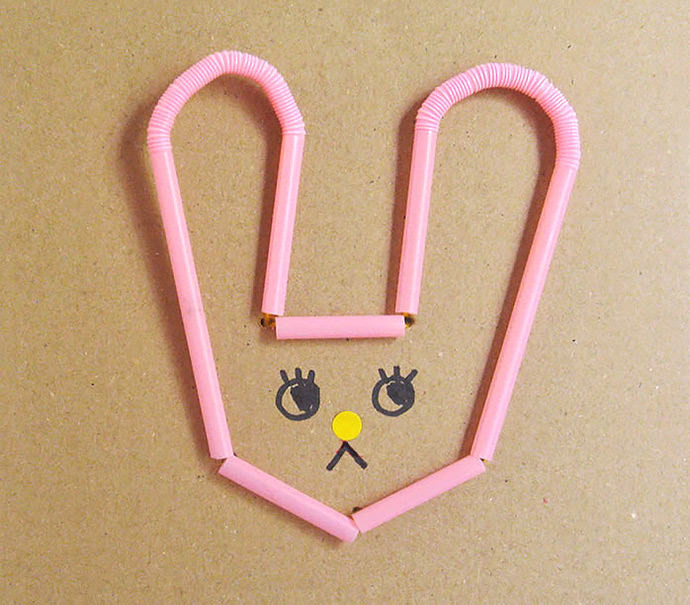
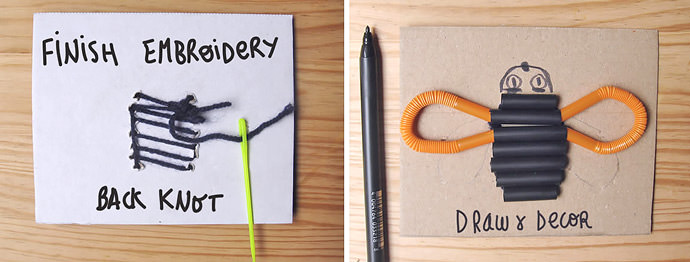
Working with bendy straws is very easy, they are perfect for wings, petals, ears… You just need to straighten before stitching. Use a stick to pull out your threaded needle through the straw, then bend and stitch to fix it in place.
I used different straw sizes, bendy straw ends fit perfectly inside the black straws I used for the body.
Step 5
Tie a knot at the backside of the cardboard to finish your embroidery and draw a funny face.
Step 6
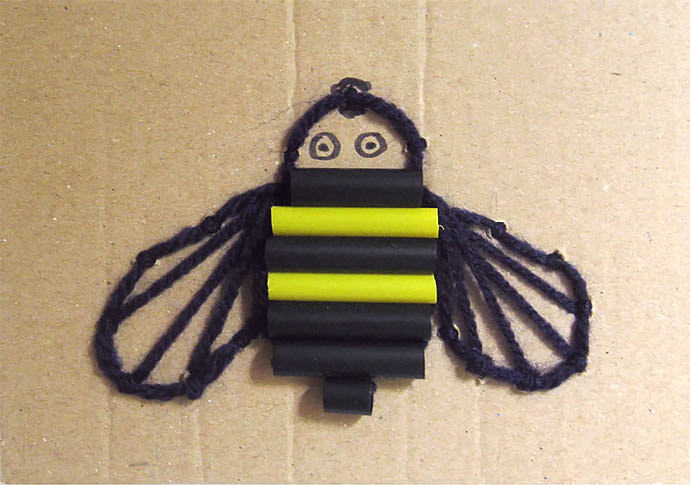
Maybe you prefer embroidered wings and head, for your humble bee…

Step 7
Keep it simple! Just stitching inside the wings.
Step 8
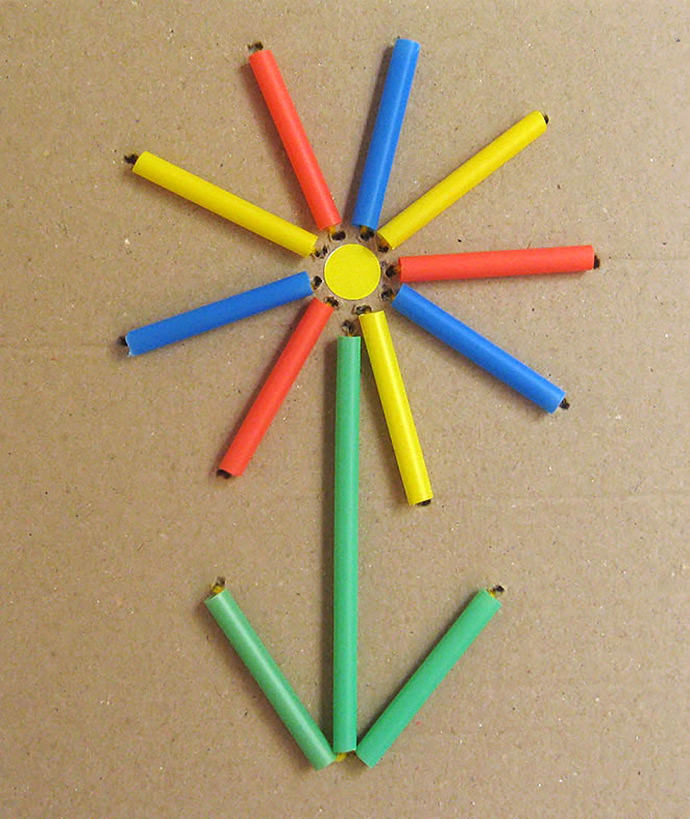
Adding stickers to your design can be nice, too :)
Try different designs and draw your own characters. Happy crafting!