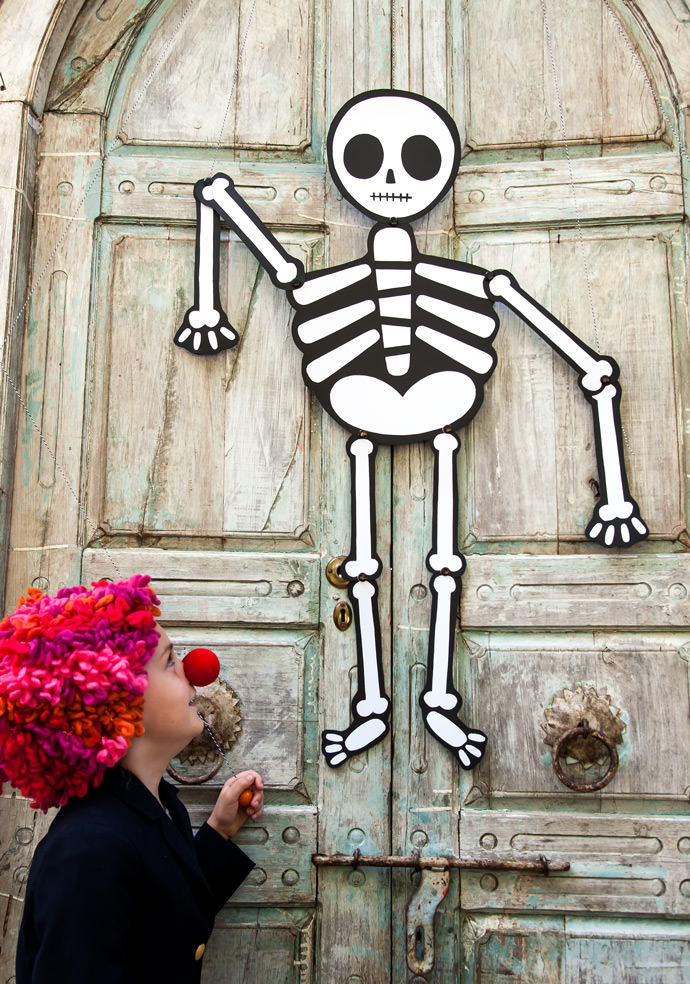
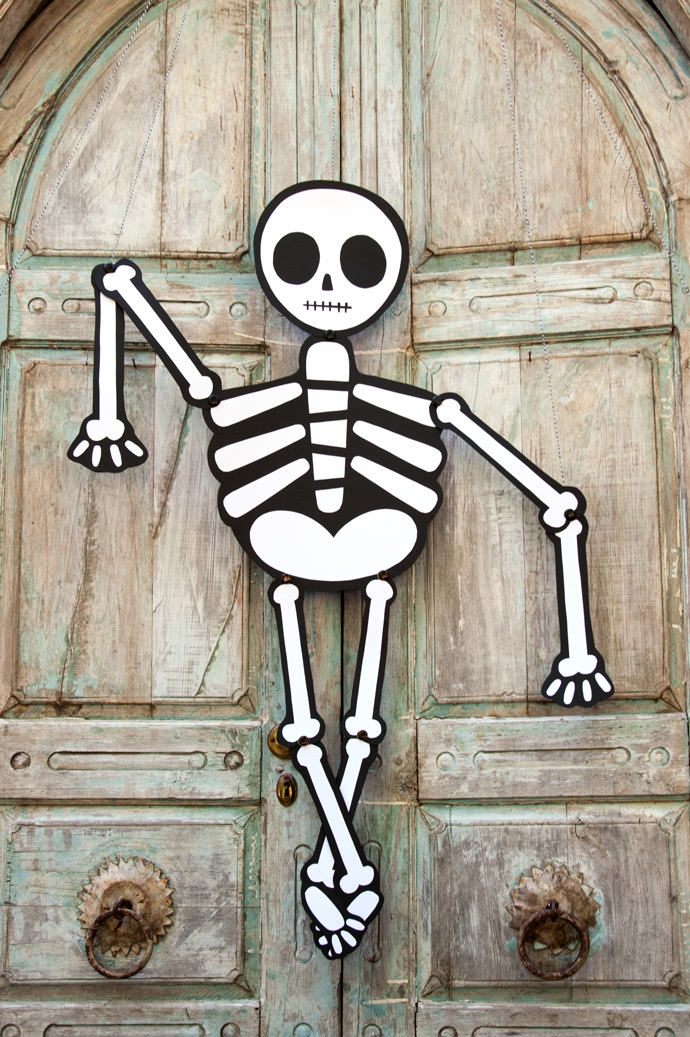
Meet Big-Boned Al, the DIY Trick-or-Treater Greeter. He’s a little bit bony, a little bit rock n’ roll, and a whole lotta fun! We decided to adorn our door with something extra special this year in preparation for that magical night filled with boos and shrieks and children running amuck, knocking on doors looking for treats.
Big-Boned Al hangs on the front door, eyes wide, slight smirk, waiting to say howdy to every passerby. And if he really likes you, he might even do a little dance! All you have to do is say, “Happy Halloween Big Al!” and tug on his strings and our big-boned pal will bounce around making all the kids giggle and squeal.
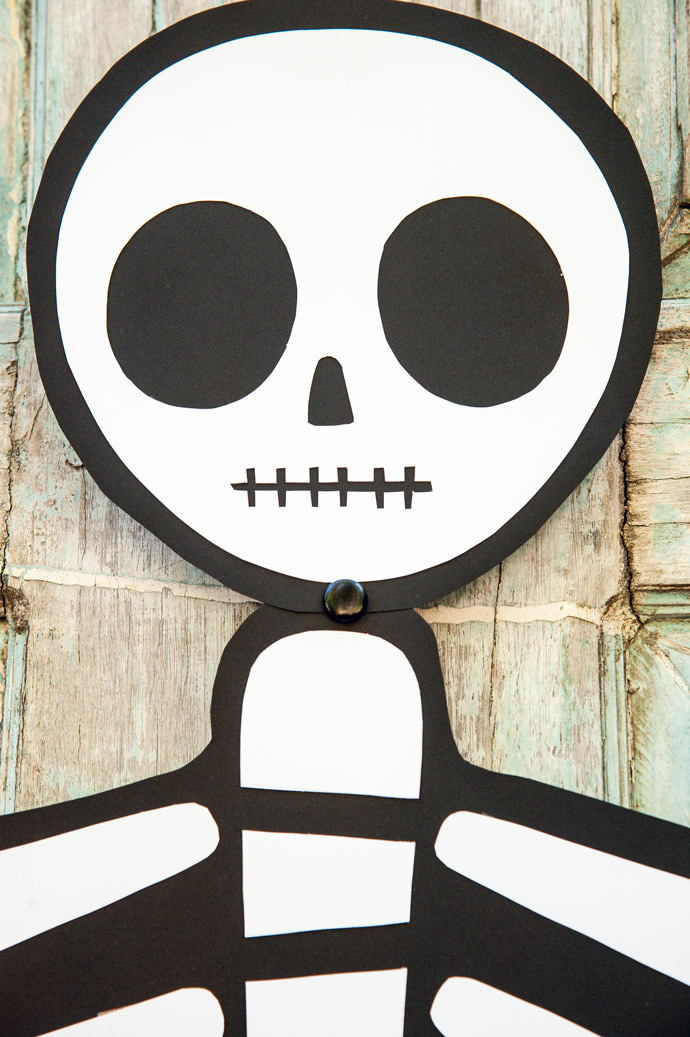
With just a little construction paper and a few Command Outdoor Light Clips, you can make your new boney buddy come to life in under an hour. These outdoor decorations make it so easy to get festive for Halloween, and you can rest easy that you aren’t destroying the exterior of your house. The clips are damage-free and easy to use over and over again with refill strips so Big-Boned Al can make an appearance on your doorstep year after year.
What You Need
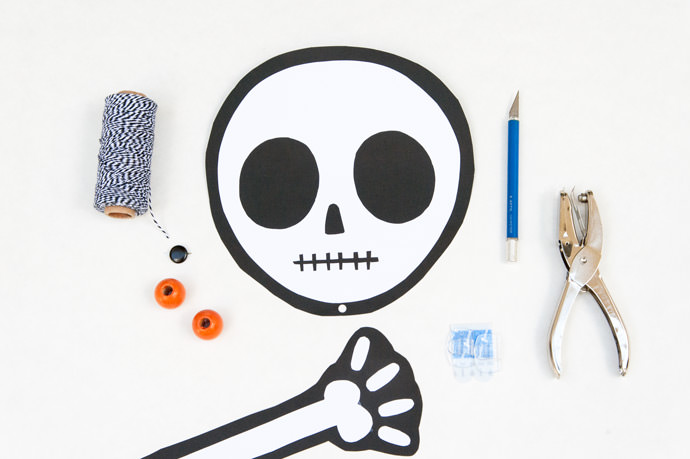
- Big-Boned Al printable template (download here)
- Black construction paper
- 8.5-in. by 11-in. paper, white
- Craft knife
- Glue stick
- Twine (we used black & white)
- 2 orange beads
- Hole punch
- Command Outdoor Light Clips
How-To
Step 1
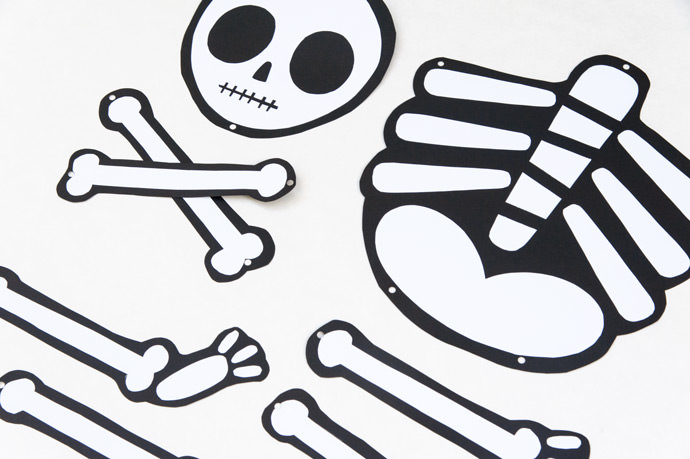
Download and print the Big-Boned Al Printable Template. Cut out all the bones and glue them to the black construction paper. Cut around the bones, leaving an even border of black.
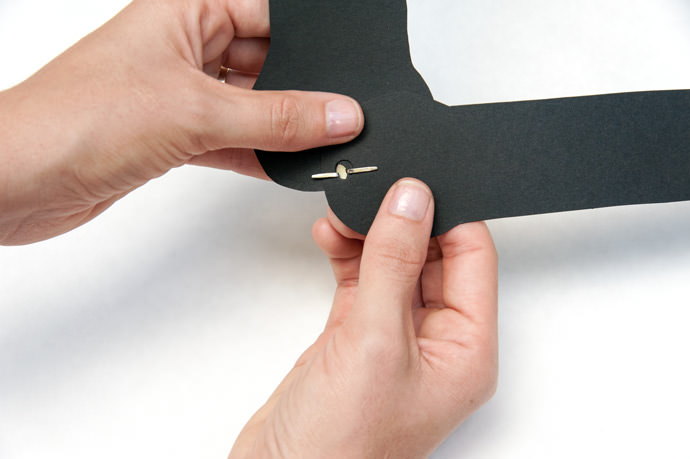
Step 2
Assemble the bones using the hole punch and jumbo brads. If you have trouble, just remember the song: the head bone connects to the neck bone, and the neck bone connects to the…
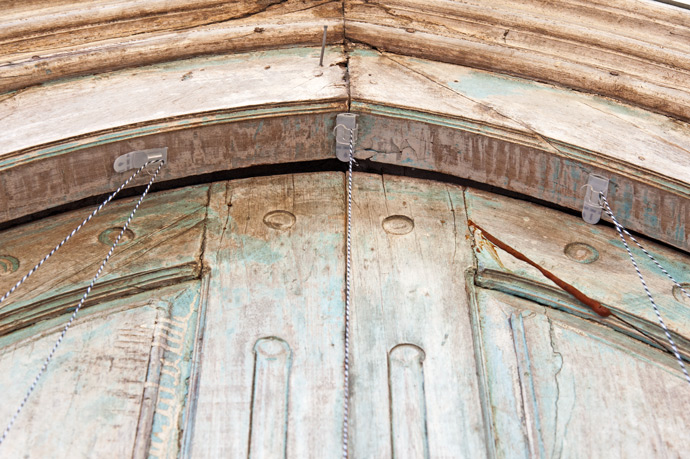
Step 3
Use Command Outdoor Light Clips to assemble the pulley system that will bring Big-Boned Al to life. The clips are water- and UV-resistant and will hold up under all weather conditions. Secure one light clip upside down at the very top of the door frame. Place two clips a few inches away from the middle clip on both sides of the door frame. Then place two more clips on the door frame level with the door knob on both sides.
Place another light clip on the back of the skeleton’s head. Tie twine around this clip and hang from the clip at the top of the door frame.
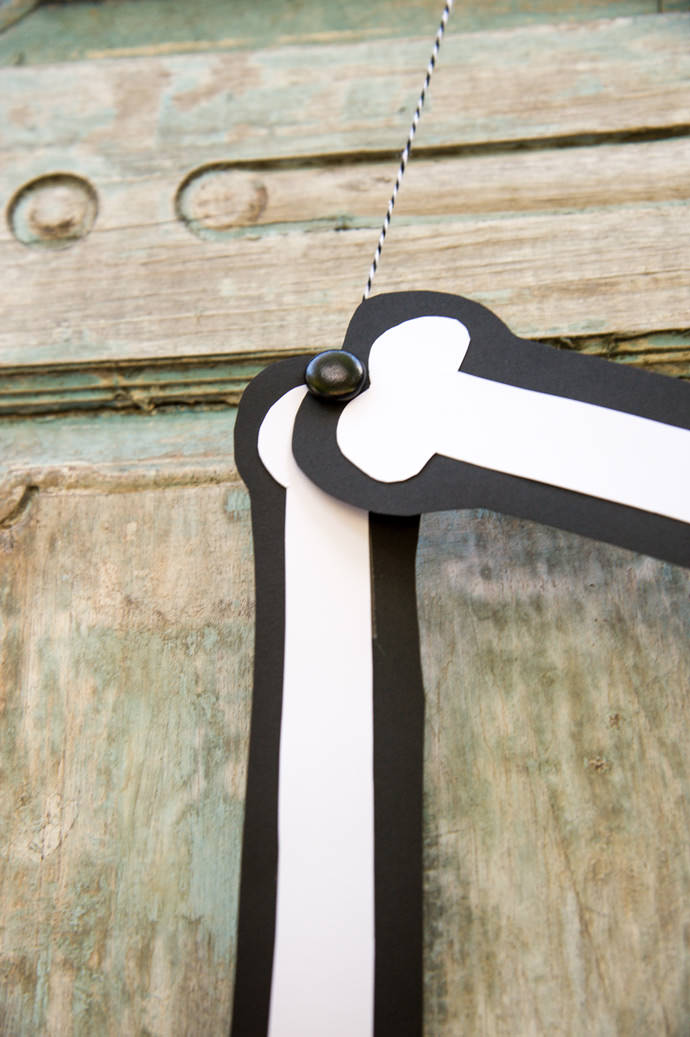
Step 4
Run twine from through both of the light clips secured to the sides of the door frame and attach it at the skeleton’s elbow.
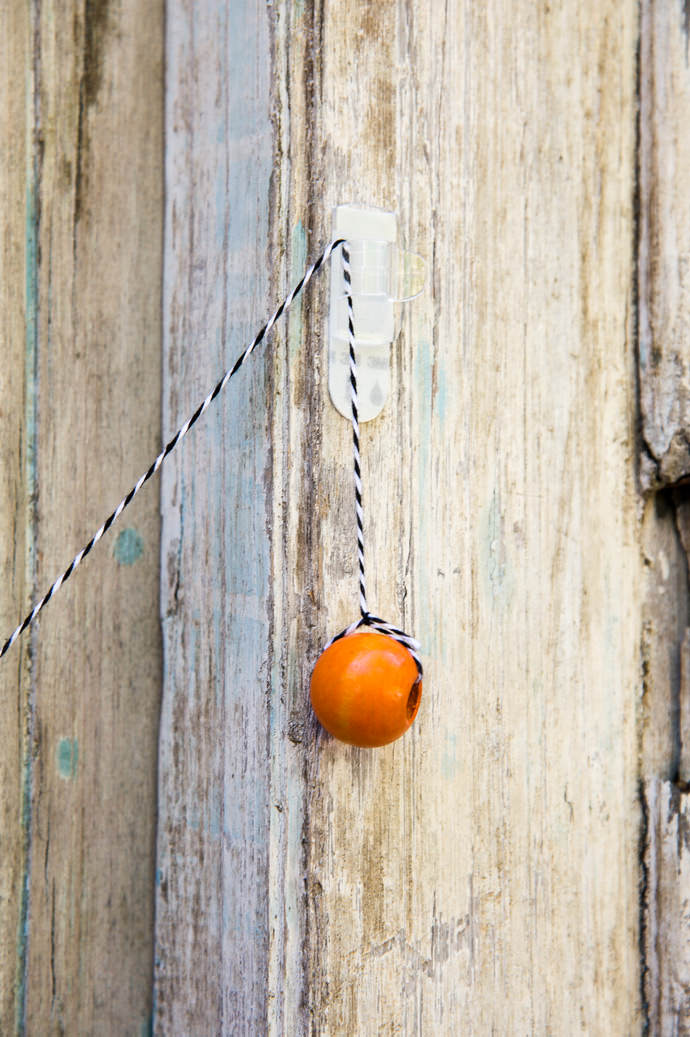
Step 5
Run twine from through both of the light clips secured to the sides of the door frame and attach it at the skeleton’s elbow. Tie an orange bead at the end of the twine to anchor them and make a cute little handle for the kiddos to grab. Now Big-Boned Al is ready to get his groove on!
Happy crafting ;-)
This post is sponsored by 3M Command Outdoor Light Clips.