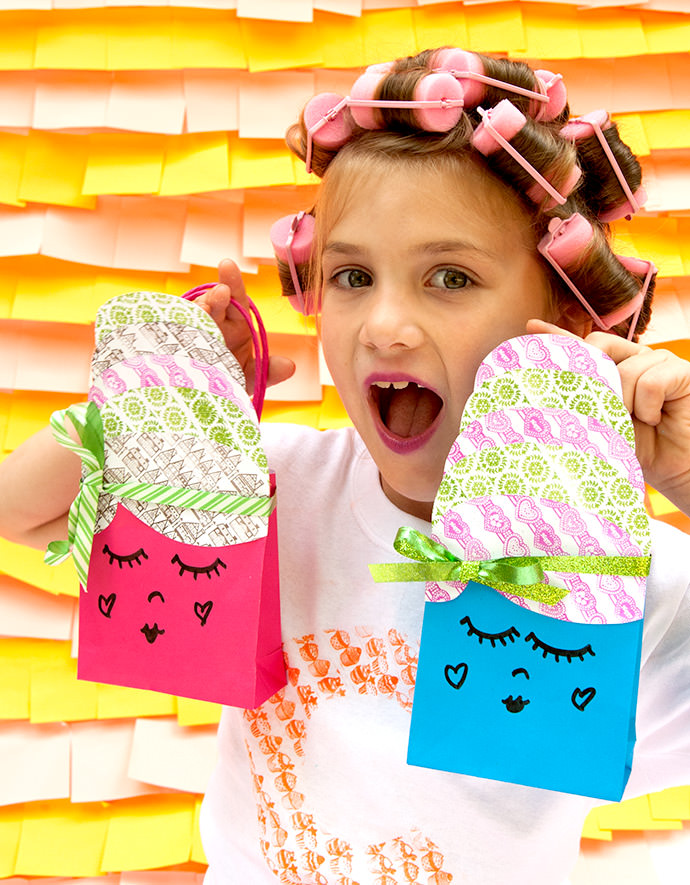
Throw the ultimate pajama party with DIY Beauty School Beehive Party Favors! These confident little gals are not afraid to take fashion risks. I mean, to rock a beehive you have to possess some serious inner awesome, right?

Make the craft even more awesome with Rolli, a super fun new line of rolling stamps. The tiny printing press goes beyond the traditional stamp—it’s more like a multi-surface printer. You can roll insanely precise patterns on just about anything. Let your kids run wild with a handful of Rolli stamps and make the project their own! Oh yeah, and don’t forget to fill them with awesome goodies…
Rolli: The 1-Inch Printing Press
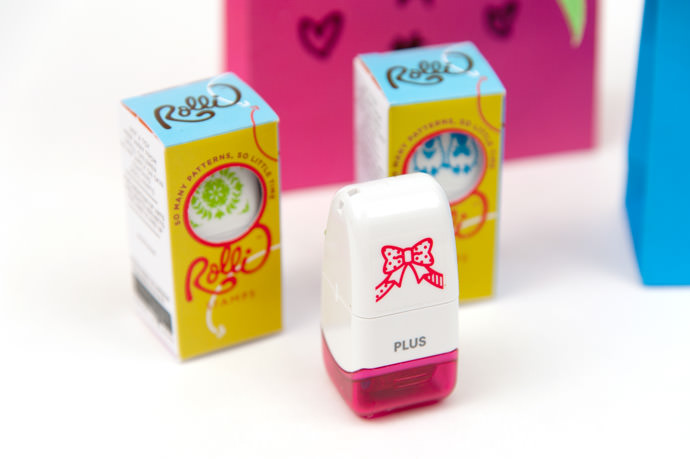
After experiencing the new Rolli Stamps firsthand, we had to race back to the store to buy more. They are completely addicting. It’s hard to explain until you roll a crisp and precise pattern for yourself. The tiny laser-cut wheel prints evenly and without error every time. Visit the Rolli website to view all the patterns and colors available in the collection!

With the perfection of Rolli and these easy-to-follow DIY instructions, your next slumber party will be a total crafting success!
What You Need
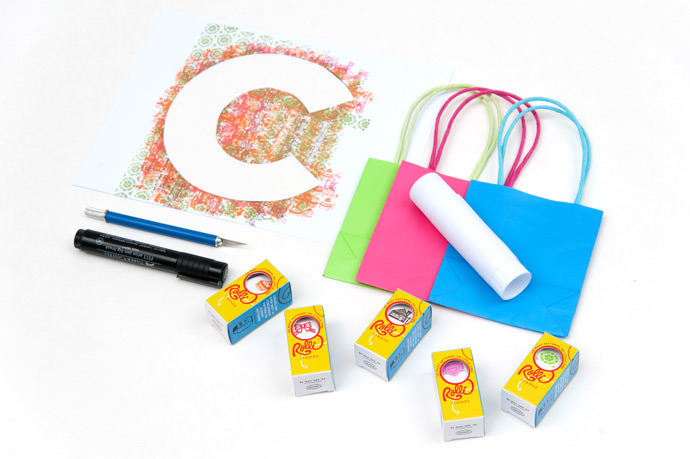
- Rolli Stamps (assortment of your choice)
- Printable beehive template (download here)
- Small party favor bags (assortment of colors)
- 8.5 x 11 card stock
- Craft knife
- Glue stick
- Black permanent marker
- Tape
How-To

Step 1
Download the printable and mix and match your Rolli Stamps, rolling each level of the beehive with a different design.

Step 2
Once the beehive pieces are properly Rolli’d, carefully cut them out using your craft knife.
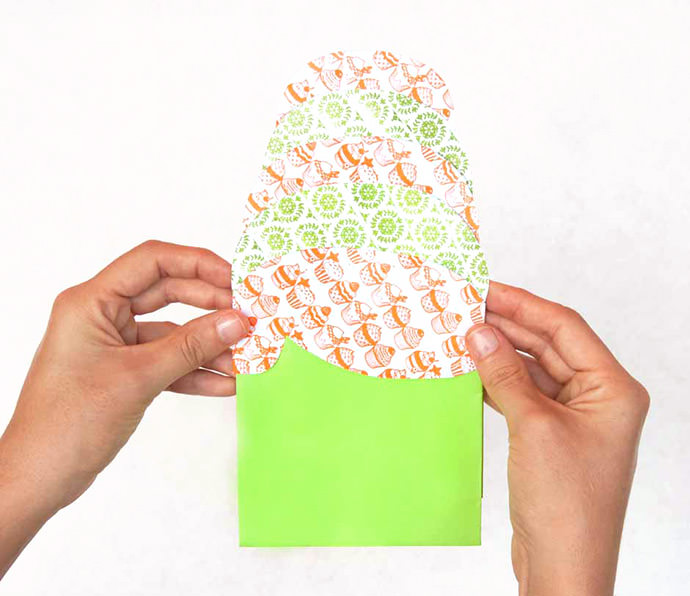
Step 3
Use a glue stick to attach each level of the hive. When you’re done, glue the completed beehive onto the front of a small party bag.
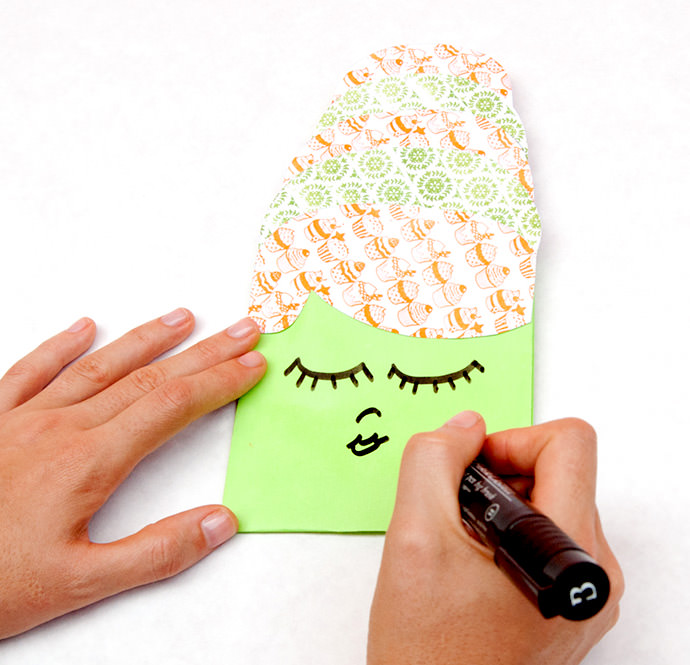
Step 4
Now it’s time to add a cutie pie face. Show the kids an example, but let them get creative. They’re sure to become BFFs with their new handmade gal pals.
Bonus Craft: Monogrammed Stencil Pajama Tees

Every awesome party has a few awesome craft projects, right? We thought it would be fun for the girls to Rolli Stamp their own initial on a t-shirt. You can download and print the letter of your choice here.
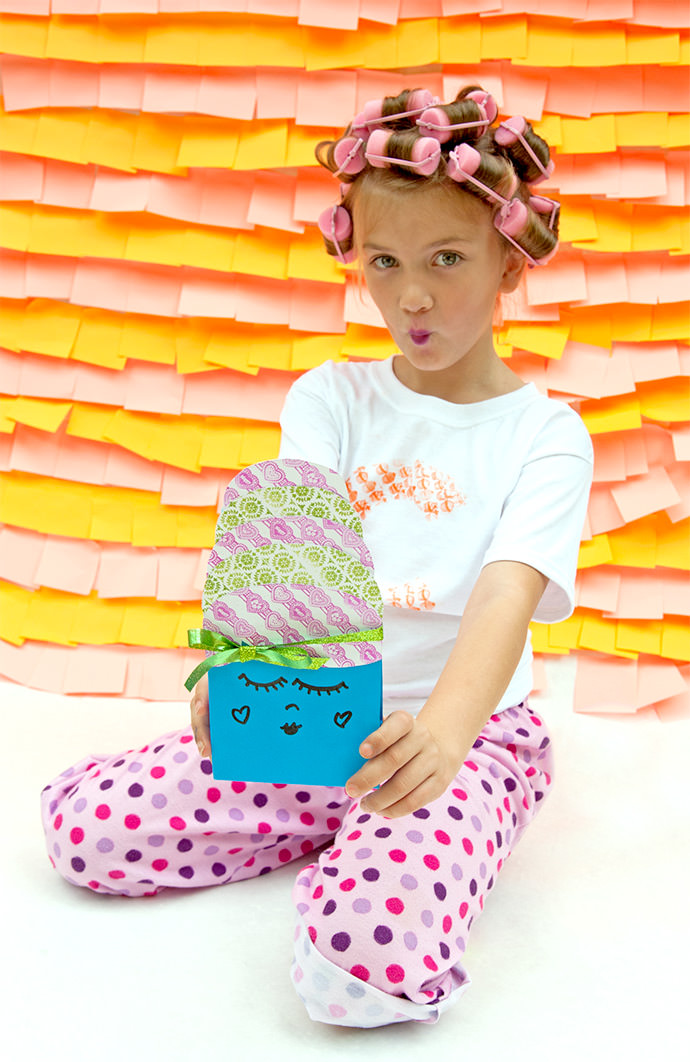
Not only did Charlotte have a blast making her shirt, it was basically foolproof. I simply taped the stencil to the front of the shirt and let her bust out the Rolli Stamps to cover it with patterns.
Happy crafting ;-)
This post is sponsored by Rolli Stamps.