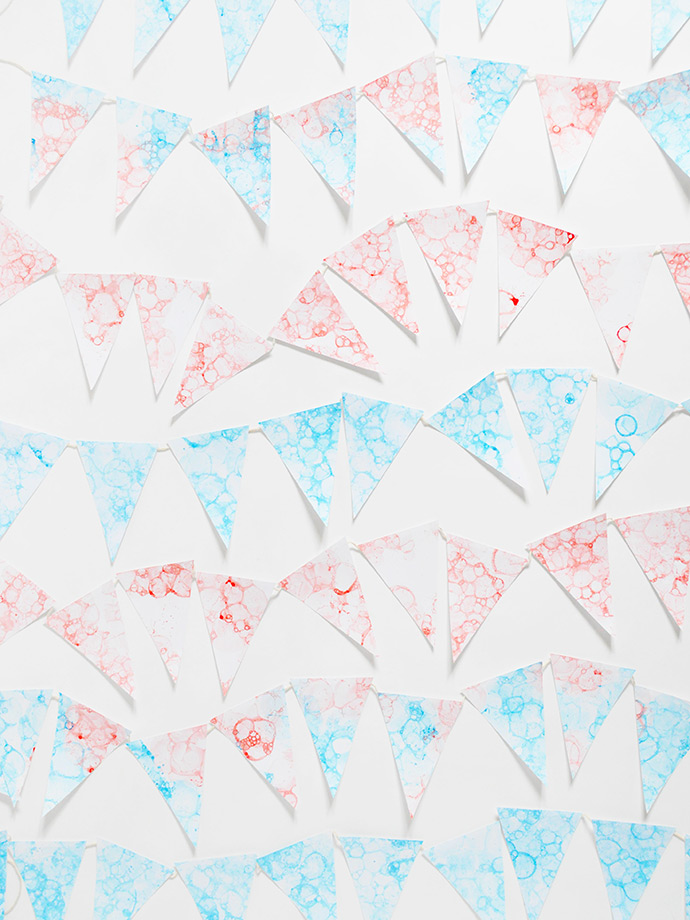
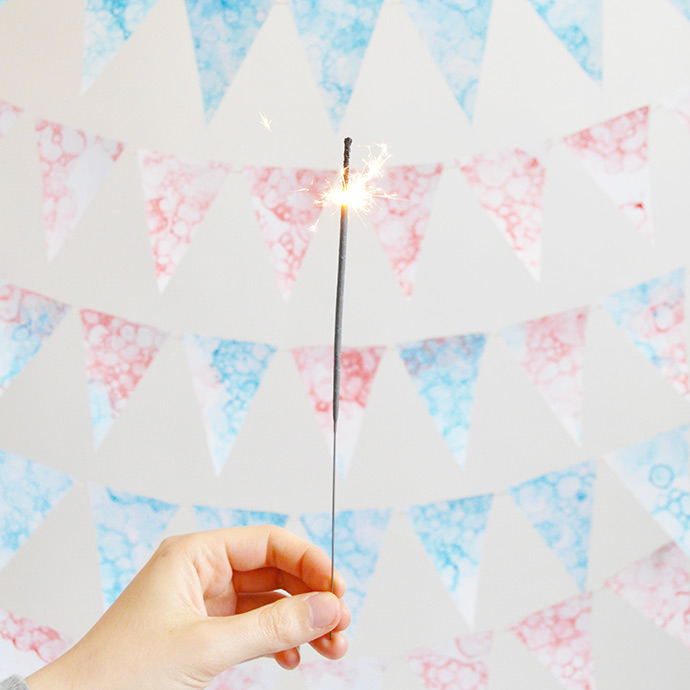
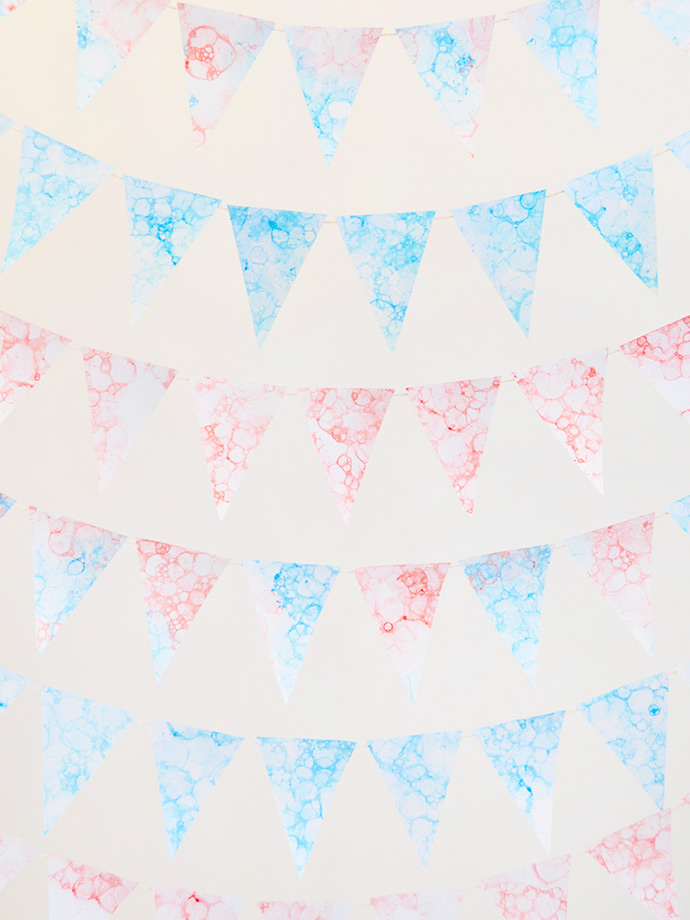
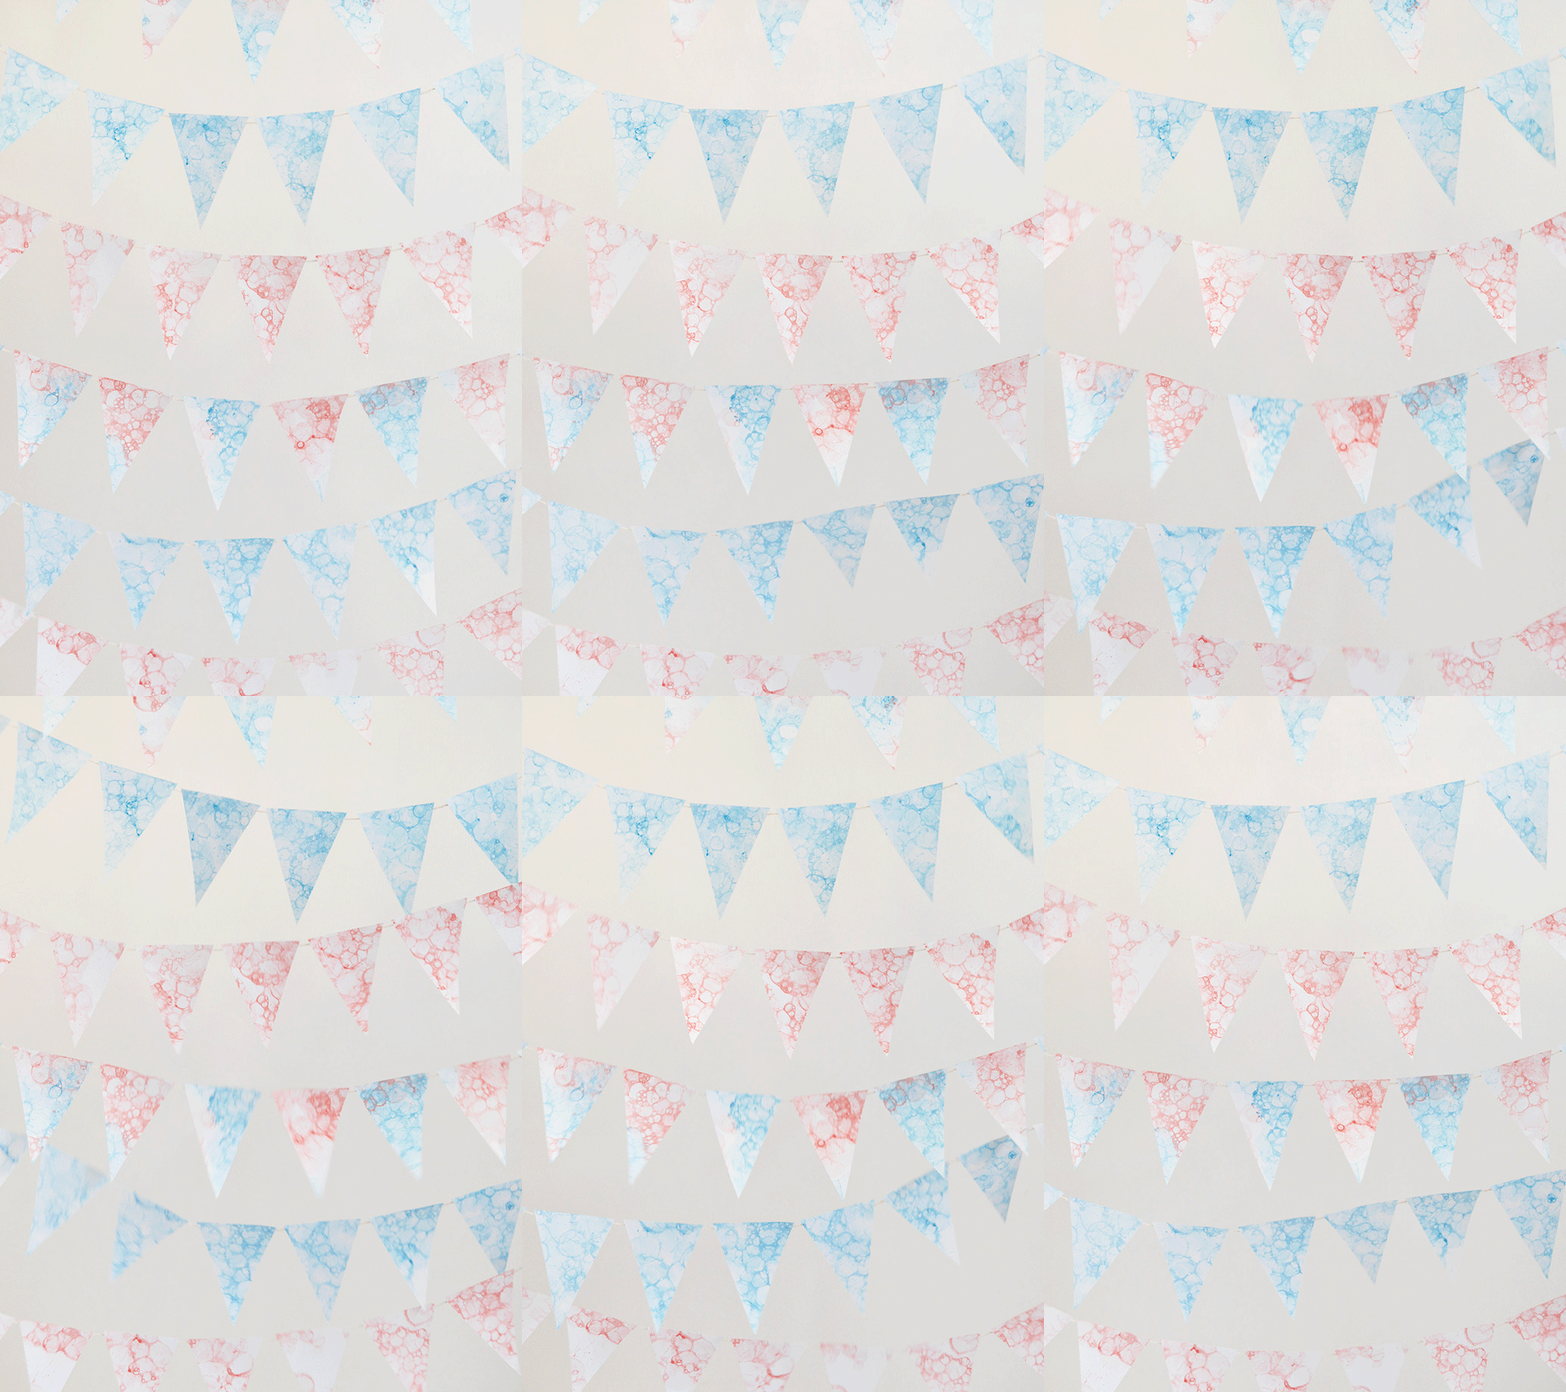
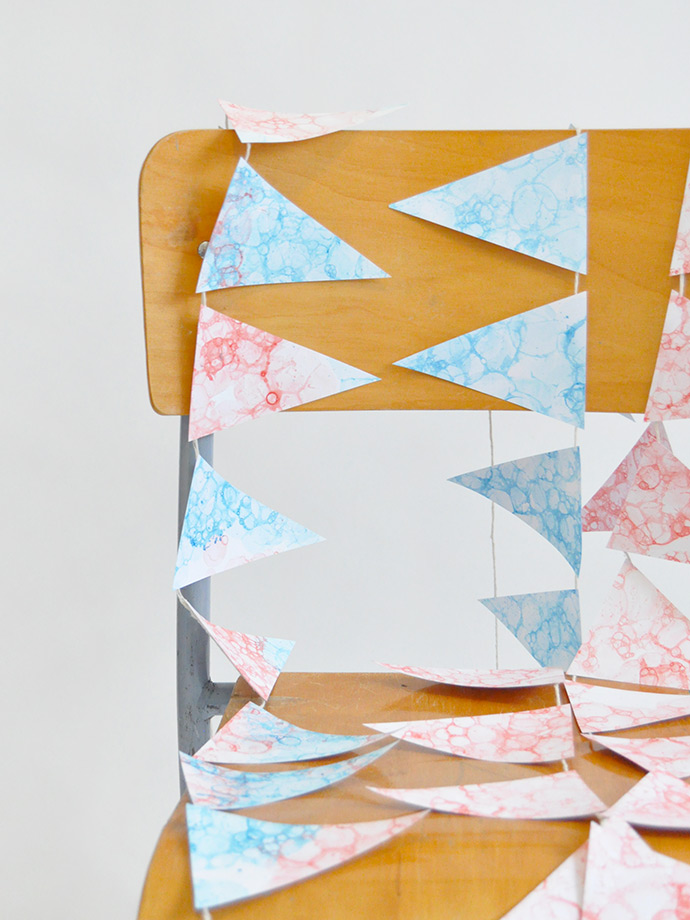
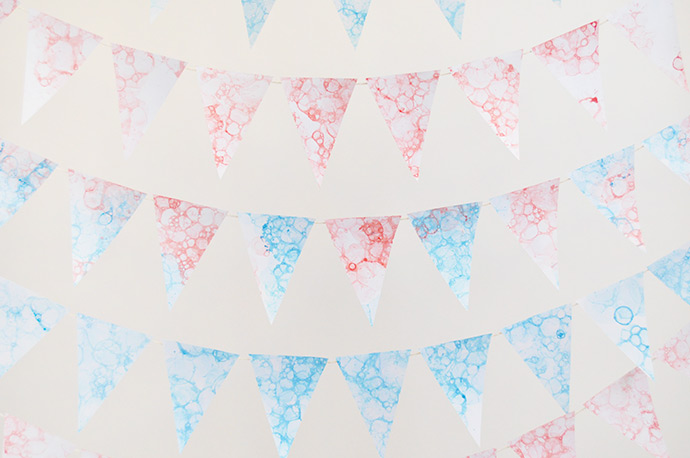
Who else is super excited that it’s almost officially summer?! Now that June is upon us, we are so thrilled for BBQs, pool parties, and good weather! Today we had some fun with bubble painting and turned that paper into this fun summery garland. We used red and blue paint on white paper so that we can use this garland to decorate for the 4th of July! Making enough paper for this garland takes no time, and experimenting with bubble painting is so much fun that you’ll have lots of patterned paper on your hands super quickly!
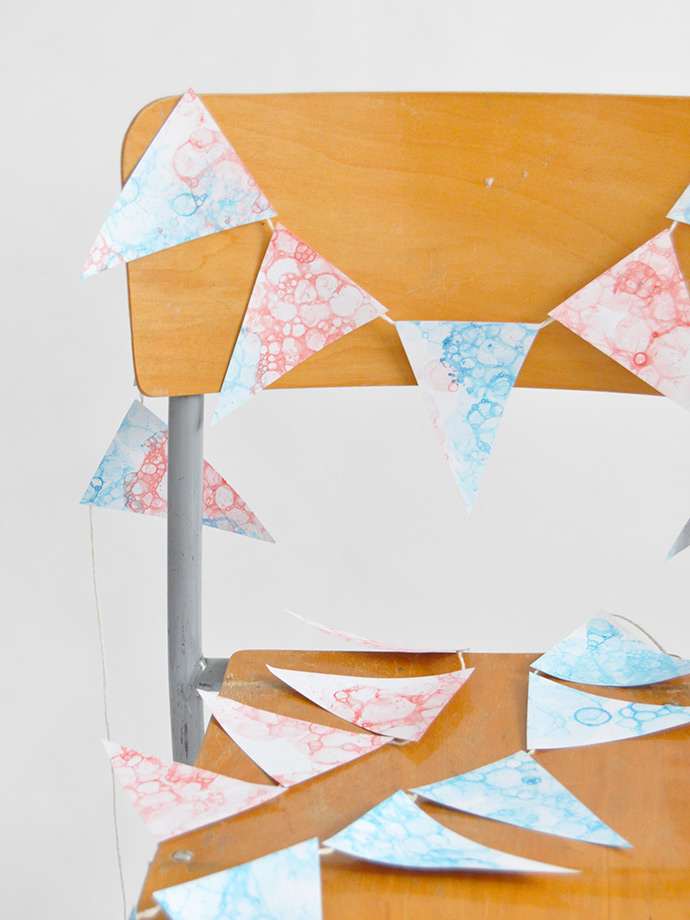
Bubble painting actually isn’t so messy that you need to do it outdoors – just lay down some scrap paper or cloth to keep your work surface clean and you’re good to go! There are actually a few different ways to paint with bubbles, but for this project, we stuck with the more traditional method of blowing paint bubbles in a cup, kind of how you would blow bubbles in your milk as a kid! We played around with different mixes of dish soap, paint and water – you’d be surprised how much a difference it makes! We first started out by using much less paint and soap and the results were more muted and pastel. We tried again with more paint and soap and got a much brighter and bolder look that we were happy with.
Keep reading to see the full how-to below! And if you’re looking for even more DIYs for the 4th of July, make sure to check out these salad spinner party plates (you could make them with red, white, and blue paint!), these patriotic purses made of paper plates, and these adorable felt magnets!
what you need:
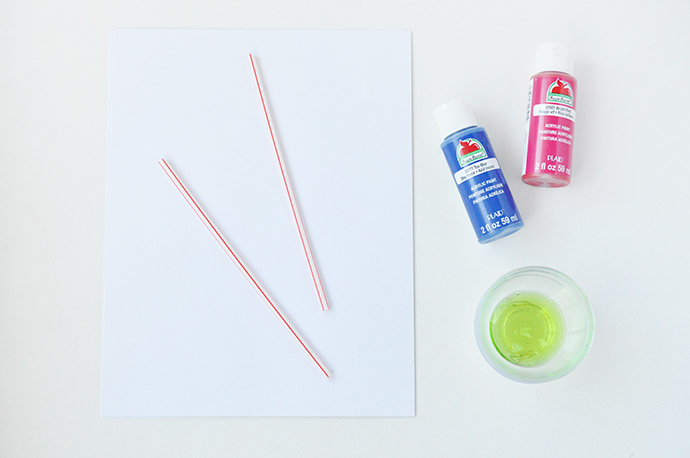
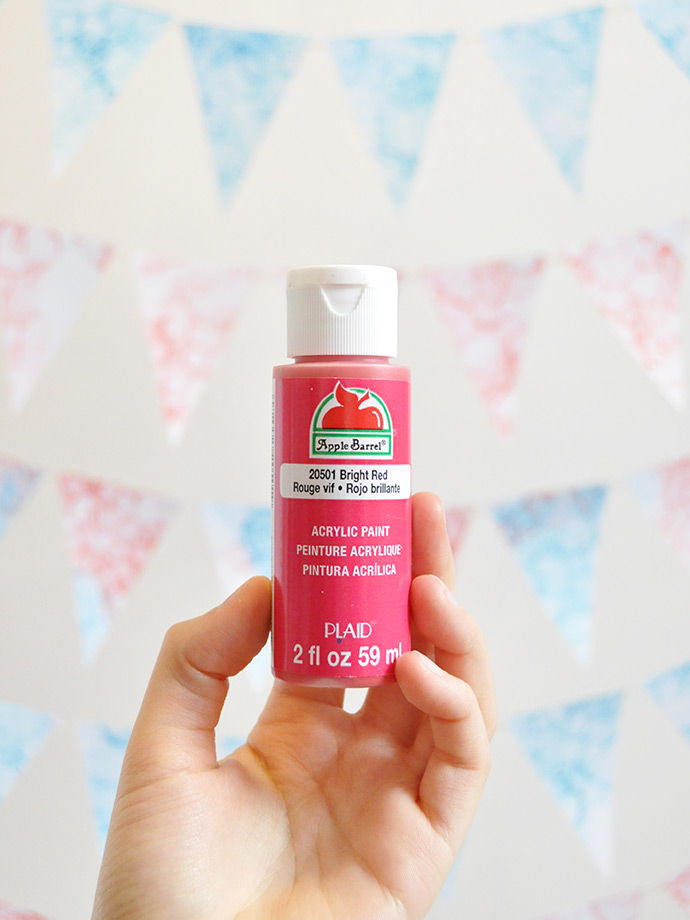
- Apple Barrel Acrylic Craft Paint
- Straws
- Dish soap
- Cups or bowls
- White cardstock
- String
- White glue
- Scissors
how-to:
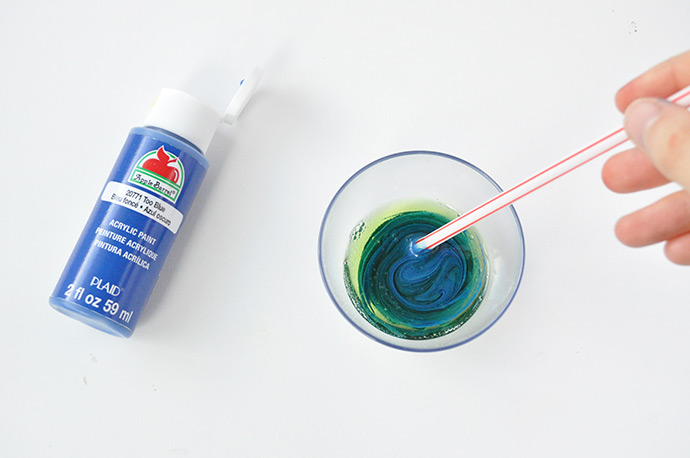
Step 1
Mix together dish soap and paint in a bowl or cup. You can play with ratios and experiment for different looks, but we found that 1 part paint and 2 parts dish soap works nicely.
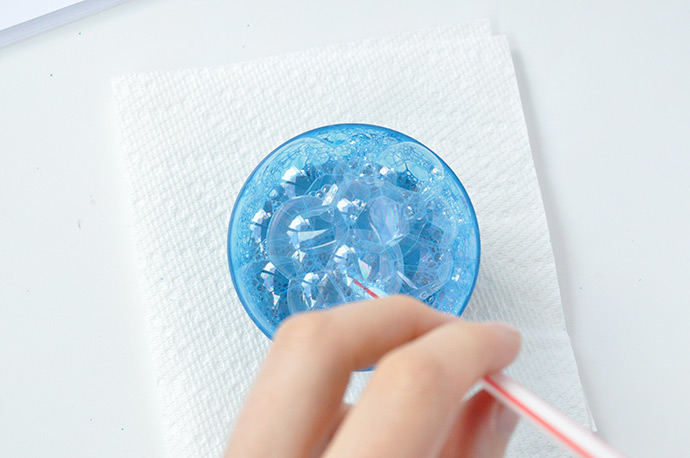
Step 2
Add 1 part water and stir again. Then use a straw to form bubbles in the cup!
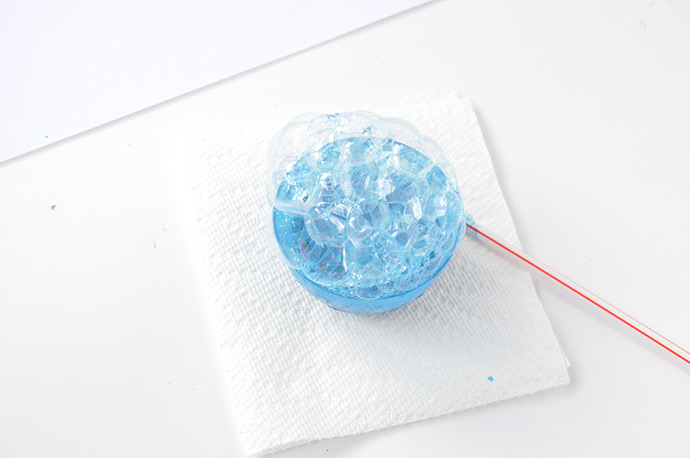
Step 3
Keep blowing until the bubbles start to build and almost overflow.

Step 4
Gently touch a piece of white cardstock onto the bubbles and remove. Pop any whole bubbles on the paper and set aside. Repeat by blowing more bubbles and applying onto the paper in the same way.

Step 5
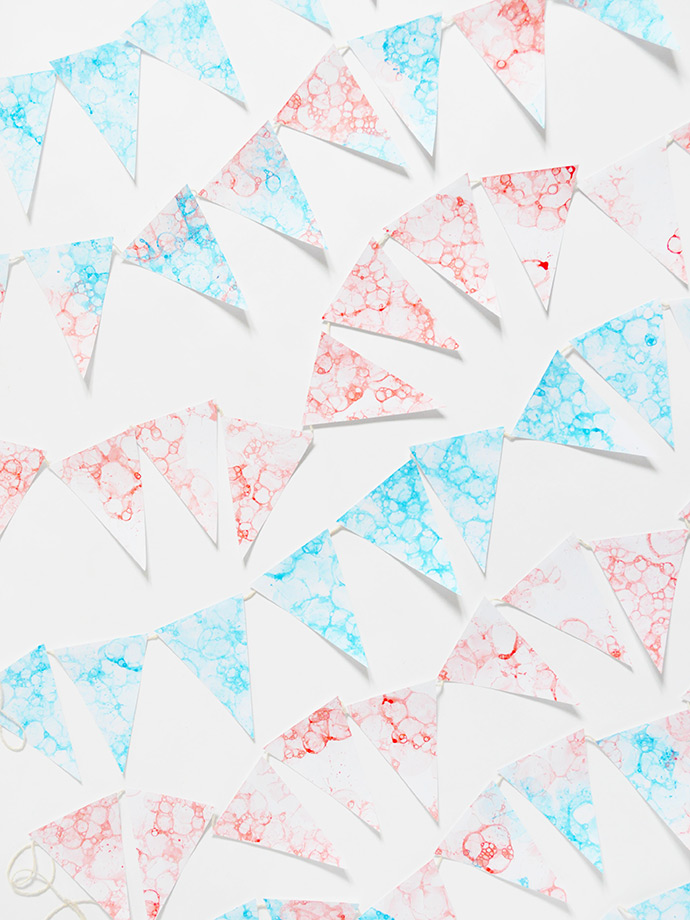
Repeat until the full page is covered and let dry. We did some sheets of all blue, others in all red, and some with a mix of both.
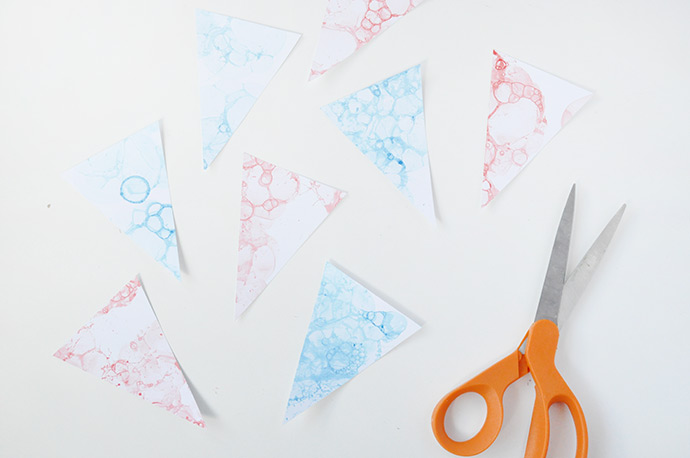
Step 6
Cut the papers into triangles and use string and glue to assemble a simple garland.
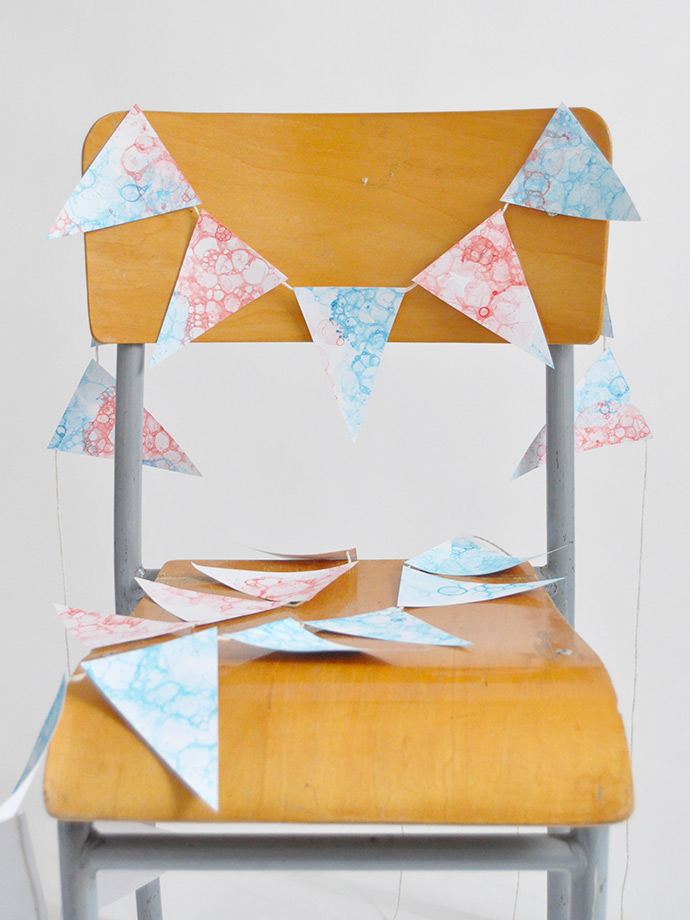
If you have any extra scraps of bubble painted paper, you can use those as even more decorations! Make mini triangles and glue onto toothpicks to make mini flag cupcake toppers, or even just cut paper scraps with a paper punch into custom confetti! Bubble painting is so much fun, you’ll definitely want to experiment with different colors, techniques, and projects.
Happy crafting!
This post is sponsored by Plaid Enterprises.