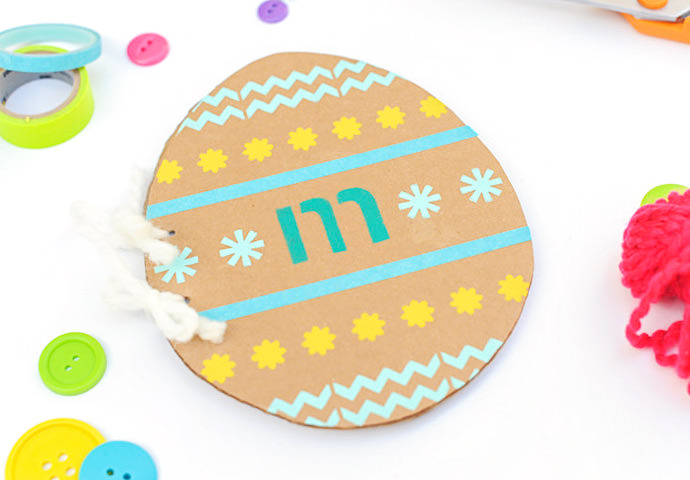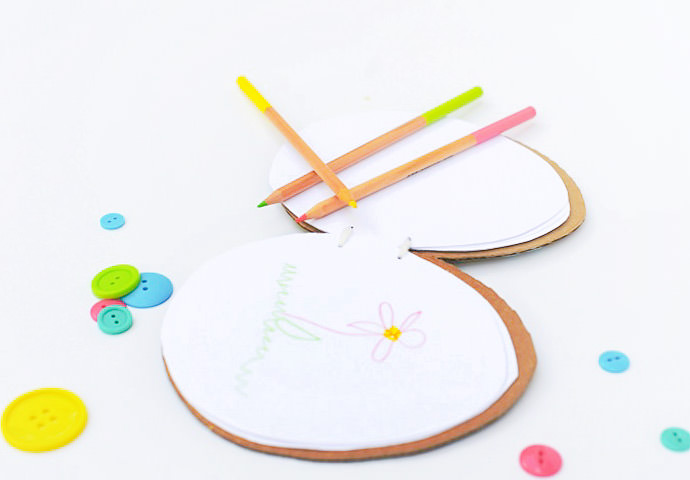
There’s just something I love about carrying around a notebook – especially during this time of year. With colors blooming and spring chicks afoot, you just never know when inpiration is going to hit. Give your kids a jump start on this tradition with an easy DIY Easter Egg sketchbook. It’s the perfect springtime craft for little writers, artists, and any creative child who likes to color outside the lines. Plus, it makes for a clever candy alternative in Easter baskets.

For quick, easy crafting, we called upon our handy helpers FolkArt Home Decor Chalk and Handmade Charlotte Peel & Stick Stencils. Parents can cut out the cardboard egg and bind the book, then little somebunnies can use the stencils to decorate their new notebooks to their hippity-hoppity heart’s content. With hundreds of stencil designs and an endless variety of colors, every egg is sure to be a one-of-a-kind Easter creation.

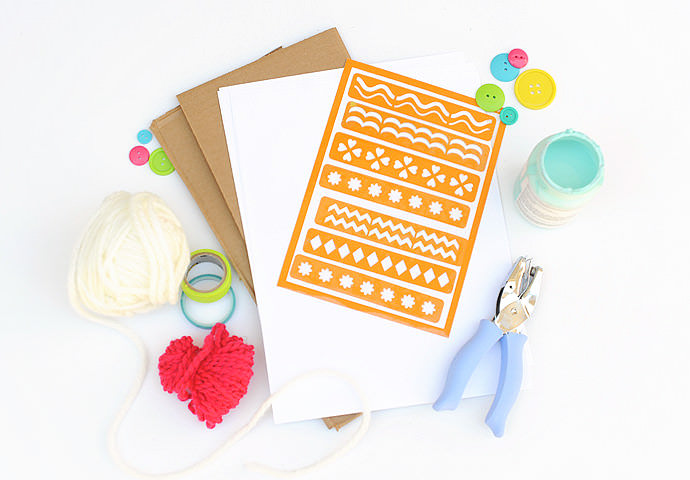
What You Need
- Two pieces of clean, non-marked cardboard (about 6 x 7 inches each)
- Handmade Charlotte Peel & Stick Stencils
- Handmade Charlotte Lettered Stencils
- FolkArt Home Decor Chalk
- Plaid Paint Daubers
- Fiskars Circle Hand Punch
- Red Heart Yarn
- White cardstock
- Scissors or craft knife
- Washi tape of your choice (I used a skinny blue)
- Easter Egg Doodle Book Template (download here)
How-To

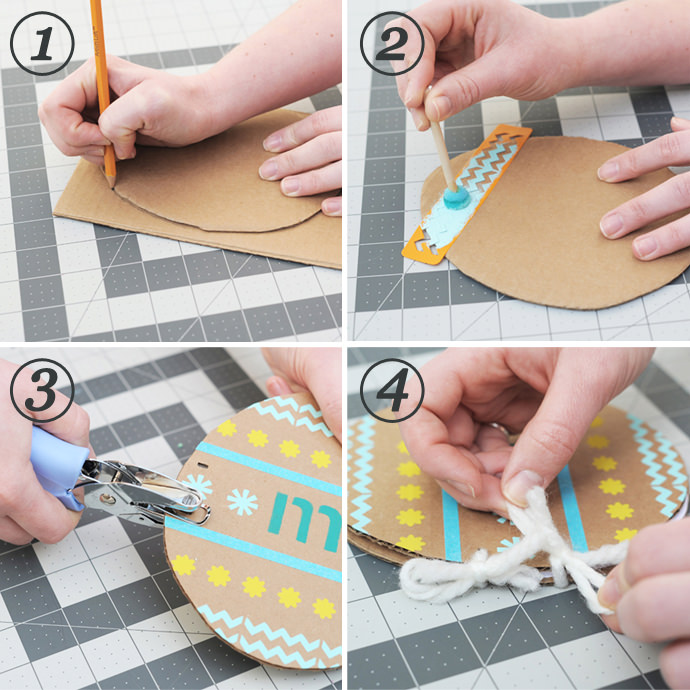
1. Using the template provided, cut out and trace the larger Easter egg shape onto your two pieces of cardboard. These will become the front and back covers to your book.
2. Use the smaller template to trace slightly smaller egg shapes onto your cardstock. These will be your inside pages. We used white, but have fun experimenting with bright colors or different textured papers! Cut out your egg shapes.
3. Once you’ve cut out the pages and the back and front covers, it’s time to start decorating. Arrange the peel & stick stencils and use your dauber and paint to create a colorful, customized design. Next use your letter stencil to give it a extra touch of personalization. After everything is dry, add stripes of washi tape to complete your cover!
4. Bind your book! Use your hand punch to punch two holes into the lefthand side of both your front and back cardboard covers, as well as into your inside paper pages. Make sure all the holes line up with each other. Cut two small pieces of yarn and thread them through the pieces of your book. Tie the ends together with quick bunny-eared bows and boom! You have a lovely little sketch book.

Kids big and small will love this fun new twist on “dyeing” Easter eggs and will fill them up with oodles and oodles of doodles in no time! Who knows – maybe one will even hatch a best-selling novel or priceless work of art!