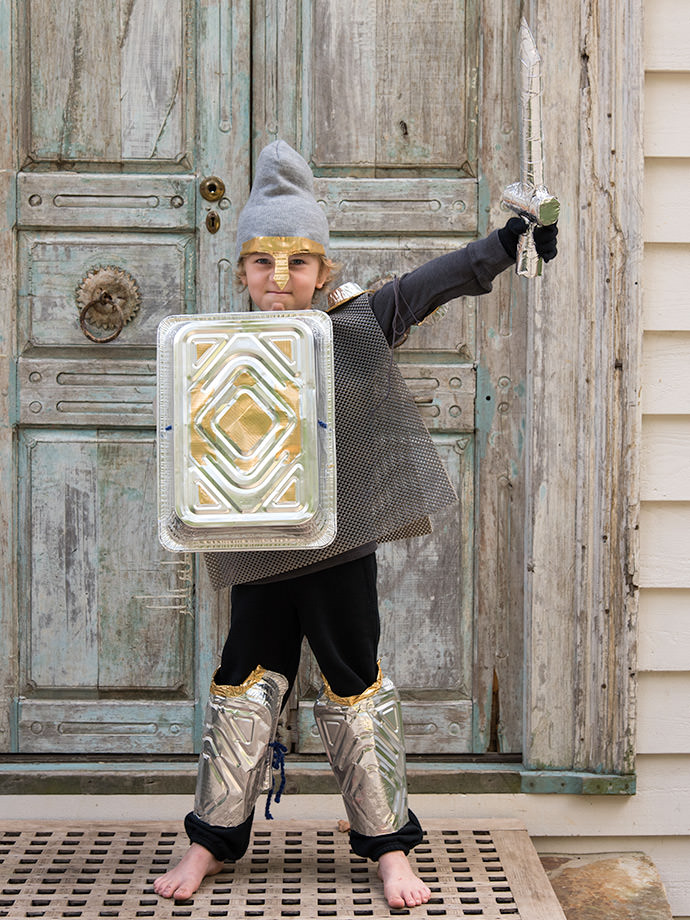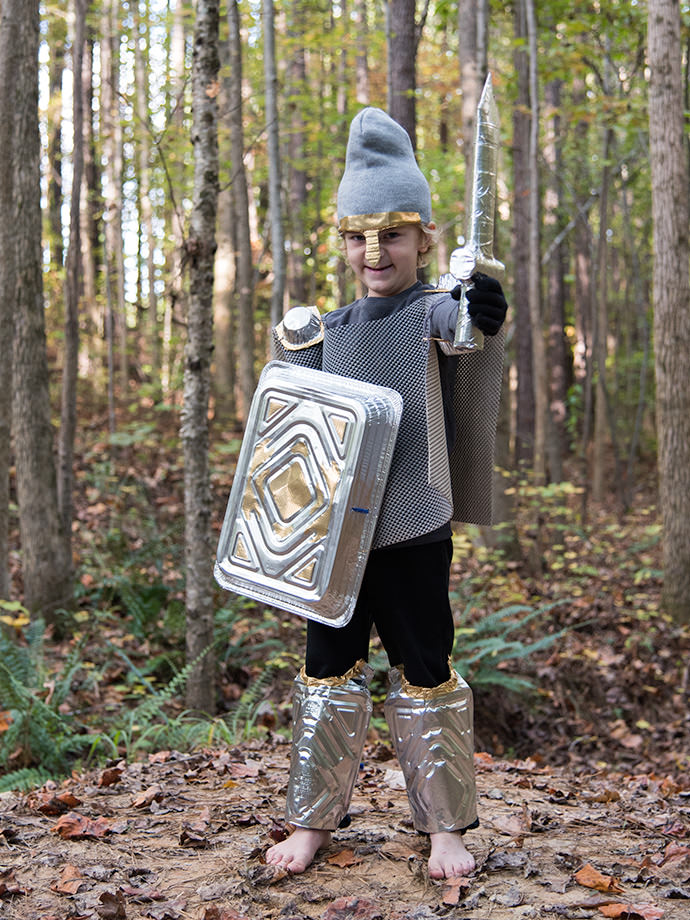
It’s the week before Halloween and your child has changed their minds twelve times in the last 3 weeks about what they want to be: a superhero, a fireman, an octopus, a rockstar. The best costumes are sold out at the store and you’re left with what’s presently in their wardrobe and some odds and ends around the house. Your little one comes up to you with big, sad puppy dog eyes and says “Mommy, can you turn me into a knight for Halloween?”. You know what? Yes, you sure can! And we’re going to show you how.
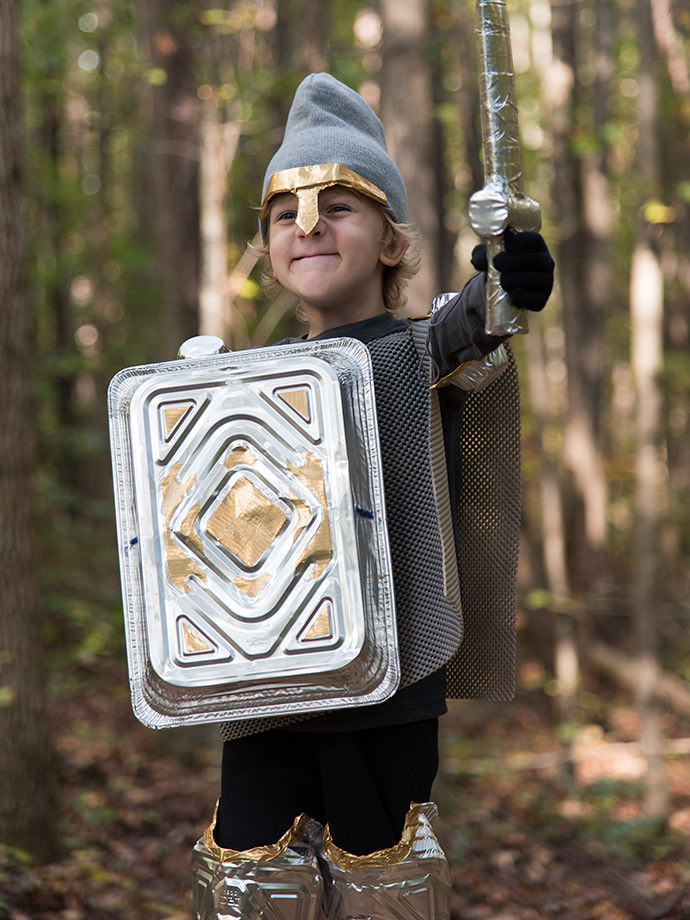
With just a few pieces your child is bound to already have in their closet, plus some common household supplies, you can quickly and easily turn your little one into a knight, ready to guard the castle! Best part about it? It’s 100% no-sew, meaning it doesn’t require any stitching to put together. Within an hour, you’ll have a costume so impressive, your little may not want to take it off until next Halloween!
What You Need
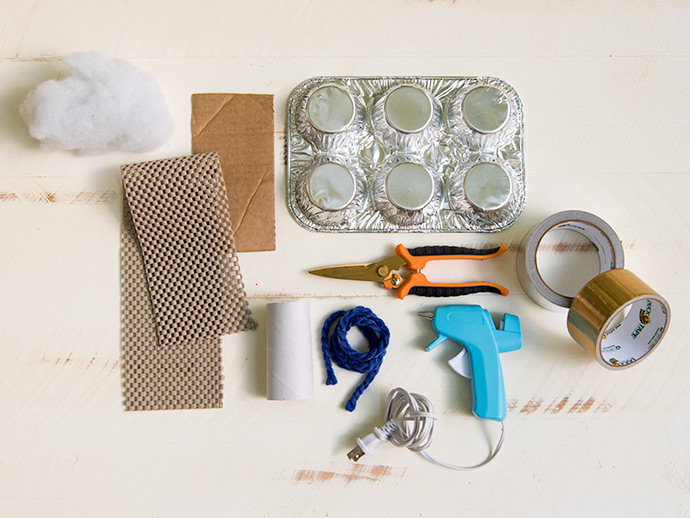
- Cabinet liner
- Tin cupcake trays, tin casserole trays
- Toilet paper rolls
- Gold duct tape
- Silver duct tape
- Scissors meant to cut metal
- A gray beanie
- Stuffing
- Cardboard remnants
- Hot glue gun
- Yarn
How To
Step 1
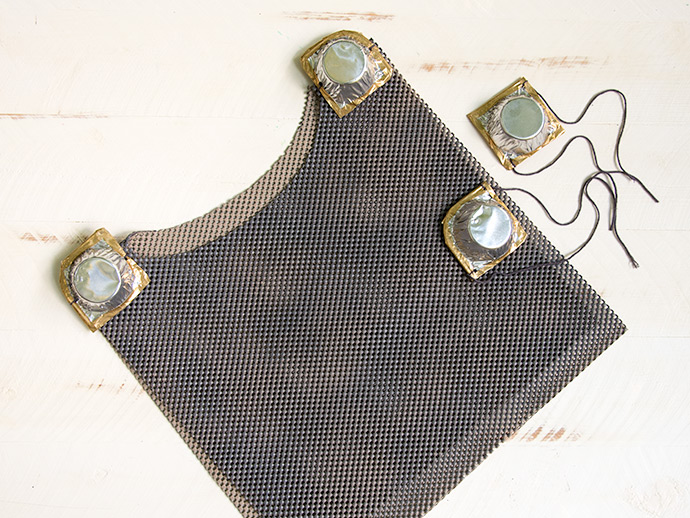
Begin by laying out your cabinet liner in long rectangle shape. Clip off the roll, then fold in half so you’re left with a square shape that is 2 layers thick. Cut a semi-circle at the fold large enough for your child’s head to fit through. This becomes the chest piece for your knight!
Carefully cut out two cupcake molds for the shoulder pads of your chest piece. Cut two small holes on the sides of the cupcake mold and secure to the shoulders of the chest piece with yarn. Cut 2 more molds for elbow pads and tie onto your child’s arm with pieces of yarn.
NOTE: Cutting these tin pieces can create very sharp edges, so it might be wise to wear work gloves! On every sharp edge of the tin, make sure you cover with duct tape to soften the edges so your little doesn’t cut themselves.
Step 2
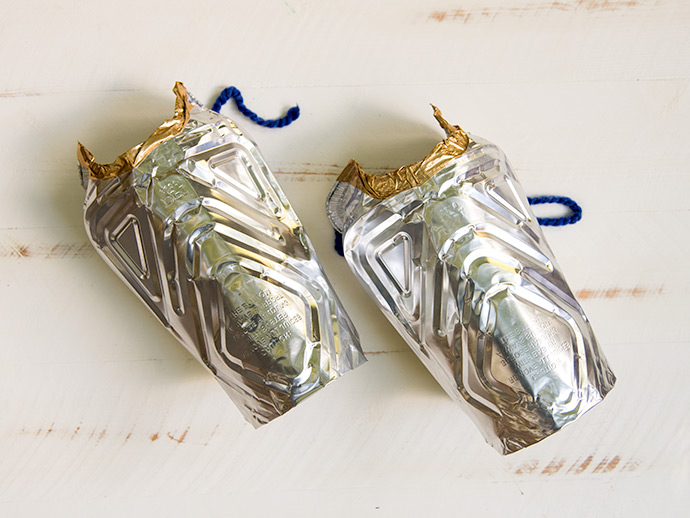
Using large casserole dishes, clip small semi-circle openings on both top and bottom to fit around the front of your child’s thigh. Make sure to cover with duct tape once you’ve made your cuts! Mold the tin to fit their legs, then cut holes in both sides and secure to your child’s leg with yarn.
Step 3
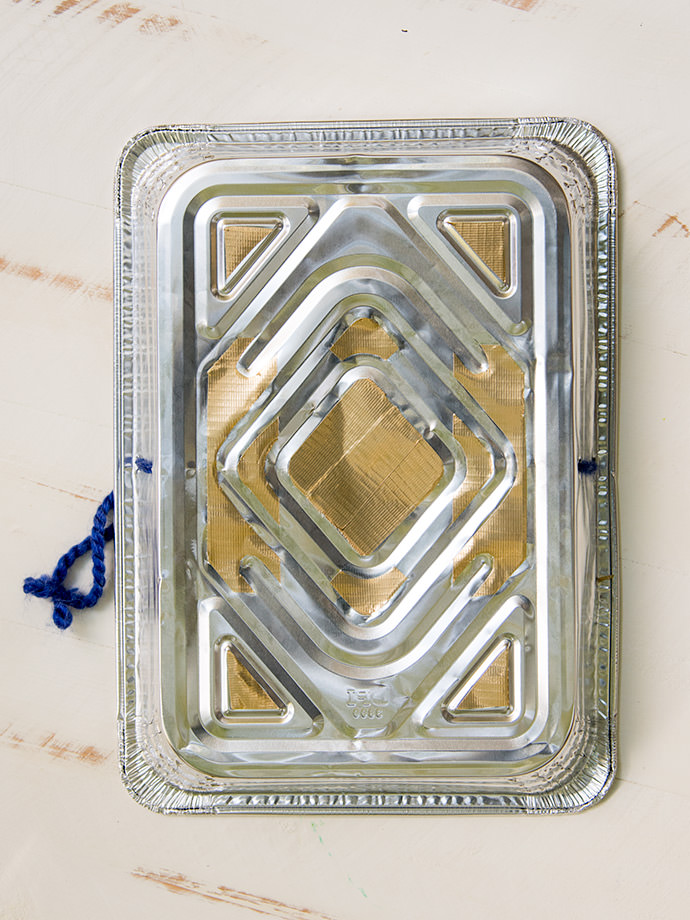
Take a larger casserole dish and decorate with duct tape – this will become your knight’s “shield”! Cut holes in both sides of the dish and thread yarn through, creating arm holes for your child to lace their arm through.
Step 4
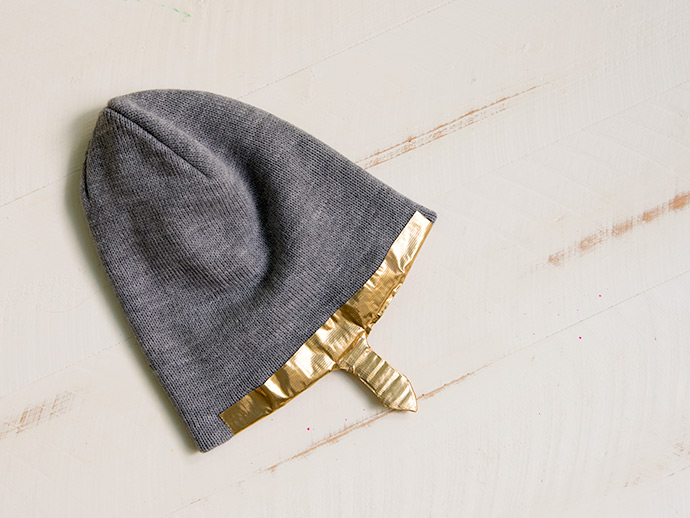
On a piece of cardboard, trace a decorative helmet pattern, then cut out with your scissors. Cover this piece of cardboard with gold duct tape, then hot glue to the inside of the gray beanie. Add more gold duct tape as needed for decoration. Stuff the inside of the beanie so it stands up straight like a helmet.
Step 5
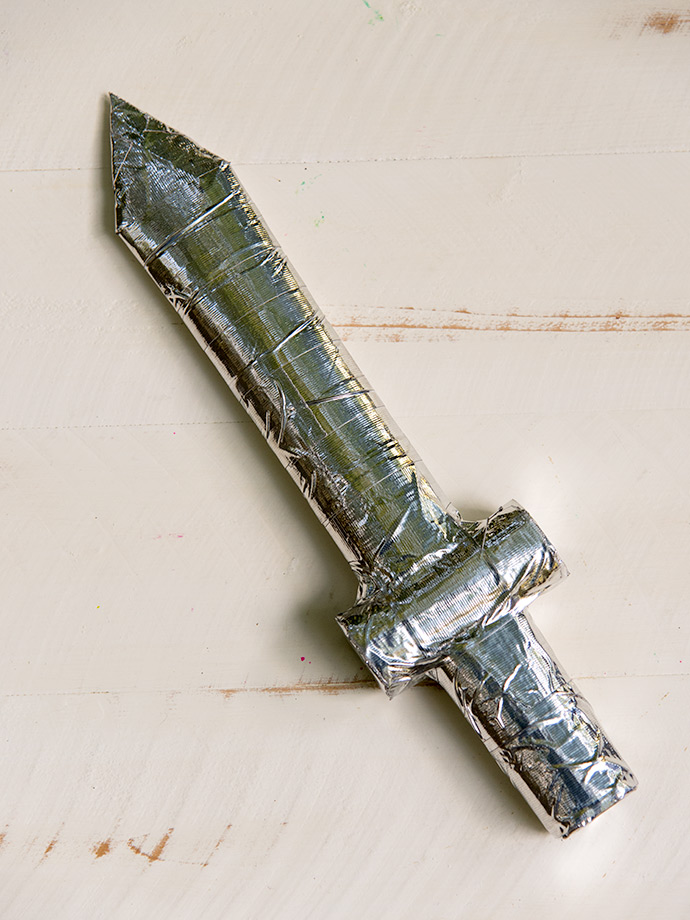
Finally, tape together 1 paper towel roll and 2 toilet paper rolls (or 4 toilet paper rolls – whatever you have on hand!) using silver duct tape.
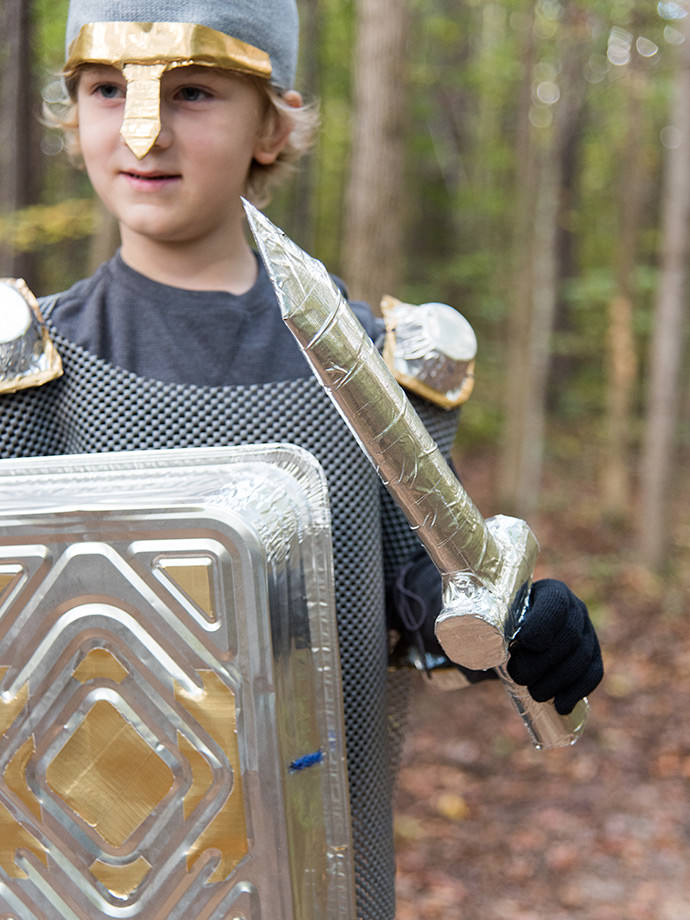
With the sword complete, your little knight is ready for battle!
