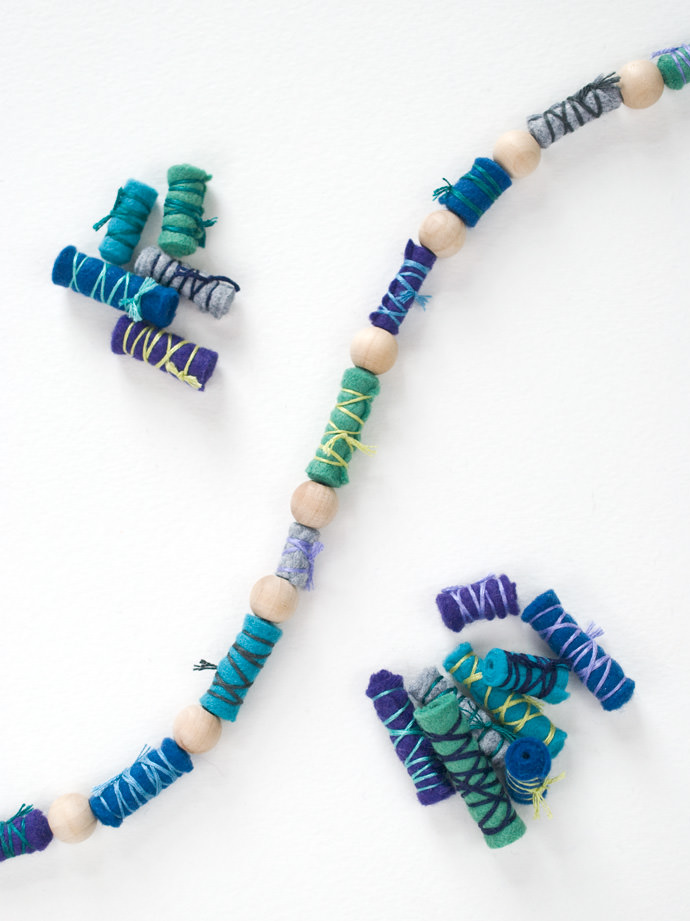
Necklaces made out of noodles are a fun way for kids to make jewelry, but eventually, they outgrow that. When that time comes, introduce them to these fun felt beads they can design and wrap themselves!
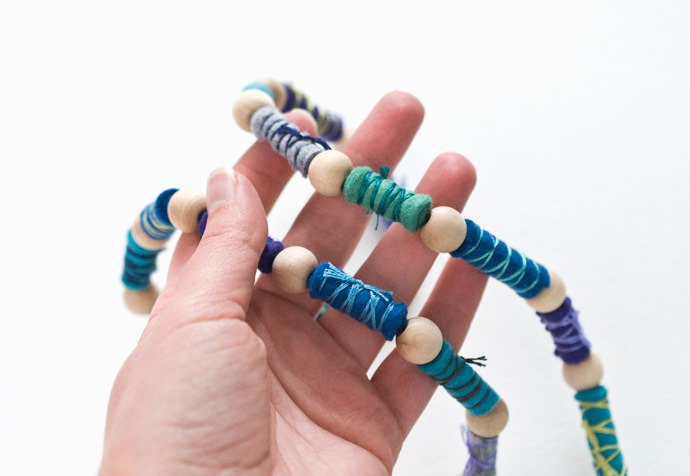
If you’ve ever made wrapped paper beads, the process for the felt version is similar. Instead of glue, however, these are held together with embroidery floss. That means nearly unlimited options for color combinations!
Younger children will need a bit of help to wrap and tie the beads, but older children will jump right in. Add some simple wooden beads for spacers and you have one of the best looking kid-made necklaces around!
What You Need
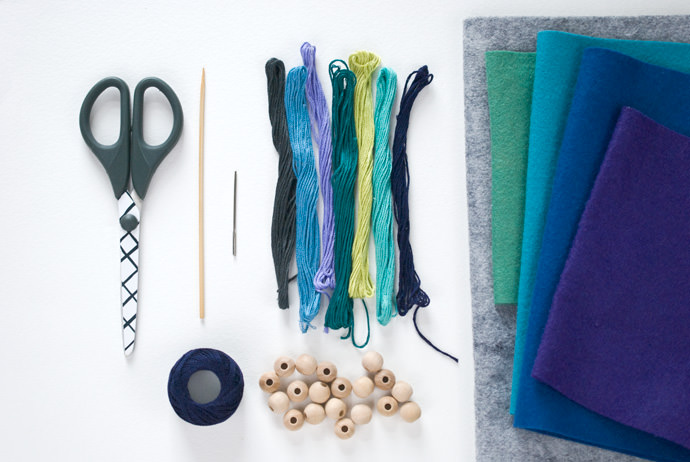
- Felt
- Scissors
- Wooden skewer
- Embroidery floss
- Thin cording or Perle cotton
- Yarn needle
- Wooden beads
How-To
Step 1
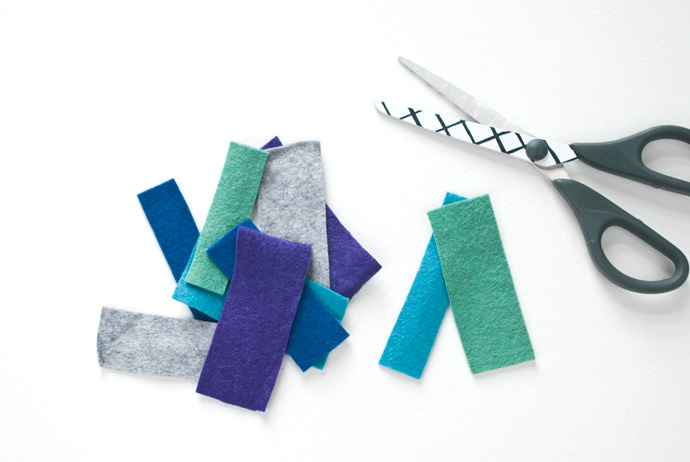
Cut the felt into small strips. The pieces I used range from about 1/2” to 1-1/4” wide and all are about 3” long or a little less.
There’s no set size for these. You can make them all the same or all a little different.
Step 2
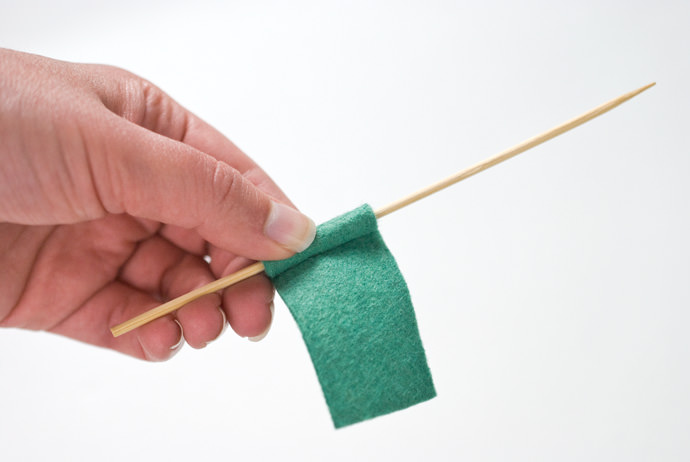
Hold one end of a felt piece against the wooden skewer and begin rolling and wrapping the felt. Try to keep the rolling as tight and even as possible.
Step 3
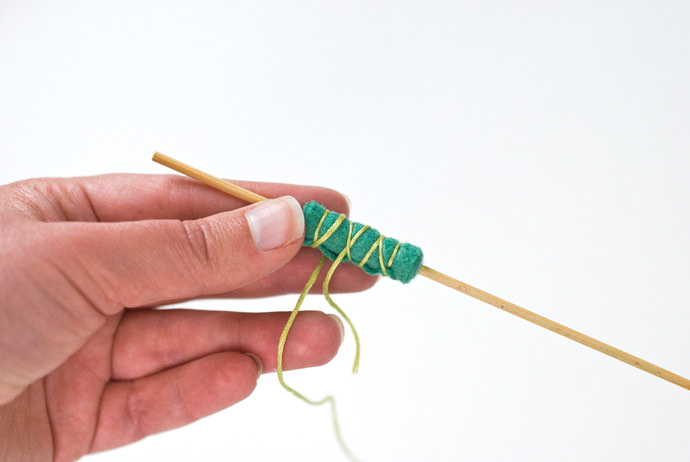
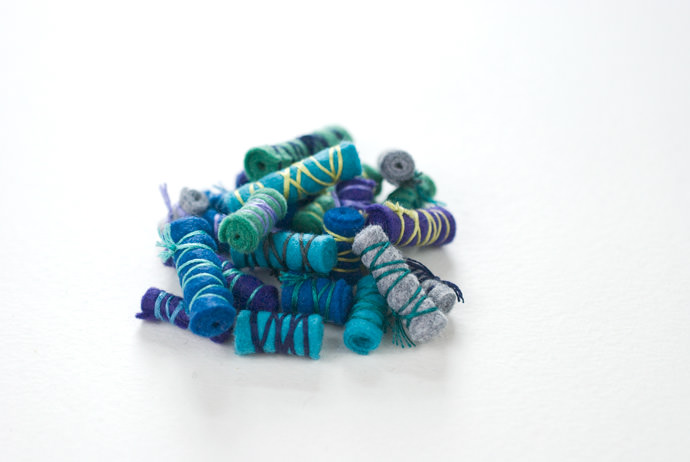
When the felt is completely wrapped, use embroidery floss to wrap and tie it in place. Wrap it in a crisscrossing manner to hold it across the length of the bead, leaving a tail loose for knotting.
I found that it was best to cut a long piece (at least 24”), use what you need, and then cut it off after the next step and use the extra for more beads. You can also leave it attached to the skein and cut it off after the next step.
Step 4
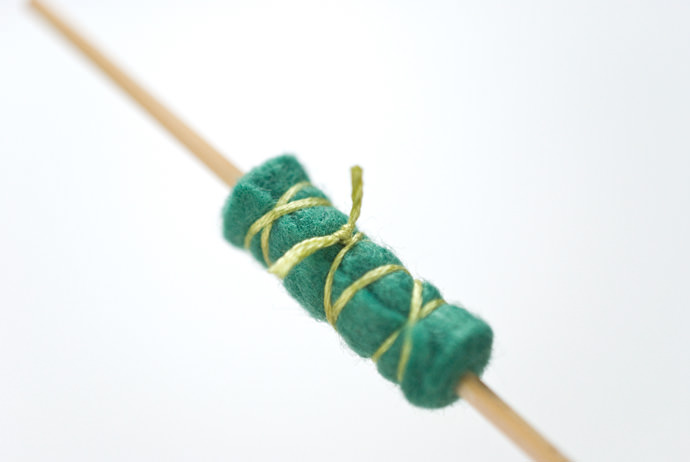
Tie the floss off with a tight knot and trim the ends.
Step 5
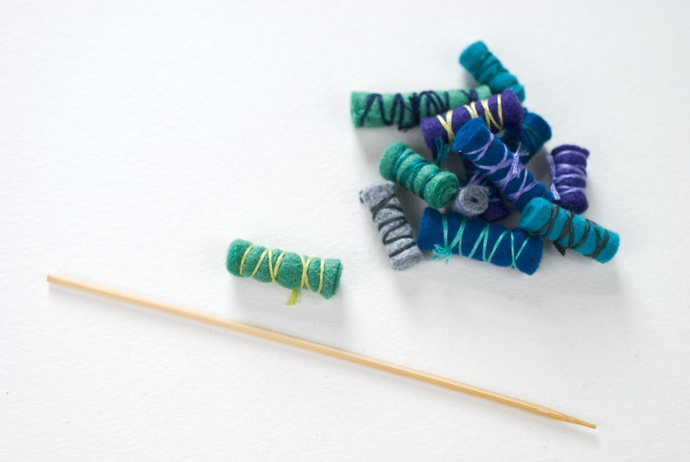
Slide the bead off the skewer and repeat. Once you’ve made a couple, the process gets much faster. Soon you’ll have a whole pile of them. In fact, I took the longest time deciding colors!
Step 6
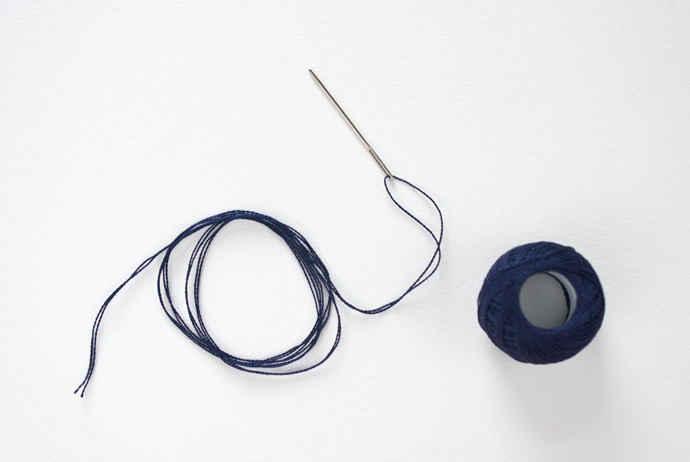
When you’re ready to make a necklace, cut a 36” piece of thin cording. If you’re using Perle cotton, cut a 2-yard piece to double it over as shown.
Thread the needle. There’s no need to tie a knot at the other end. However, if your child has trouble keeping the beads from sliding off while working, tie a wooden bead at the end.
Step 7
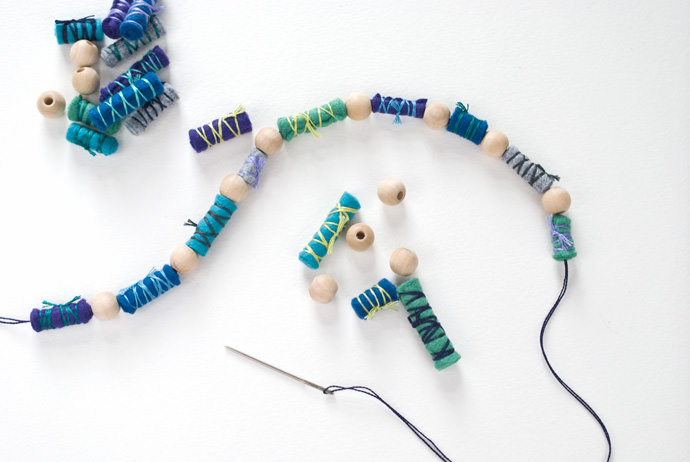
Slide the needle through the felt and wooden beads. The wooden beads make great spacers, but they are optional. You could also use glass or plastic beads, skip them altogether.
Step 8
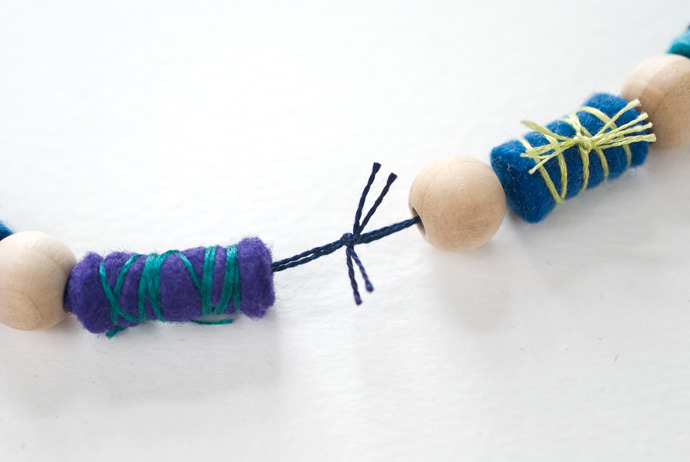
When you have filled the string with beads, tie the ends together with a strong knot. I used a square knot and tied it double. Trim the ends, and you should be able to hide it in the middle of a longer felt bead.
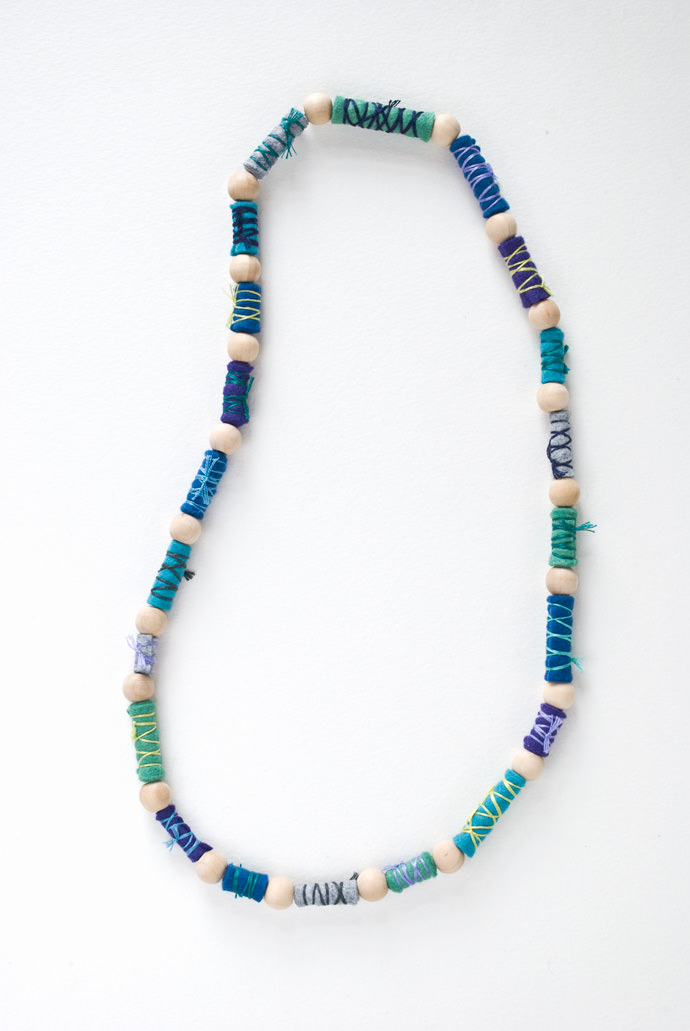
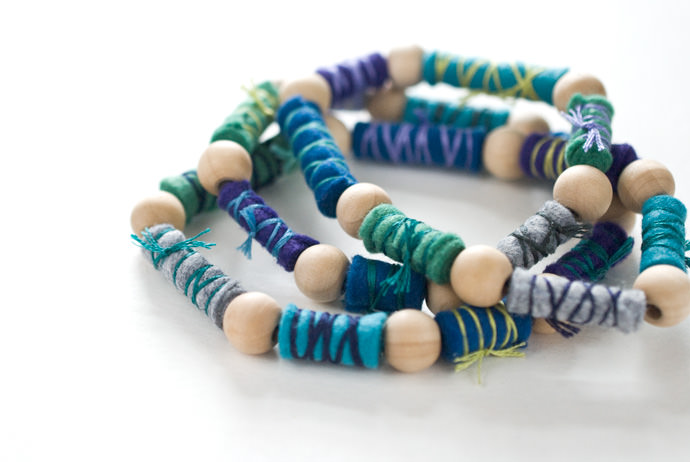
This should be long enough to slip over anyone’s head. If you want to make smaller necklaces or bracelets, you will need to attach jewelry clasps.
It’s a good length for a simple statement necklace, that, even as an adult, I’m very excited to wear. I have a feeling it would also look pretty amazing if you made it much longer so you could wrap it to wear it doubled or even tripled.
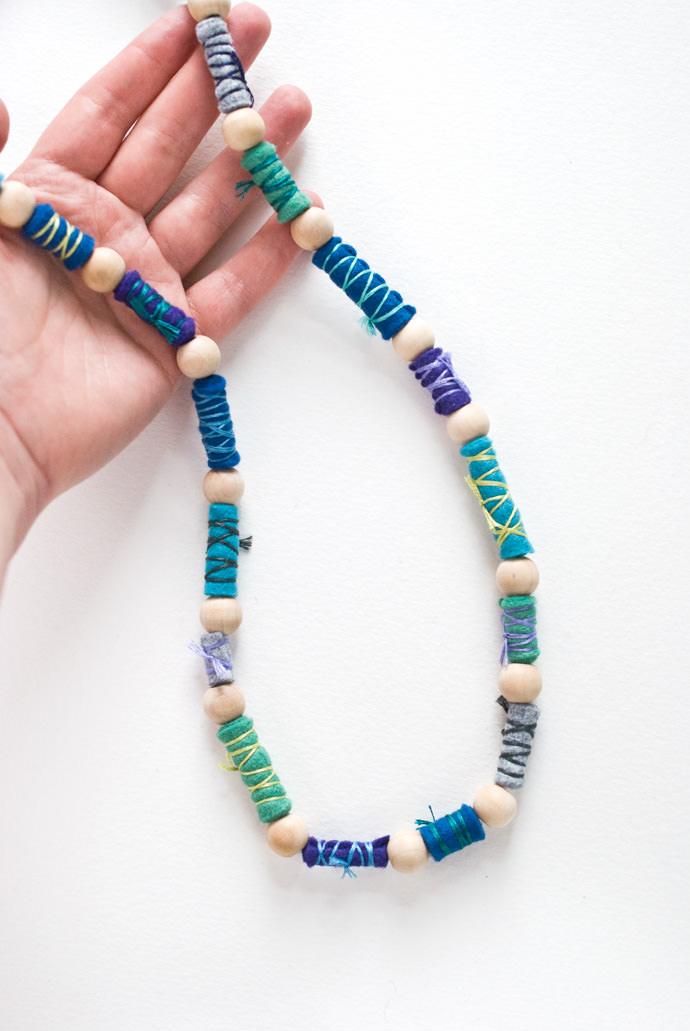
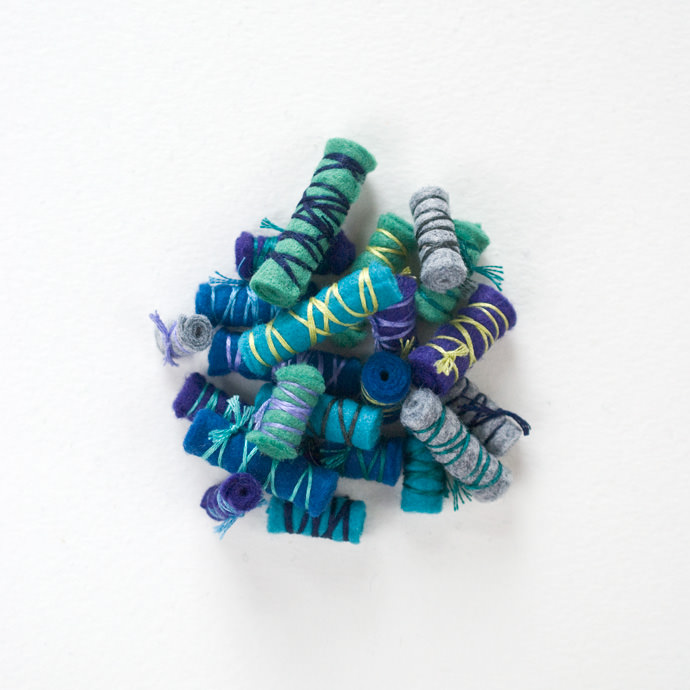
These necklaces make a great gift for friends, family, or teachers. But they’re also fun to make for yourself. Of course, you can use the felt beads for making other things too, such a keychains, other jewelry, or perhaps as a charm on a bookmark.
Happy crafting!