
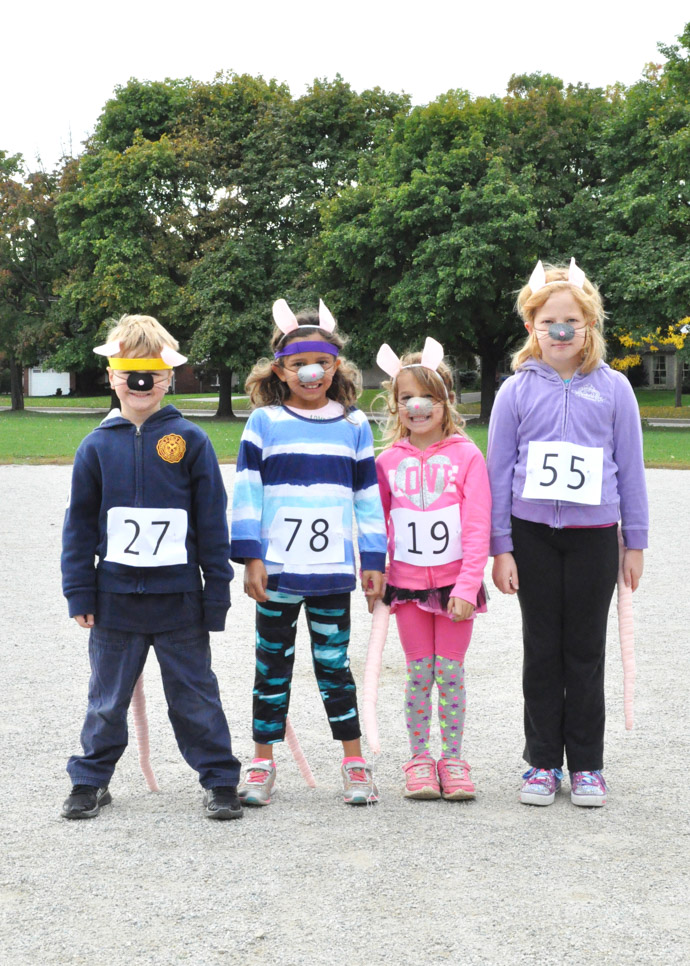
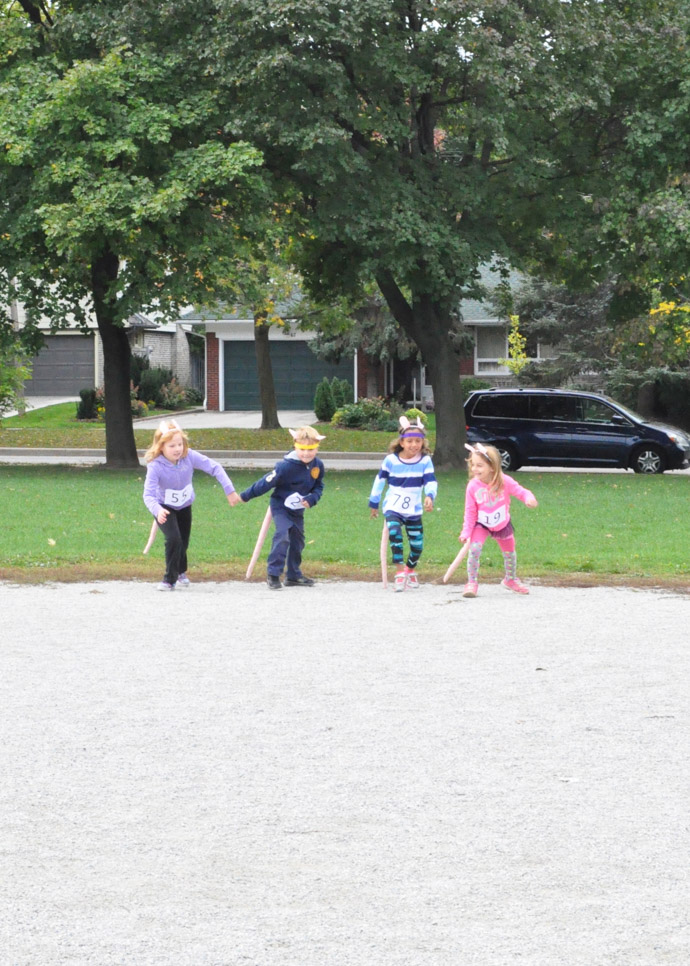
I love the idea of turning common expressions into Halloween costumes – they’re so much fun to come up with, and you get to be a bit clever when you assemble the outfits! For a fun group costume for kids (or adults), today I put together these DIY rat race costumes.
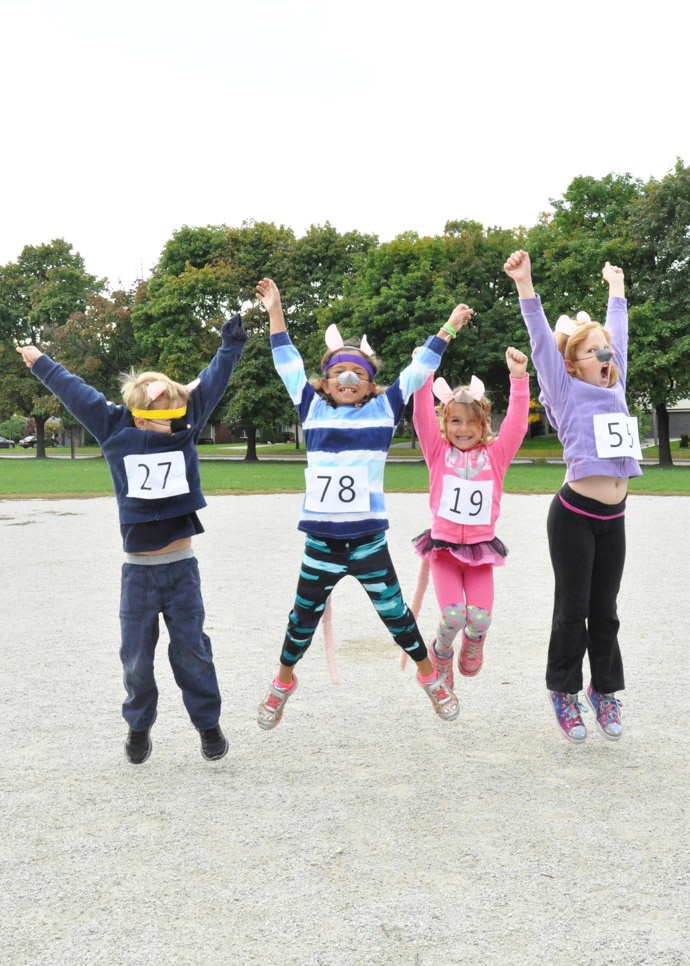
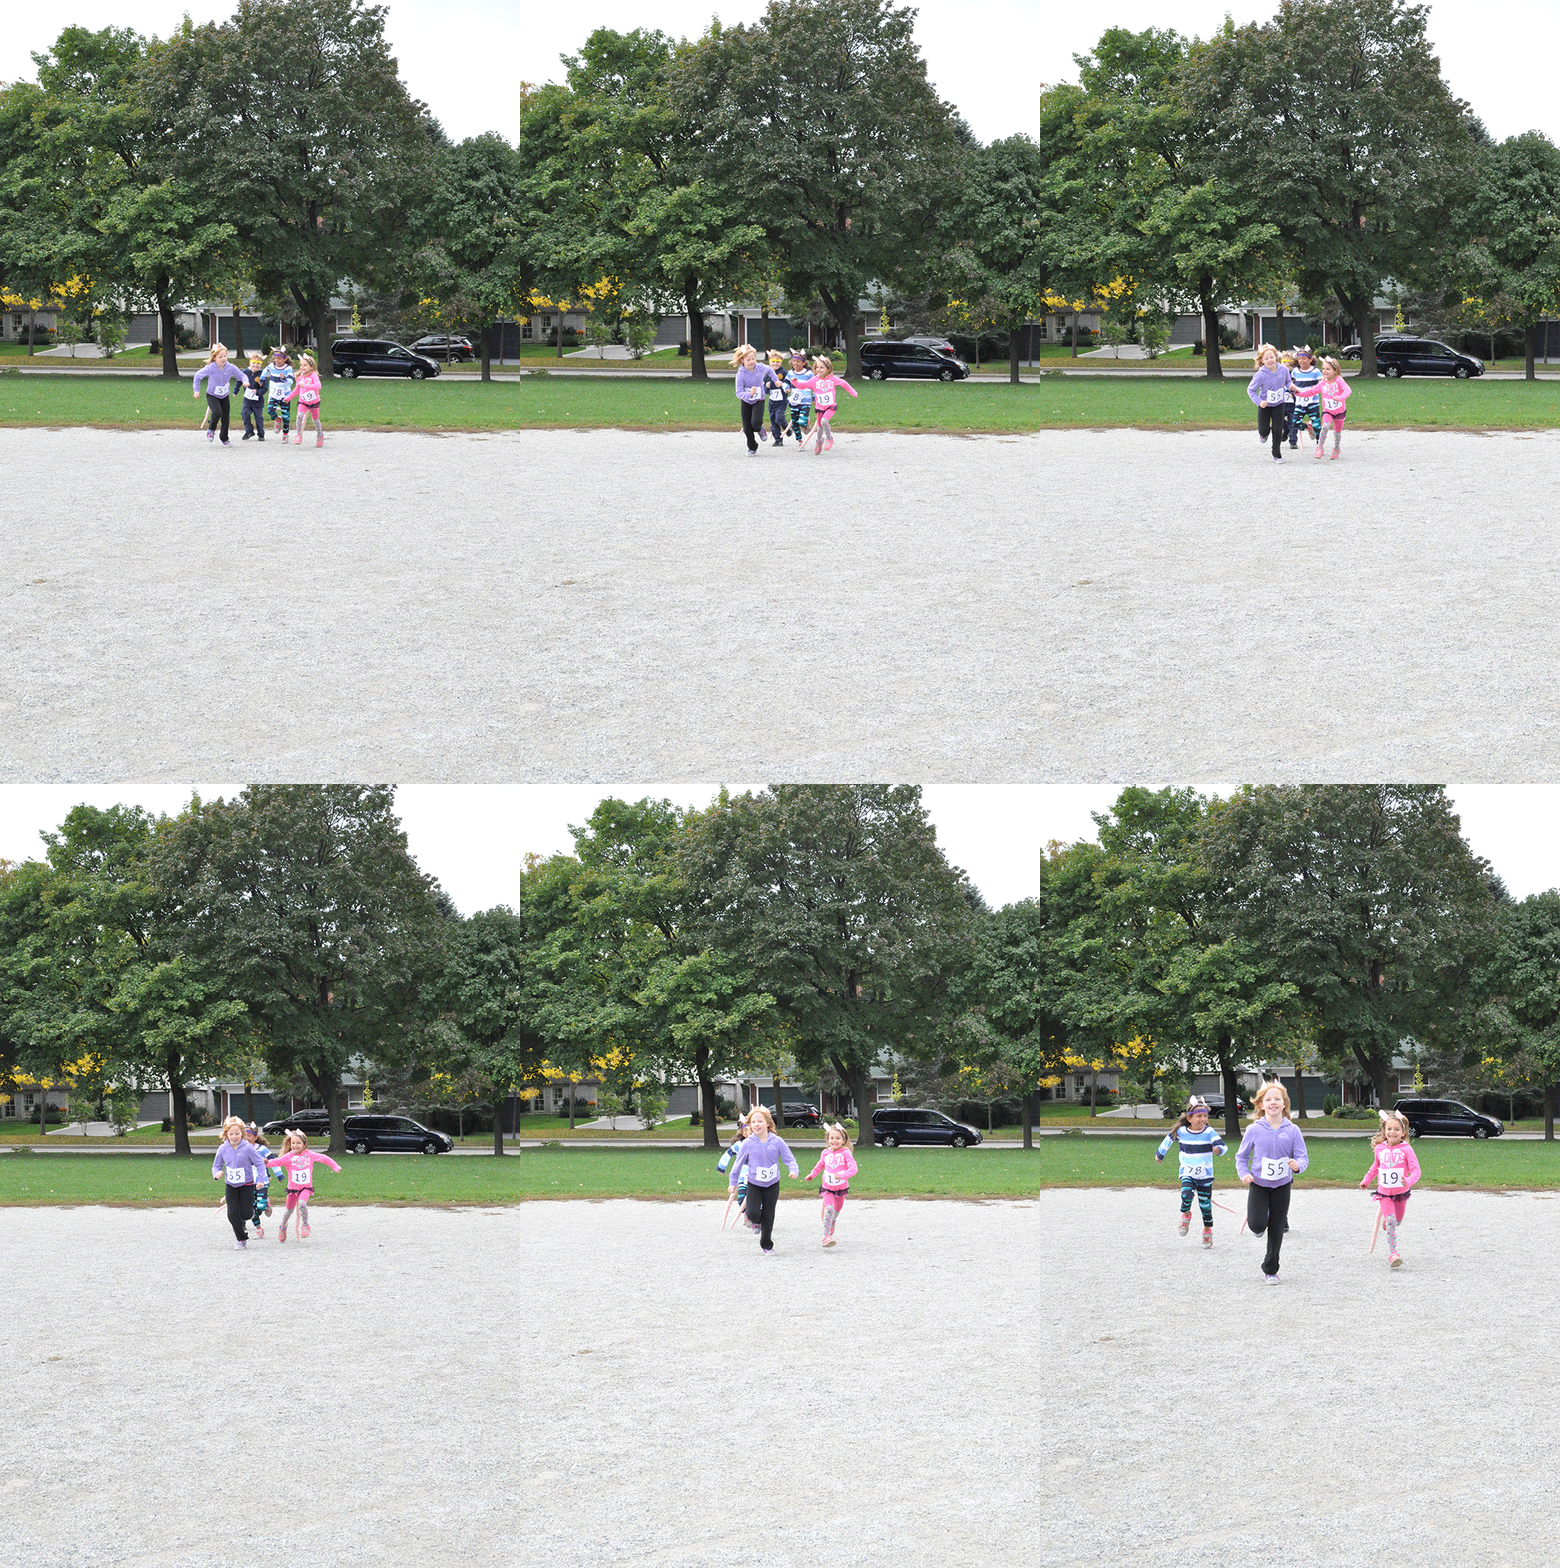
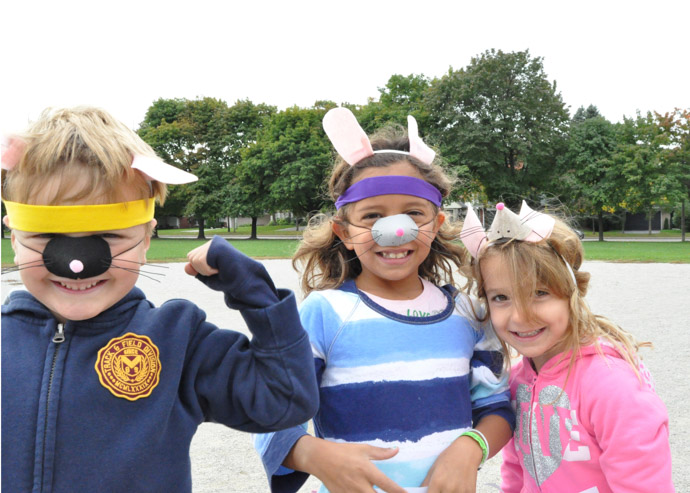
The noses, ears, and tails are handmade – see the full instructions after the jump. The sweatbands and plastic trophies are dollar store finds, and the paper numbers are simply print-outs that we pinned on. The great thing about this group costume is that as long as you have at least two rats, you’re good to go! Extra friends can join in too and make the race even bigger too!
What You Need
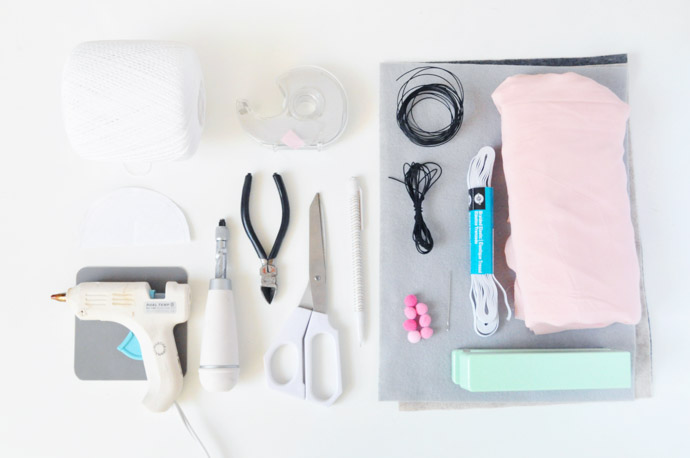
- Felt (pink, grey/brown/black)
- Craft foam sheet (any color)
- Pink fabric
- Pink pom poms
- Thin black elastic string
- White elastic (1/4” wide, or similar)
- Black plastic-coated wire
- Wire cutters
- Clear tape
- Screw punch
- Stapler
- Scissors
- Hot glue gun
- Pencil
- Paper
- String
- Stuffing
- Sewing machine, thread, and pins
How-To
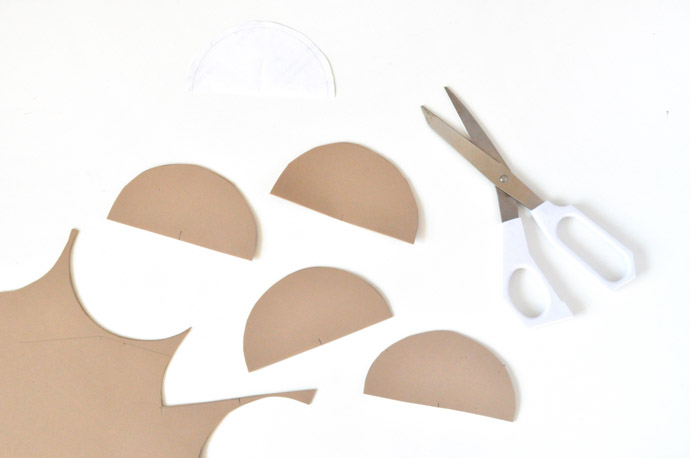
Step 1
Trace a circular object (I used a coaster) onto paper and cut in half to make the rat nose template. Trace onto craft foam and cut out one for each nose.
Step 2
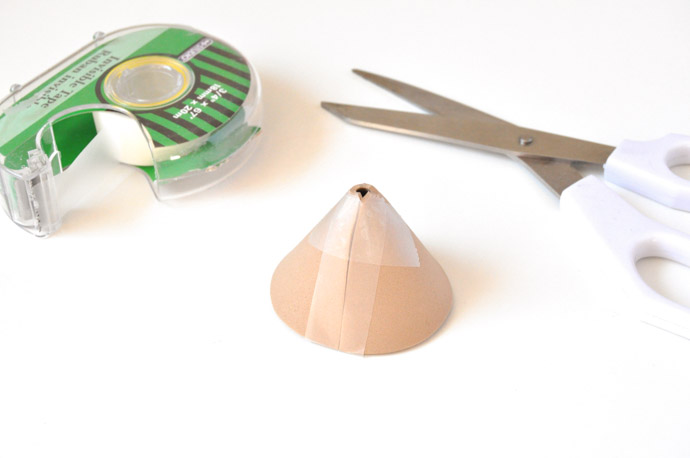
Roll the foam half-circles into cones, taping to secure. Cut the point off of the cone.
Step 3
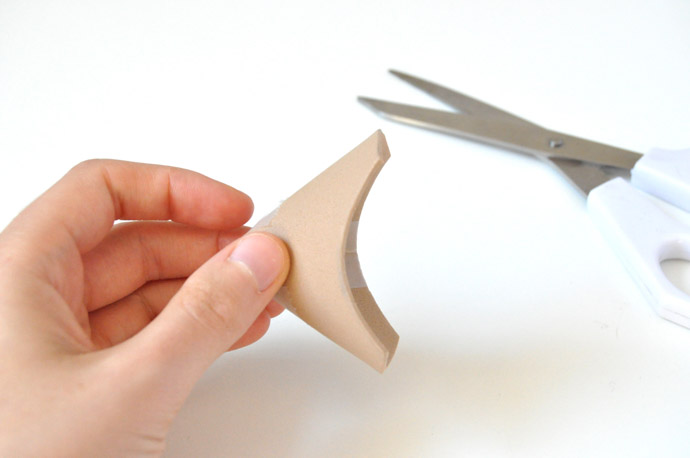
To better fit your nose, cut two curves out of the cone. Have the person who will be wearing the nose try this on to be sure it’s comfortable.
Step 4
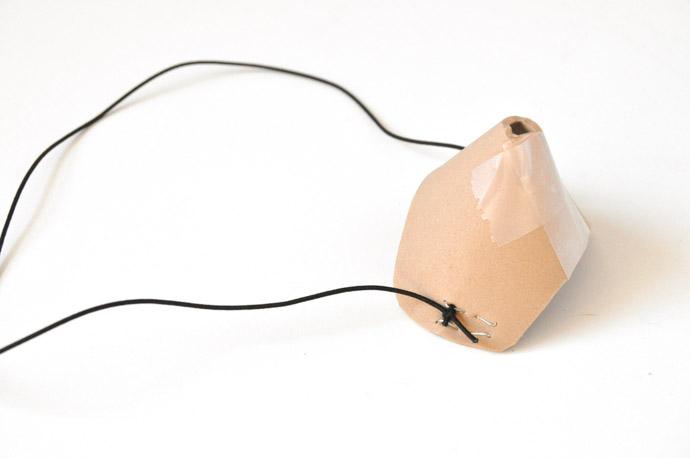
Cut a piece of black elastic string to fit around your head, and staple onto either side of the foam nose.
Step 5
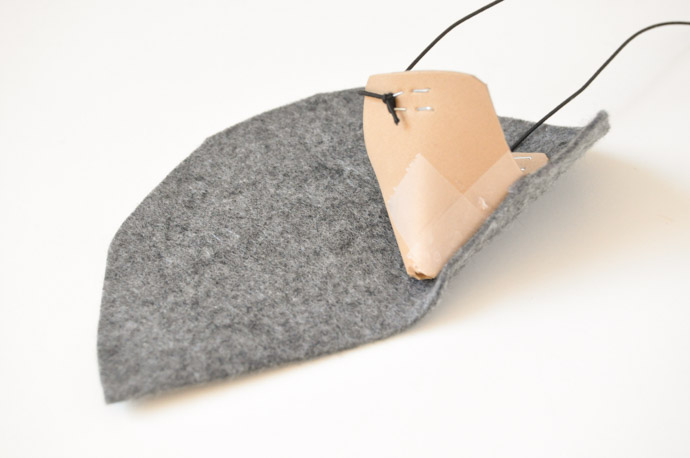
Cut a piece of felt slightly bigger (about ½” on all sides) than the paper template from before. Use hot glue to cover the foam nose with the piece of felt.
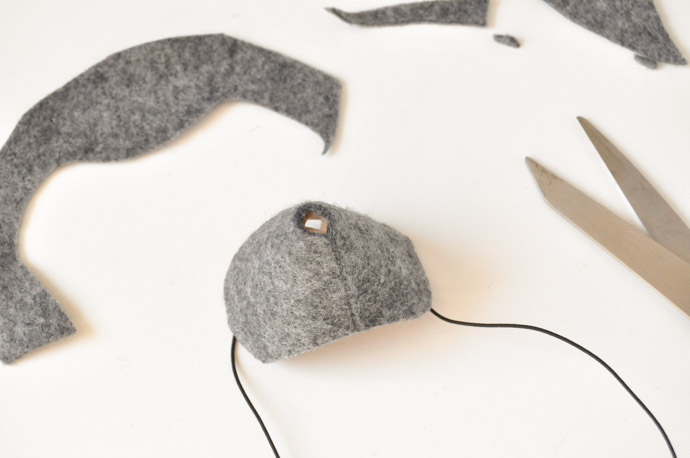
Step 6
Once glued, trim off any excess felt, including on the tip of the nose.
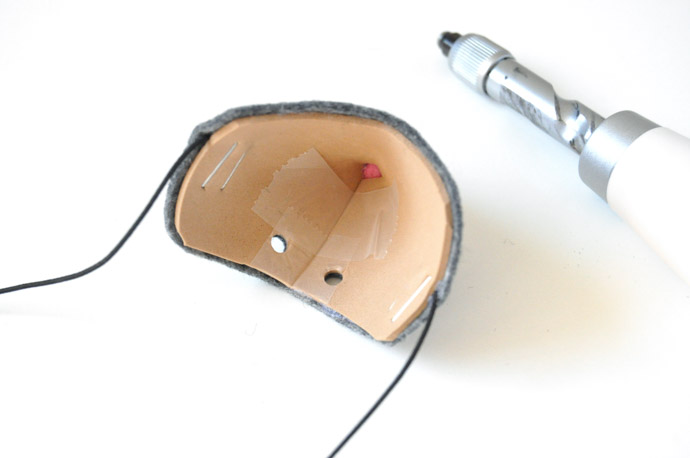
Step 7
Hot glue a pink pom pom onto the tip of the nose and use the screw punch to make two breathing holes where your nostrils would be.
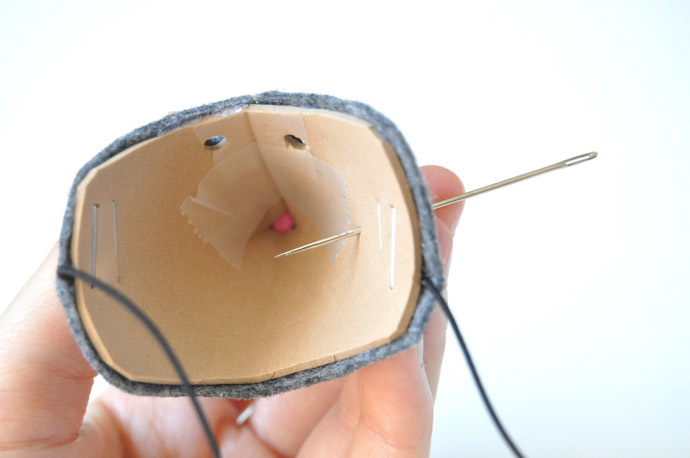
Step 8
To attach whiskers, pierce a needle through the nose three times on each side to make holes.
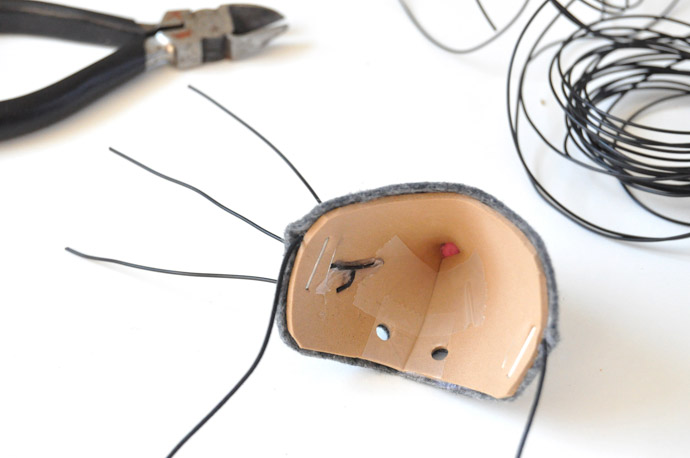
Step 9
Cut six pieces of coated wire and insert into each hole, bending and hot gluing to the inside of the nose to secure.
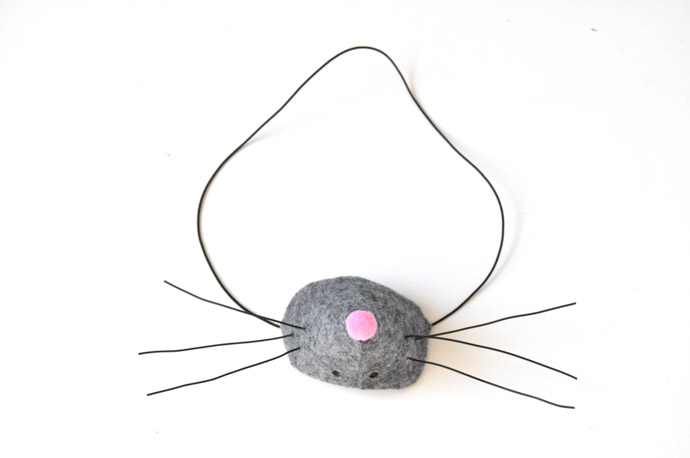
Step 10
Your finished nose will look like this! Repeat in other shades of grey or brown for other rats.
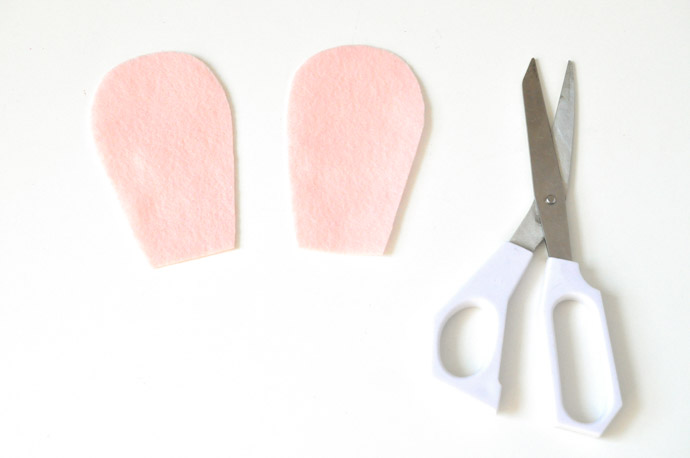
Step 11
For the ears, cut two U-shaped pieces of pink felt.
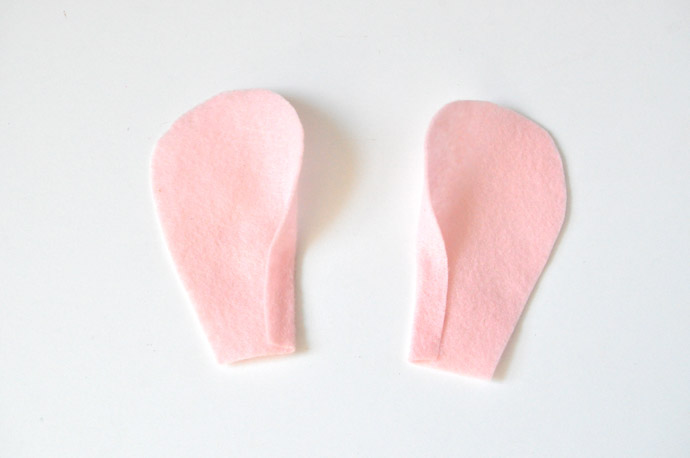
Step 12
Fold over an edge of each and hot glue in place.
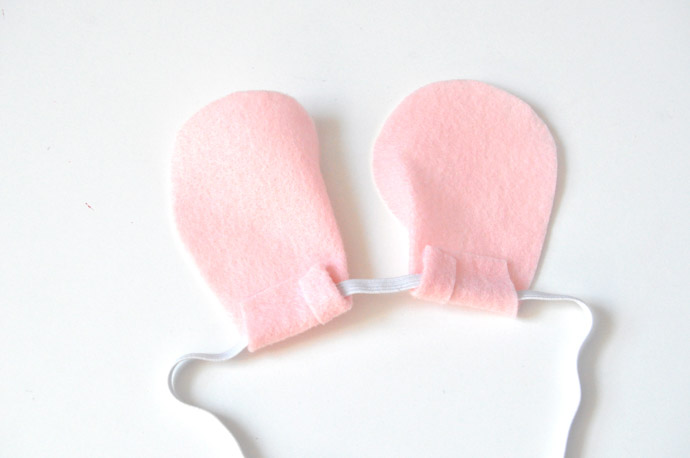
Step 13
Cut a piece of elastic to fit around your head, and tie a knot to make a headband. Fold the ears around the elastic, gluing each back onto itself. This way, you can slide the ears around the elastic for the best placement while wearing.
Step 14
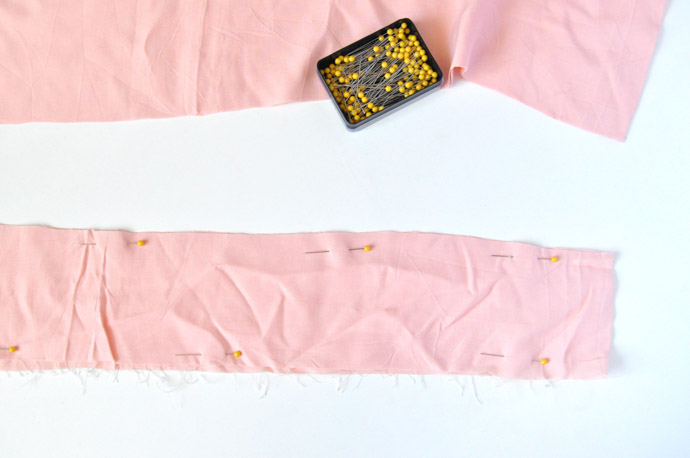
For the tail, cut two long strips of pink fabric and pin them together – my piece was about 4” wide by 40” long.
Step 15
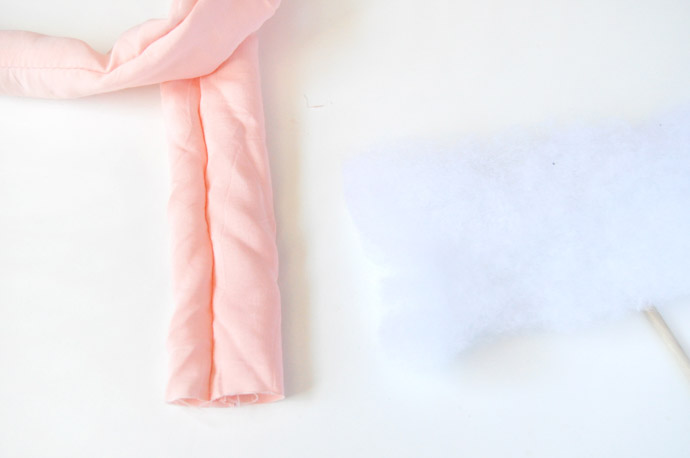
On your sewing machine, sew down one side, tapering to a point, and then sew back up the other side, leaving the one end open. Trim the excess seam allowance, turn right side out, and stuff with batting.
Step 16
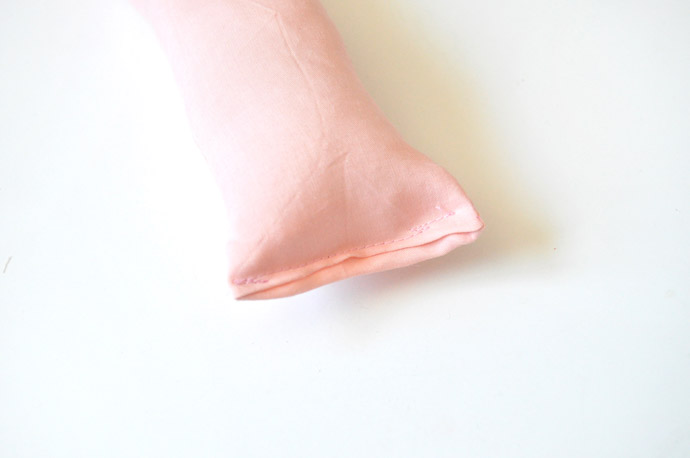
Once stuffed, sew the end closed as shown.
Step 17
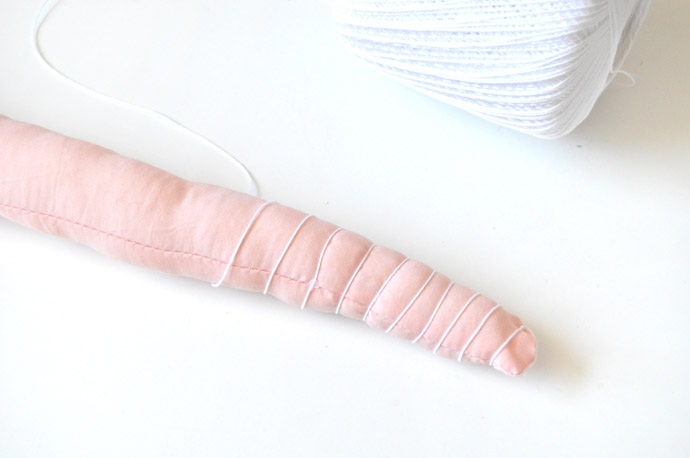
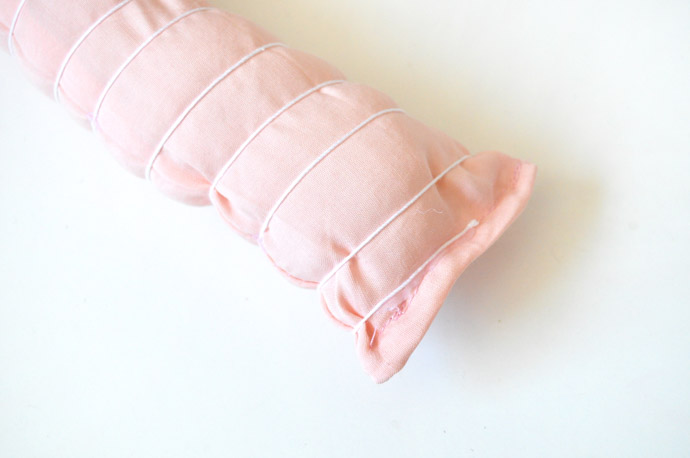
To add texture to the rat tail, I hot glued a piece of string onto the very end and then wrapped it around the tail, hot gluing it in place every few spirals.
Step 18
Once you reach the end, hot glue to secure. Use a giant safety pin to attach to the wearer.
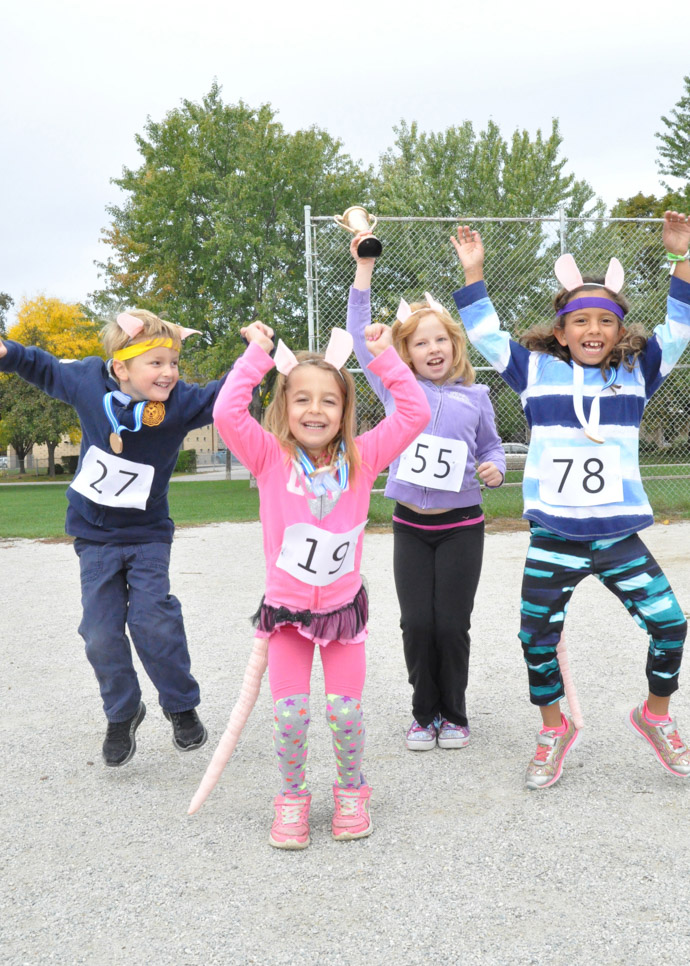
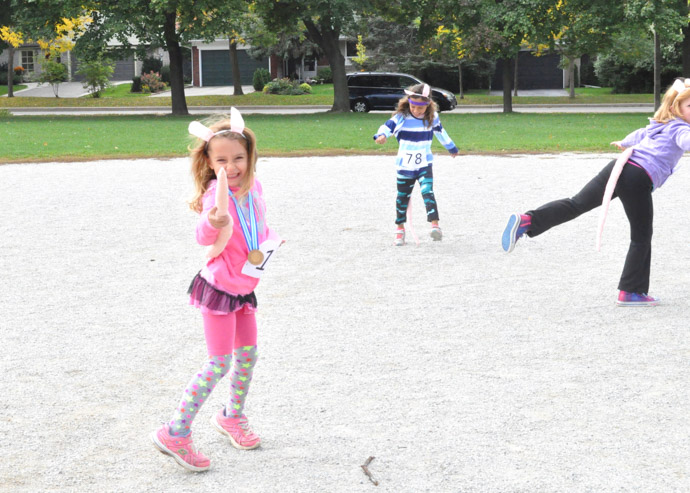
Pair your DIYed ears, nose, and tail with athletic clothing, sweatbands, trophies, medals, and pin paper numbers onto your shirts. Unfortunately, it was too cold for shorts, but if you live in a warmer climate, shorts with striped athletic socks would be a great touch!
Happy Halloween!!