
When I was browsing my local packaging supply store earlier this month, I stumbled upon these wooden serving cones. I knew right away that they’d be the perfect mini Christmas trees, so I scooped a bunch up for holiday decorations. I think I’ll use these to decorate our dining table on Christmas morning.

I love the subtle wood grain that shows through the paint and decorations. Look at your local craft store or packaging supply store for similar wooden cones – they’re super affordable. If you aren’t having any luck, you can replicate this idea by making simple paper cones instead. Either way, let’s get crafting!

What You Need

- Wooden serving cones (like these)
- Paint
- Paintbrush
- Pompoms, sequins, etc
- Glue
How-To

Step 1
Cut off the excess bit of wood on the cone so that they will sit flat on the table like a Christmas tree.
Step 2
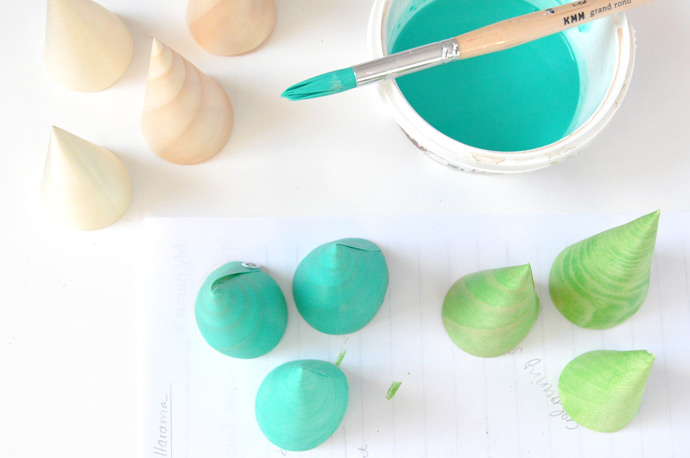
Paint the trees in shades of green. If you add water to the paint to dilute it, it will act more as a stain and the wood grain will remain visible. Let dry.

Step 3
Time to trim the trees! Use white glue and sequins, mini pompoms, stickers, etc to jazz up the trees.



Happy Christmas crafting!