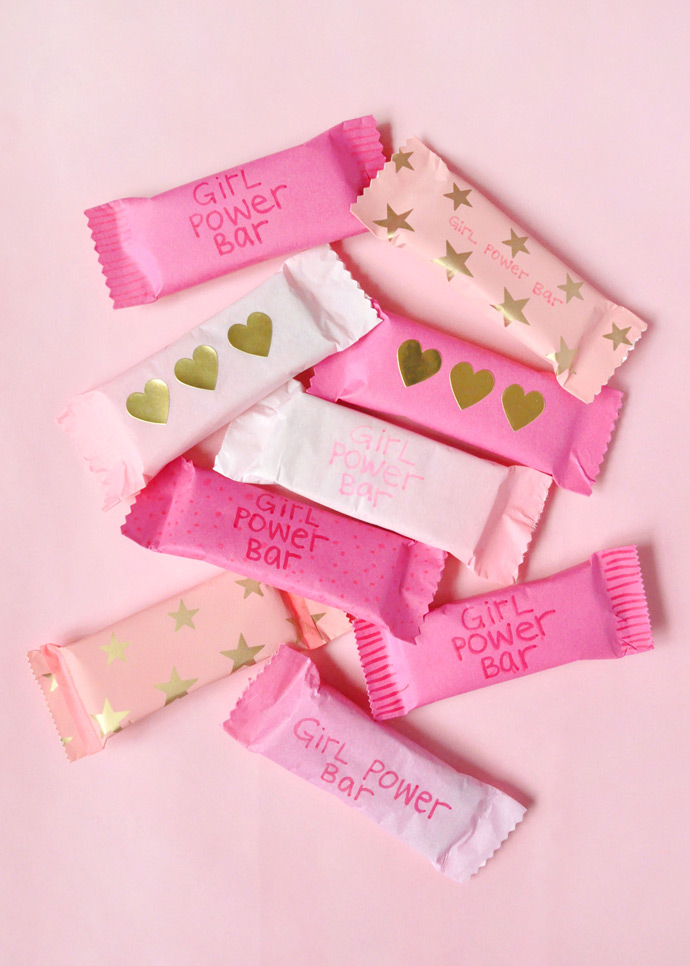
On International Women’s Day last week, I had the expression “girl power” on my mind. Something clicked and I put together “girl power” and “power bars” to come up with this fun way to wrap up homemade power bars! I’ve been meaning to make my own power bars for ages – skipping candy and sweets is so much easier when there’s a healthy, tasty, and fun option ready to eat!
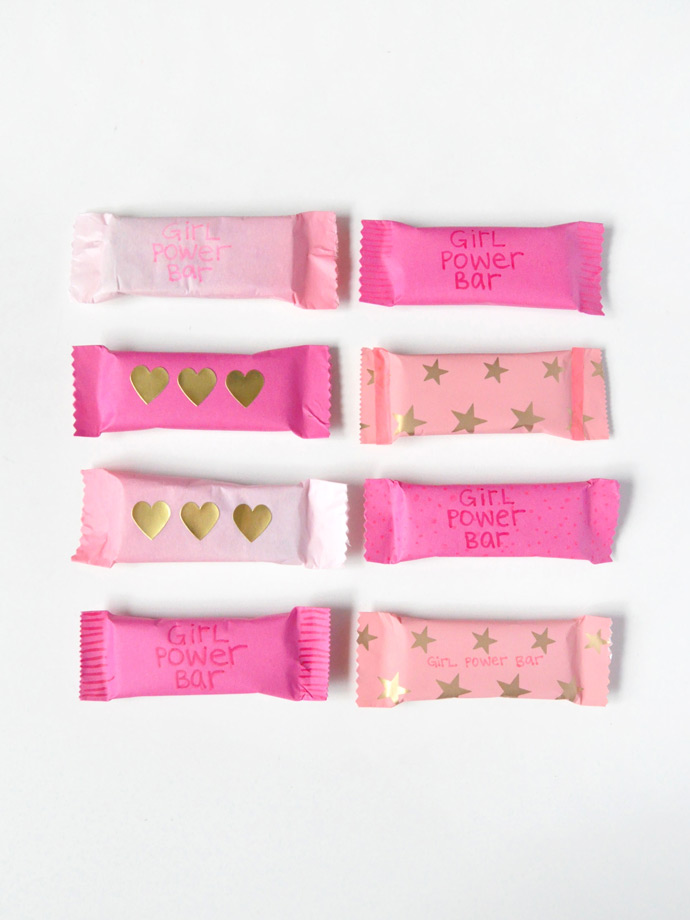
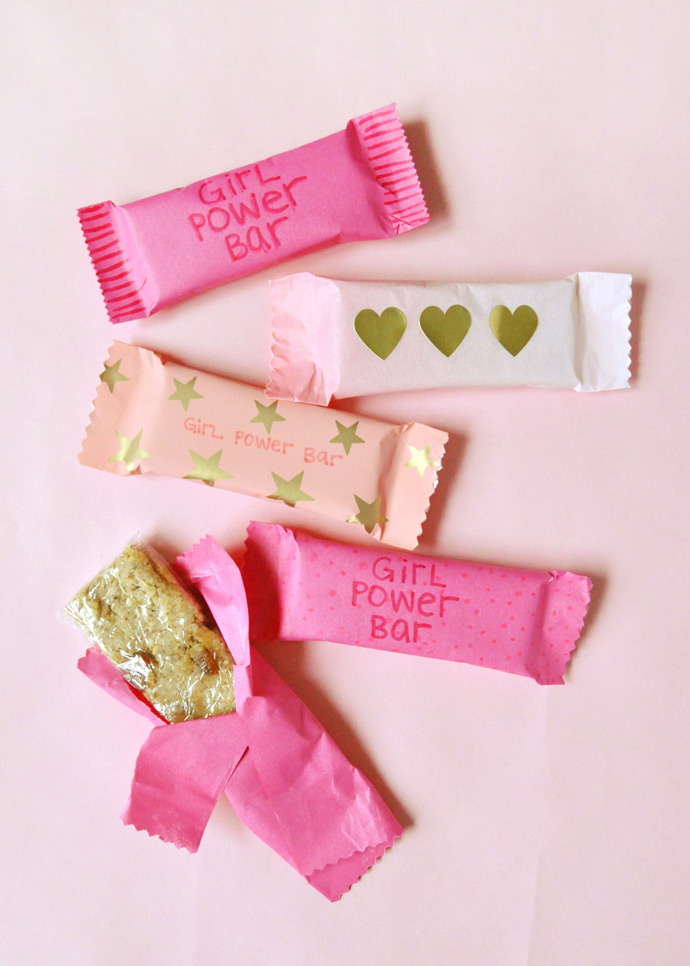
I used this recipe, but instead of forming the dough into balls I rolled it flat, cut it into bars, and wrapped each individually with plastic wrap. Once the bars are all sealed up, let the decorating begin! You can use whatever paper, stickers, markers, or stamps you have around – have fun with it! I had a blast decorating these, and think they make healthy snacking a bit more exciting. ;)
What You Need
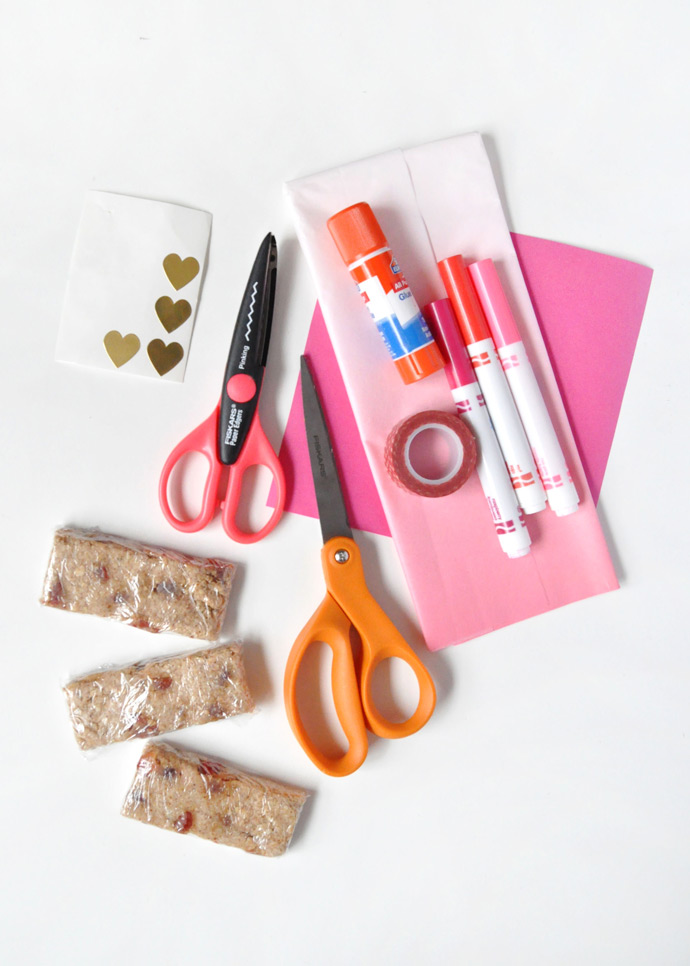
- Wrapping or tissue paper
- Glue stick
- Markers
- Stickers
- Scissors
- Homemade power bars wrapped in plastic
How-To
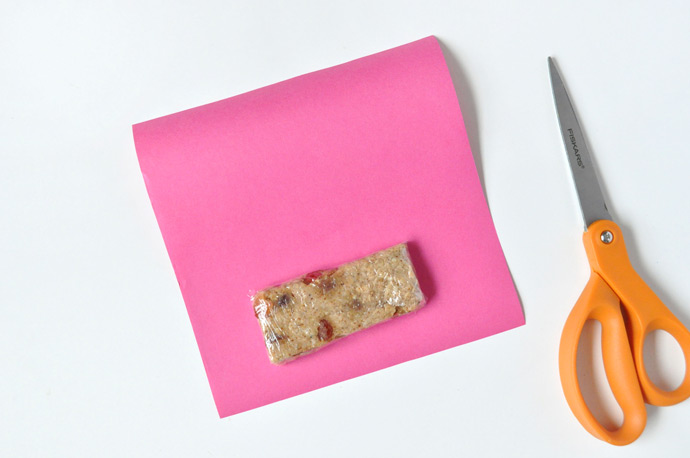
Step 1
Cut a piece of regular wrapping (or a couple layers of tissue paper) into a square a few inches wider than your wrapped power bar.
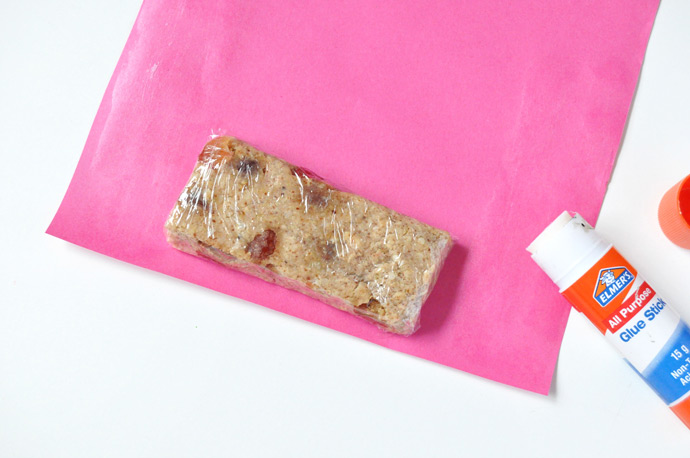
Step 2
Apply glue along the sides of the paper, just in line with the edges of the power bar, as shown.
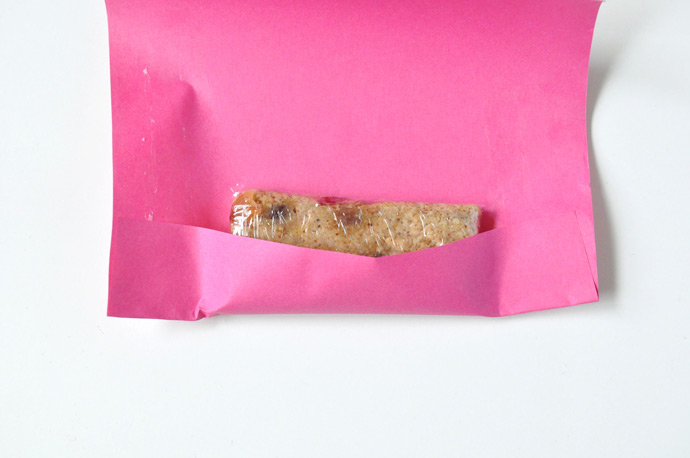
Step 3
Fold the paper over the power bar and press the gluey sides together, making a sort of pocket.
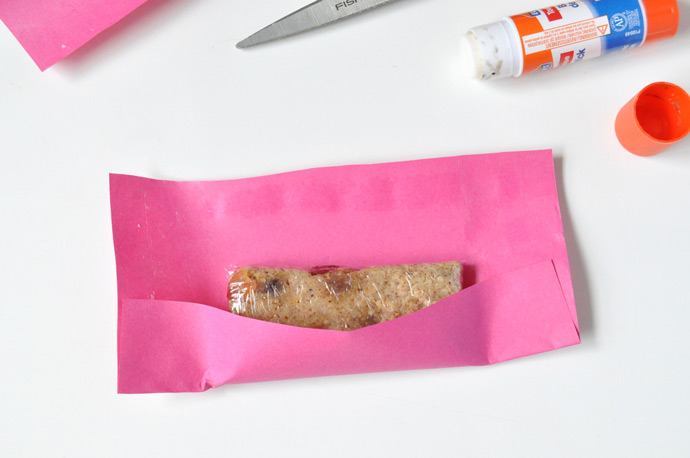
Step 4
Trim any excess paper from the top – the paper only needs to overlap the other edge slightly – and then apply more glue along this edge.
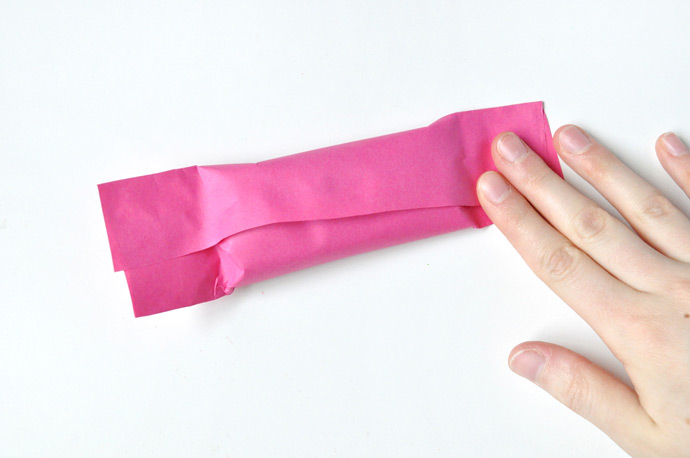
Step 5
Fold this edge over and press all the glued edges to secure.
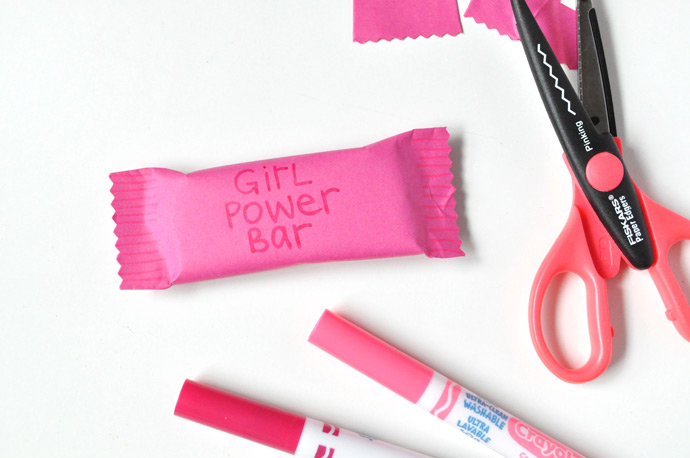
Step 6
Decorate! Use pinking scissors to cut the glued edges of the wrapper, and add fun details with markers and stickers.
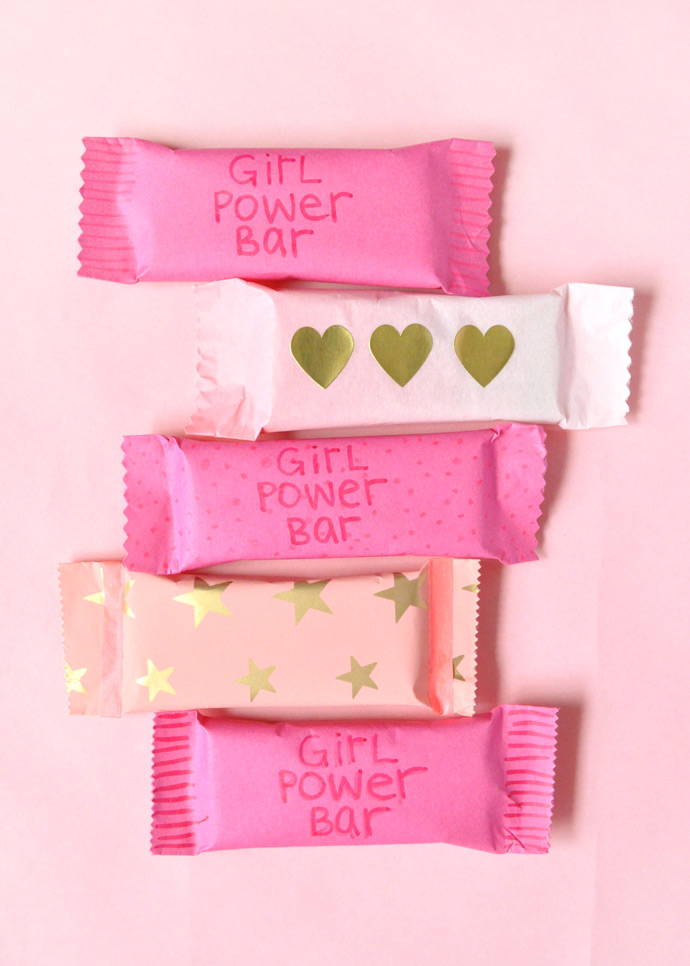
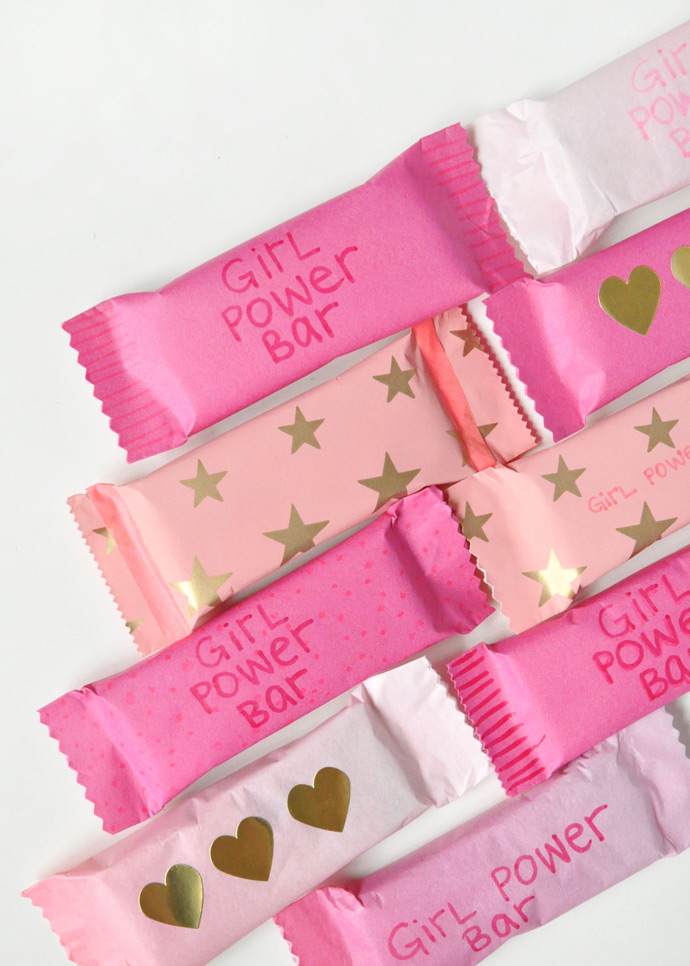
Enjoy!