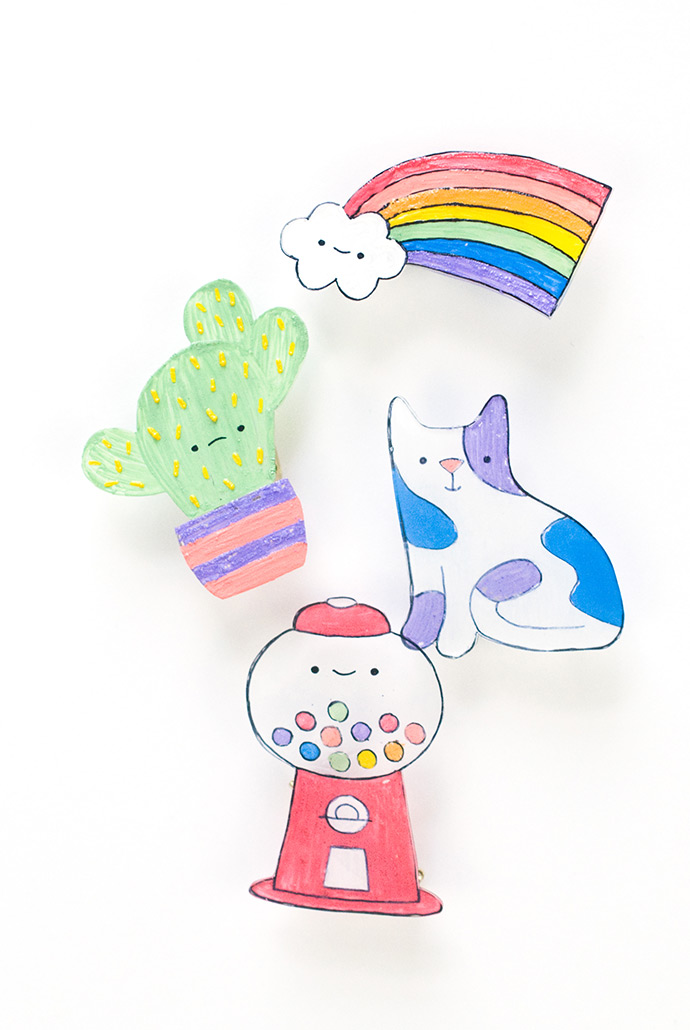
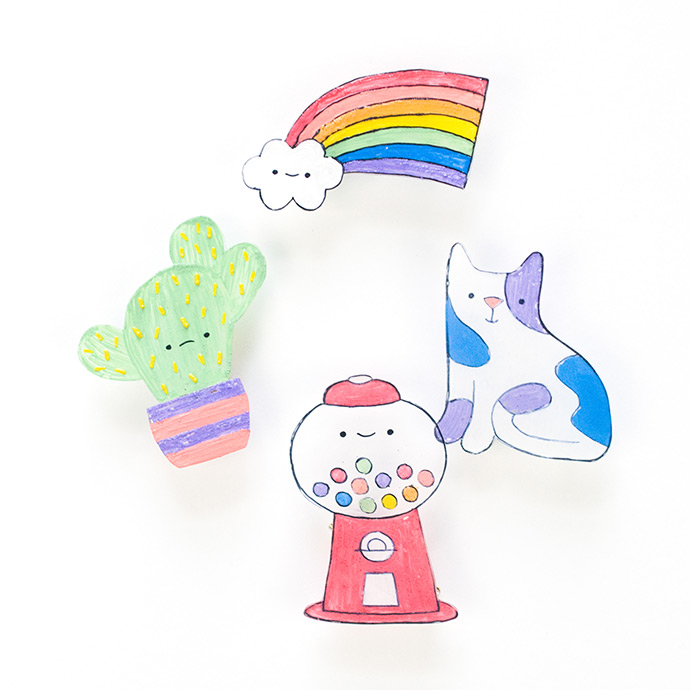
Do you love crafting and cute things? Then these DIY shrink plastic badges are the perfect project for you! Use the kawaii templates or draw your own designs, then paint them in and shrink them down. Nearly instant accessories to show your DIY side!
what you need:
- Shrink Plastic
- Removable tape
- Fine point black permanent marker
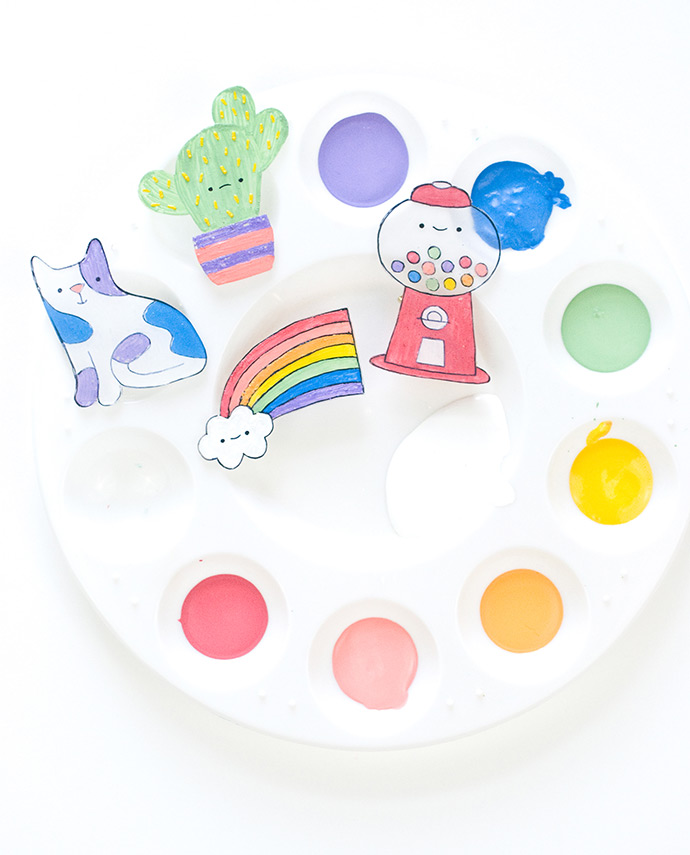
- Apple Barrel Acrylic Paint
- Small paintbrushes
- Scissors
- Oven, baking sheet and aluminum foil
- Sealer
- Pin backs
- Hot glue or industrial craft adhesive
- Printable badge templates
how-to:
Step 1
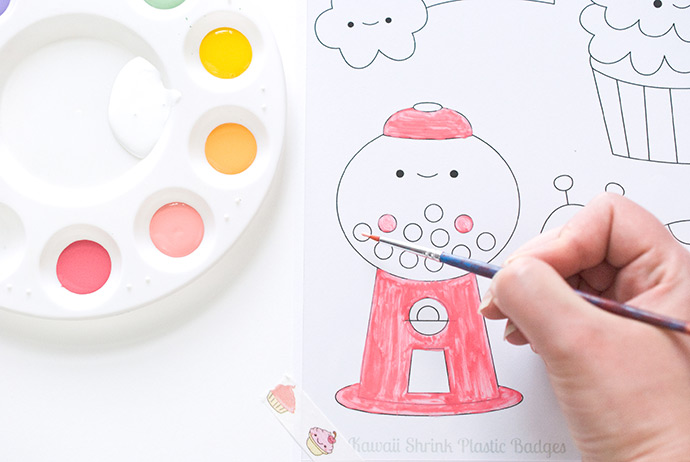
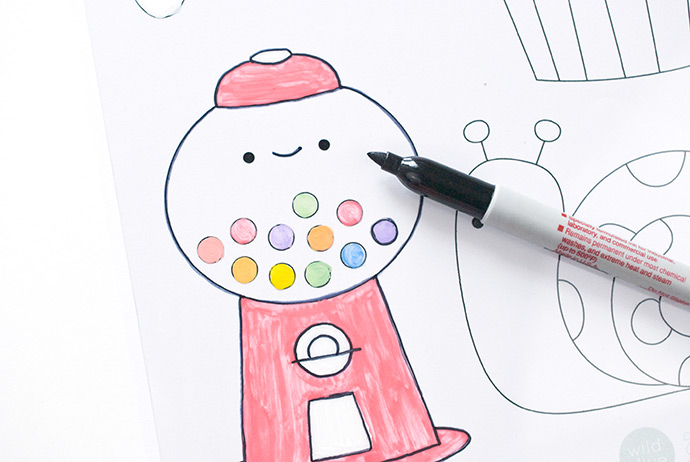
Print the Kawaii Shrink Plastic Badges Templates PDF to use as a guide. Place a sheet of the shrink plastic over the templates and tape at the corners. Some shrink plastic has a “right” and “wrong” side. Be sure to follow the manufacturer’s instructions when getting ready to color on the plastic.
Begin painting in the designs of your choice. Use a thin layer of paint, otherwise the paint may flake off when it is baked. If you’d rather, you can use permanent markers to color your badges.
Step 2
When the paint is dry, outline the designs with black permanent marker.
You can also flip these two steps, starting with the marker and then adding the paint. Some designs will even work without the outlines!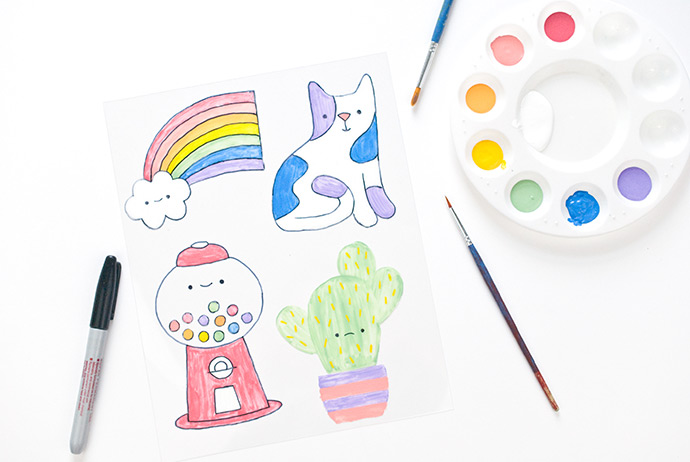
If you want to make badges from a couple designs on each page, move the shrink plastic around.
Step 3
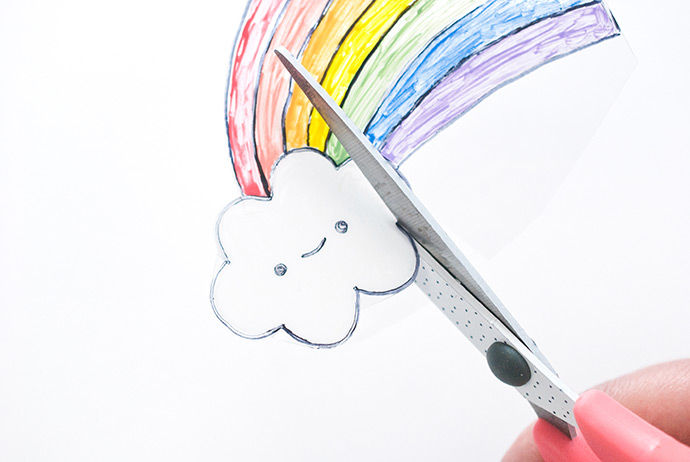
Cut out the badge designs.
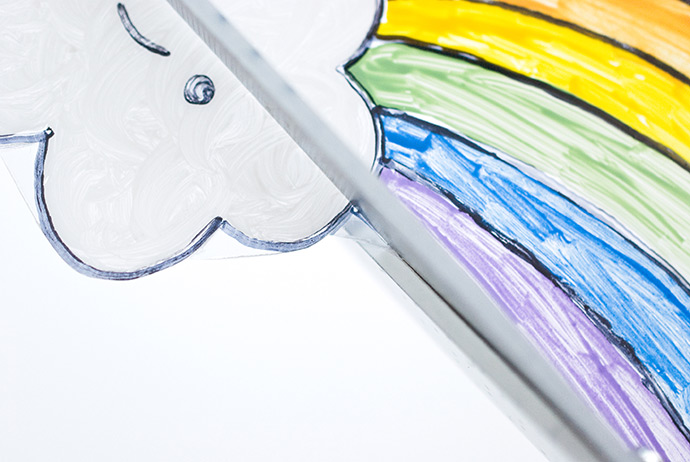
In the corners, it’s best to cut into the corners from both directions. The outline will be more accurate and you’ll avoid tearing the plastic as you cut.
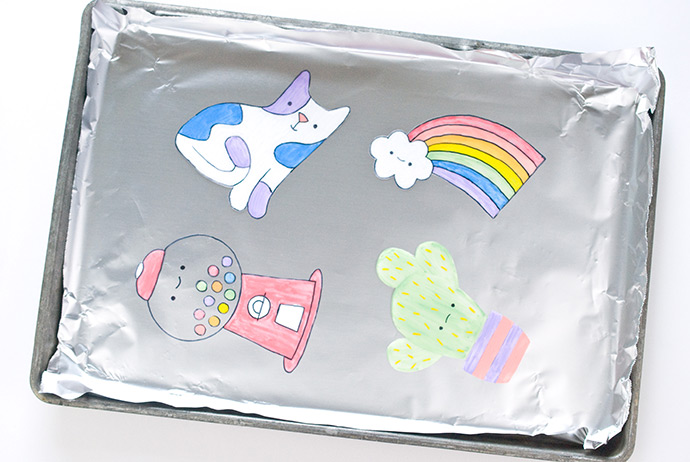
Step 4
Place the cut out plastic pieces on a foil lined sheet and bake them in your oven. Follow the instructions on the shrink plastic package for time and temperature.
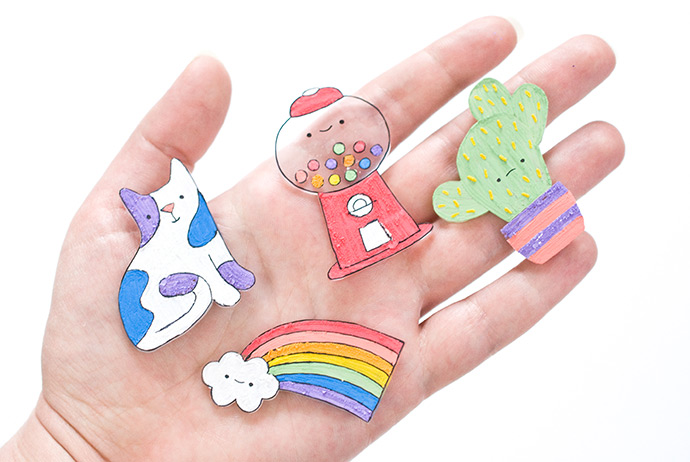
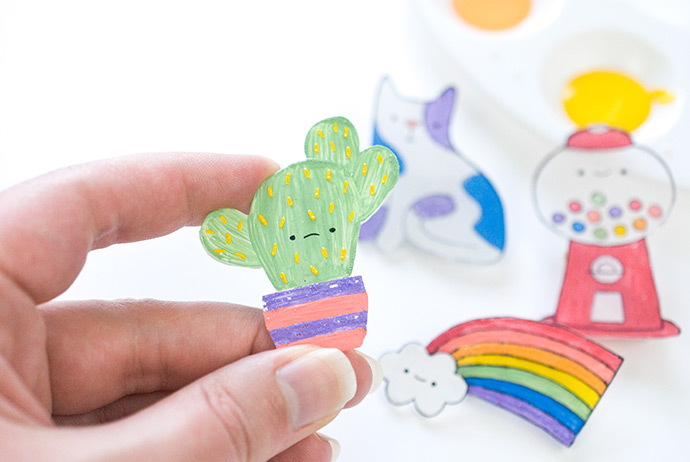
These only took about 3 minutes to shrink in a 325F oven!
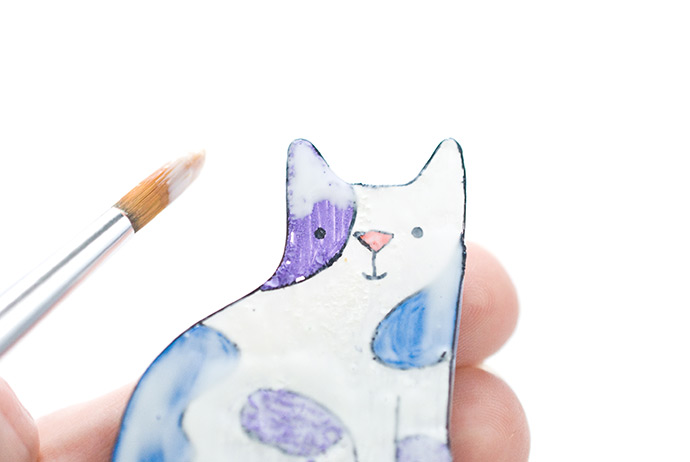
Step 5
When the plastic is cool, brush a coat of sealer on the painted side of the badges. If the paint has started to flake a bit, dab the sealer instead of brushing it. And if paint flakes in areas that are a different color, remove them before the sealer dries.
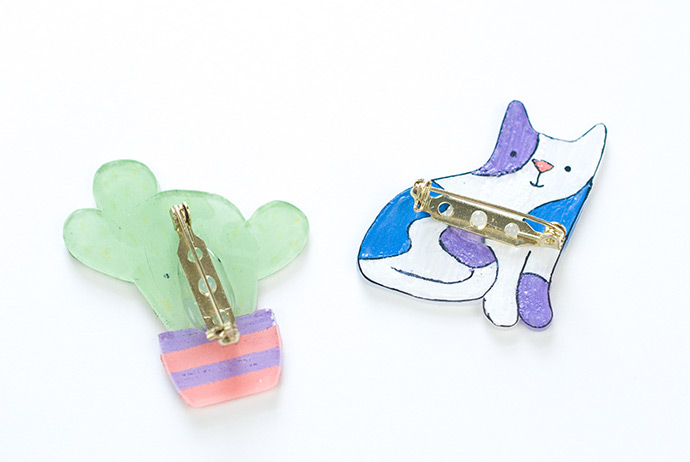
Step 6
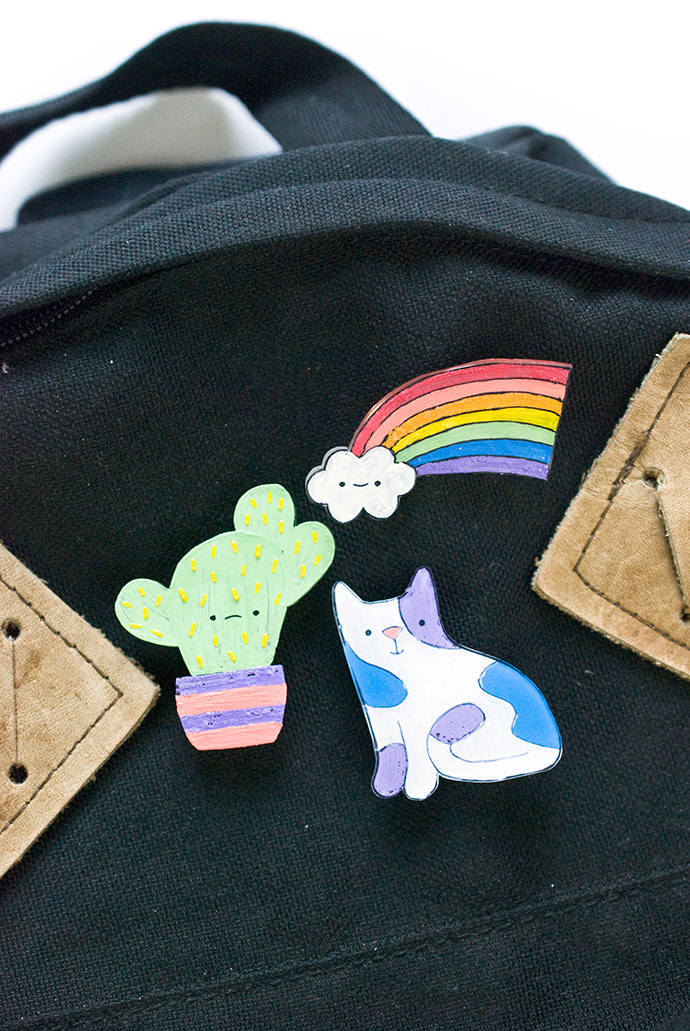
Decide which side of the badge you want to show and then glue a pin to the back.
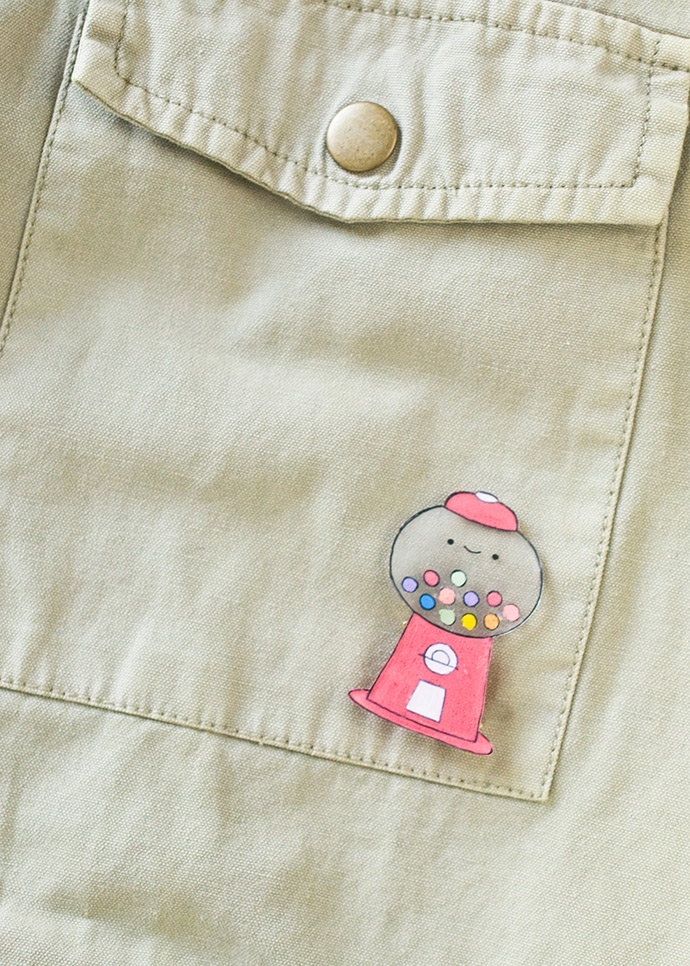
Attach your badges to a backpack, jacket or favorite cap and start showing off your DIY cuteness!
Happy crafting!