
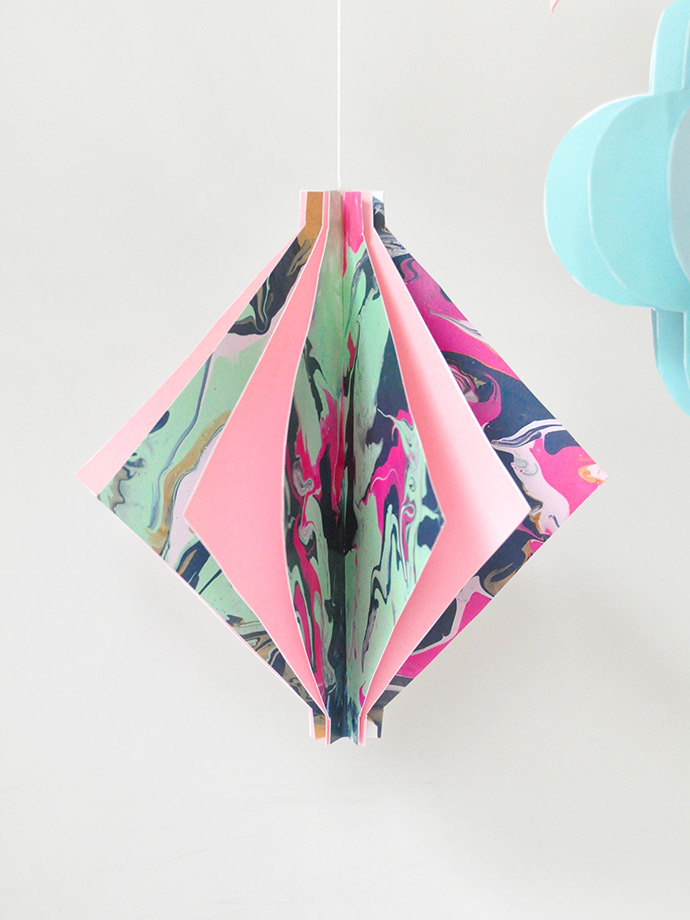
Have you tried out the new Martha Stewart Multi-Surface Marbling Medium yet? We had so much fun playing with it for today’s project! We’ve always had a special place in our hearts for handmade paper lanterns and so we thought we should put a colorful, marbled touch on our favorite thing to craft!
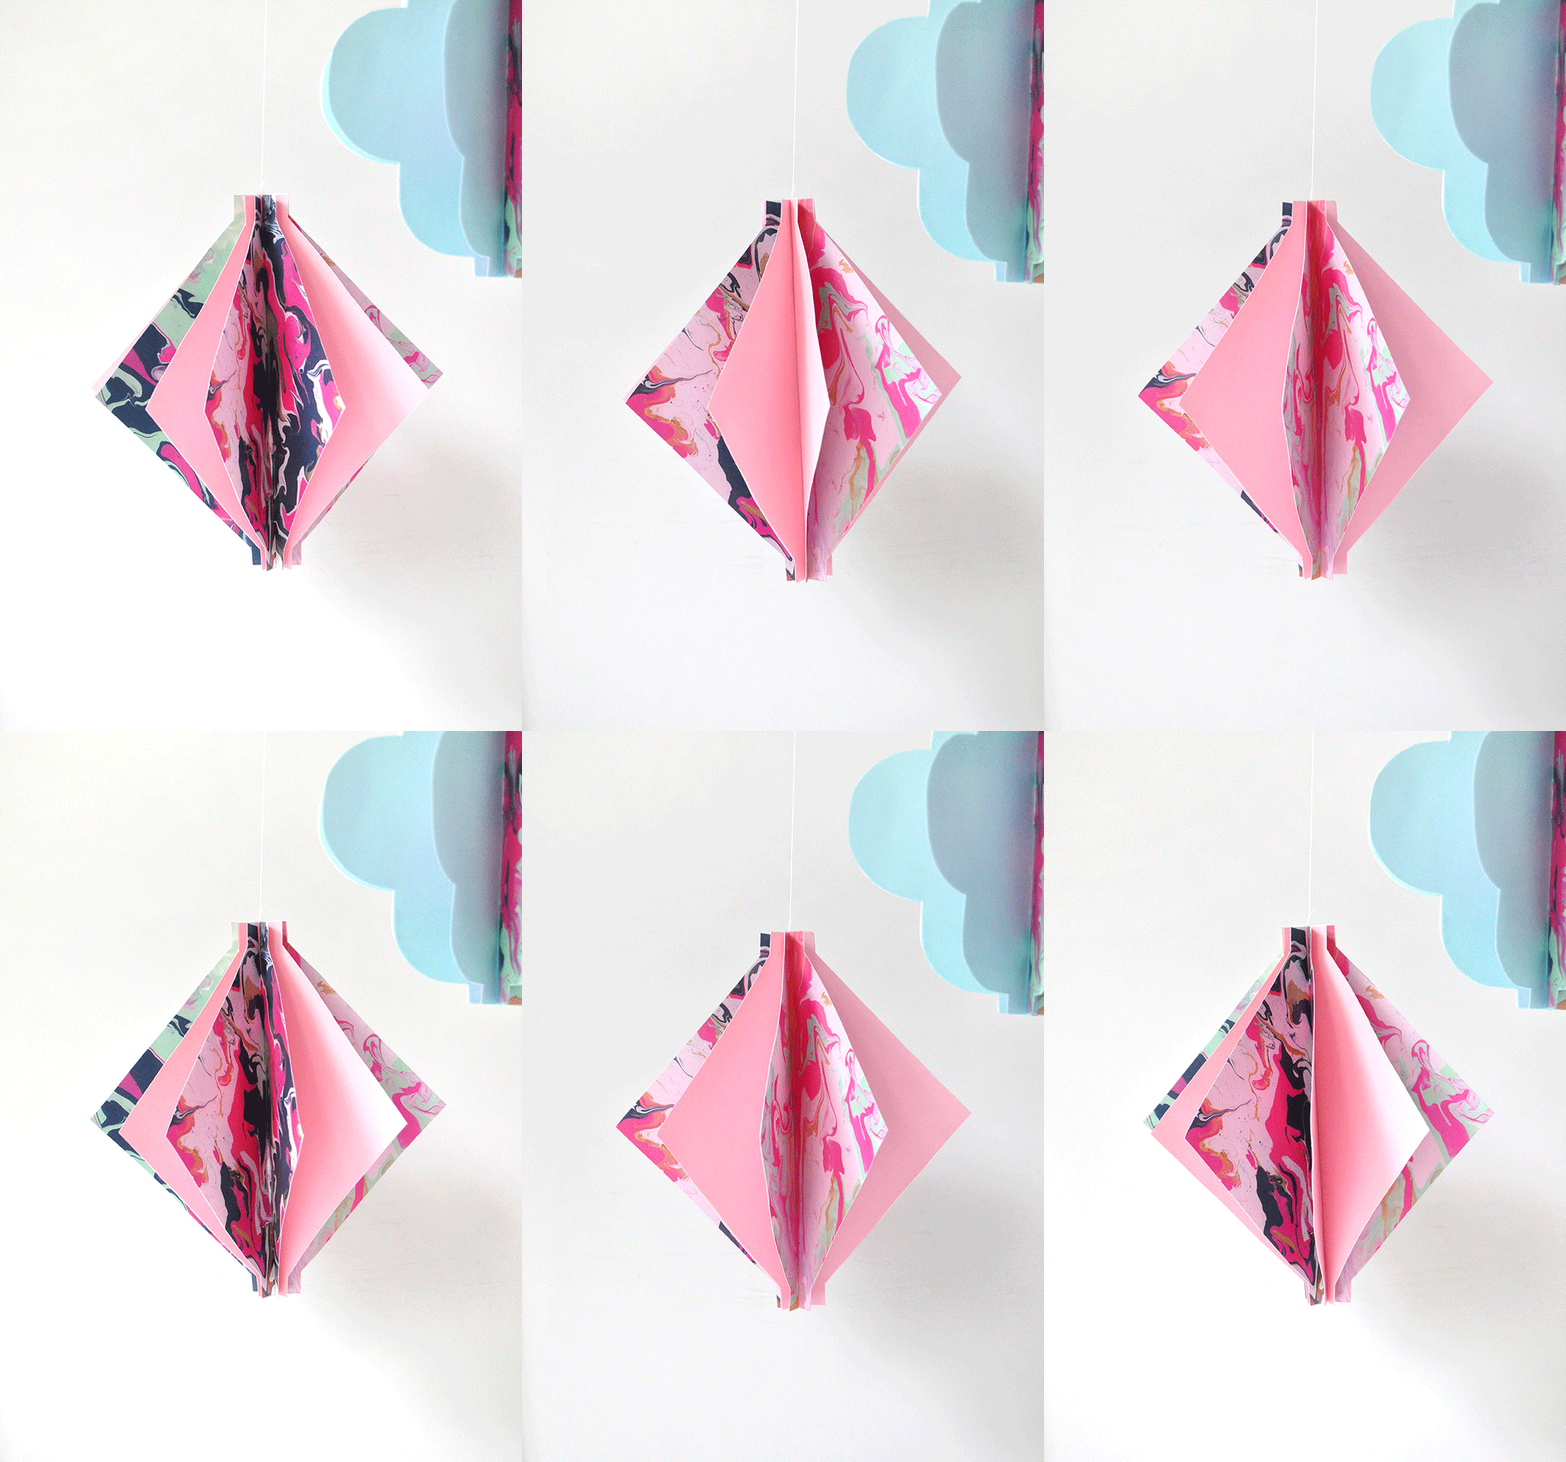
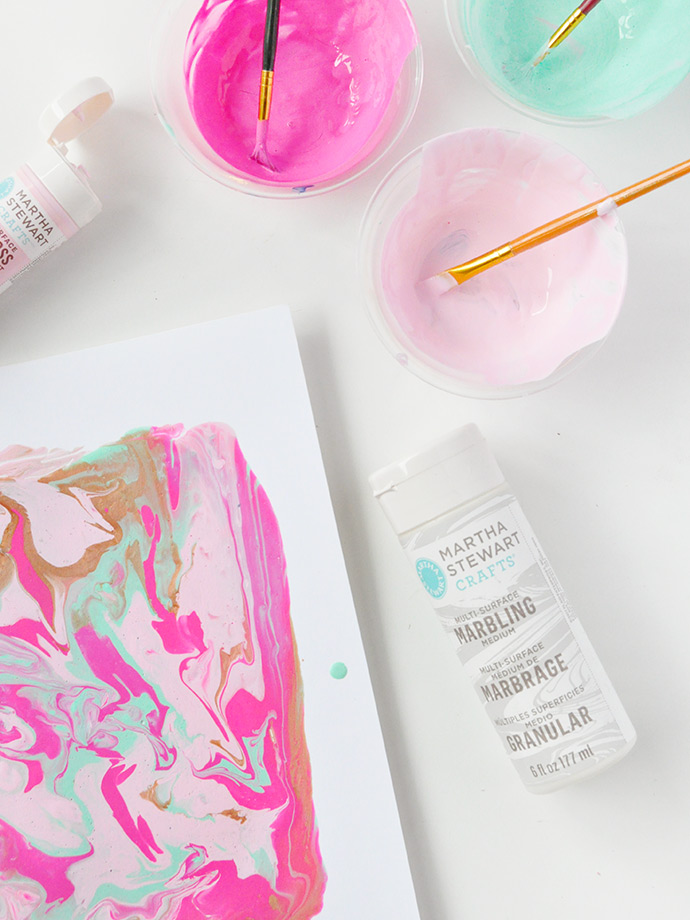
The great thing about the marbling medium is that you can totally customize your own pieces. Pick out a few colors of Martha Stewart Acrylic Paint to create your color scheme and then get marbling! We can’t wait to try marbling some gift boxes and notebooks next! Keep reading to see exactly how to make some marbled lanterns of your own.
what you need:
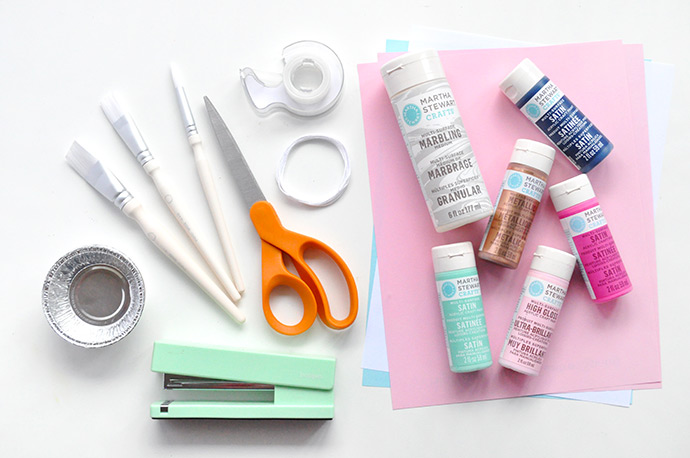
- Martha Stewart Multi-Surface Marbling Medium
- Martha Stewart Multi-Surface Acrylic Craft Paints
- White cardstock
- Colored paper / cardstock
- Stapler
- Wooden skewer
- Paintbrushes
- Scissors
- Small disposable bowls
- Pencil
- String
- Double stick tape / hot glue gun
how-to:
Step 1
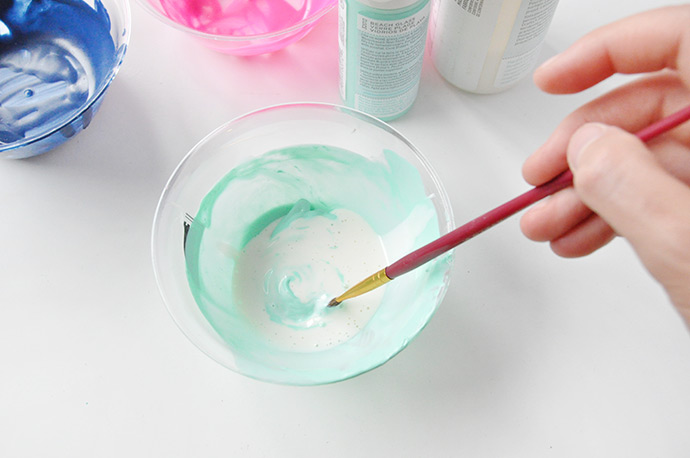
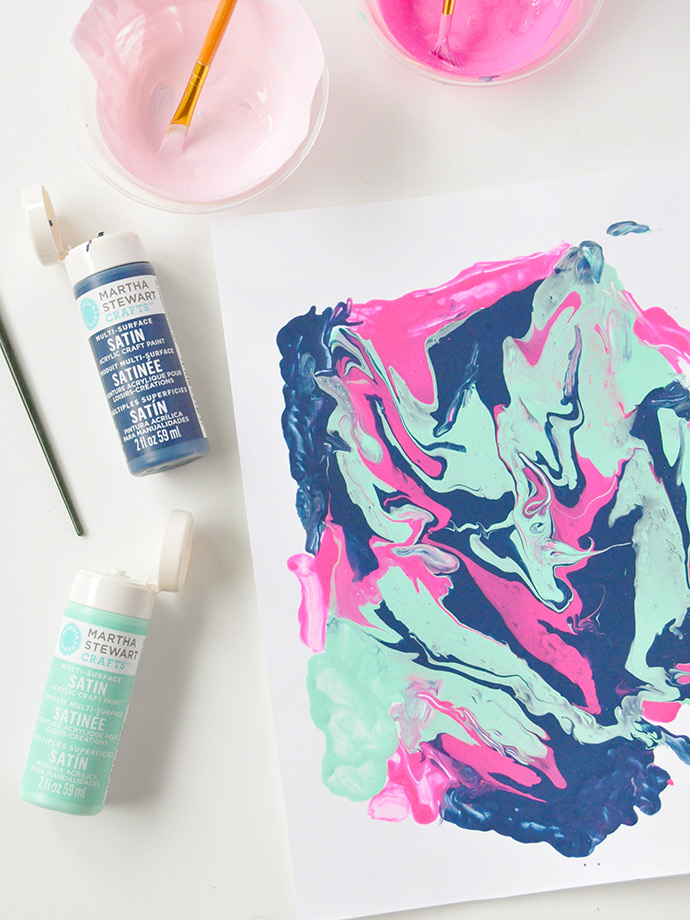
In a small disposable bowl, mix 1 part 1 to 2 parts marbling medium. Stir together slowly to mix and repeat this with as many colors as you’d like to use. For these marbled sheets, we mixed and matched 5 different paint colors.
Step 2
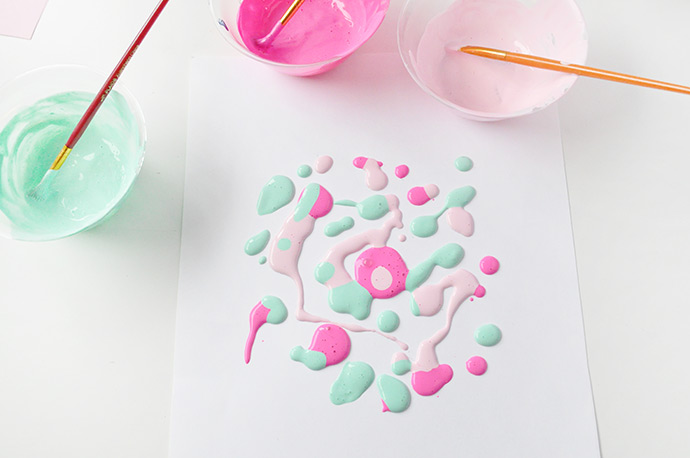
Pour / use your paintbrush to blob small drops of paint onto the cardstock.
Step 3
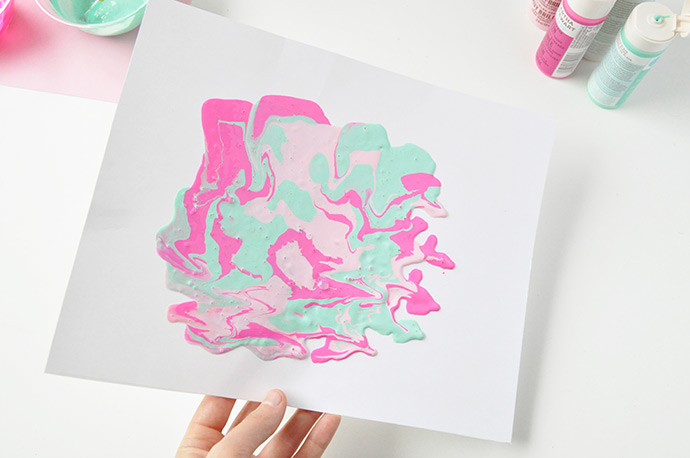
Now the fun part: tilt the paper around so that the paint blobs run and marble together, so that the paint forms a thin, marbled layer over the paper.
Step 4
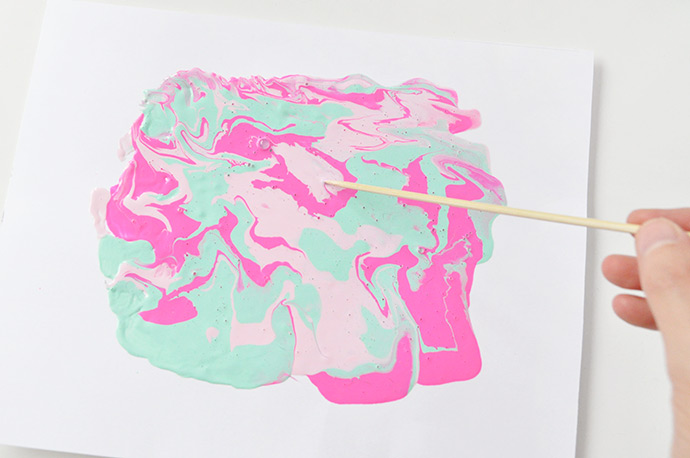
Use a wooden skewer to add any extra marbling detail if you wish. Let dry overnight or until not at all tacky.
Step 5
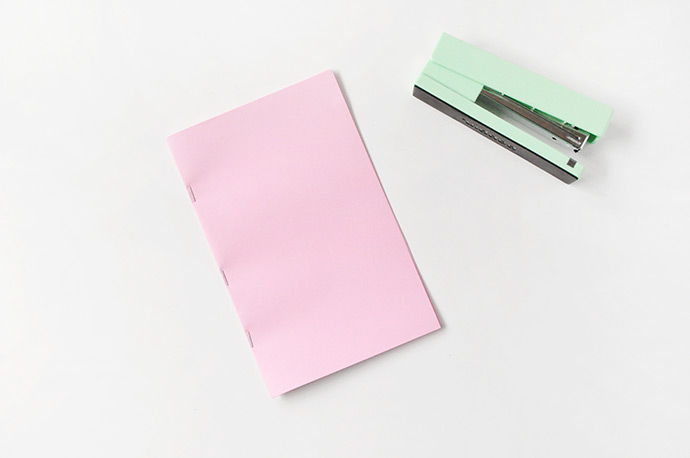
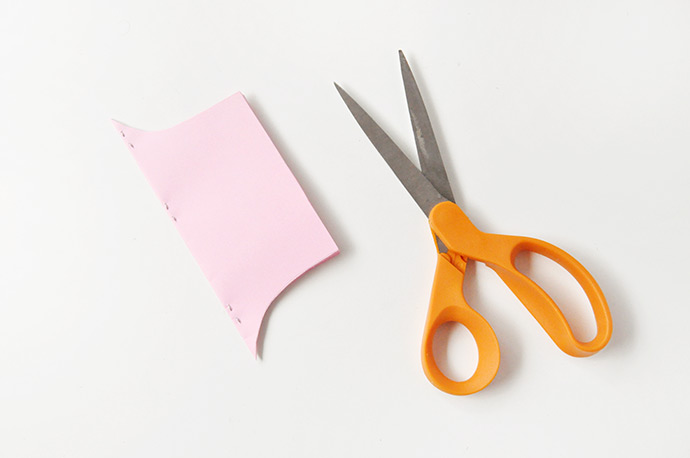
To make the base of the lantern, fold 5 sheets of colored paper in half and staple right along the very edge. You can do this with cardstock, but make sure you have super sharp scissors so that later when you cut through all 10 layers at once you still have a nice, clean edge.
Step 6
Draw your lantern outline onto the folded paper and cut out.
Step 7
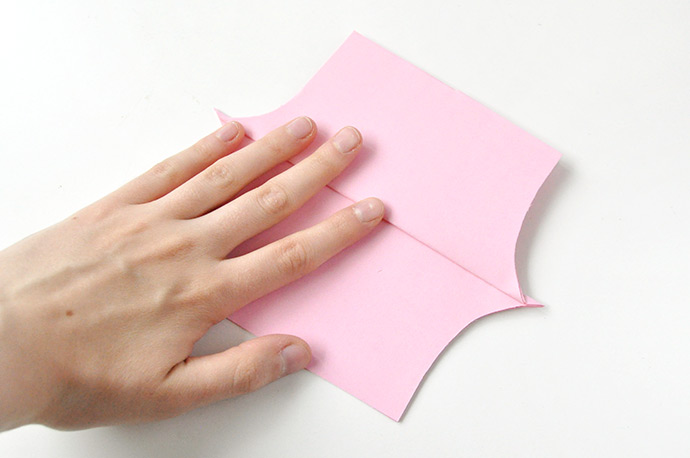
Unfold each page of the stapled papers so that it looks more like a 3D lantern than a flat notebook.

Step 8
The lantern should look something like this!
Step 9
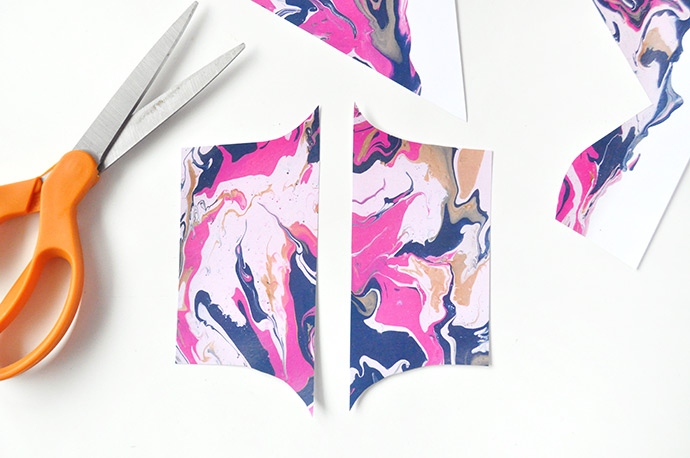
Now to add in your custom marble details! Trace the outline of the paper lantern onto your marbled paper and cut out.
Step 10
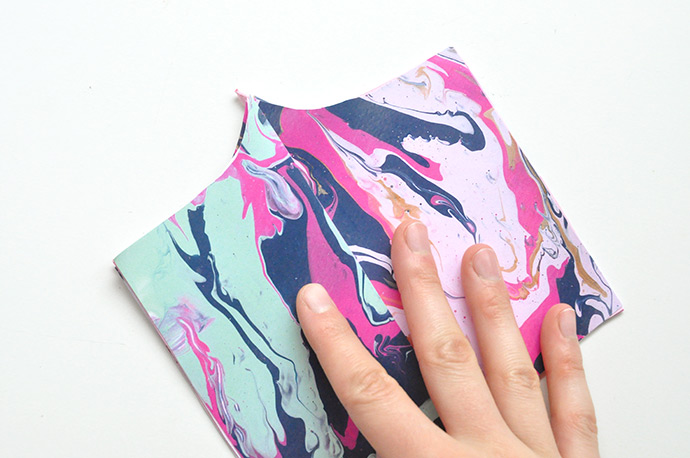
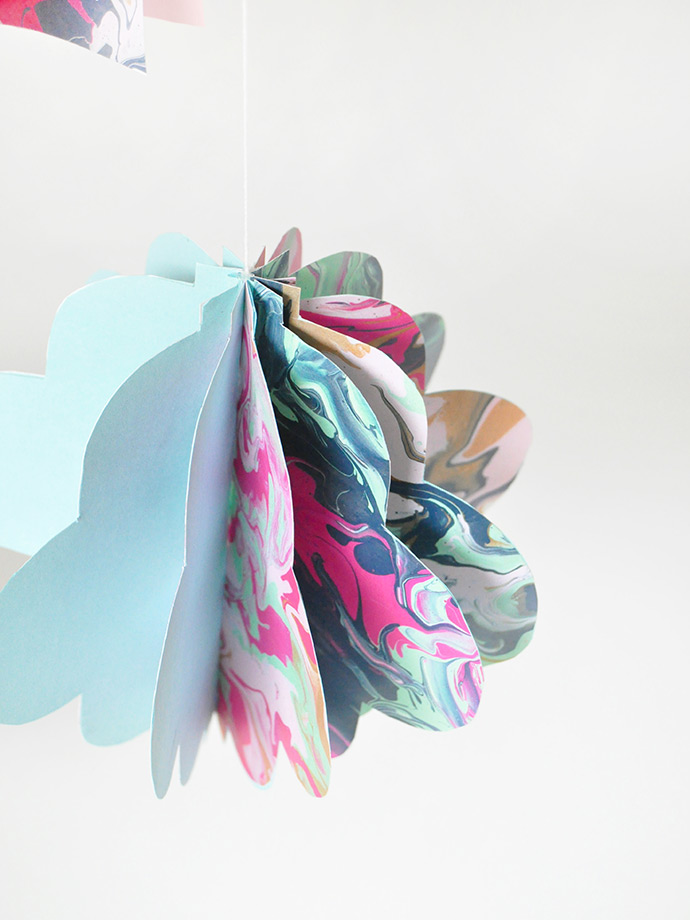
Apply pieces of double-stick tape onto the back of the marbled paper and press onto a sheet of the lantern, lining up the edges as well as possible. Trim any overhanging paper as needed so that the edges are nice and clean. Play around with the placement of the marbled sheets in the lantern – we did this lantern on every other page, and on other ones with two marbled pages together.

Step 11
Finally, tape or hot glue a piece of string into the center of the lantern fold. Let dry and then fold open the lantern again and space the papers out as evenly as possible.



This post is sponsored by Plaid Enterprises.