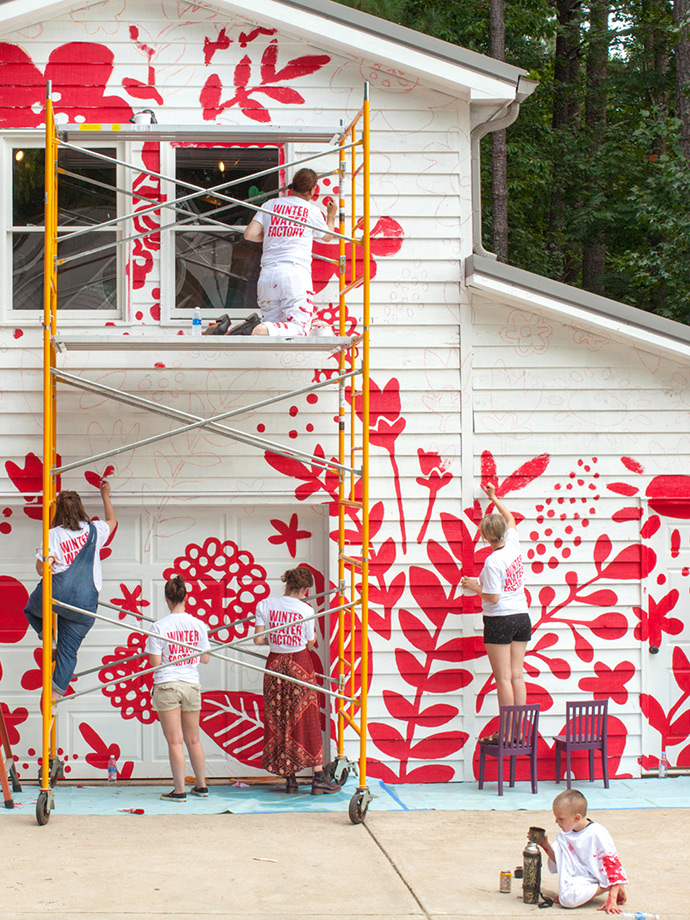
Today we’re sharing our handy tips and tricks that we learned while painting the amazing mural on our studio with Winter Water Factory and Plaid! As is obvious in these photos, we had a LOT of help and couldn’t have done this massive project on our own. Keep on reading to learn how to paint a gigantic mural all your own!!
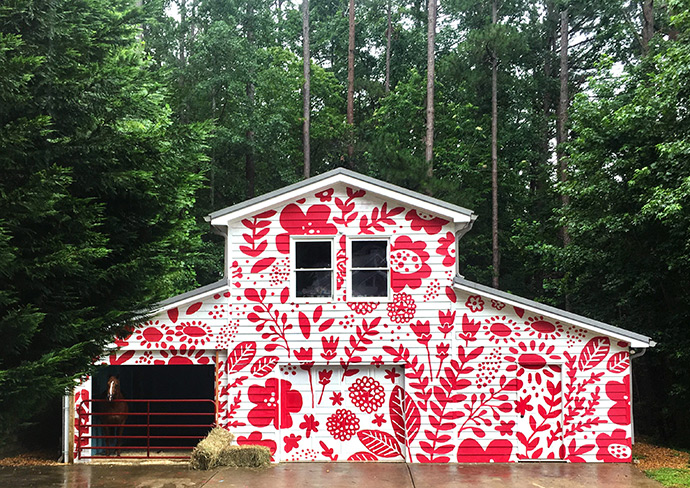
The first thing we had to do was decide on a pattern and color. We chose wildflowers, a print designed by Jessica Scott for Winter Water Factory for several reasons. First of all, it’s a beautiful pattern! We love the natural-inspired design on our studio surrounded by the lush forest. Secondly, it’s on the simple side: there aren’t tons of colors or complex shading to recreate. Third, the print is forgiving: the lines and shapes are loose and natural, so if we painted outside the lines a little bit it wouldn’t be a big problem or very noticeable. Once we got going, we were really glad to have kept these things in mind – it was so nice to relax and not stress out about perfectly straight lines or super tiny details. If you’re planning on painting your first mural, we suggest starting with an organic and simple pattern like this one.
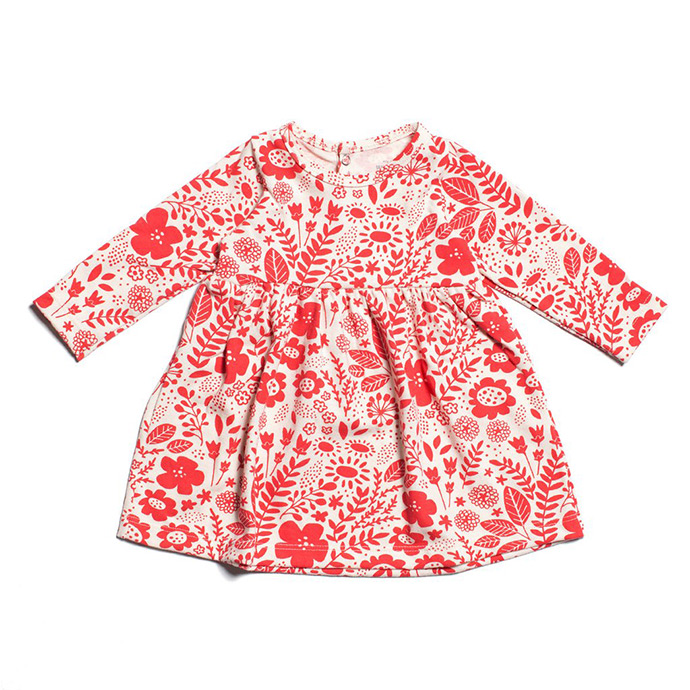
We’re also super excited to share that Winter Water Factory’s new fall collection has just launched! The collection includes new clothing in the wildflowers print – we especially love this Geneva baby dress that matches our studio perfectly! As always, every Winter Water Factory product is made in the USA out of 100% certified organic cotton. We’re so glad that we got to collaborate on this mural with such a creative team!
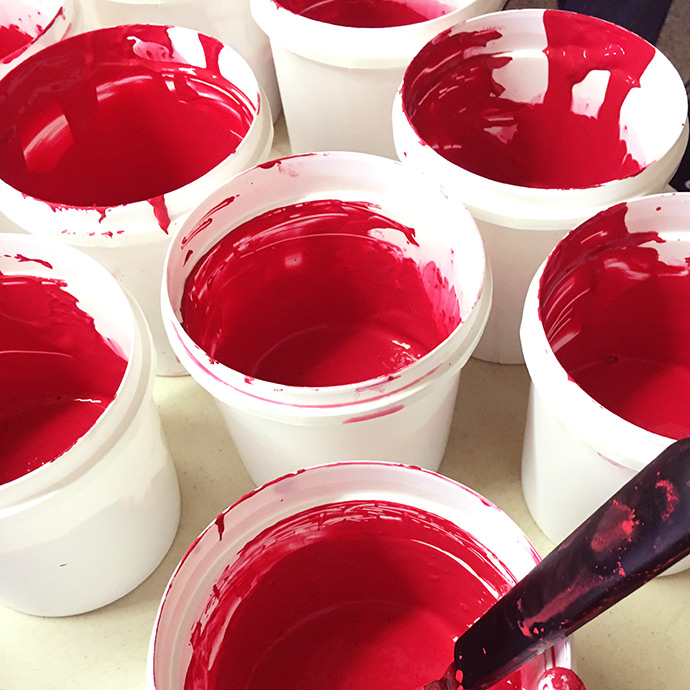
For the color of our mural, we decided to use Habanero, a bright red shade of Martha Stewart Crafts Multi-Surface Acrylic Craft Paint. We loved the contrast between the red design and the green forest right behind the studio. The combination was too perfect to do anything else! If you’ve ever used Martha Stewart Crafts paints before, you know how great they are in quality. They’re formulated to coat all surfaces and are highly pigmented so that you’ll get full coverage without having to apply coat after coat. Plus, they’re made to last indoors and outdoors, and are both UV and weather resistant! This is exactly what we needed for the exterior of our studio, and we’re so so happy that Plaid sent over all the paint we needed for this project. Thanks Plaid!
We actually created a simple digital mock-up on Photoshop to see how the combination of the print and color would look on the studio before we set anything in stone. If you have access to Photoshop, or a similar editing program, we highly recommend spending a few minutes on this step to make sure you’re happy with all of your choices.
Our studio was pretty much ready to go but you’ll want to wash down your surface with a cloth or sponge and some soapy water to make sure there isn’t any dirt, dust, or debris coating your wall. The studio was already painted white with an exterior paint from when it was built, so we just gave it a quick wash and used the leftover white paint on any spots that needed a touch-up. If you need to give your wall a base coat before beginning on your mural, make sure to let it dry completely before moving onto the next step.
Time to trace! We rented a projector from a local camera shop and they helped us pick one that was just right for our needs. Since our studio wall is quite large, we needed a strong projector but depending on the size of your mural it may make just as much sense to buy a projector online vs renting. There are lots of different ones available online with different features, so take a look and pick one that is a good fit for your mural. If you’re having trouble narrowing it down, it doesn’t hurt to pay your local camera shop a visit for some advice!
Depending on the projector you use and your design, it can help to outline your design file with a strong black line so that the projection is as clear and crisp as possible. You can do this using photo editing software, or by hand and scanning/copying as needed.
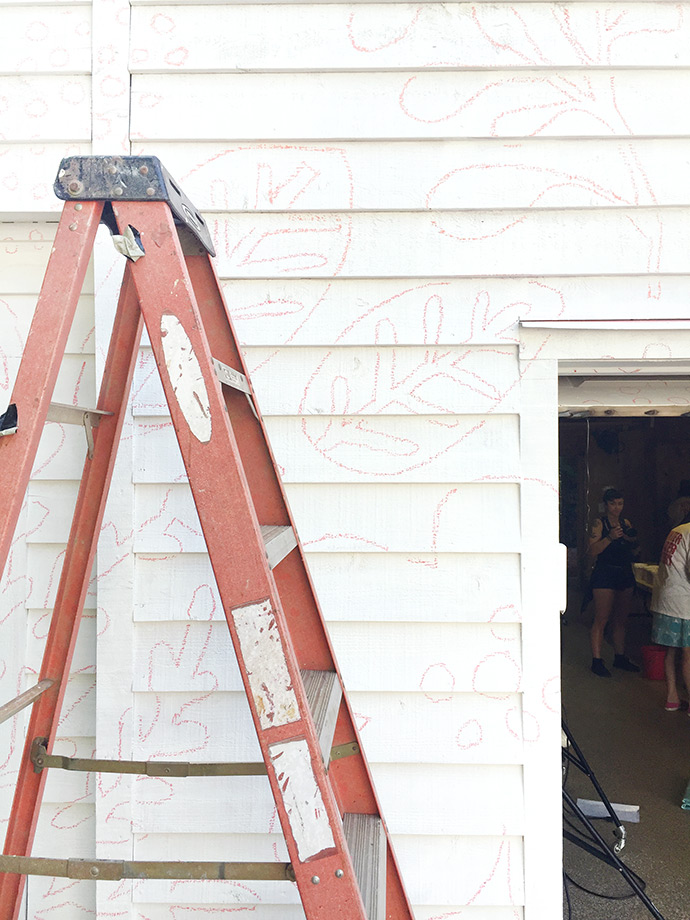
Once it was dark, we turned on the projector and got tracing! It took us about three hours to do the whole thing, but this will of course vary depending on how big your mural is, the intricacy of the design, and how many helpers you have! We used red chalk to outline the shapes so that we could wipe it away super easily later on if any of it was still exposed.
Also, a little bit of a no-brainer, but it helps to prep your area before it actually gets dark – set up your ladders (and scaffolding if you’re using it) ahead of time, gather up the chalk, and have the projector and design file all ready to go. You don’t want to be up too late working on the outline since you’ll have to be up bright and early the next day to paint everything!
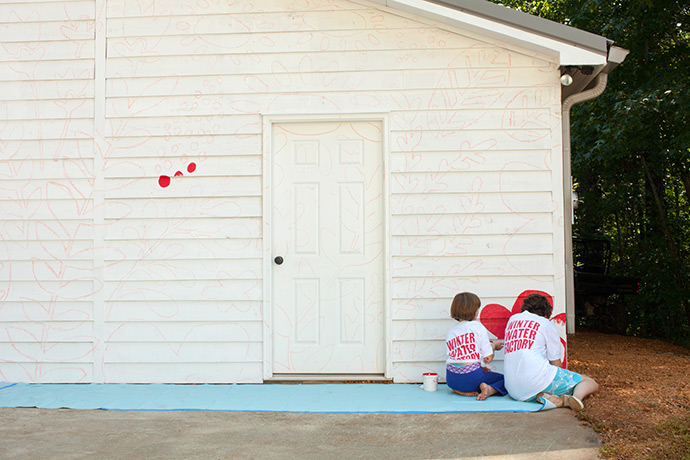
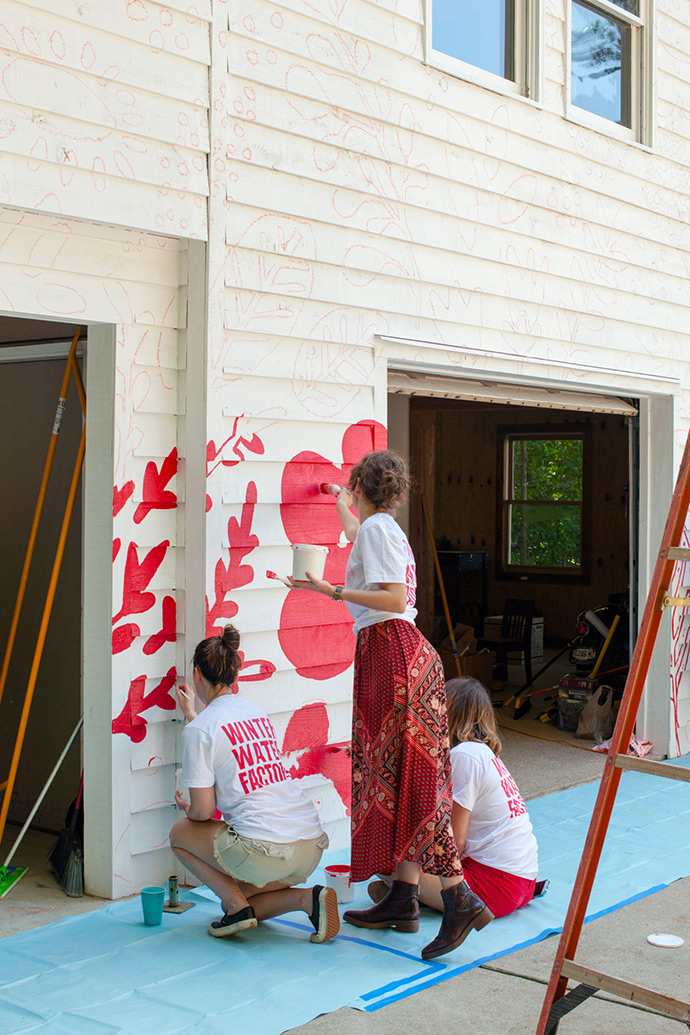
Phew! Now that you’re all prepped, you’re ready to have your paint party! Lay down some drop cloths to keep your floor tidy and let the painting begin! We poured our paint into yogurt-sized containers that were easy to hold in one hand so that all our family and friends could have their own paint and not have to go back and forth dipping their brushes.
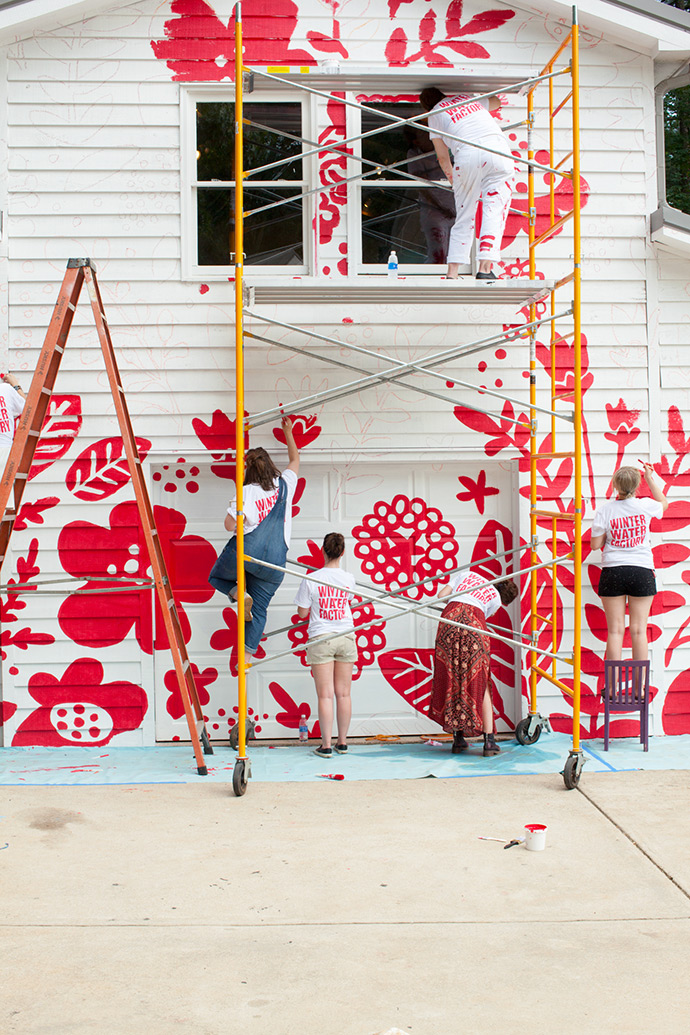
We set up several ladders, step-stools, and even chairs so that everyone could reach where they needed to. We even rented scaffolding since our studio wall is two stories tall. Make sure you invite some friends who aren’t afraid of heights!
Plaid supplied lots of Martha Stewart Crafts brushes for us to use with the paint – we had a variety of different sizes for our painters to choose from: this basecoat brush set and large brush set were great for larger areas, but we had smaller brushes from the basic brush set on hand too, for spots that needed a little more control. Make sure to use good quality brushes like these ones when painting your mural! There’s nothing more frustrating than losing bristles as you go, or stray bristles making your edge all messy.
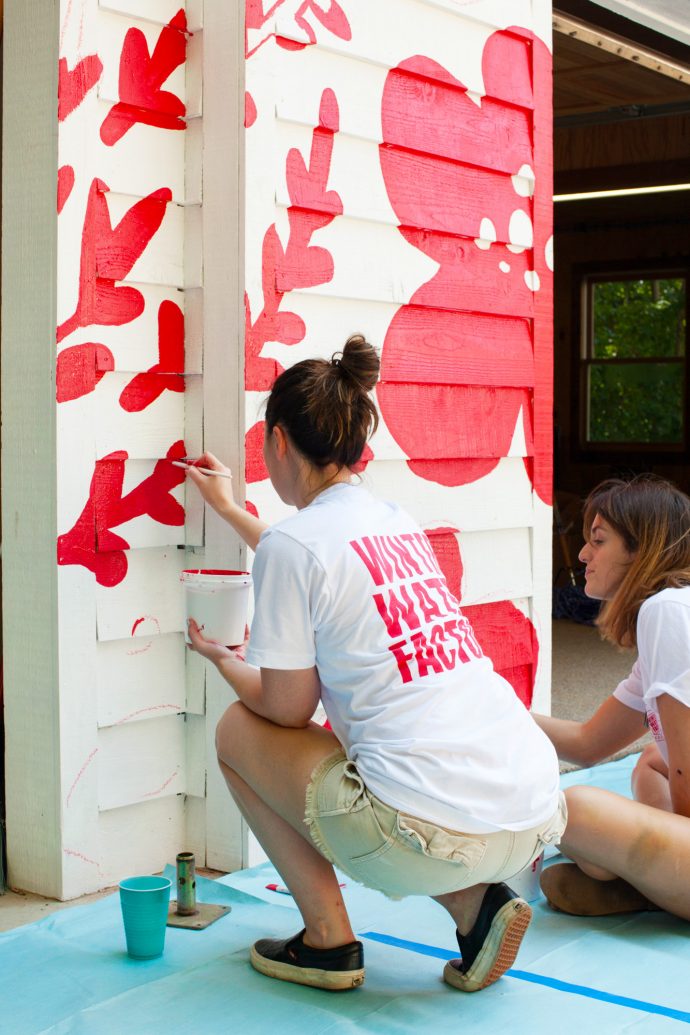
And then just keep painting and painting until your mural is all filled in! Don’t forget to look at the mural from all angles – as you can see in the photo above, we had to paint the bottom edges of the wooden boards so that the pattern wouldn’t have white lines going through it. For the spots around the doors and garage door openings, we kept those white and chose not to try connecting the shapes together. Since the projector only gave us a 2D pattern, it would look funny to try to complete the pattern from the other direction. When in doubt, we found it was best to just keep it simple!
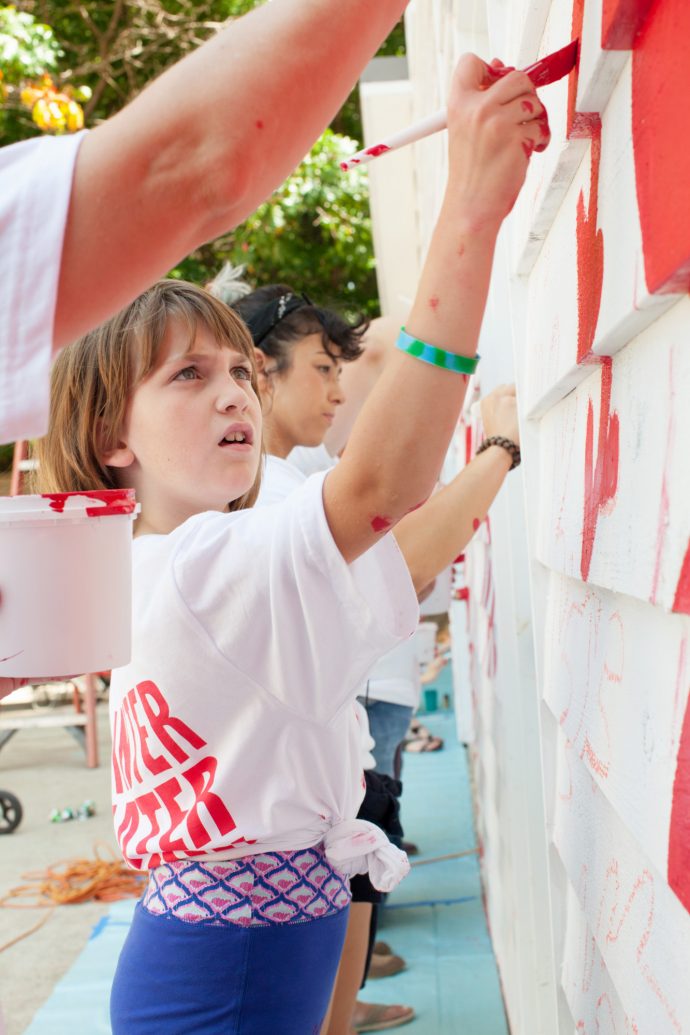
Once you’ve filled in all your lines, let the paint dry completely and then use a damp cloth to wipe away any visible chalk lines. Since the Martha Stewart Crafts Multi-Surface Acrylic Craft Paints are weather and UV resistant, we didn’t need to put any sealer or clear coat on top. Three cheers for saving a step!!
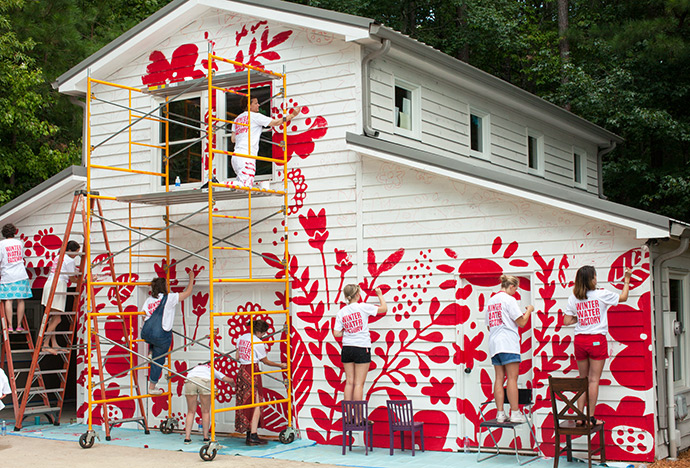
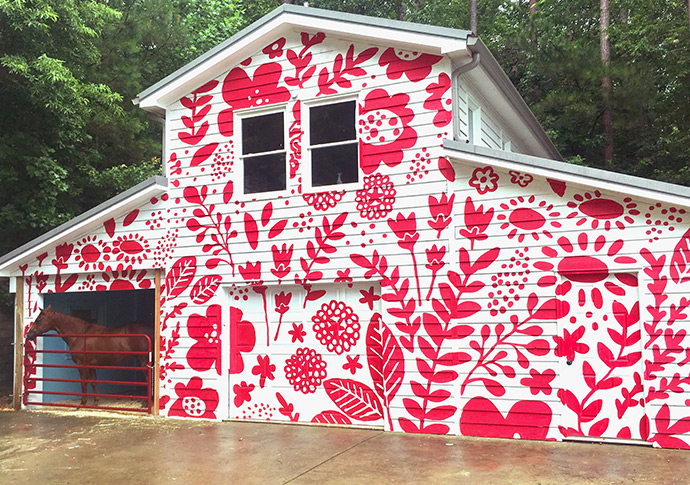
You should be left with an absolutely show-stopping mural!! We’d again like to thank Winter Water Factory and Plaid for collaborating with us on this dream project. Our studio has never looked better!! And of course we have to thank our amazing and talented friends, family, and neighbors who all helped us paint the weekend away – we couldn’t have done it without you!
Photography by Todd Warnock