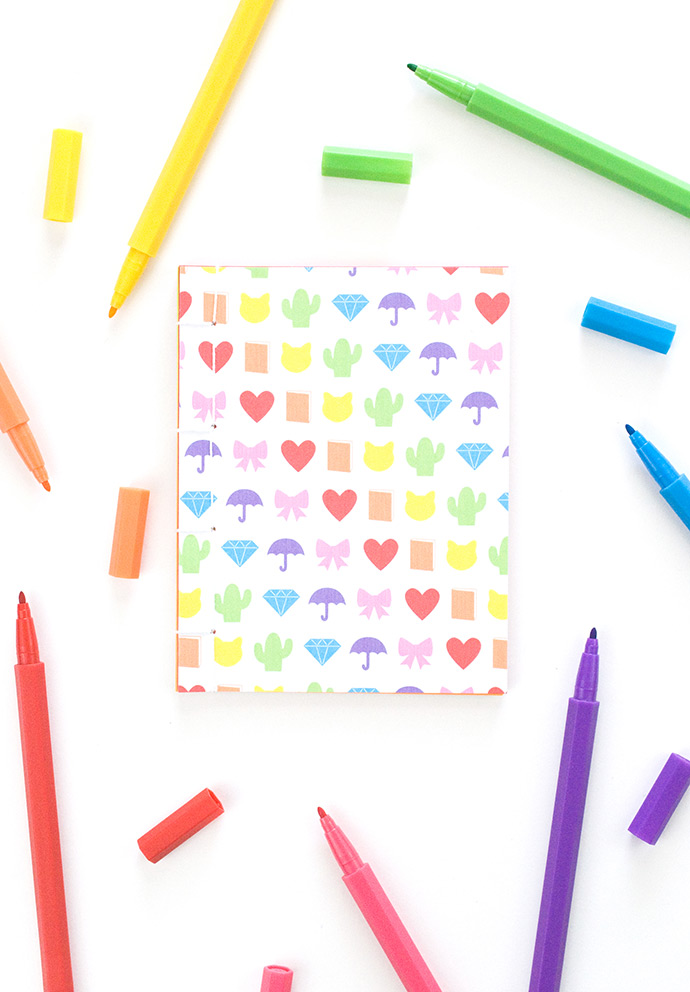
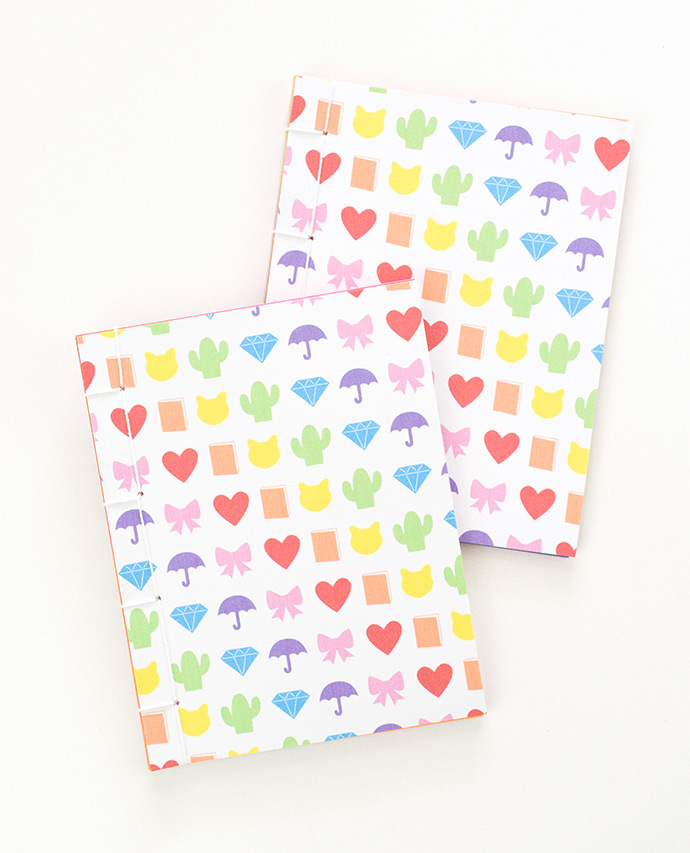
Whether you’re heading back to school or you just need a spot to doodle fun ideas, it seems you can never have too many mini books. They’re handy to write and draw in, and they’re also tons of fun to make! There are lots of ways to create your own mini book, and in this tutorial, you’ll learn a method of Japanese bookbinding.
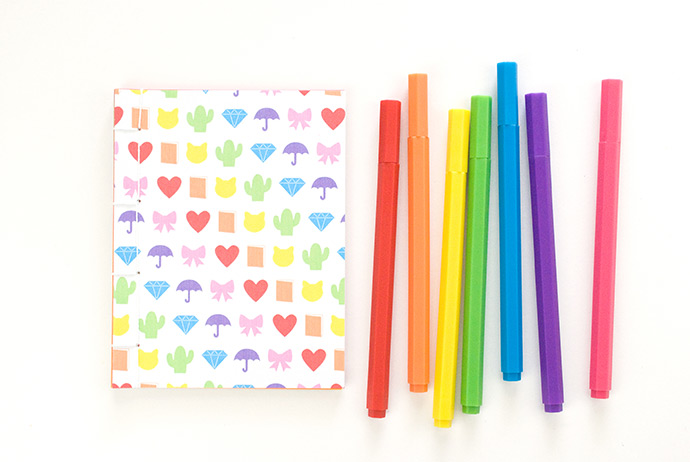
And your books will be extra cute when you fill them with rainbow pages and cover them with a rainbow of emojis!
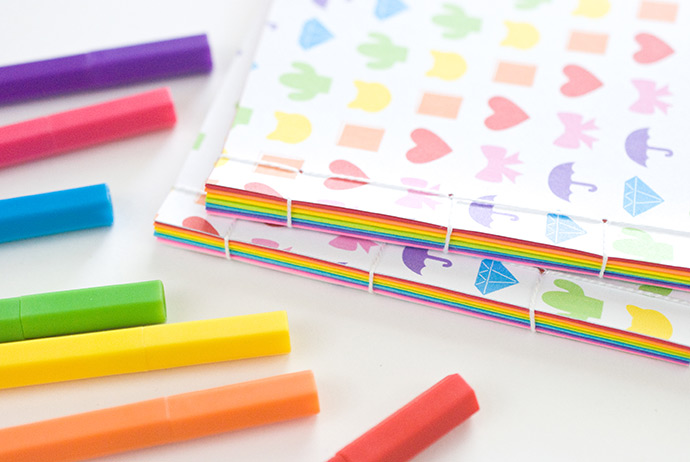
The secret to making mini books that look like they’re made by a pro is to keep your pages lined up and to stitch following a simple pattern. The binding will hold everything in place and it will look great too!
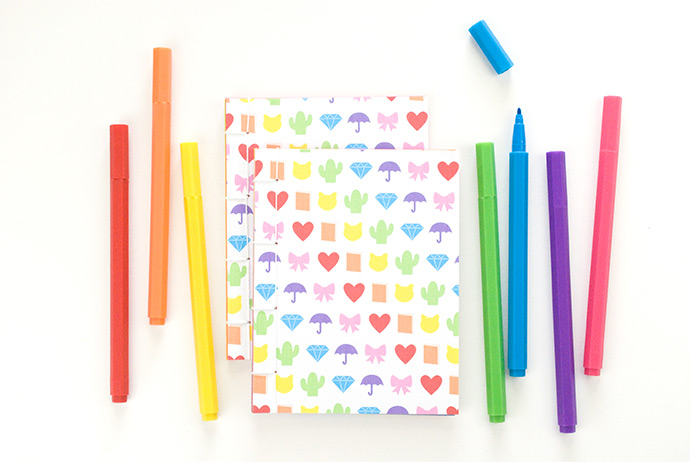
Once you’ve made one, you’ll be ready to start making books for all your friends!
what you need:
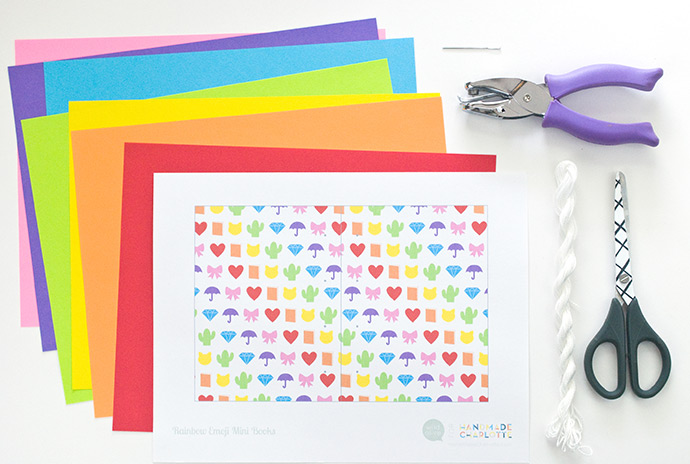
- Card stock
- Colorful paper
- Perle cotton embroidery thread
- Scissors
- 1/16in hole punch or a push pin
- Large blunt needle (a size 20 tapestry needle works well)
- Printable rainbow cover
how-to:
Step 1
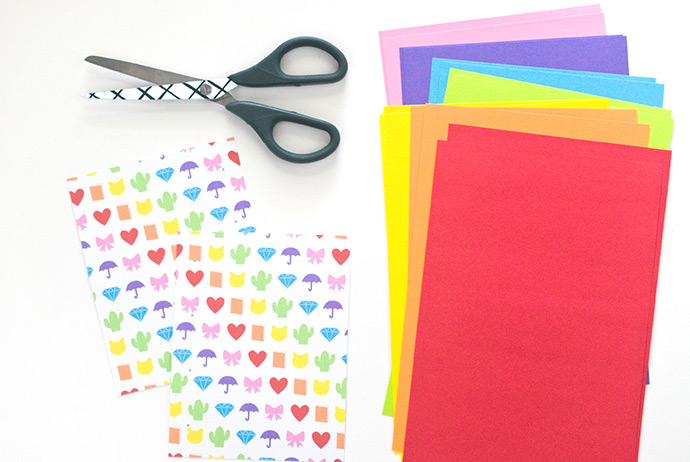
Print the covers from the template PDF on card stock. Cut around the rectangle and then cut it in half on the gray center line.
Cut the colorful paper in half.
Note: This project is designed to fit US letter size paper. If you are using A4 size paper, print the cover and then trim the colorful paper to match the size of the front/back cover before they’re cut apart.

Step 2
Fold the colorful pages in half, keeping them in groups of two folded pieces.
Step 3
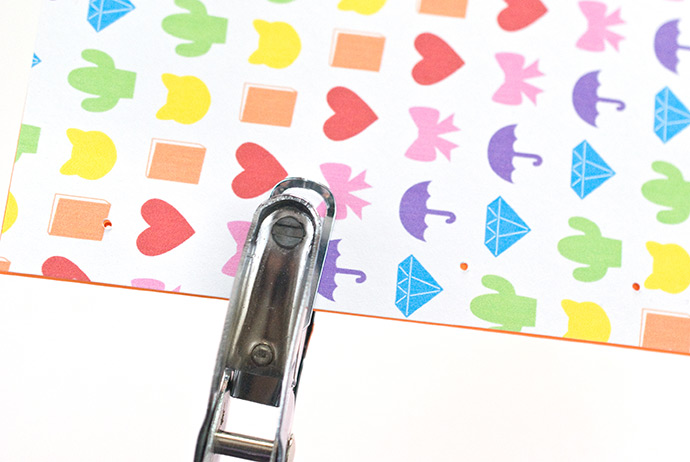
Punch a small hole on each of the gray dots on the front and back covers. Use one of the covers as a guide for punching the same holes on the fold side of each set of pages.
Marking the holes with a pencil is easier for younger children. Or try holding the pages while you punch them, as shown.
If you don’t have a hole punch, use a push pin, pressing it through the paper and into a piece of cork.
Step 4
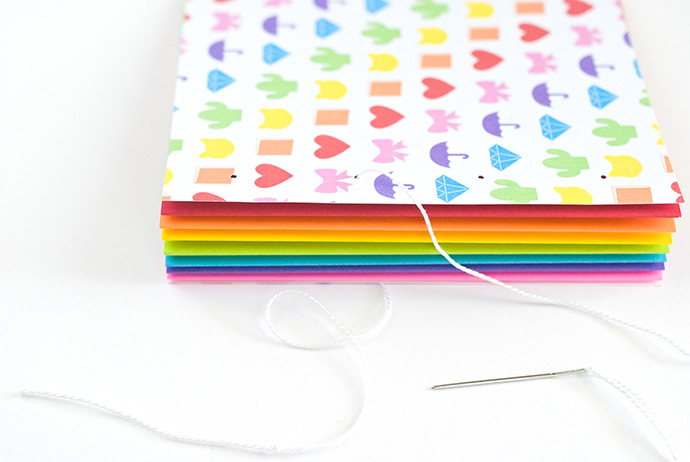
Stack all of the pages so they line up and between the front and back covers.
Cut a 3ft piece of perle cotton embroidery thread and tie a large knot about 3 inches from one end. Thread the other end through your needle.
Bring the needle through the second hole from back to front.
Step 5
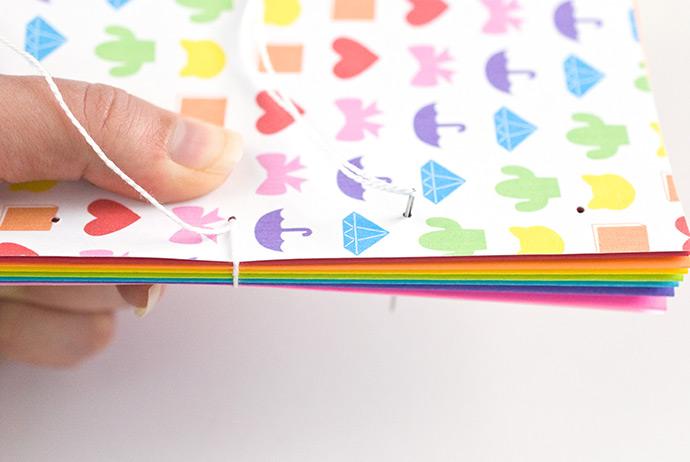
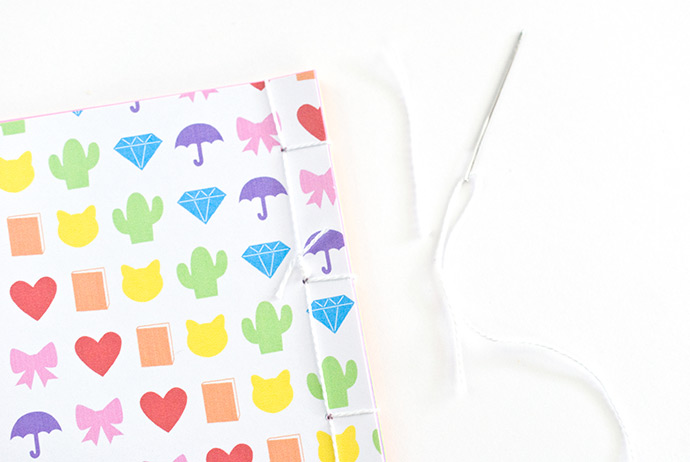
Bind the mini book using 4-hole Japanese bookbinding. Make sure you pull the thread tight at each point that you stitch.
Bring the thread around the edge and back through the same hole from back to front.
Next, go down through the third hole from front to back. Bring the thread around the edge and back through the same hole from front to back.
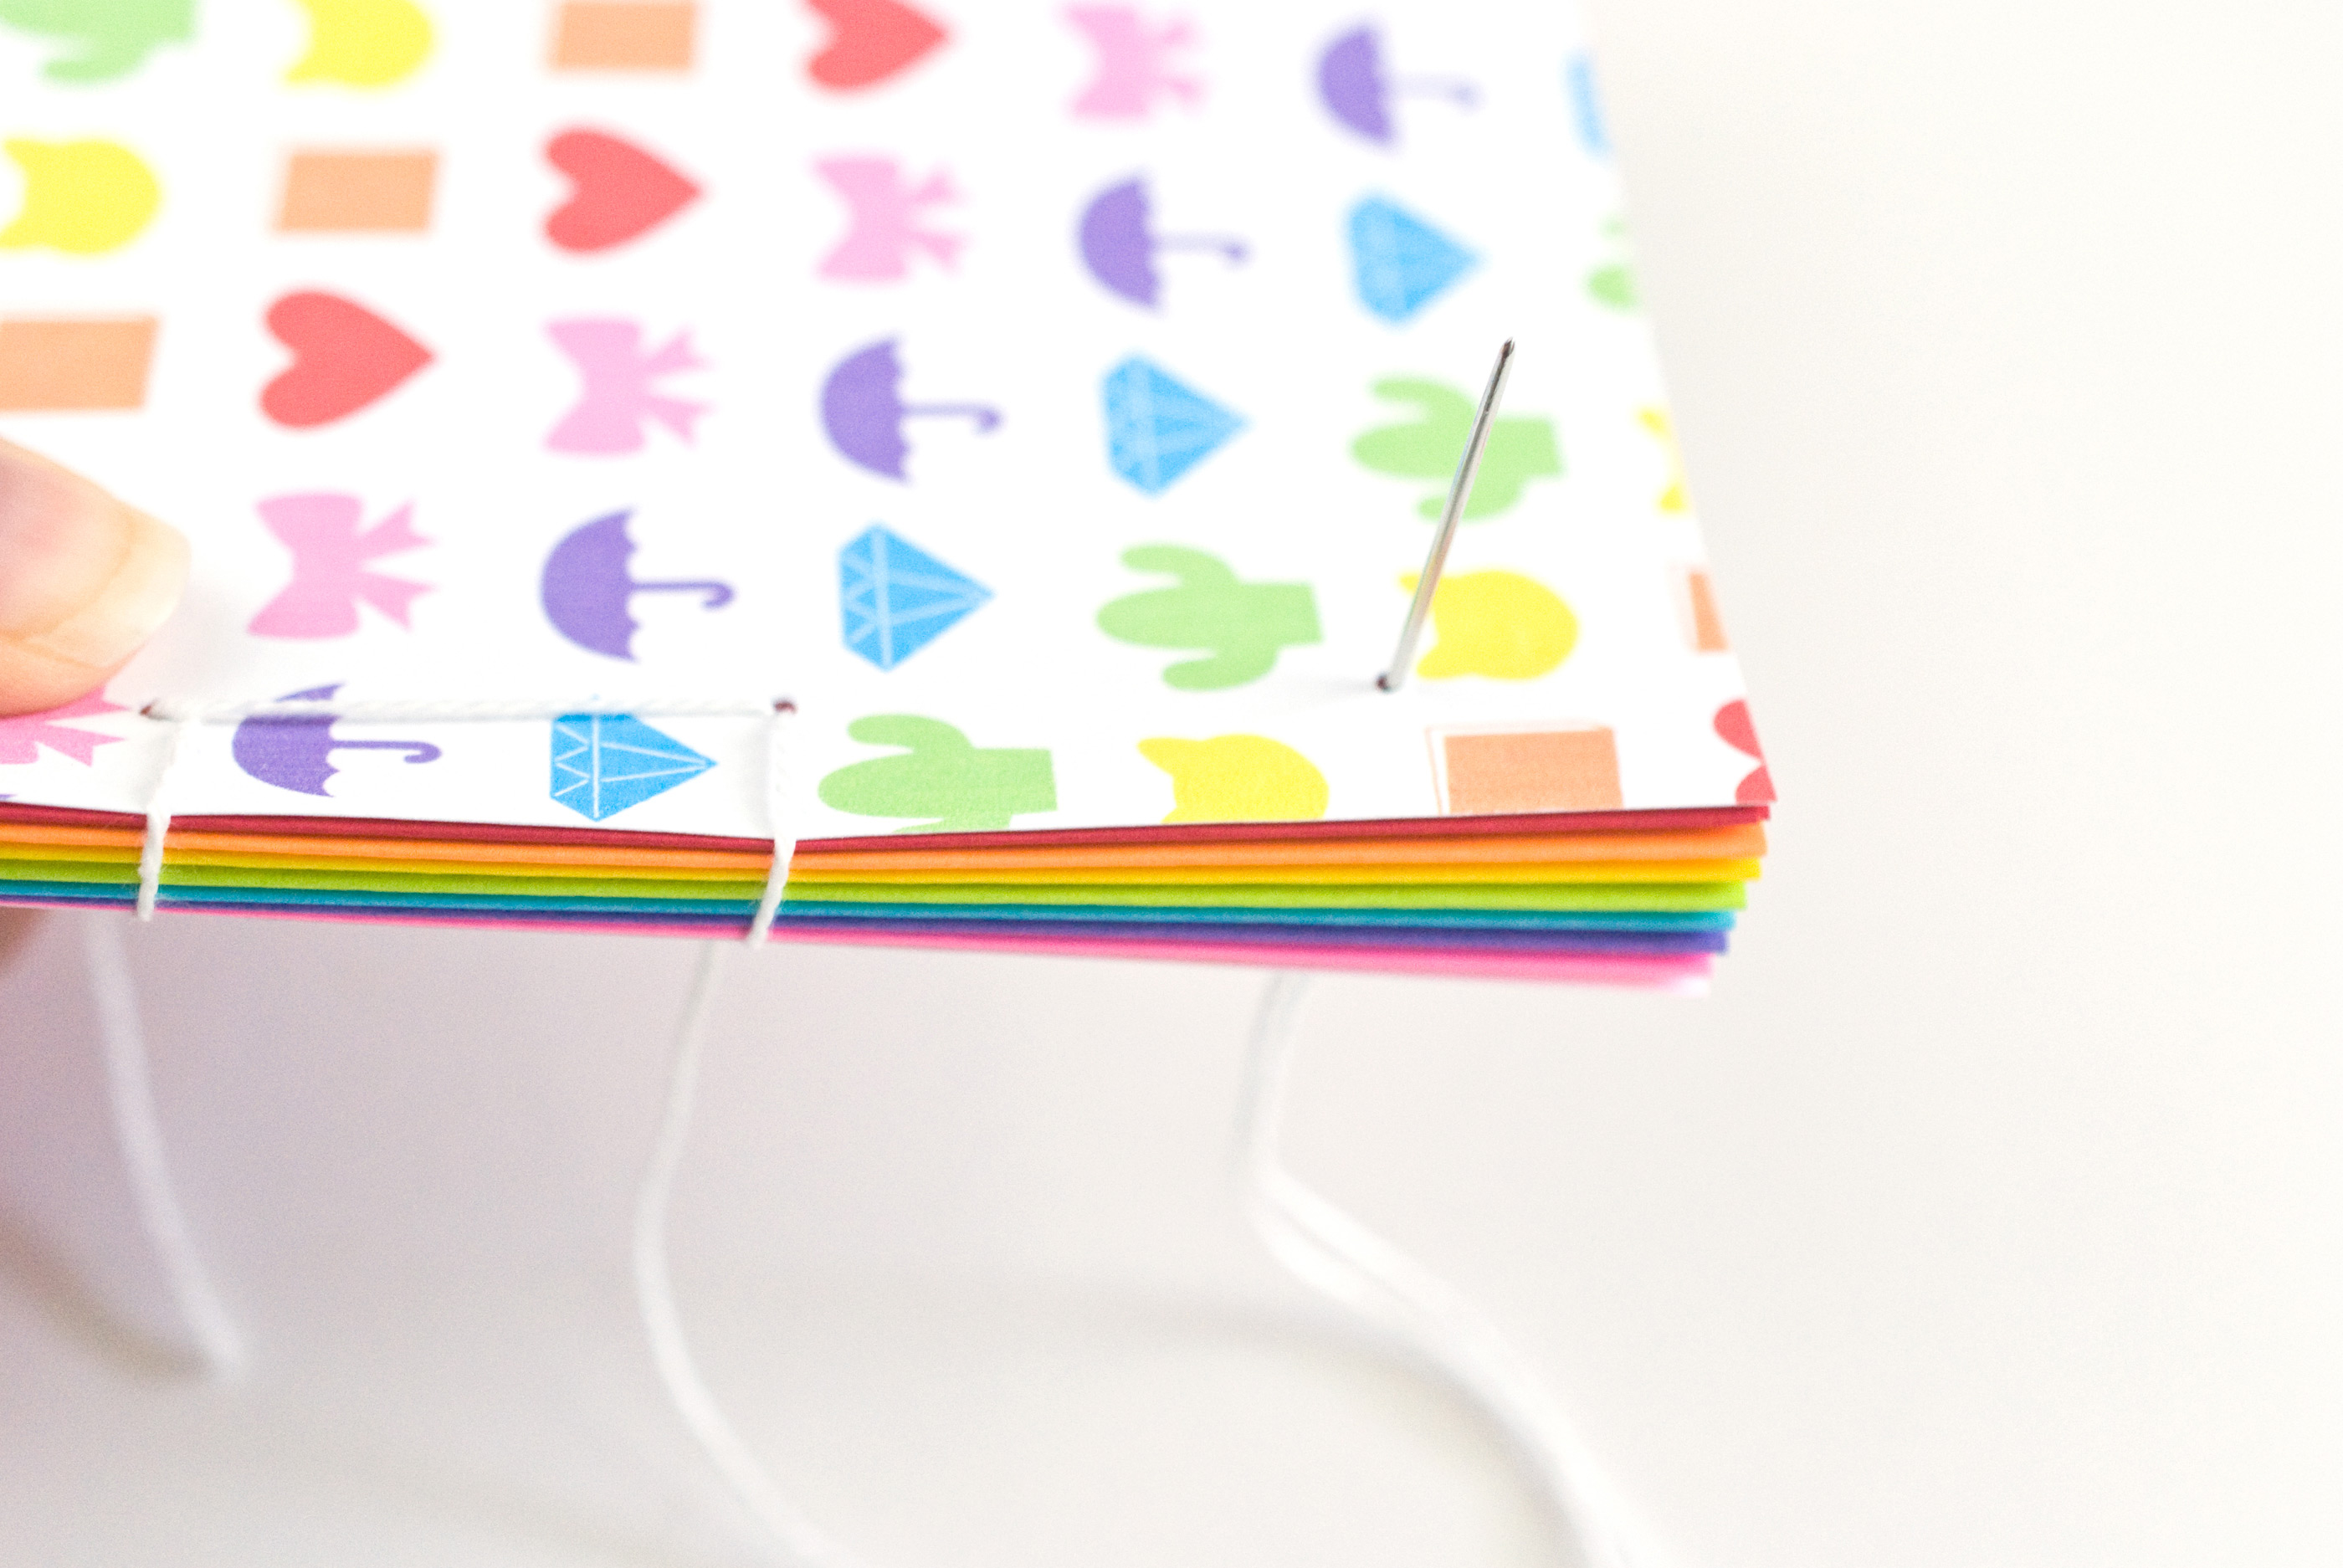
Bring the needle through the fourth hole from back to front, then around the edge and back through the same hole from back to front.
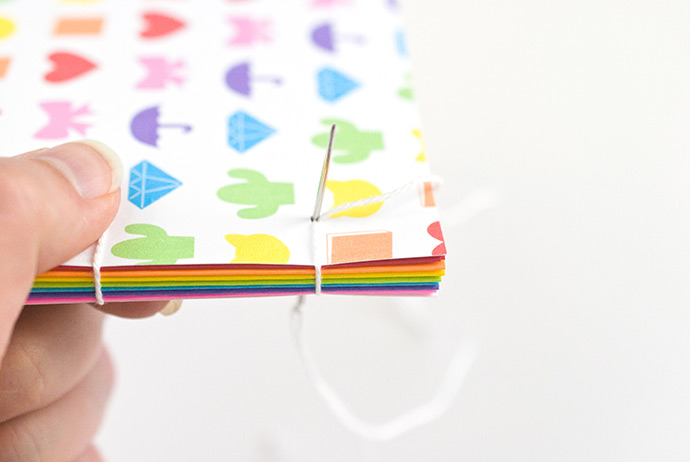
Step 6
Go around the bottom edge and bring the needle through the same hole from back to front.
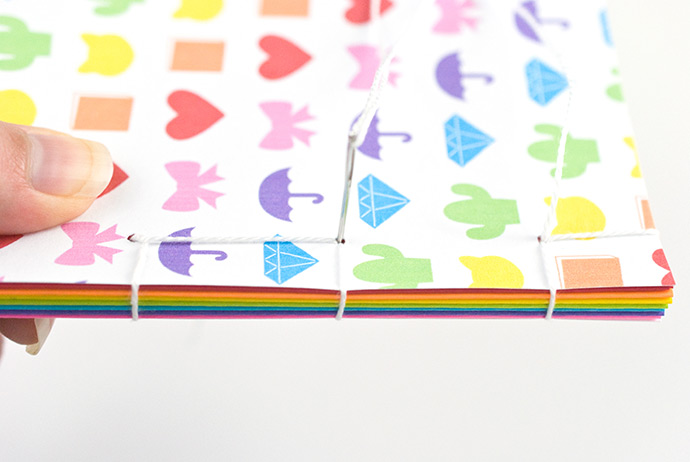
Go down through the third hole and back up through the second hole.
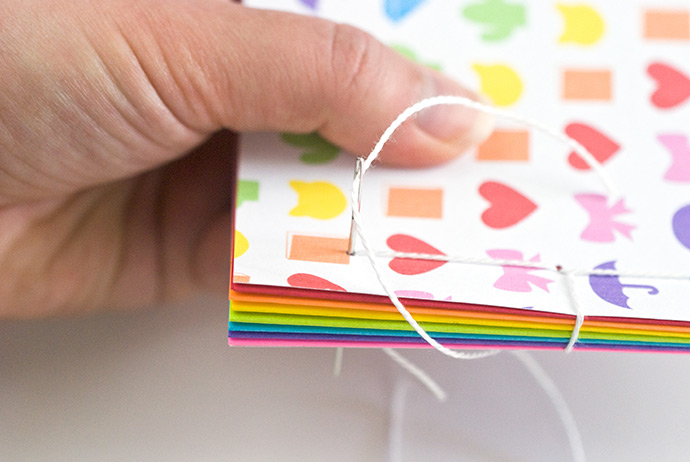
Bring the needle through the first hole from front to back. Go around the edge bring the needle and back through the same hole from front to back.
Go around the top edge and bring the needle through the same hole from front to back.
Step 7
Tie off the thread with the tail from the starting knot and trim the ends.
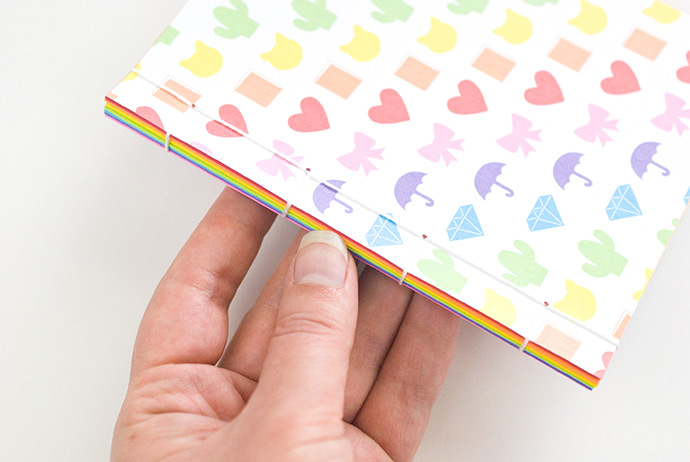
Your finished mini book should feel tight and secure. But even if it’s a little loose, it will still hold together just fine. And with each book that you make, it will get easier!

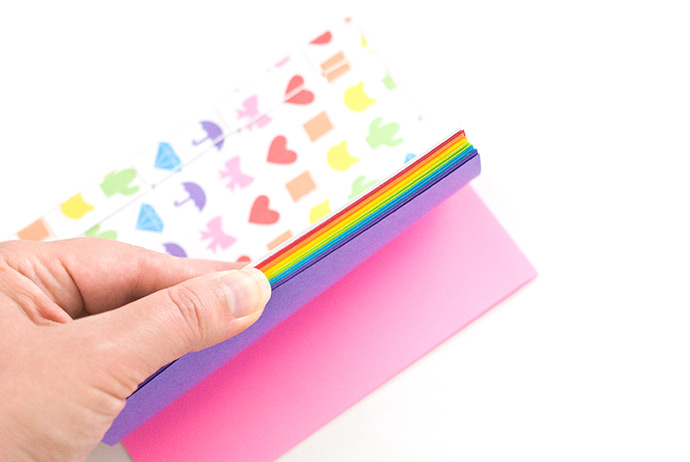
Putting the colorful paper in rainbow order makes the inside of the book as cute as the outside. Of course, you can use different kinds of paper inside if you’d like. Try plain white paper for sketching or lined paper for writing notes.
Happy crafting!