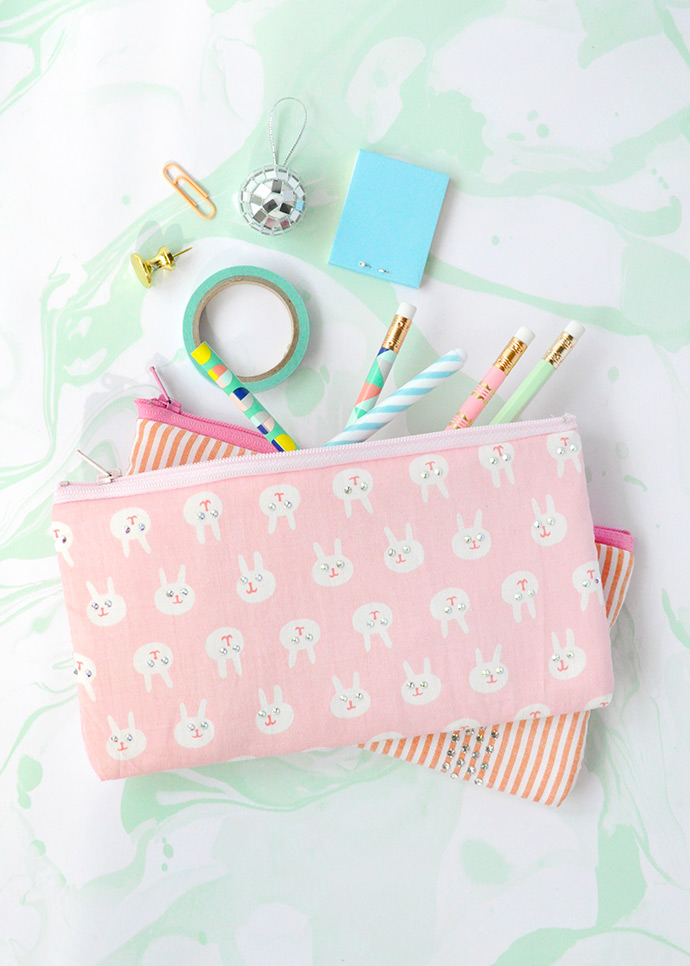
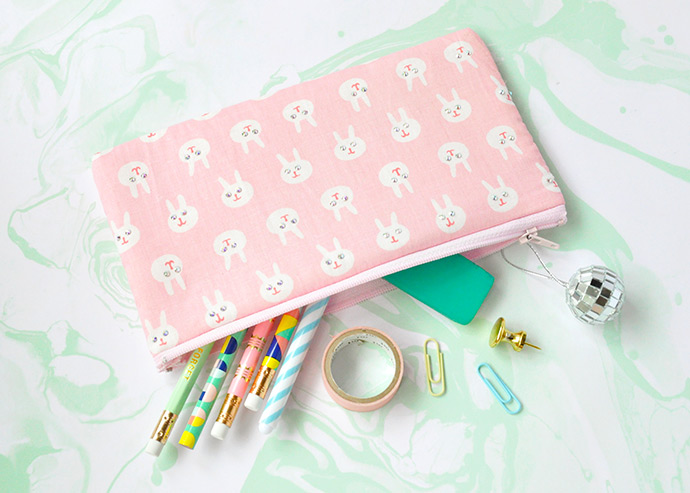
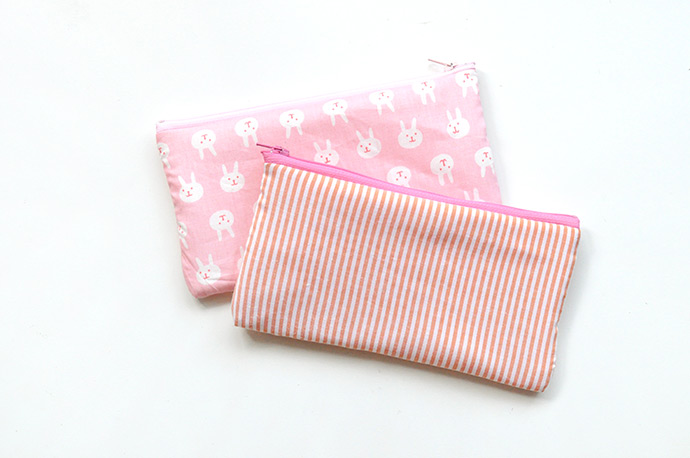
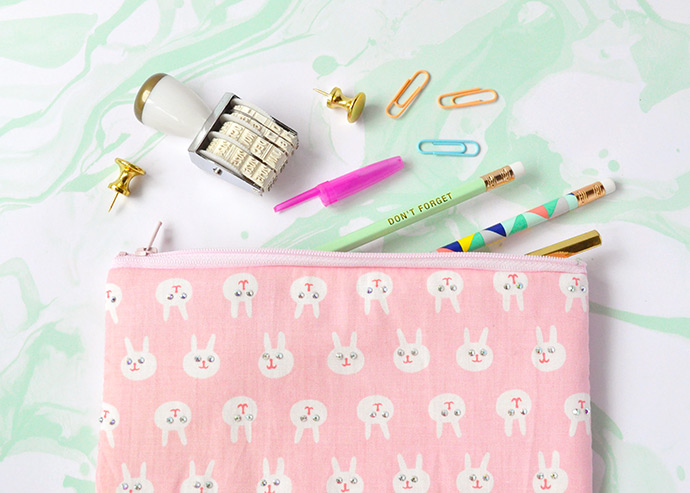
Make back-to-school fun with these DIY bedazzled pencil cases! This project is the perfect way to turn small scraps of fabric into something useful and fun. We used patterned cotton so that we could use the design as a jumping off point for bedazzling, but you could use a solid color and let the gemstones be the center of attention!

If your kids are just learning to use a sewing machine, these pencil cases are a a good way to learn how to sew in a simple zipper and helps get them thinking about basic assembly. It can be a little tricky understanding and remembering which sides need to face which way when sewing, but these pencil cases are a good place to start.
what you need:

- Patterned cotton
- Felt
- Closed end zipper (20cm, or similar)
- Scissors
- Pins
- Sewing machine + thread
- Iron (optional)
- Crystal Ninja Starter Kit
- White tacky glue (optional)
how-to:
Step 1
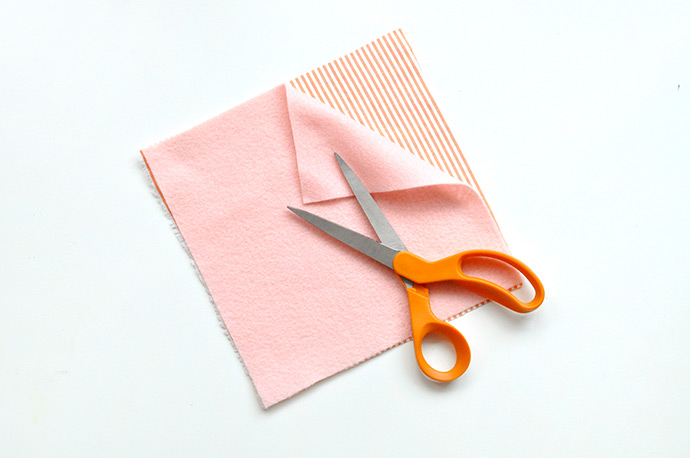
Layer your felt (liner) and cotton (exterior) together and cut into a square that’s about 8 1/2″ by 8 1/2″. Feel free to adjust these measurements to fit your needs.
Step 2
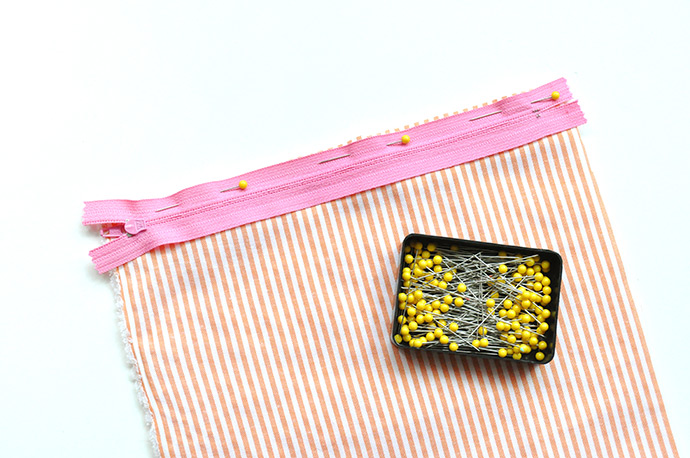
Pin the zipper to the top edge of the square so that the right side of the zipper is facing the exterior cotton of the pencil case. Sew together on your sewing machine.
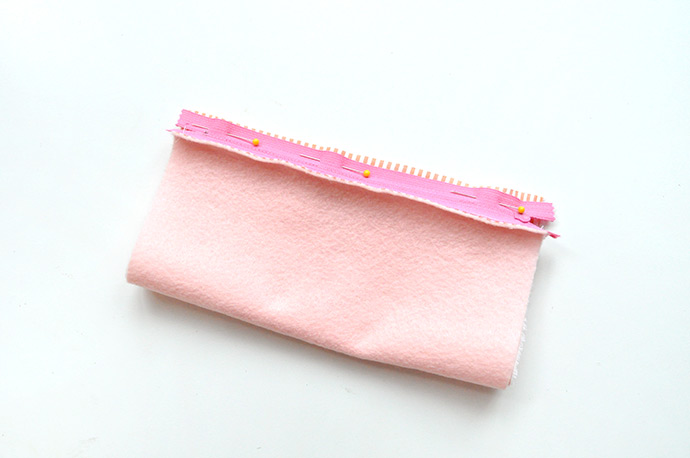
Step 3
Repeat the previous step, but this time pin the zipper to the opposite edge of the fabric still keeping the right side of the zipper and the exterior cotton facing together. Sew along this edge.
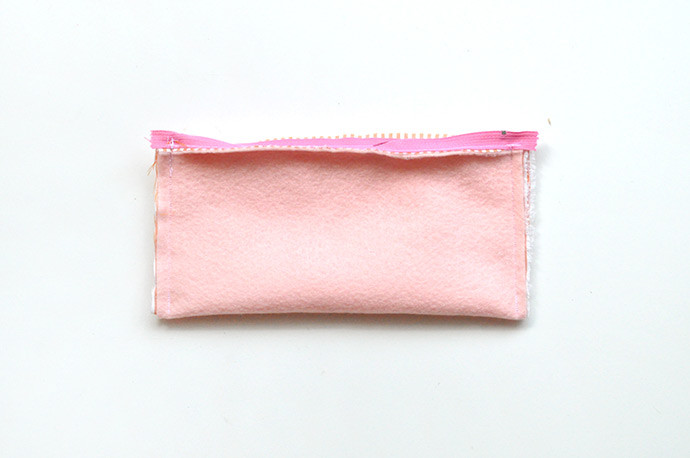
Step 4
To close the sides of the pencil case, simply sew along the two open ends of the fabric tube.
Step 5
Unzip the pencil case and turn right-side out. Press with an iron if needed.
Step 6
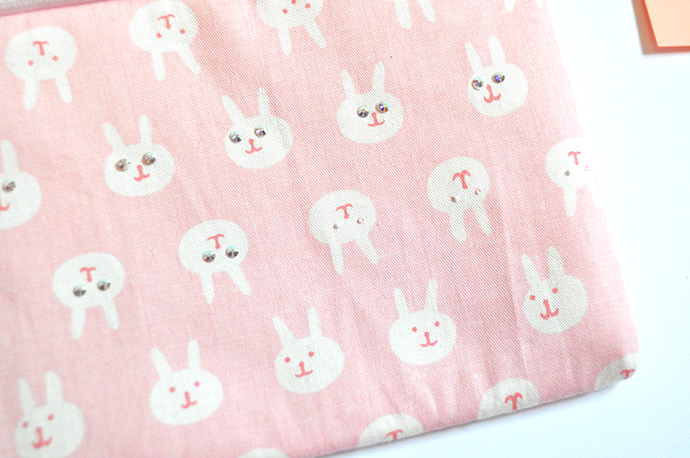
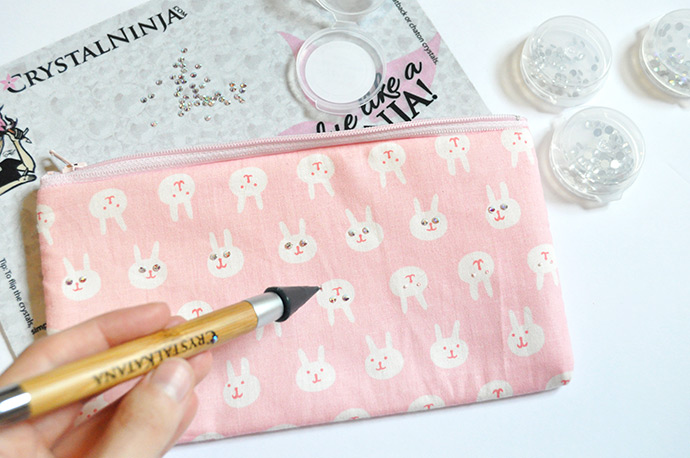
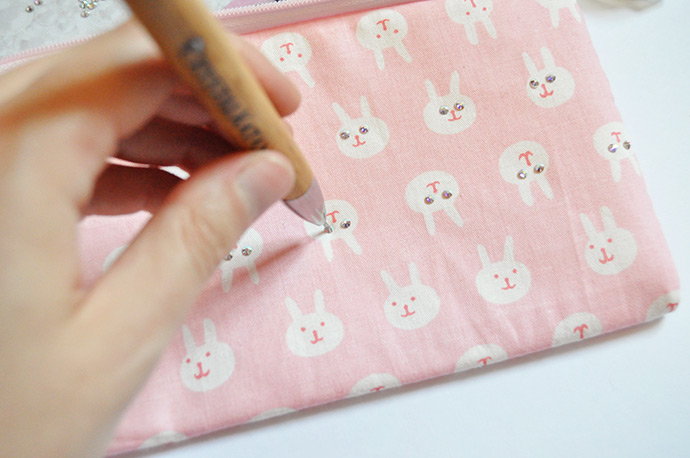
Let’s get bedazzling! To keep this project kid-friendly, we decided to use tacky white glue instead of E6000. Apply a tiny dot, or line, to wherever you’d like to apply your gems and crystals.
Step 7
We used the Crystal Katana tool to make placing our crystals super easy.
Step 8
Make sure to press each crystal securely into the glue, and let dry.
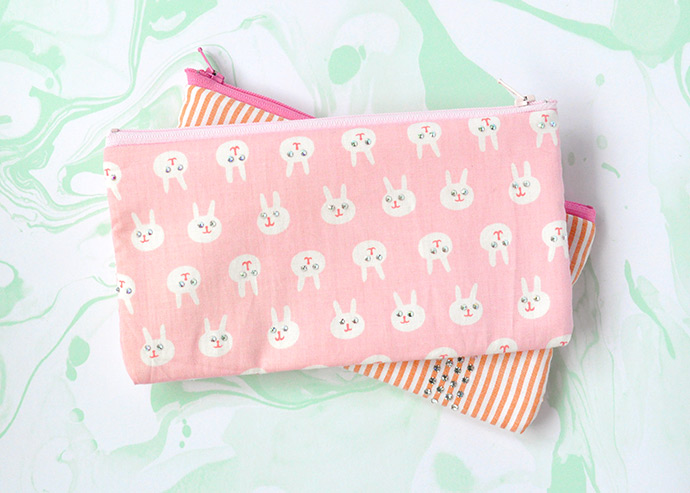

Happy crafting!!