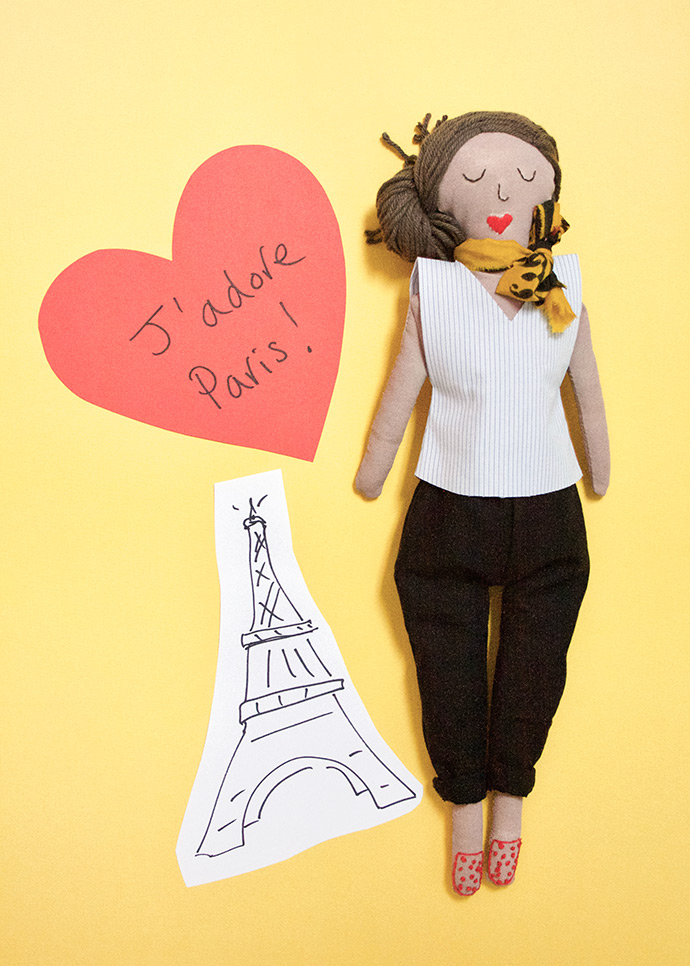
Taking inspiration from classic French style icons such as Ines de la Fressange, our second doll-making tutorial in the ‘Dolls Around The World’ series is a tribute to one of the most beautiful cities in Europe. With classic black capri pants and light, striped oversized shirt, Parisian chic never goes out of style.
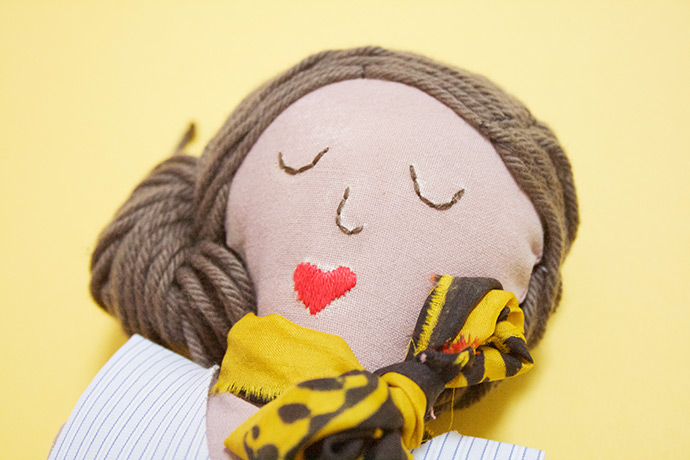
what you need:
- Paper pattern download
- Light pencil
- Piece of black cotton, approx. 15” x 12” (or 40cm x 30cm)
- Piece of skin coloured cotton, approx. 15” x 12” (or 40cm x 30cm)
- Piece of striped cotton, approx. 10” x 6” (or 25cm x 15cm)
- Piece of silk fabric long enough to tie around neck
- Small embroidery hoop
- Embroidery threads in brown and red
- Embroidery needle
- Large, sharp scissors
- Sewing machine with white cotton thread
- Polyester stuffing
- Dressmaking pins
- Lengths of brown wool
- Small piece of thin elastic
how-to:
Step 1
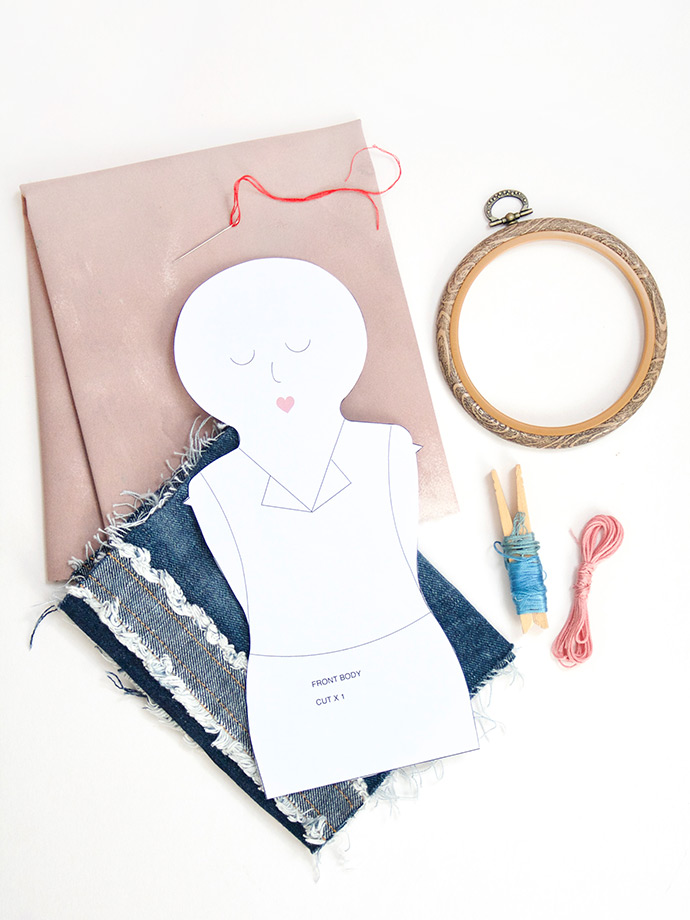
Download the paper pattern and trace the body, arm and leg pieces onto your base cotton, making sure it is ironed and crease free. Trace the face onto the front body piece using a light pencil. Don’t cut out anything yet!
Step 2
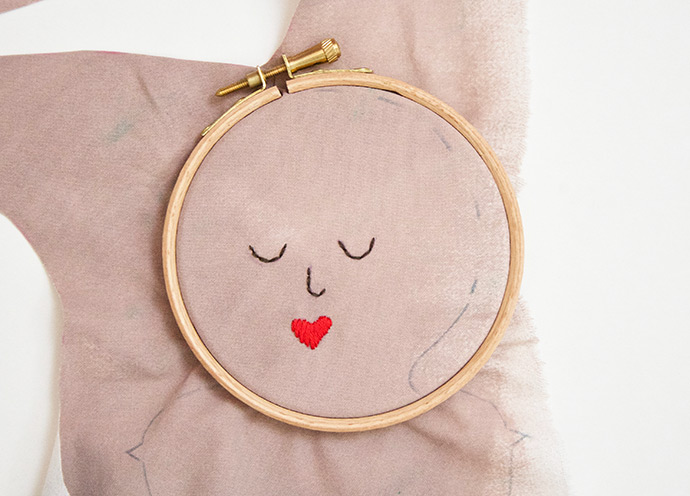
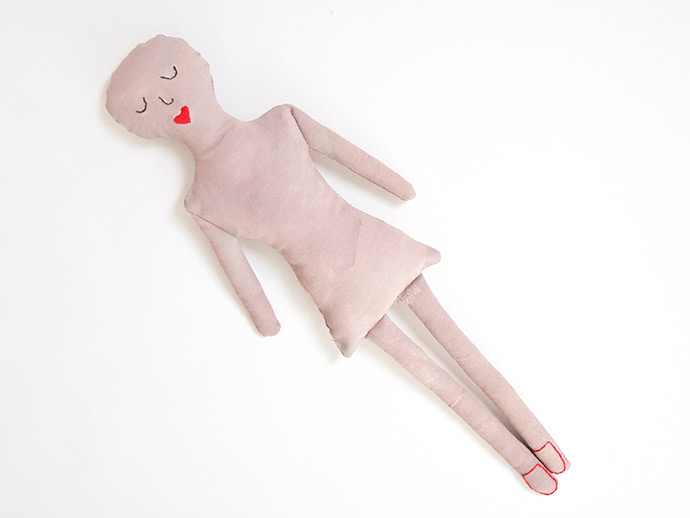
Next, embroider the face. With your work in the embroidery hoop back stitch eyes in brown and satin stitch mouth in red. Once the face is done, take your red thread and outline the shoes in back stitch. (You could fill the shoes in with stitches or leave them blank).
Step 3
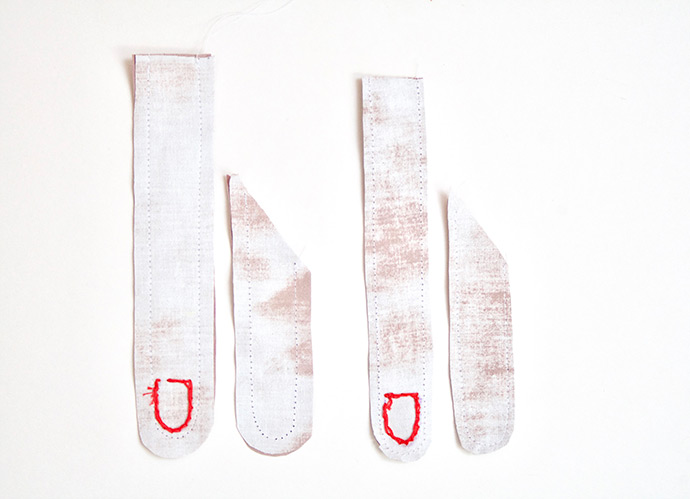
Cut out arms and legs. Match a pair of each with right sides together, then stitch all the way around with 0.5” (or 1cm) seam allowance, leaving the top open to turn back through. Trim off the excess in the seam and make a few small cuts into the seam around the curve, stopping just before your stitch line. This will help to make a smooth shape.
Step 4
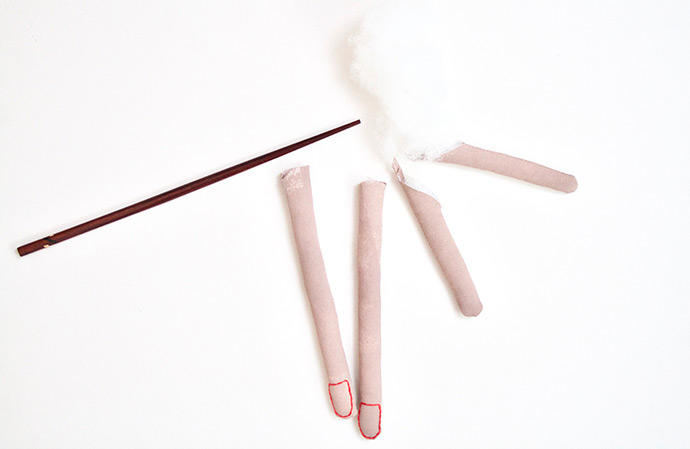
Turn the arms and legs right side out and fill with stuffing. A chopstick is a very handy tool for you to get all the way to the end!
Step 5
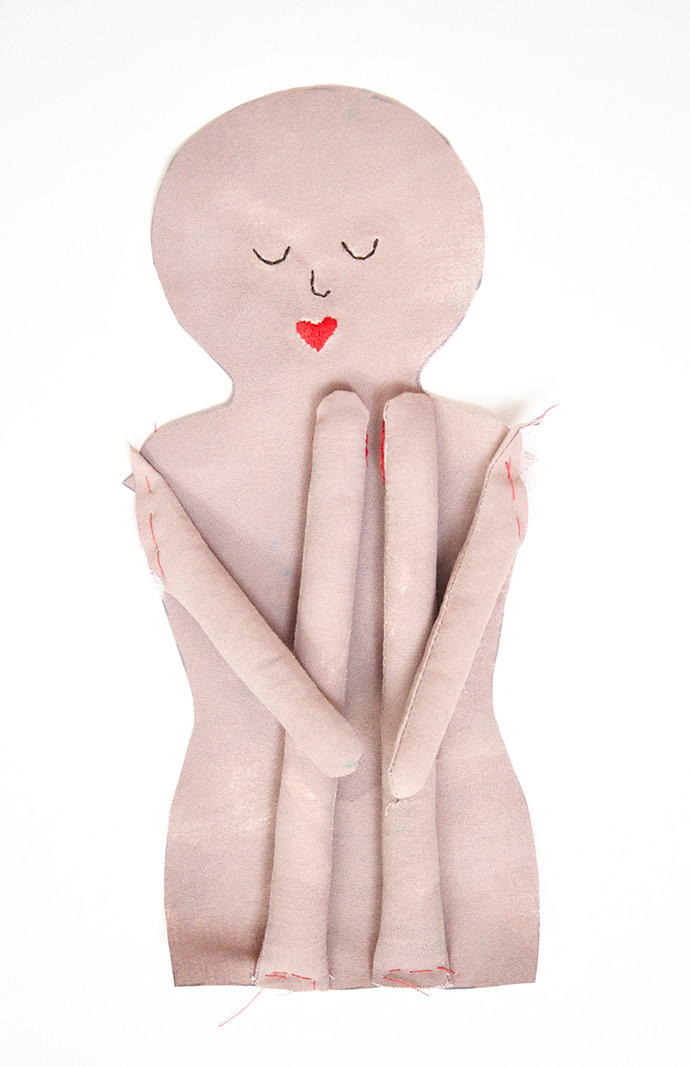
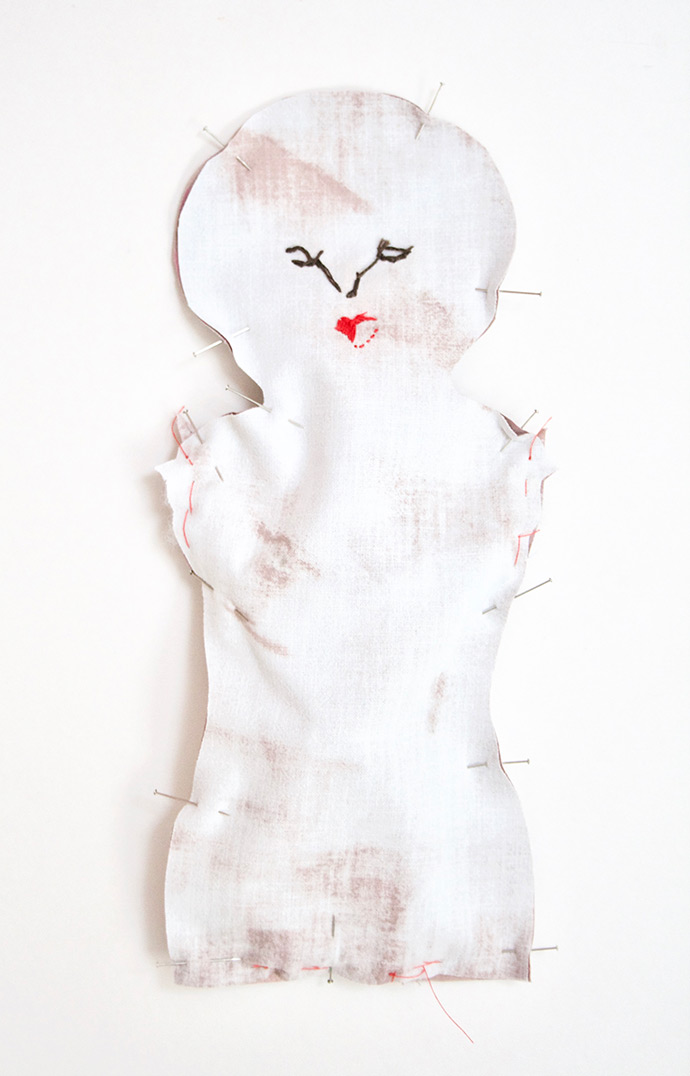
With the right side of your doll face up, pin, then baste, the arms and legs to the body as shown below (kind of like making a doll sandwich with the arms and legs tucked inside!) Now stitch all the way round, with 0.5” (or 1cm) seam allowance, leaving a gap of approx. 2” (approx. 5cm) along the edge of one side. Turn doll right side out, stuff, then sew the gap closed.
Step 6
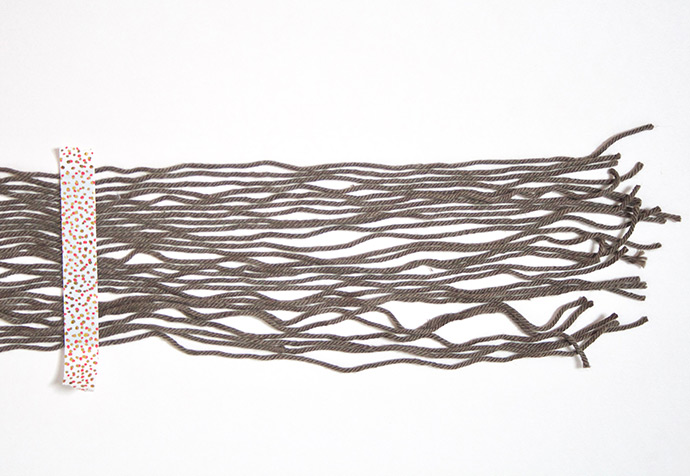
To make the doll’s hair: Cut lengths of brown wool approx. 18” (or 45cm) and lay out close to one another in a line. Aim for a block about 4” (or 10cm) deep, then place a piece of washi tape or masking tape across the middle to hold them together.
Step 7
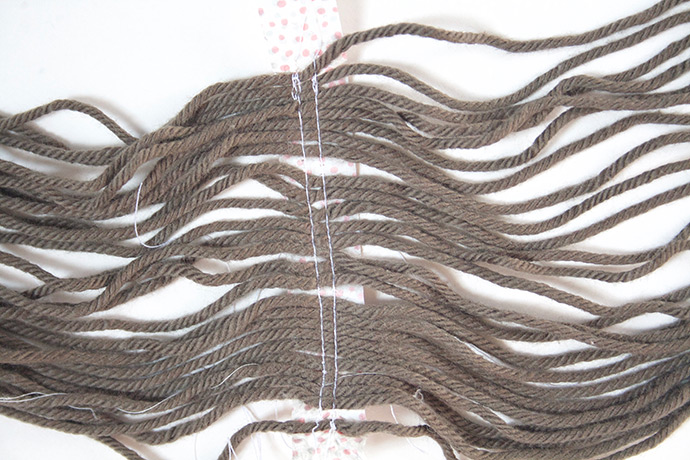
Place the washi tape gently under the sewing machine and stitch across. This will hold all the wool pieces together and then you can carefully remove all the washi tape, just leaving the stitches in place. This photo uses white thread to show what to do, but a thread in a matching colour will be much better!
Step 8
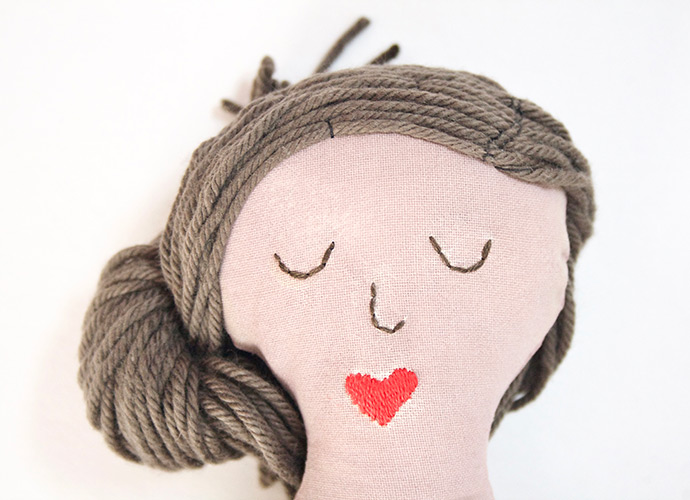
Carefully place the hair over the doll’s head then manipulate and twist into the hair style that you’d like. Use little tacking stitches as you go along to hold the hair into place and make sure that you cover all of the head with the wool.
Step 9
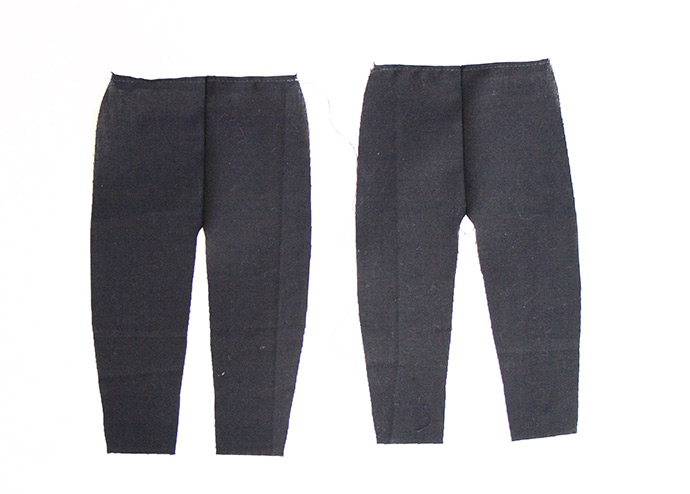
Make the pants: Cut out the four pattern pieces of the pants. Fold over the top edge of each of the pieces and make a small hem. Now place right sides together and sew edge A to edge B. Repeat with other pair. You should now have two pieces that look like this.
Step 10
Place one piece of the pants on top of the other with right sides together and sew down the outside seams with 0.5” or 1cm seam allowance. Then sew around the inner legs in one continuous line. Turn pants the right side out and turn up the hems a couple of times in true French style.
Step 11
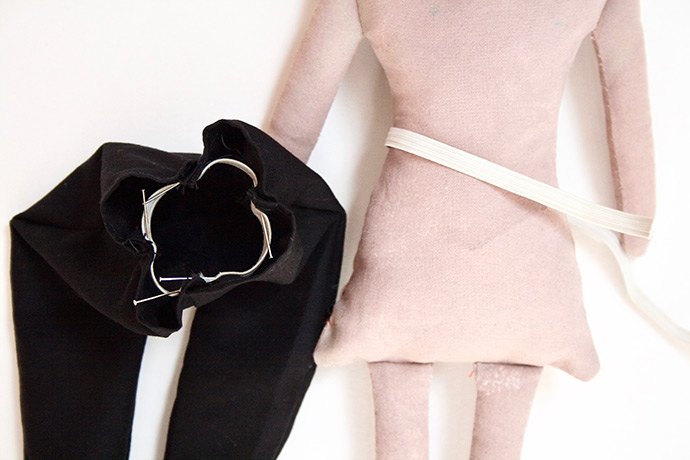
The pants waist will be too loose so cut a piece of elastic just very slightly smaller than the doll’s waist. Now pin into the top edge of the pants – don’t worry that it seems too small. As you sew in with a zig zag stitch, pull the elastic to fit around the top. When you let go it will pull back to the original length taking the black fabric with it, creating a little ruffle to fit around the doll’s waist.
Step 12
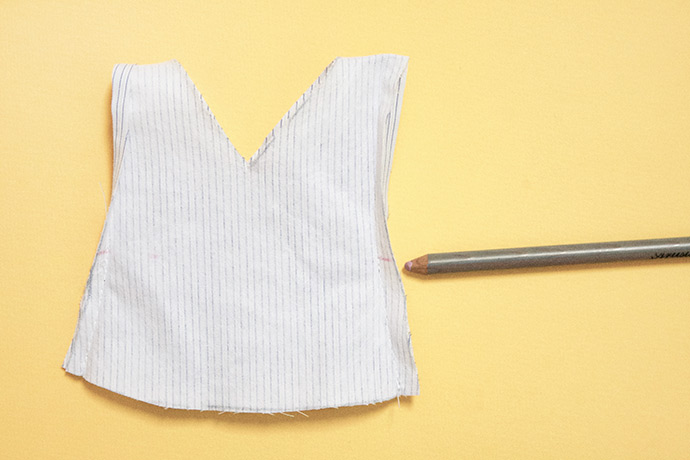
Make the shirt: Trace around the shirt pattern onto your piece of lightweight striped cotton, then cut out, cutting a diamond shape in the middle of the piece as the pattern. (If your fabric is really fine then consider using a lightweight iron-on backing, which will prevent fraying, but the best fabric is probably from an old shirt you have that could be cut up).
Step 13
Fold the shirt in half with right sides together and sew along the edges with seam allowance as before, as shown on the pattern. Turn right side out then fold under the seams around the arm holes and iron.
Step 14
Dress your doll and complete the look with a lovely scrap of silk or cotton tied as a ‘foulard’ around the neck.
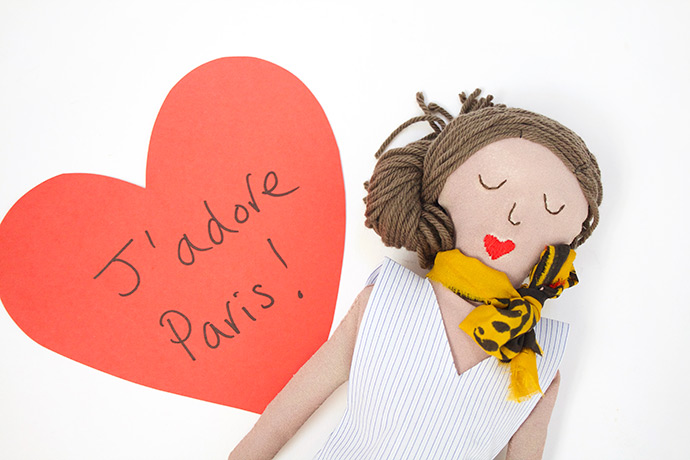
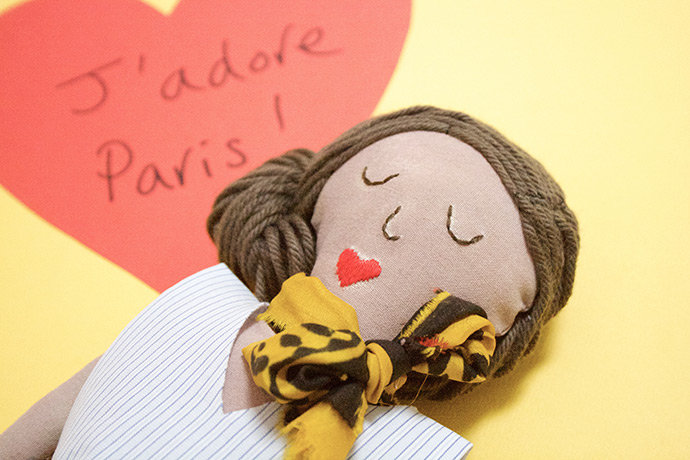
Your doll is ready for her Parisian adventures – and oh so chic!