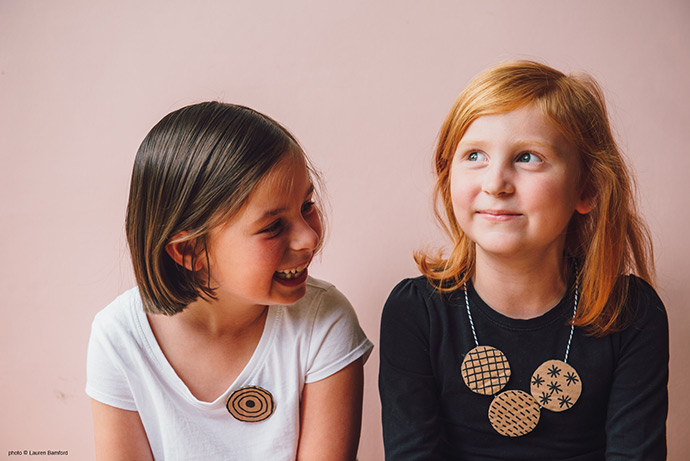
Hooray for cardboard! It’s versatile, free and recyclable. What’s not to love? This DIY activity is great for creative little people (and adults). And you don’t need any fancy equipment; a quick rummage through your recycling bin will get you started.
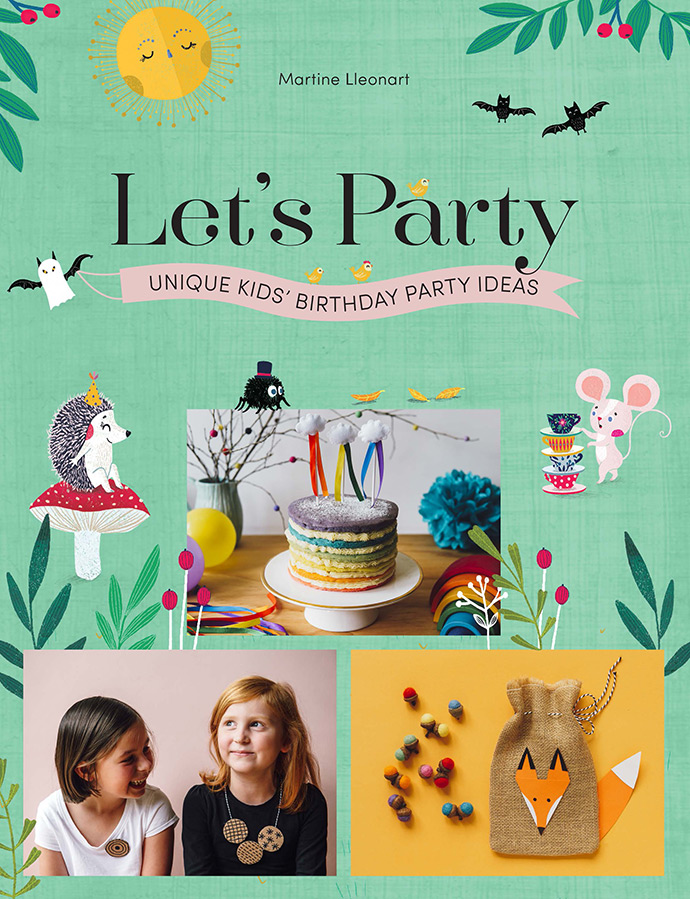
Today’s project comes from our friend Martine Lleonart’s new book Let’s Party: Unique Kids’ Birthday Party Ideas. This super cute cardboard jewelry idea comes from the Cardboard Box Party chapter – keep reading to learn how to make one yourself!
what you need:
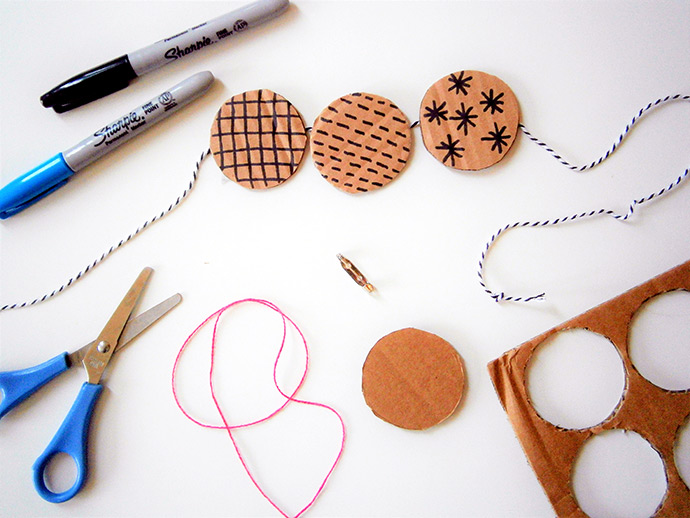
- Cardboard
- Scissors
- Markers / pens
- Twine
- Sticky tape
- Hot glue gun
- Brooch fasteners
- Paint (optional)
how-to:
Step 1
Choose some nice thick cardboard. Cardboard boxes usually have good, sturdy cardboard. Using a marker or pen, trace around a glass to make circles on to the cardboard.
Step 2
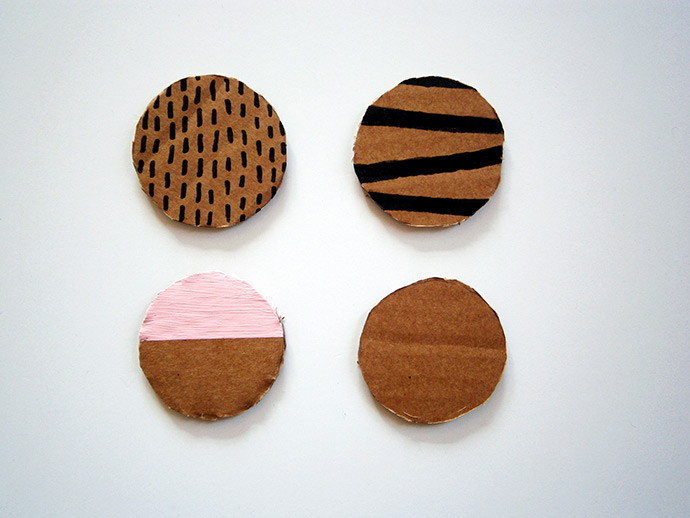
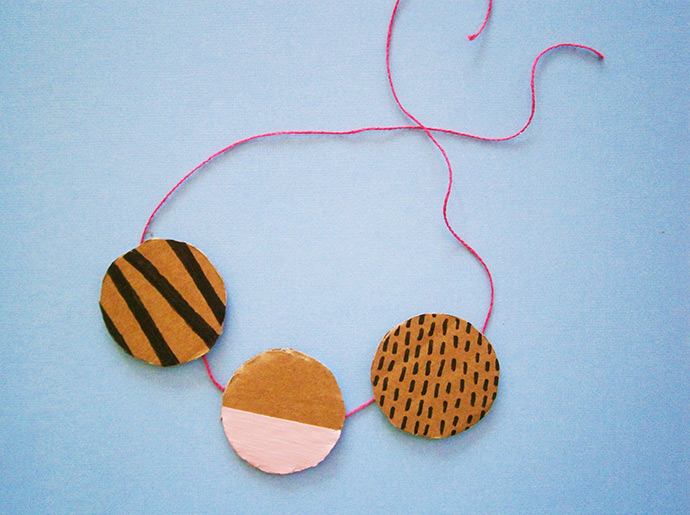
Cut out the shapes with scissors and draw whatever patterns you like with a marker pen. It’s also fun to paint some circles a different color. Paint a whole circle, or just paint half.
Step 3
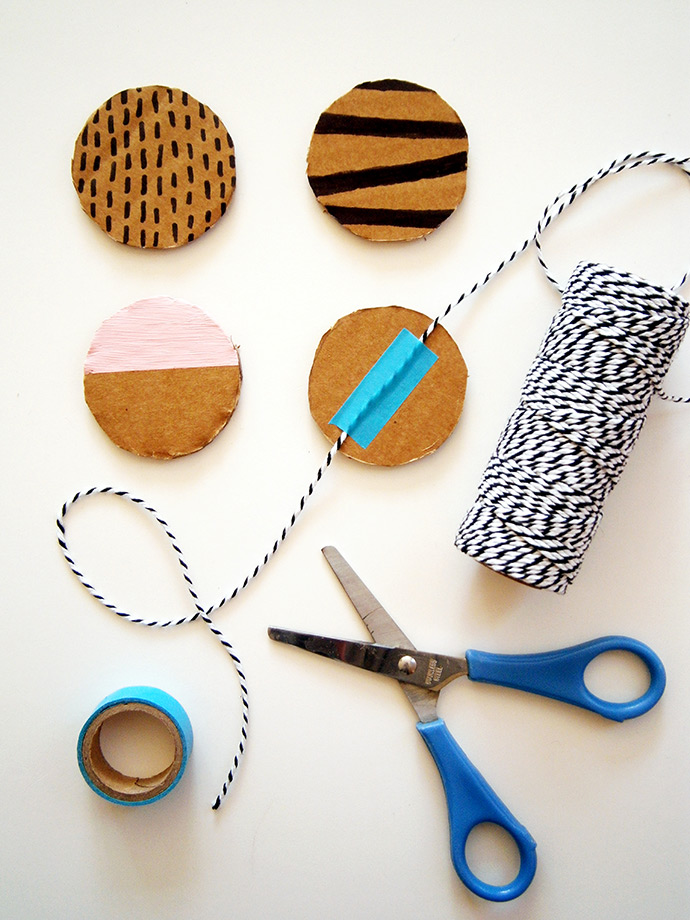
For a necklace, cut a 20-inch length of twine. I like to use a bright colored twine, or a two-tone twine. Attach the twine to the plain side of three circles with tape. Ta-da!
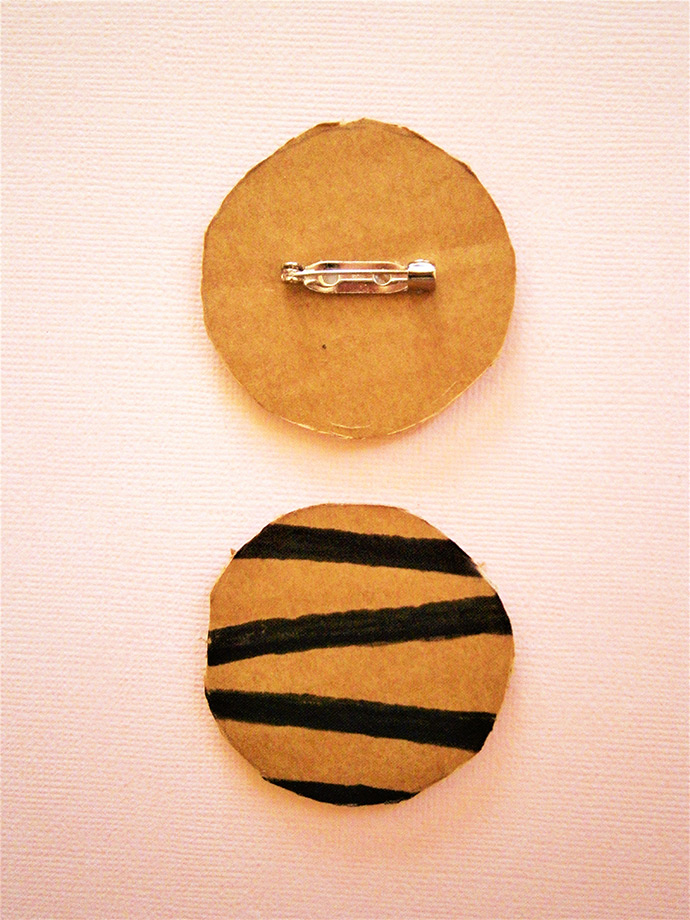
To make a brooch, use a hot glue gun to stick a brooch backing onto the plain side of one of your fancy circles. If you don’t want to fuss with glue guns and brooch backings, you can simply roll a length of tape in a circle and tape it to the back of the circle. It will stick straight onto your party outfit. Simple but cute.
Don’t forget to recycle your jewelry when you’ve finished with it!
Thank you to Martine for sharing her super fun upcycled craft with us! See even more in her book, available now.
Photography by Lauren Bamford and Martine Lleonart