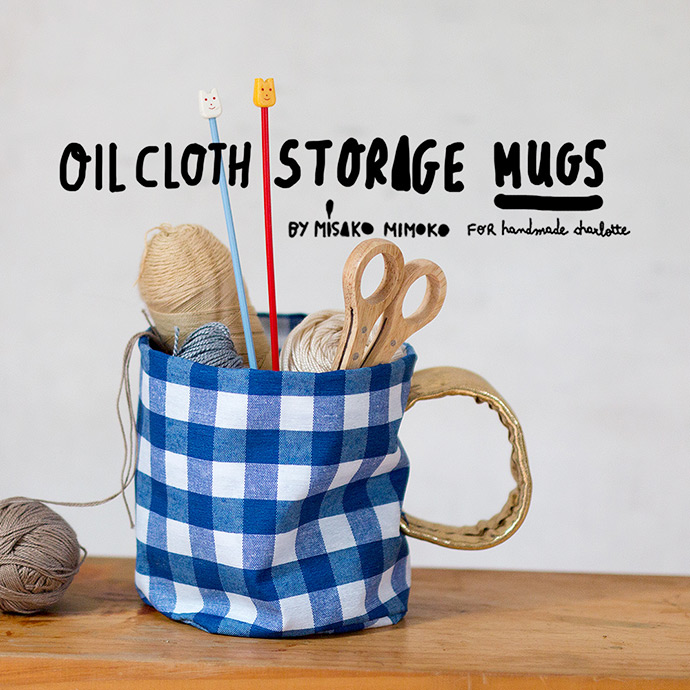
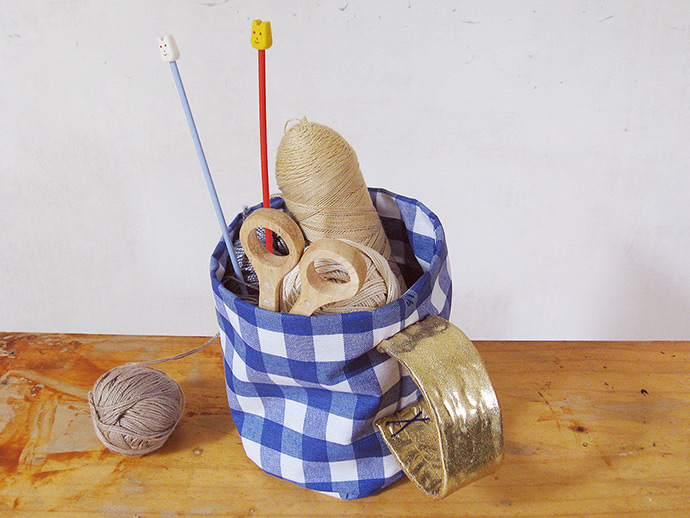
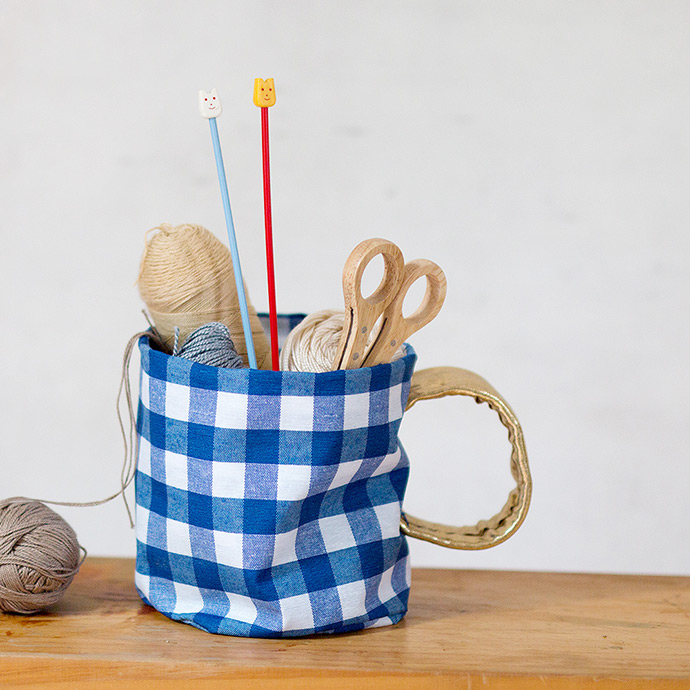
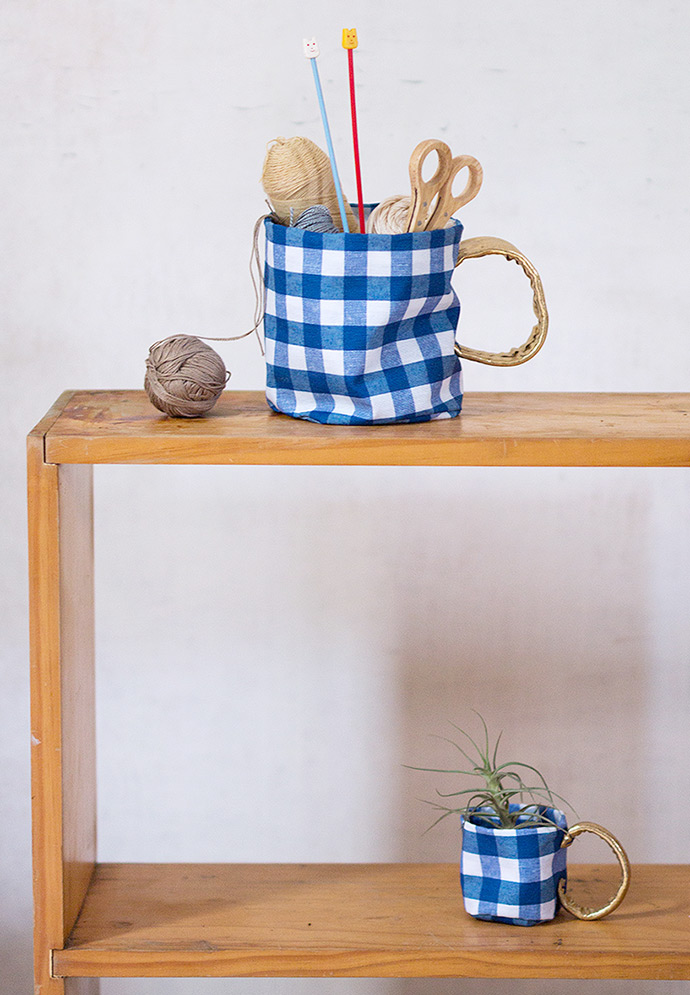
Get organized this fall and make these minimalist storage mugs inspired by modern Scandinavian ceramics. They’re super easy, cheap and quick to make! They work perfectly as planters for succulents, keep craft supplies sorted, store toys … you name it! You can even shape it to have a folded or pleated look like some of the popular ceramics I’ve seen available lately.
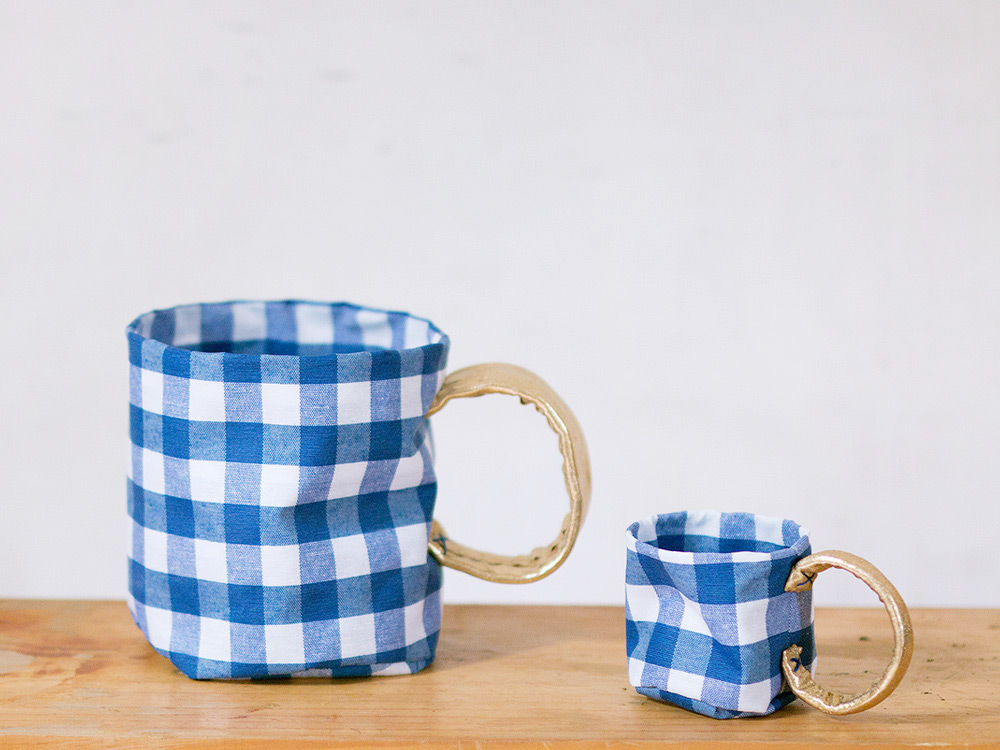
This is also a great project for using up scraps! I used a leftover piece of funky gold metallic fabric and a beautiful gingham tablecloth. It was perfect for this project because it is soft and more flexible than the average plastic oilcloth but you can use any fabric, coated or not, just make sure it’s a sturdy. You can make different sizes, combine patterns and colors, have fun with them!
what you need:
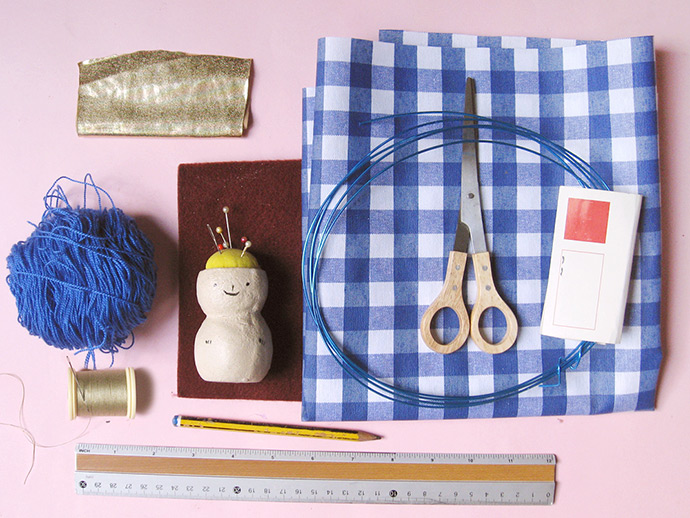
- Fabric scraps (oilcloth or cotton canvas for cup, anything for handle)
- Thick felt
- Craft wire
- Cotton embroidery thread
- Pins
- Sewing needle and thread
- Hot glue gun
- Scissors
how-to:
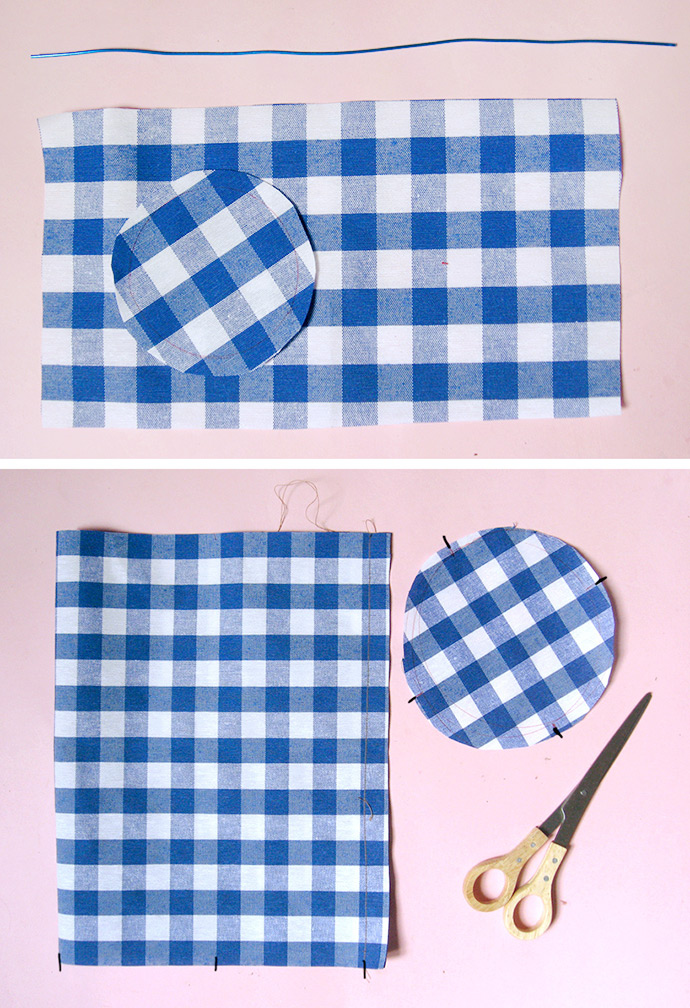
Step 1
Cut out a 16 1/2” x 10” rectangle from oilcloth. Trace a 4 3/4” circle onto oilcloth (use small plates or bowls you have around the house) and cut, leaving a 1/4” seam allowance. Cut a piece of wire about 17 1/2” and set aside for now. Fold the rectangle in half along the long side (right sides together), and then pin and sew a seam 1/4” along the edge, creating a cylinder. Fold the rectangle again, dividing it into 4 equal segments and draw small marks on the folds. Divide the circle’s circumference into four as well and mark in the same way.
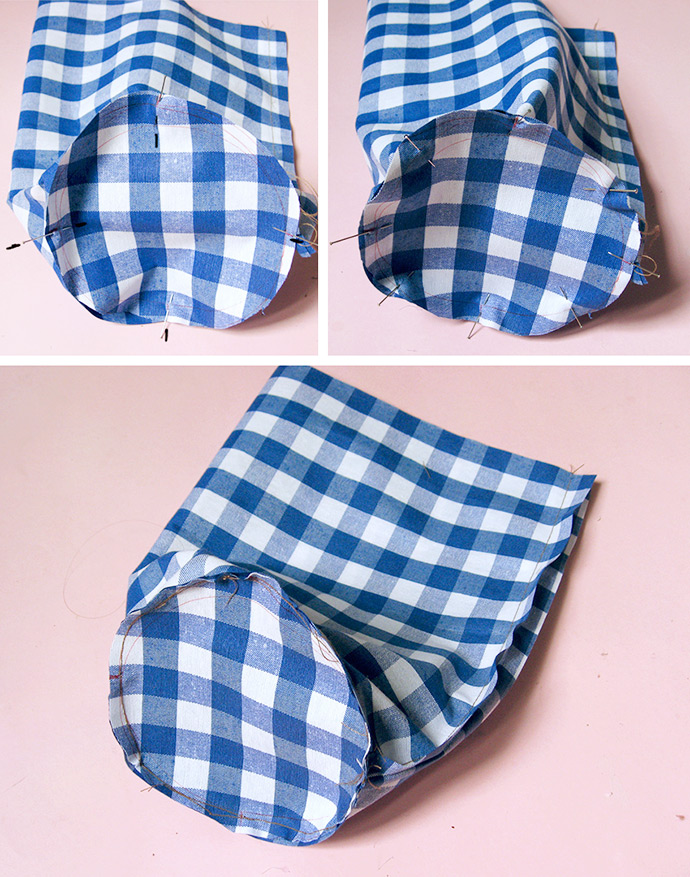
Step 2
Match up the marks you just drew on the cylinder and circle and pin the circle to the bottom of the cylinder, aligning the edges. Add more pins to attach the cylinder edge all along the circle and stitch them together following the circle shape.
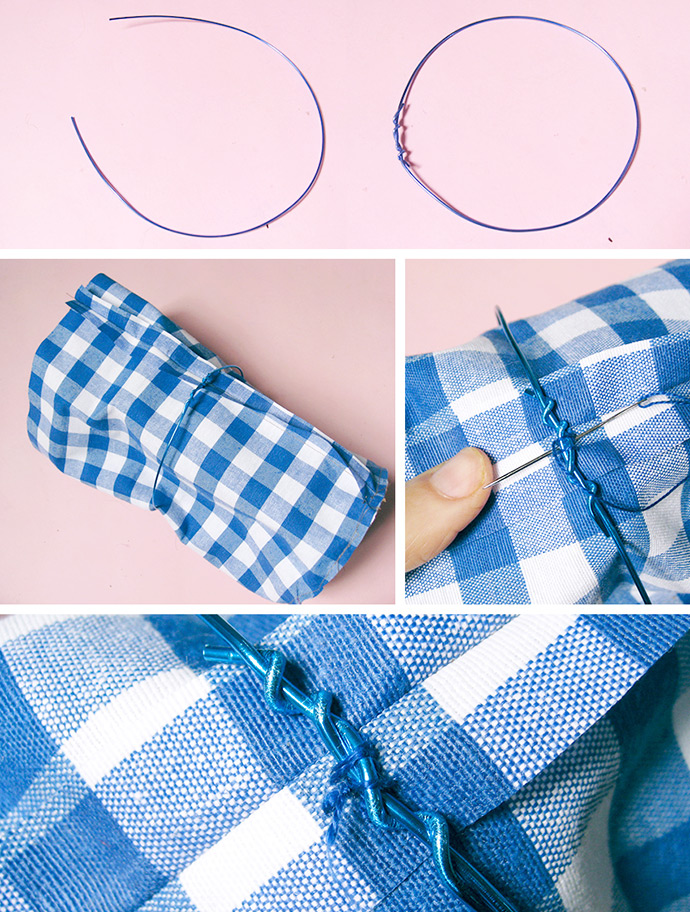
Step 3
Take the wire and make a circle the same size as the cylinder. Pass the cylinder through the ring, placing it almost at the middle of the cylinder (a little bit closer to the bottom of the cylinder). Stitch in several straight stitches to attach the wire inside.
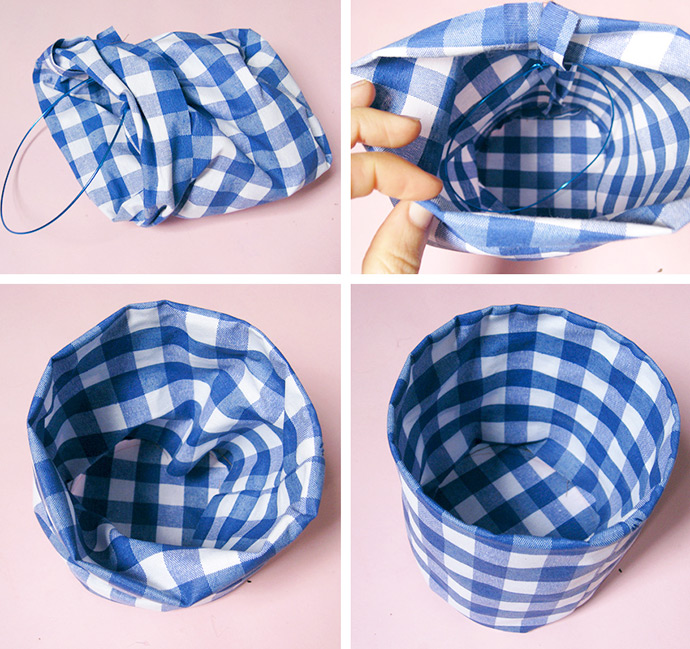
Step 4
Turn the cylinder right side out and fold half of the length inside, lining up the wire ring with the top of the mug. I left an excess length inside to cover the bottom seam, but you can add a felt circle inside to get a nice and solid finish.
Step 5
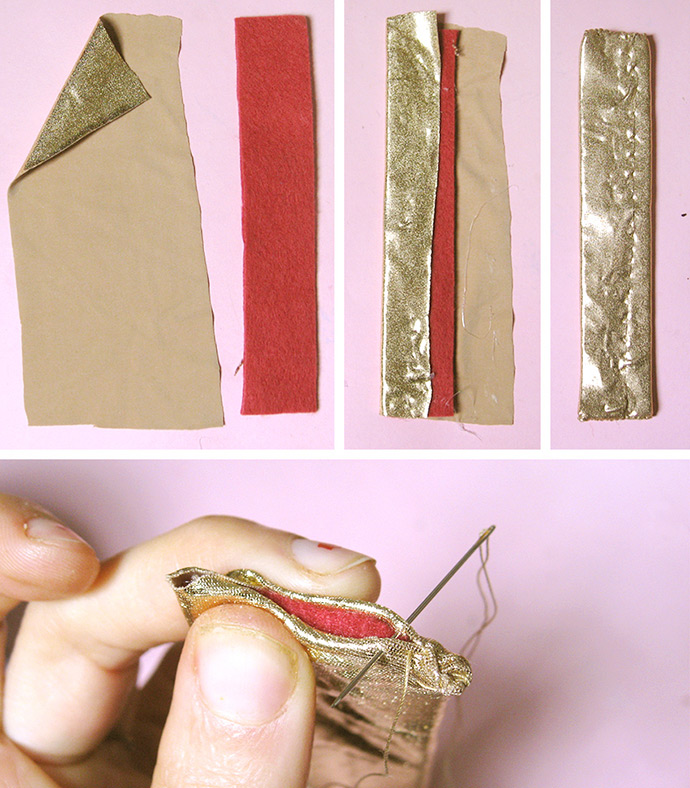
Cut a piece of thick and sturdy felt into a 7” x 1 1/2” rectangle and a 7 1/2” x 3 1/2” from any other fabric for the handle. I’ve used a fun gold metallic stretch fabric. Wrap felt in golden fabric and glue / stitch them together. (Note: glue can be a little tricky to sew through later on.)
Step 6
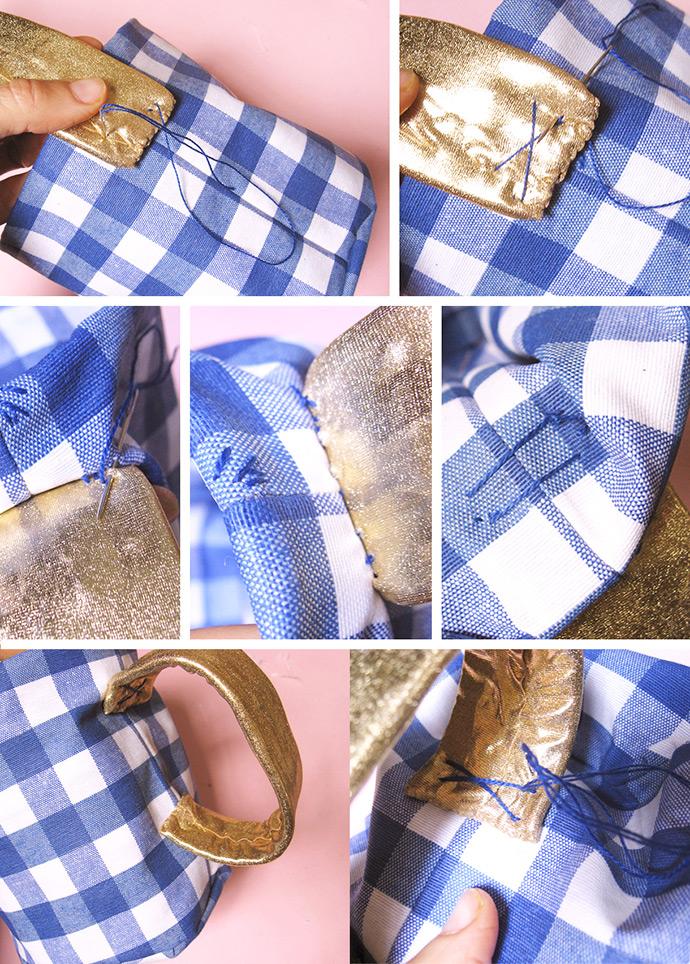
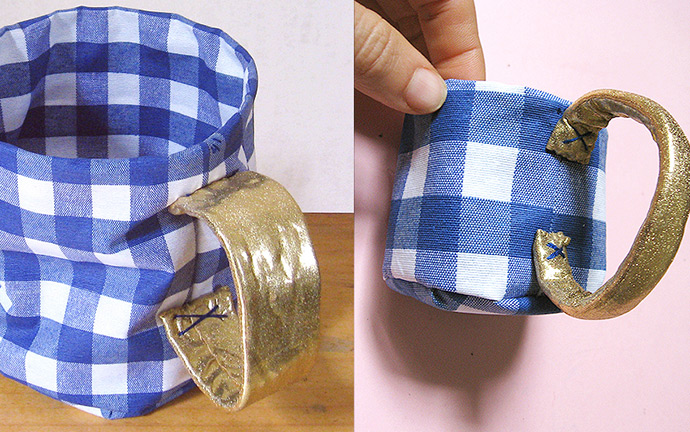
Take the mug and place the handle centered and lined up with the seam on the mug. Start by stitching the wrong side of the top end of the handle to the mug and make a large cross-stitch several times. Then use some tiny straight stitches to secure even more. Keep your eye on how the stitches look on the inside of the mug so that it looks nice too. Now take the other end of the handle, pin it centered and stitch it in place with another large cross-stitch. Stitch a few more times to make extra secure.
Step 7
Repeat these same steps for the small cup. This time you can mix and match fabrics or make a different handle – I made a longer, thinner one.
The measurements for the small cup are:
Cup: 6 1/2” by 1 3/4” rectangle + circle with a 2 3/4” diameter (plus 1/4” seam allowance) from oilcloth
Handle: 5 1/2” by 1/2″ piece of felt + 6” x 1 1/4” wrapping fabric
Reduce or enlarge this pattern to make other mug sizes!


Happy crafting!