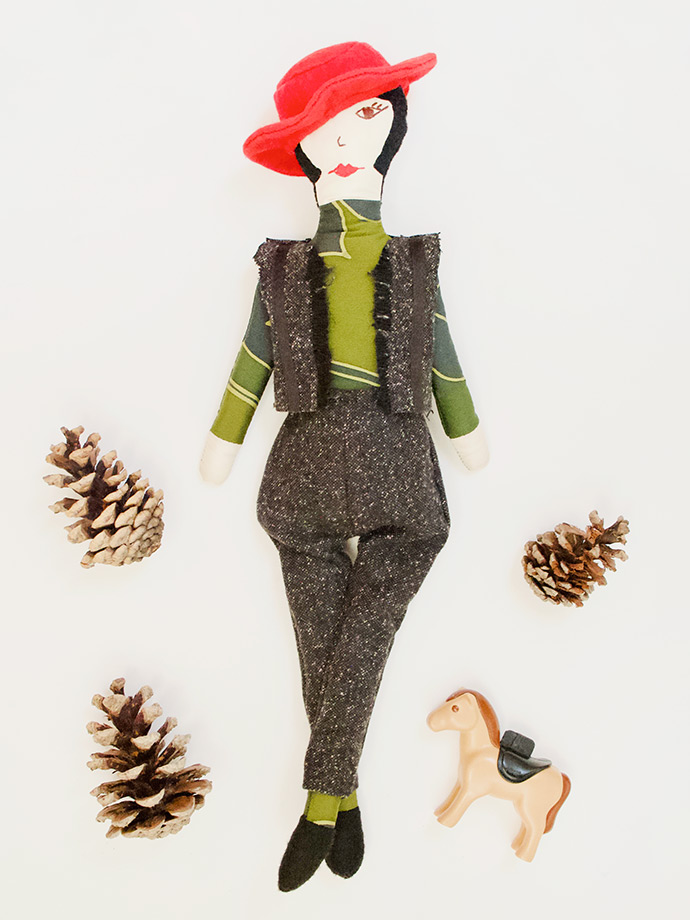
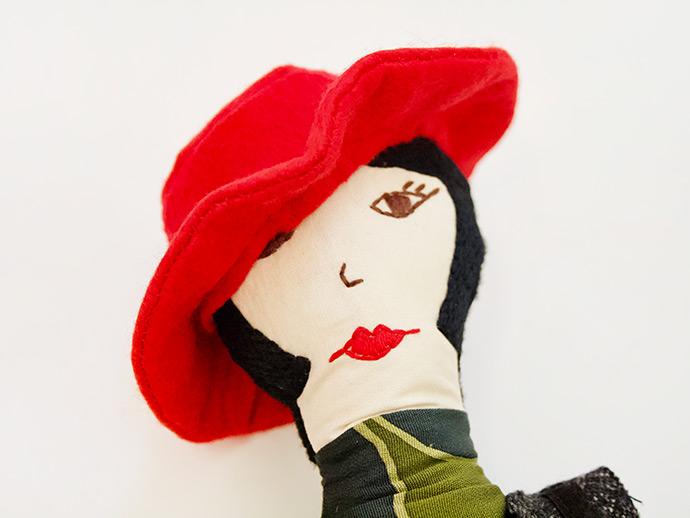
Remember the stir that Lady Mary caused when she cut her hair and refused to ride side saddle on the Downton Christmas hunt? With her jaunty red hat and smart tweed waistcoat, this month’s doll is all set for late autumn pursuits around the beautiful English countryside.
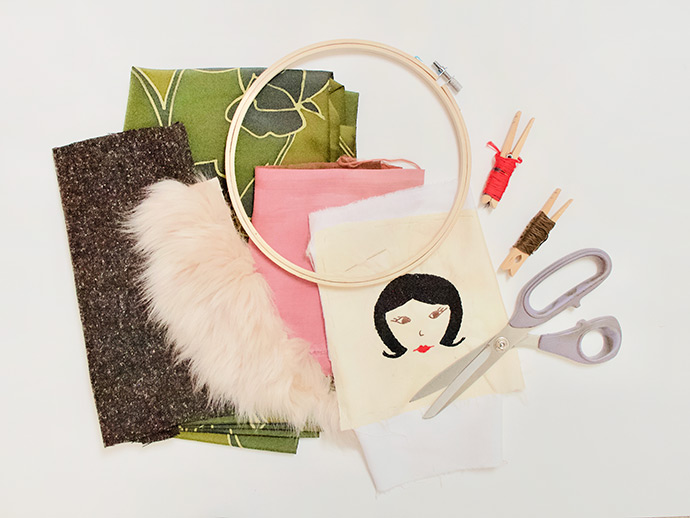
what you need:
- Paper pattern download
- Light pencil
- Pieces of black and red felt
- Piece of skin tone fabric
- Piece of tweed
- Piece of patterned fabric
- Small embroidery hoop
- Embroidery threads in brown, black and red
- Embroidery needle
- Large, sharp scissors
- Sewing machine with black cotton thread
- Polyester stuffing
- Dressmaking pins
how-to:
Step 1
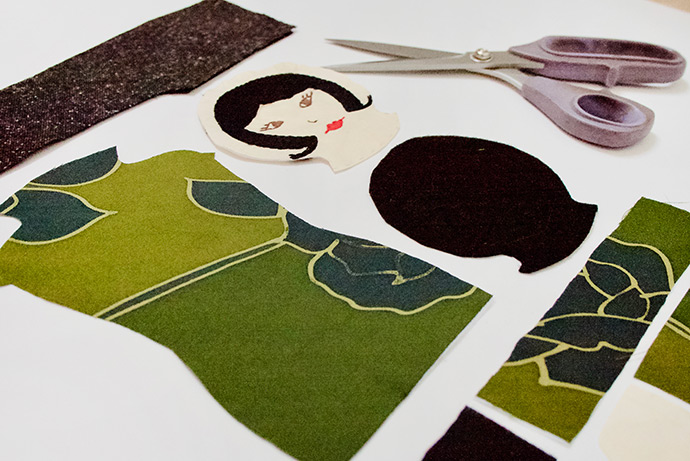
As for all the handmade doll tutorials, print out the paper pattern and cut out the paper pieces. Trace the hands and front face piece onto the skin coloured fabric, the body, arm and leg pieces onto the patterned fabric and the pants and waistcoat onto the tweed fabric. The black felt is for the back of head and boots and the red felt for the hat. Transfer facial features onto the head piece with a light pencil. Don’t cut out anything yet!
Step 2
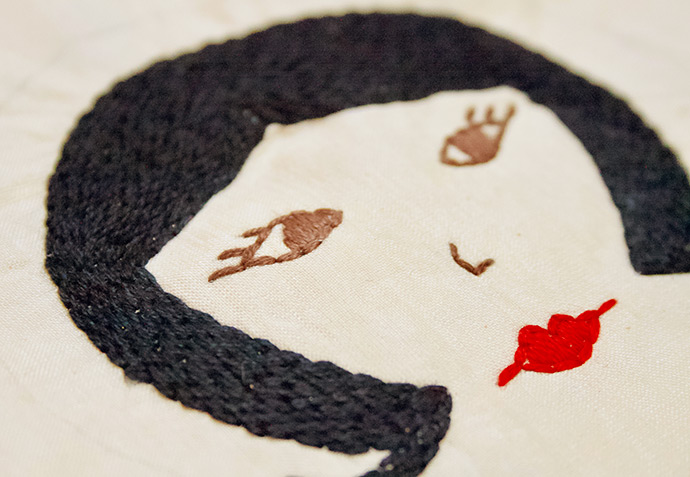
The first thing to do is embroider the face. Work the eyes in back stitch using your brown thread and the mouth in back stitch using the red thread. The hair can be worked in rows of black back stitch close together or if you are short of time, you could paint the hair in black textile paint.
Step 3
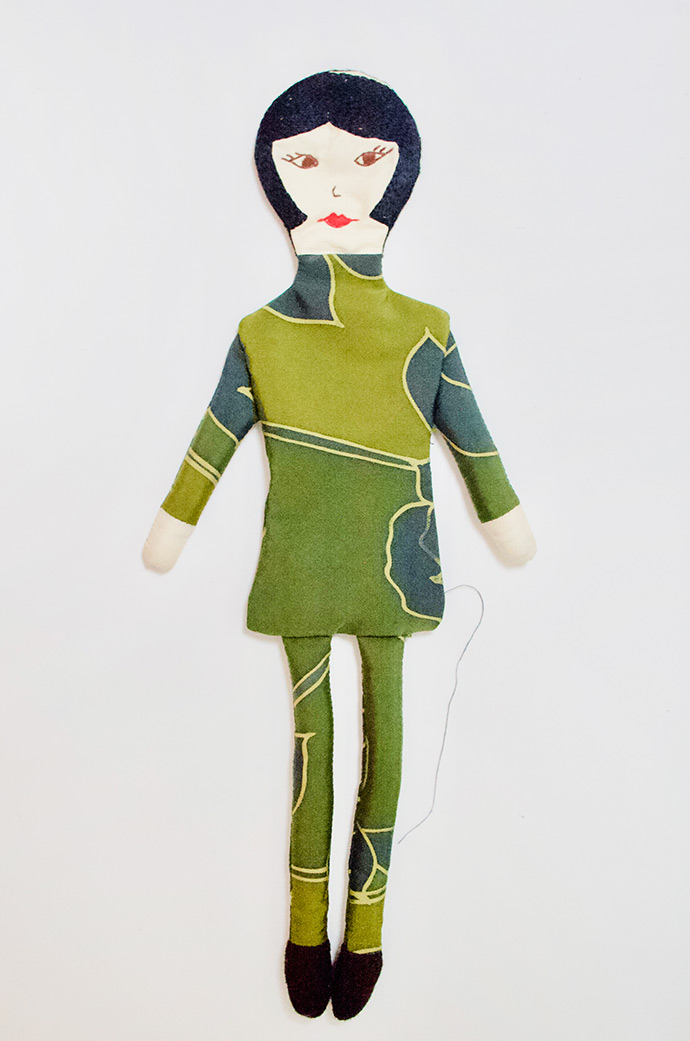
Now cut out all of your pattern pieces. Take the head and body pieces and with right sides together, match edge A of the head piece to edge A of the front body piece. Sew with 1cm seam allowance. Trim seam and turn right side out. Repeat for back head and back body pieces.
Step 4
Next, cut out arms, legs and body pieces. With right sides together, match edges ‘A’ of foot and leg and sew together. Now repeat for arms matching edges ‘B’. Complete legs, arms and body following steps 3-5 of the Paris doll tutorial here.
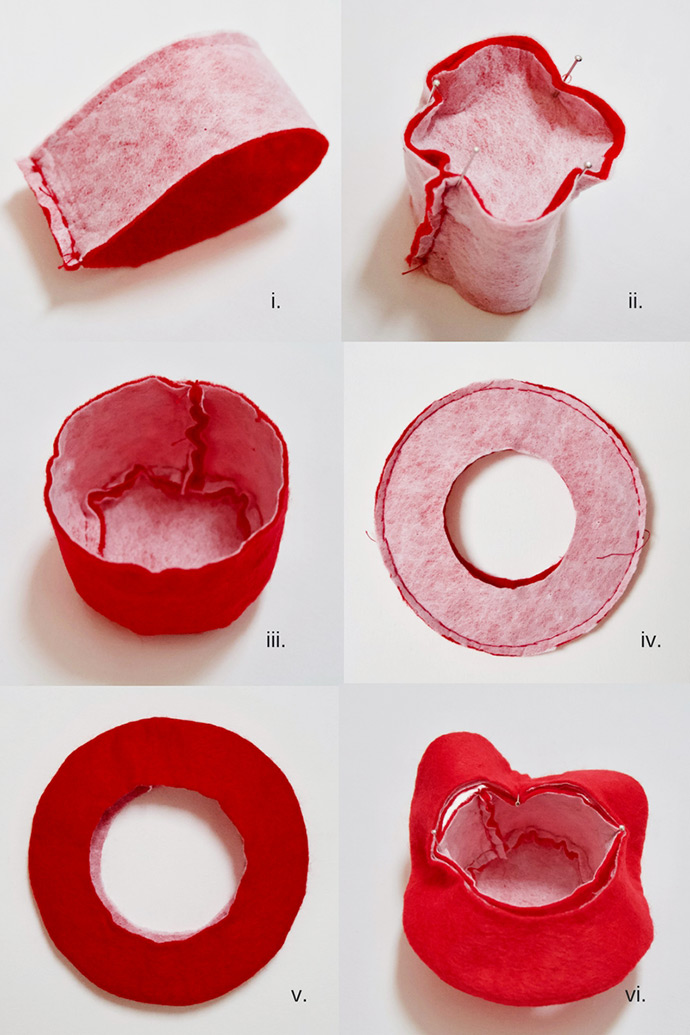
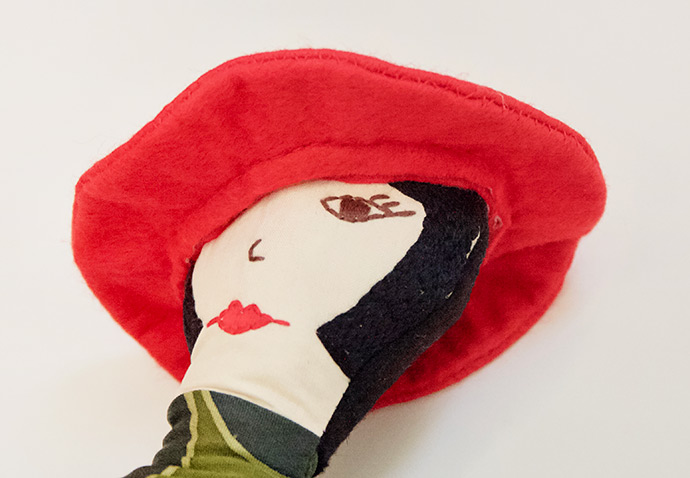
Step 5 – To make the doll’s hat, follow these steps as the photo using the red felt. Stitch by hand as the hat is perfectly sized for the doll but a little small for a sewing machine.
i) With right sides facing, stitch together short edges of hat piece ‘C’ and trim seam.
ii) Take hat piece D, the circle, and pin equally into the inside edge of ‘C’
iii) Sew around the circle, then trim seam.
iv) Take hat pieces E. These have been cut on the fold so you should have two identical circles with a hole in the middle. Place right sides together and sew around outer edge.
v) Trim seam, then turn circular brim right side out.
vi) Pin inner circle of the brim (hat piece E) to edge of circular edge of hat piece C and sew. Done!
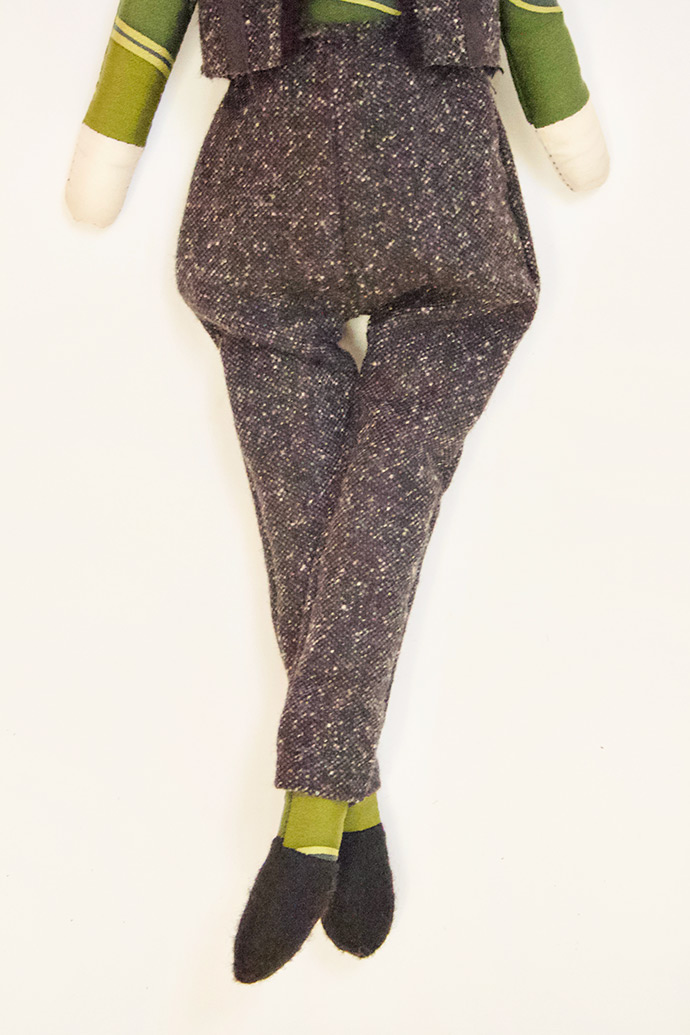
Step 6 – To make the pants.
To make the pants, follow steps 9-10 of the Paris doll tutorial here. Once the pants are made, put onto the doll and carefully sew a running stitch around the top edge and pull to gather the waist together until it is the right fit.
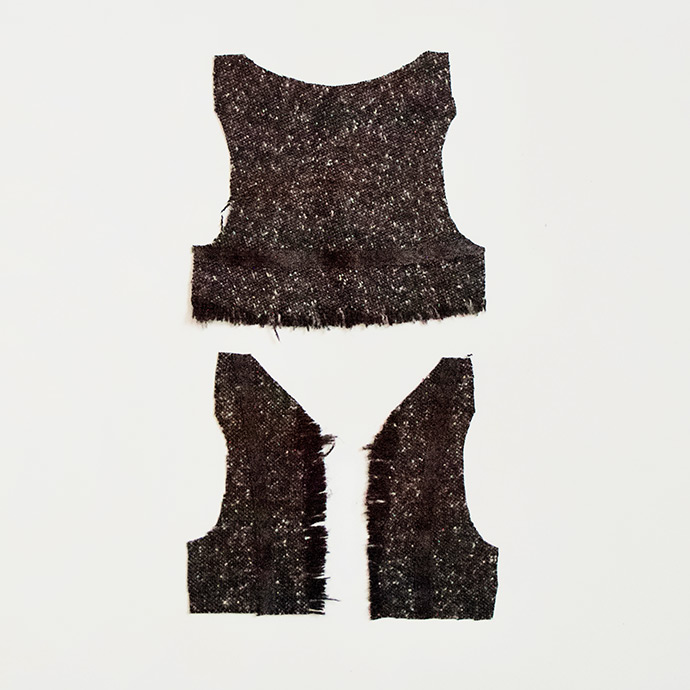
Step 7 – To make the waistcoat
For the waistcoat, with right sides together, match top edges, front to back of shoulders at A. Sew with seam allowance. Now match side edges, front and back, at B and sew. Now turn right side out.
Time for your doll to get dressed!
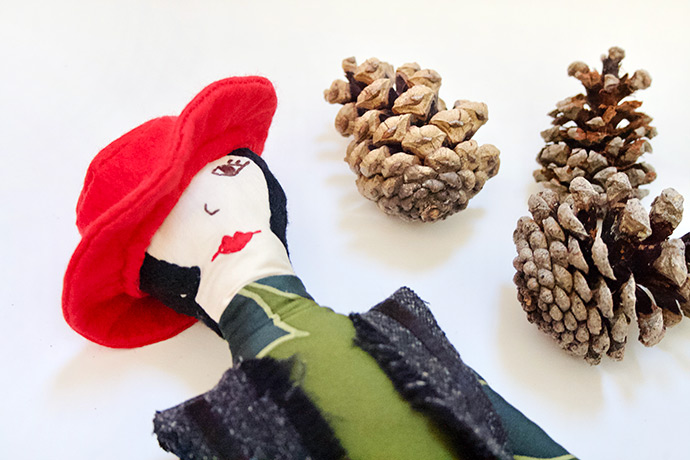
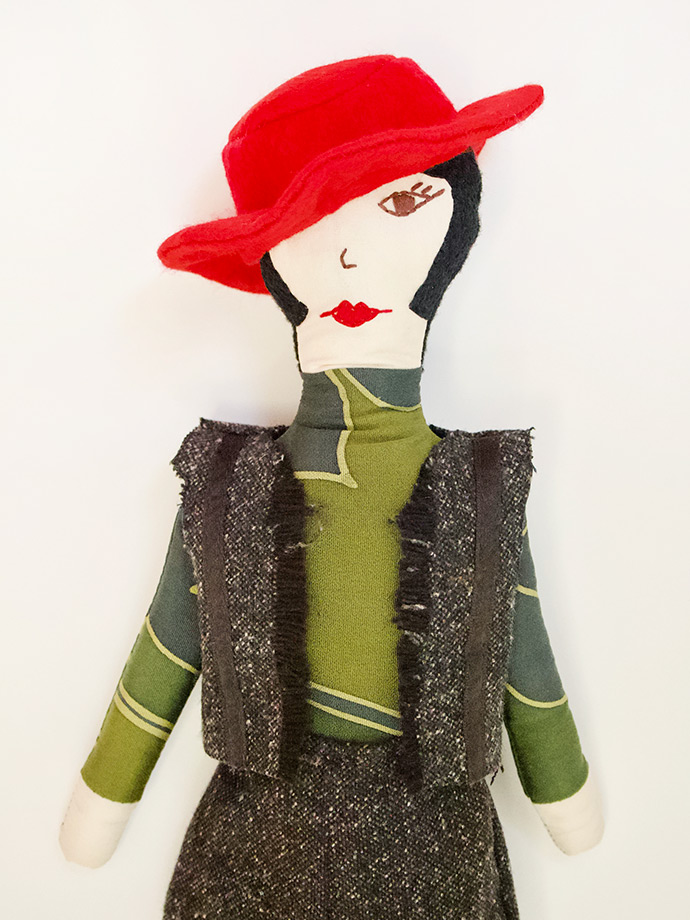
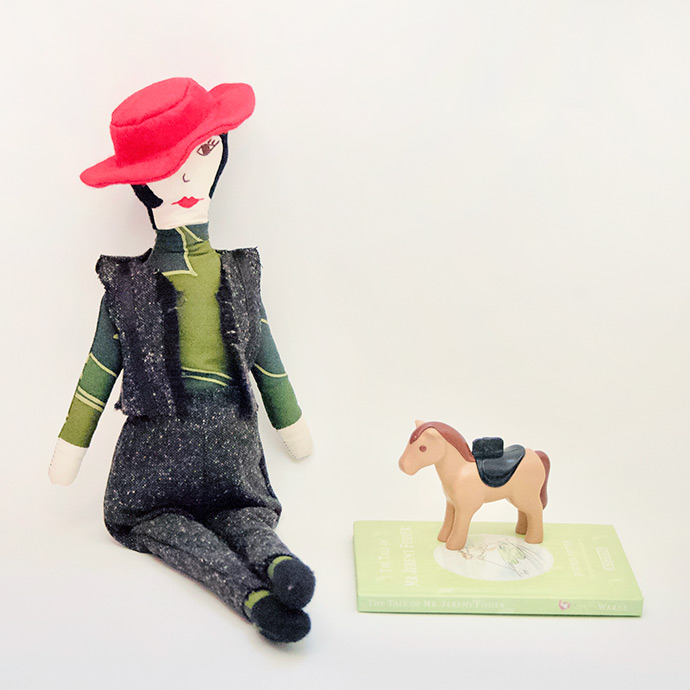
No matter whether it’s horse-riding through the rolling English countryside or joining the shooting party for pheasant and grouse, this doll has just the style to match.