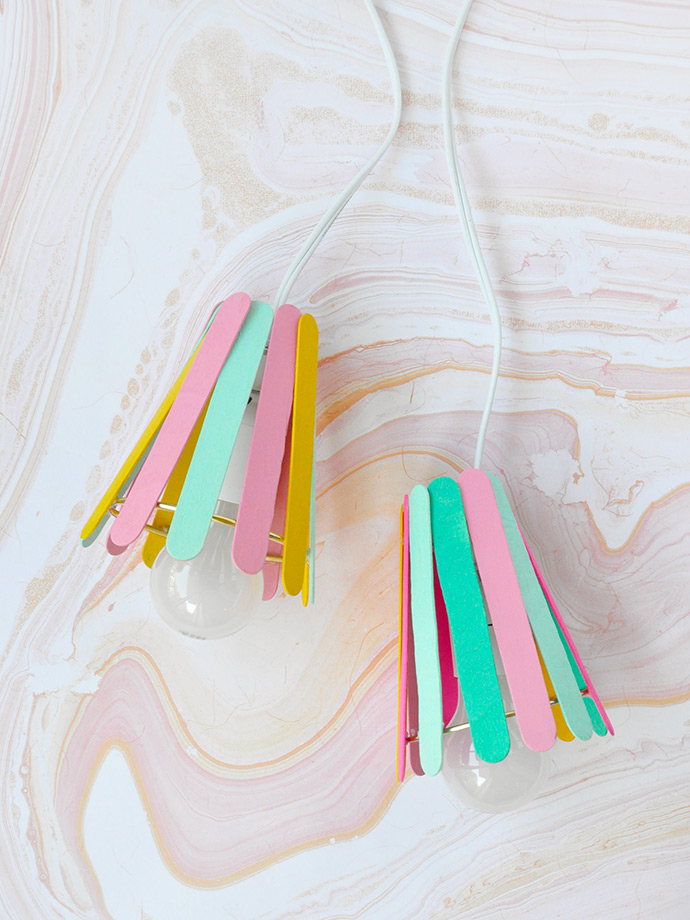
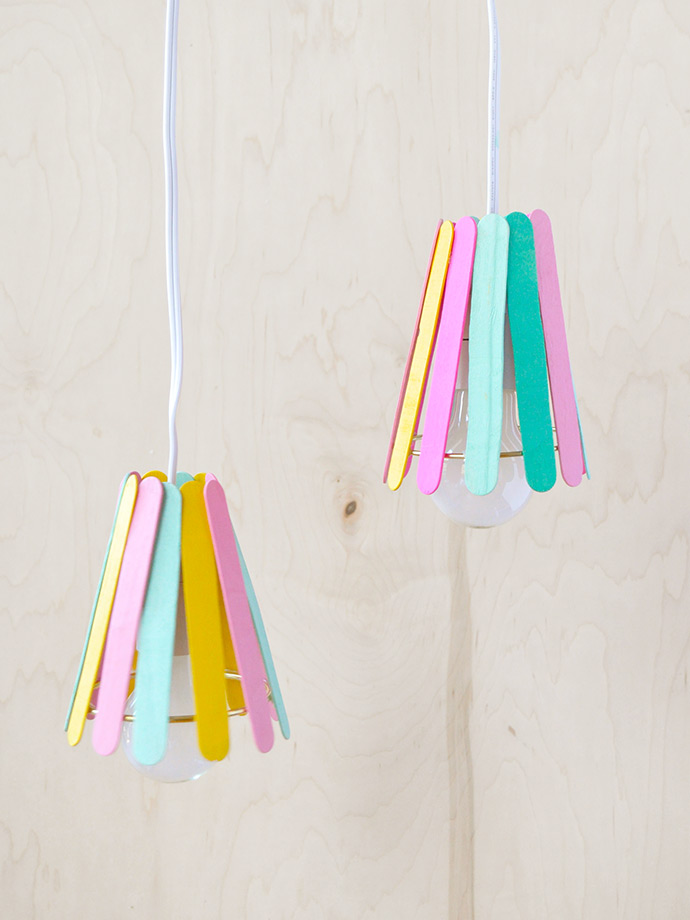
Don’t worry, you don’t need to eat a dozen popsicles to make this DIY lampshade! We actually used jumbo popsicle sticks from the craft store, so no popsicles were harmed in the making of this lamp. ;) Paint them your favorite colors, glue them onto the frame, and voila!
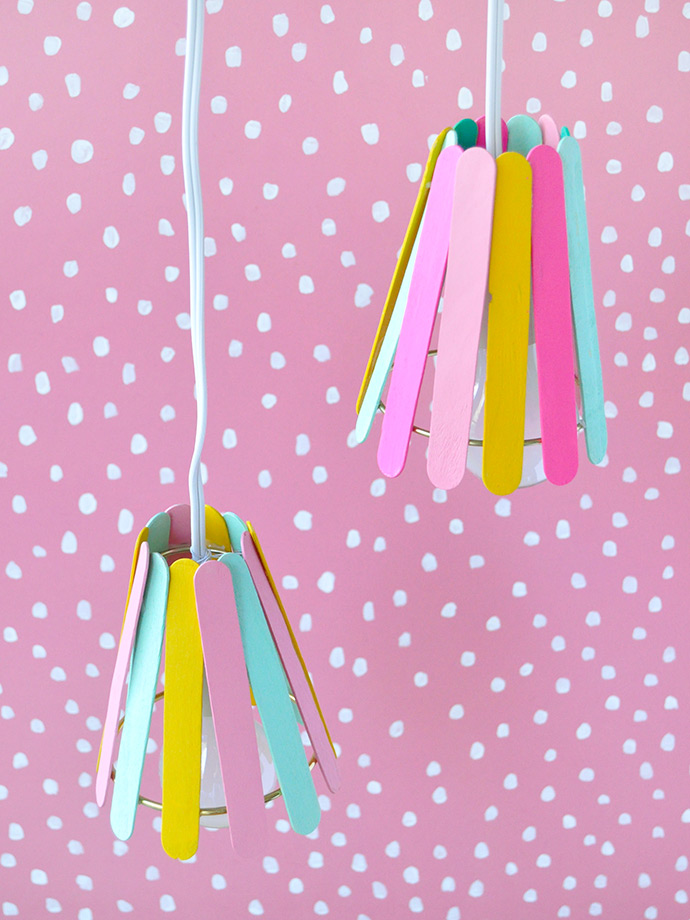
We love these DIY lamps to add a fun and playful touch to a desk or bedside table. They’re quick and simple to make, and because we just used a basic light fixture you can move the lamp around or even swap in another shade in case you want a change later on! Keep reading to learn how to make one of your own!
what you need:
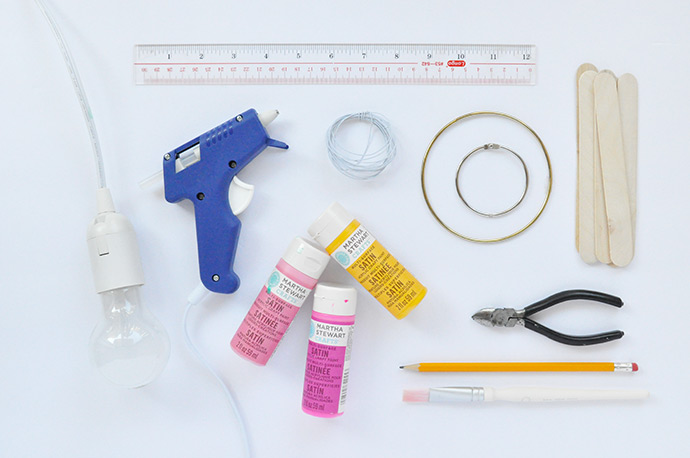
- Martha Stewart Crafts Multi-Surface Satin Acrylic Craft Paint
- Paint brush
- Pencil
- Ruler
- Jumbo popsicle sticks
- White plastic coated wire
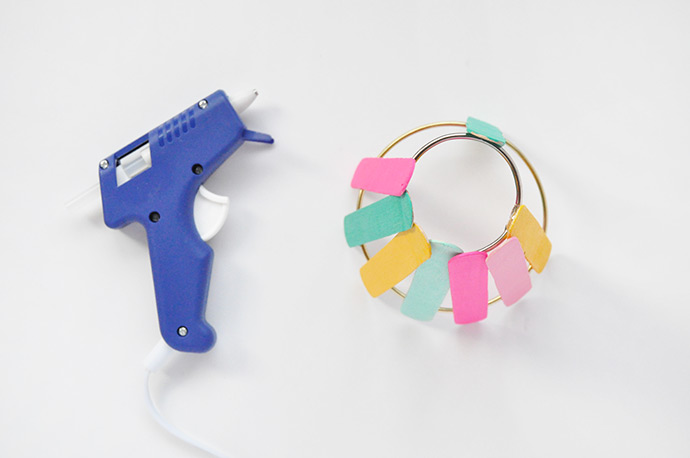
- Hot glue gun
- Brass rings (two sizes)
- Light fixture
how-to:
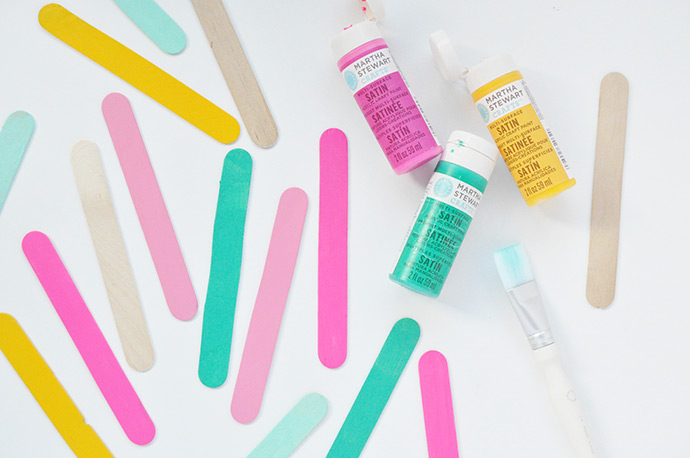
Step 1
Paint both sides of the popsicle sticks and let dry.
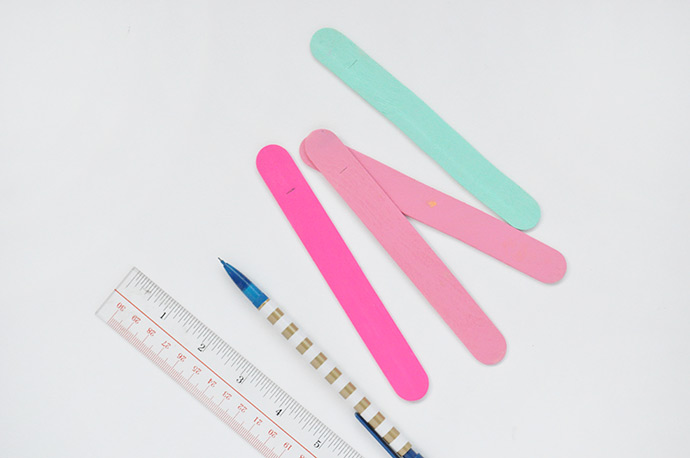
Step 2
Once dry, use a ruler and pencil to mark 1″ from each end.
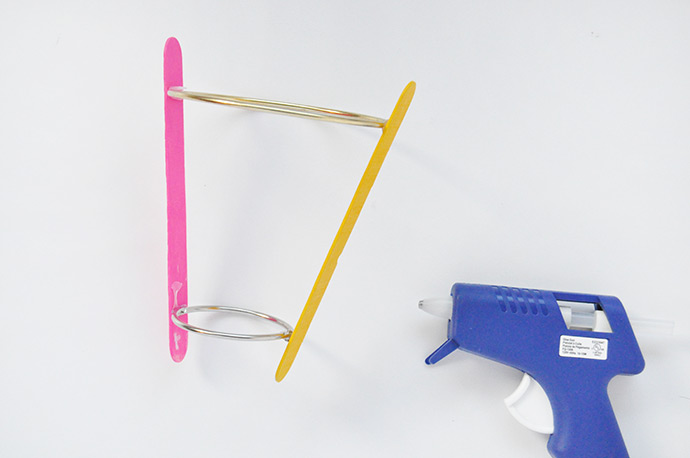
Step 3
Use the hot glue gun to attach two popsicle sticks to the two rings at the 1″ marks you made. Try to keep the popsicles as even as possible.
It should look something like this! The rings you use will depend on the size of your light fixtures – these ones are macrame hoops from the craft store.
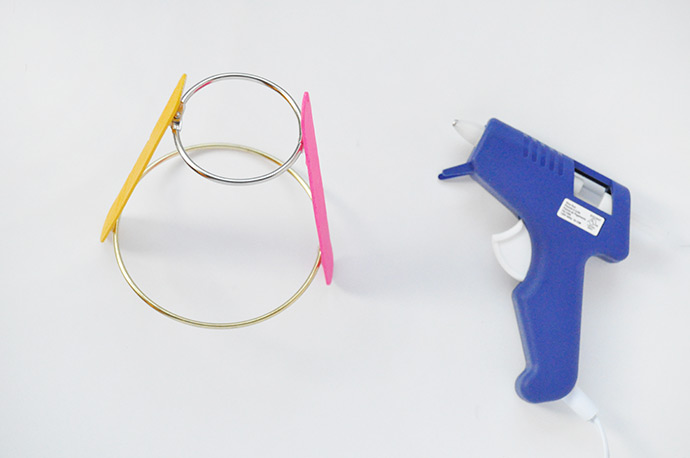
Step 5
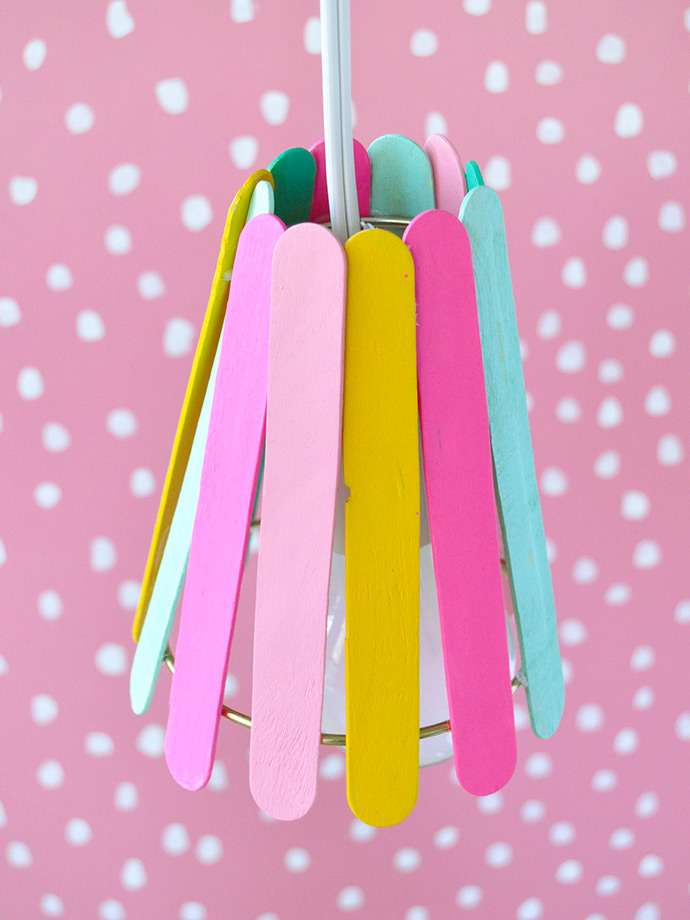
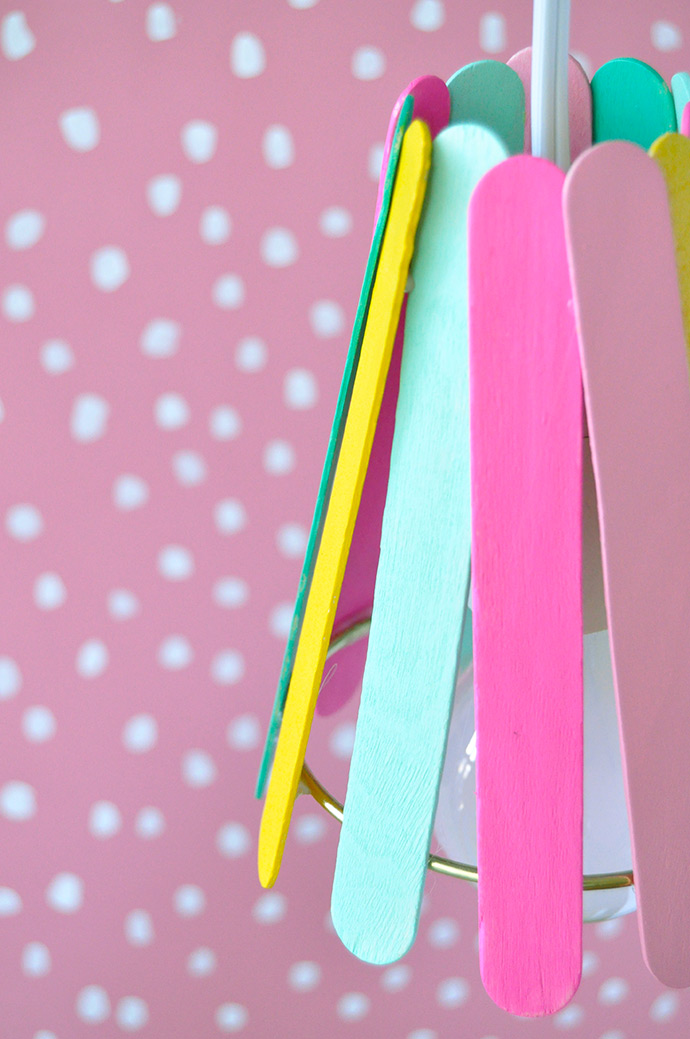
Continue hot gluing the popsicle sticks onto the hoops, overlapping them to fit as needed. Our lamp used 12 popsicle sticks.

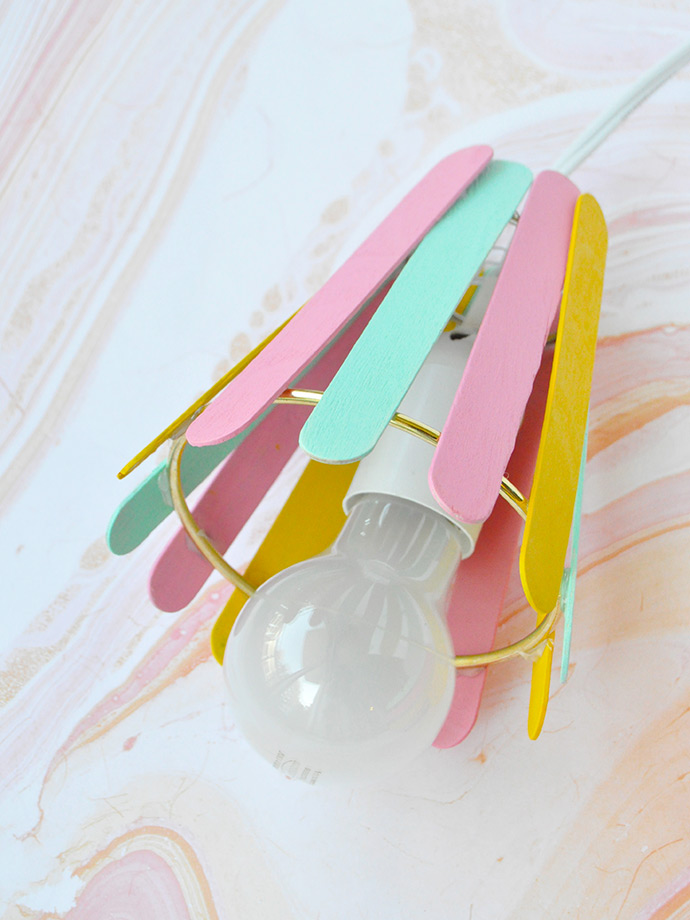
Step 6
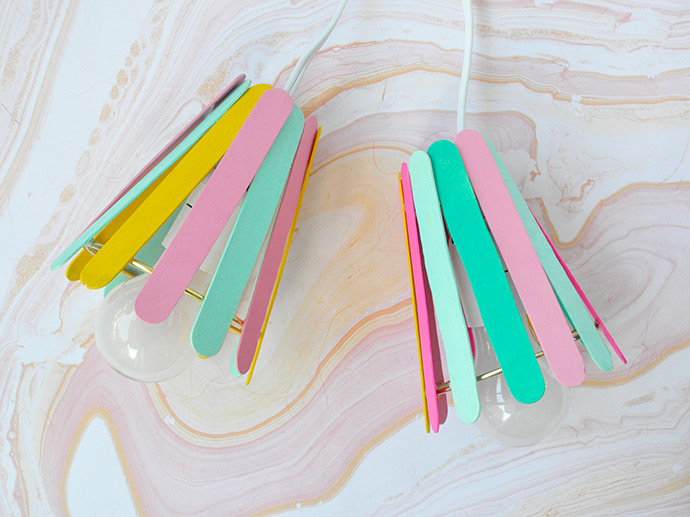
Use the plastic coated wire to make a loop through the top of the lampshade so that the light fixture sits inside nicely. Screw in a lightbulb and voila!
Note: Make sure to follow the directions and any warning labels included with your light fixture and bulb.
This post is sponsored by Plaid Enterprises.