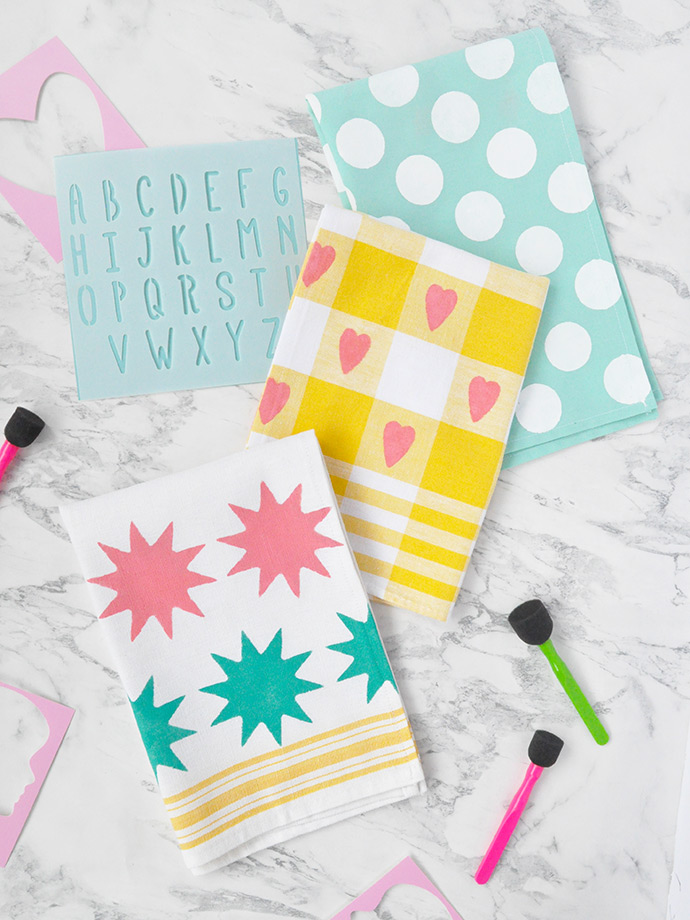
We’ve been having so much fun with stencilling lately and today we’re so excited to share these quick and simple DIY tea towels! With mother’s and father’s day right around the corner, these tea towels are a super fun project to make for the baker in your life! Give these tea towels as the gift, or use them to wrap up another gift or some baked goods.
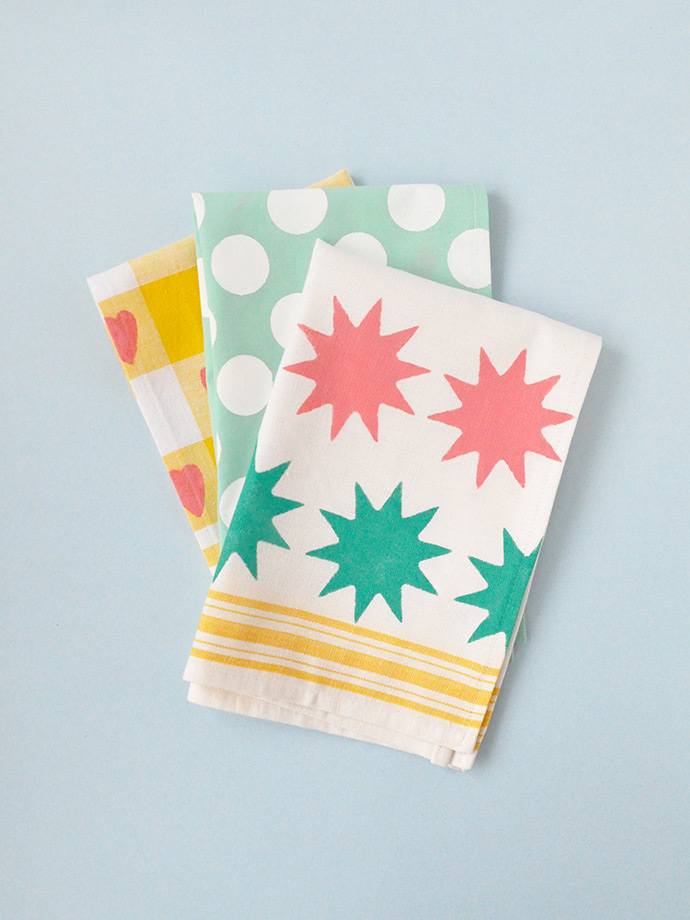
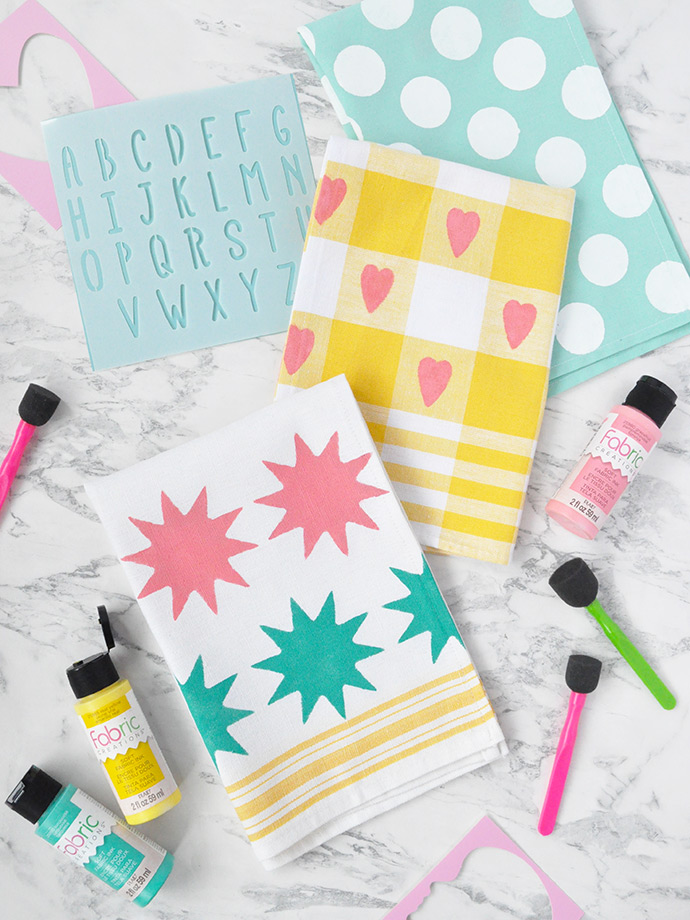
To keep our tea towels nice and soft, we used our go-to fabric paint: Fabric Creations Soft Fabric Ink. When the ink dries, the cloth stays flexible! It’s a great way to add some color to some plain tea towels from the store, or buy plain tea towel by the yard from the fabric store and make custom gifts for everyone you know! Keep reading to see the full tutorial below!
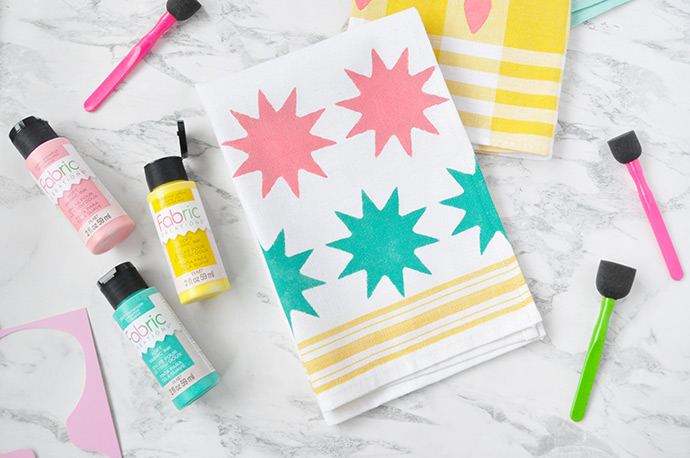
what you need:
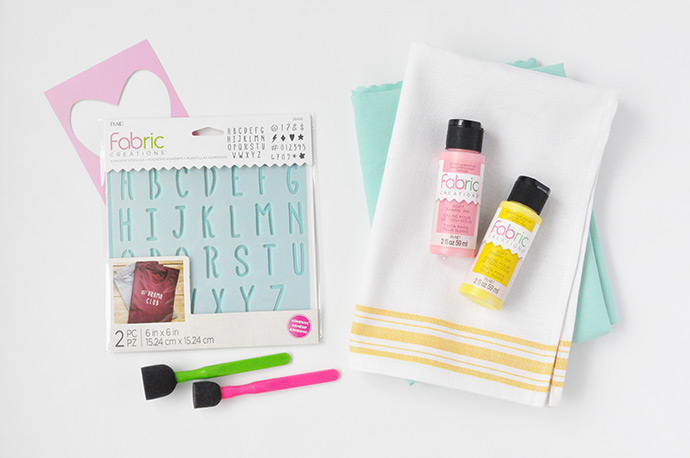
- Tea towels
- Fabric Creations Soft Fabric Ink
- Foam spouncers
- Stencils
- Paper plate
how-to:
Step 1
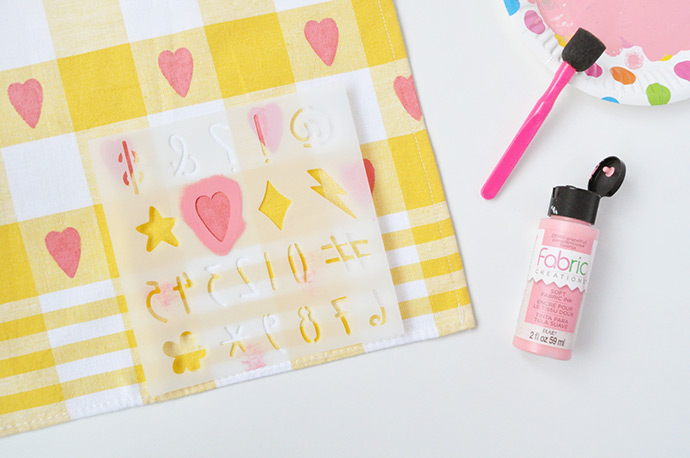
Lay out your tea towel on a paper covered work surface. If using a Fabric Creations stencil, remove the plastic backing and stick the adhesive onto the tea towel so that the stencil is nice and secure. Squeeze some Fabric Creations Soft Fabric Ink onto a paper plate and using an up and down motion, dab the foam pouncer into the paint. Remove some of the paint onto the plate, and then using the same up and down motion apply the paint onto the tea towel through the stencil. Don’t go too heavy in one coat, or you might risk some messier edges on your stencil.
Step 2
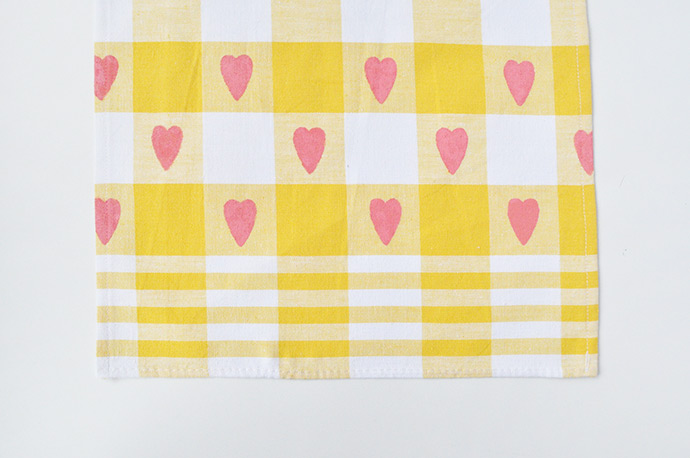
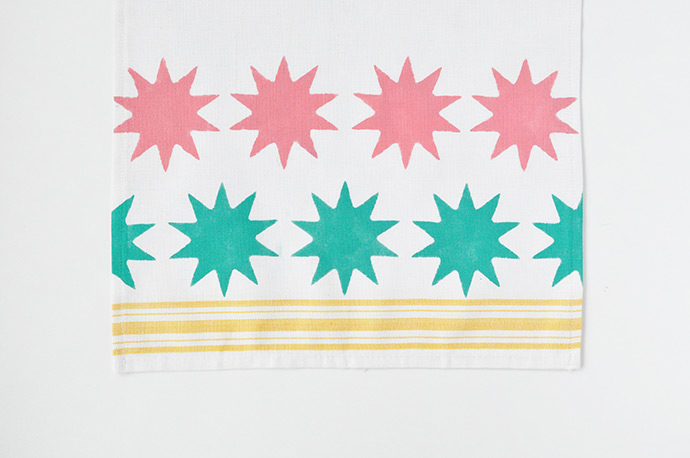
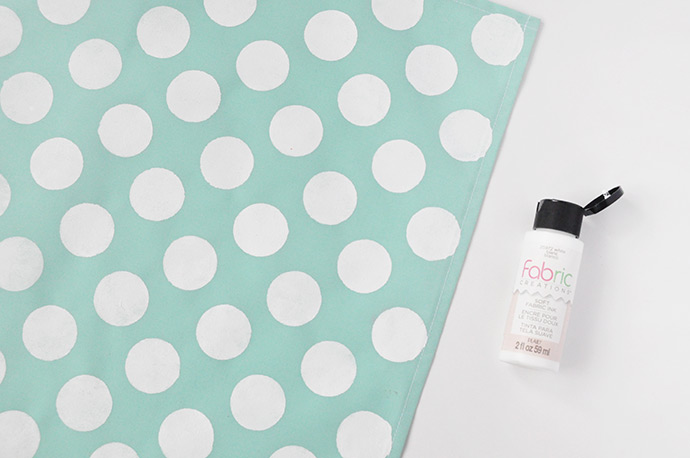
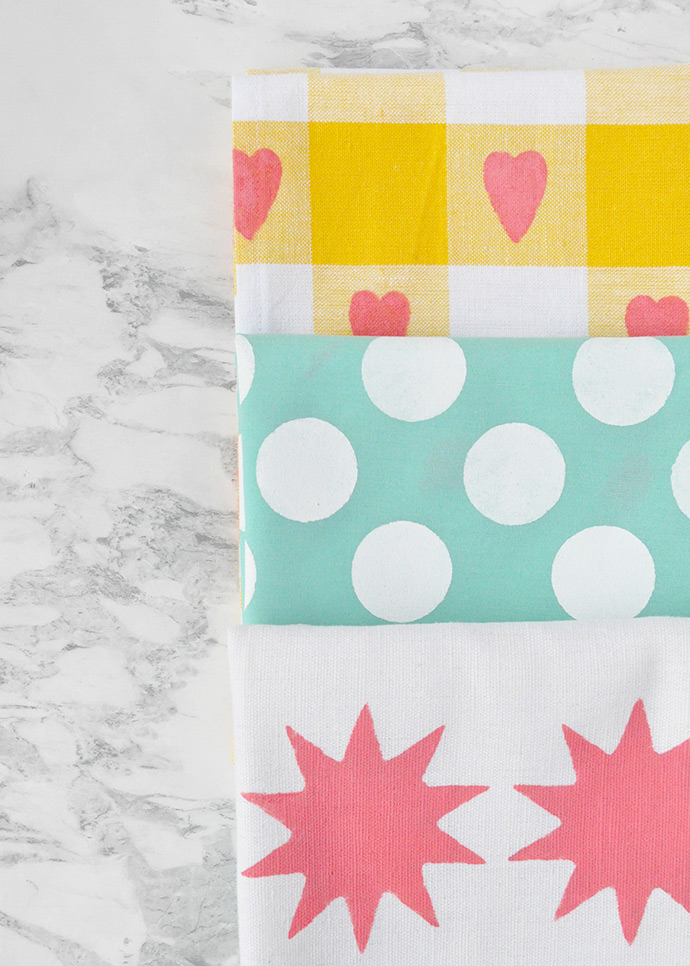
Repeat your stencil as desired onto your tea towel! We used a mix of colors and shapes. Let the paint dry for 24 hours.
Step 3
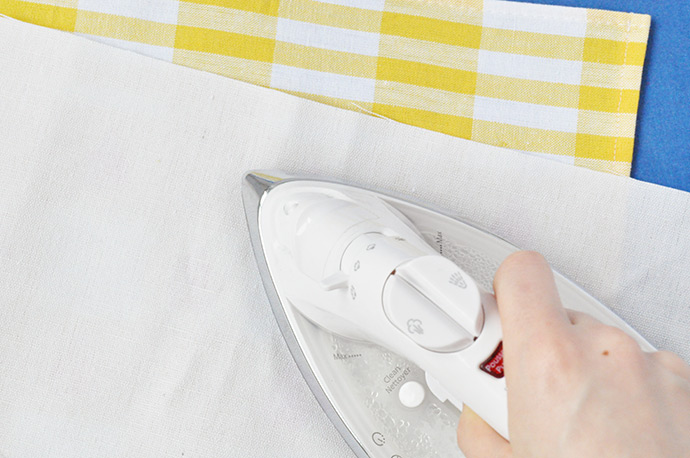
After drying for the 24 hours, use an iron and press cloth to set the paint. After 72 more hours, you can wash and dry your tea towels as you normally would.
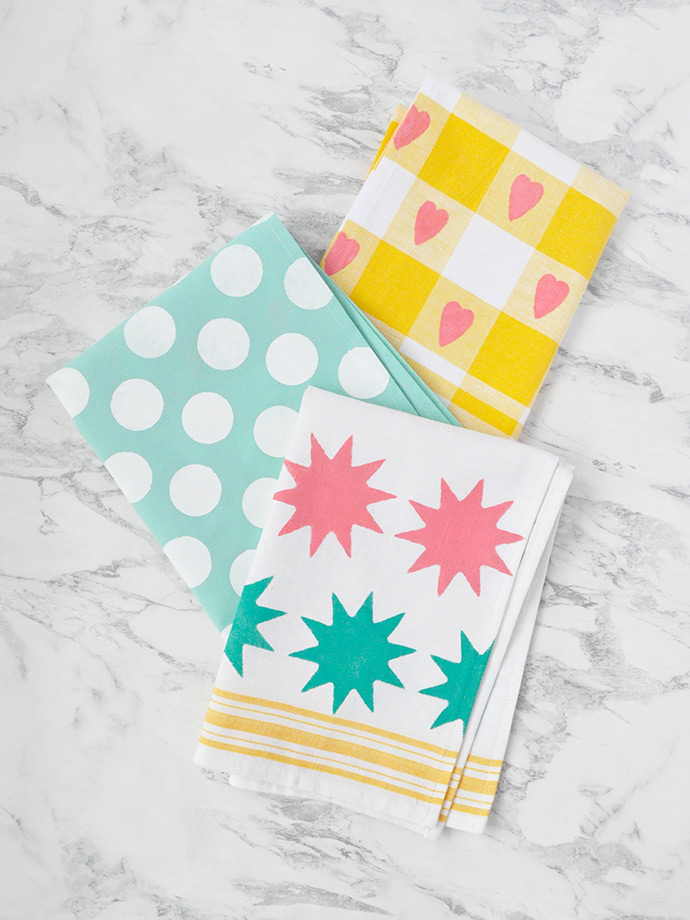
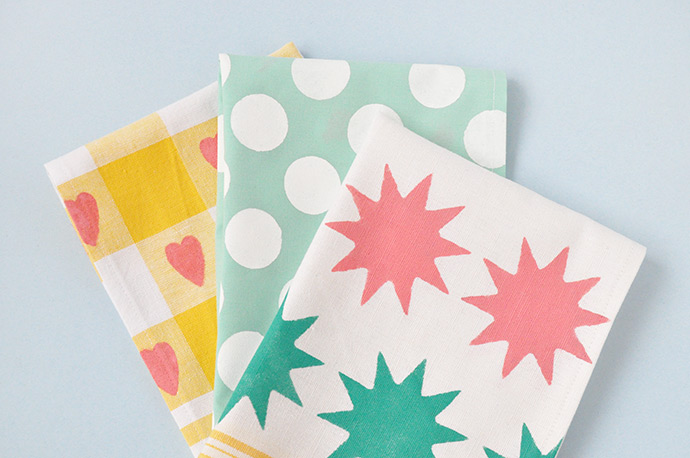
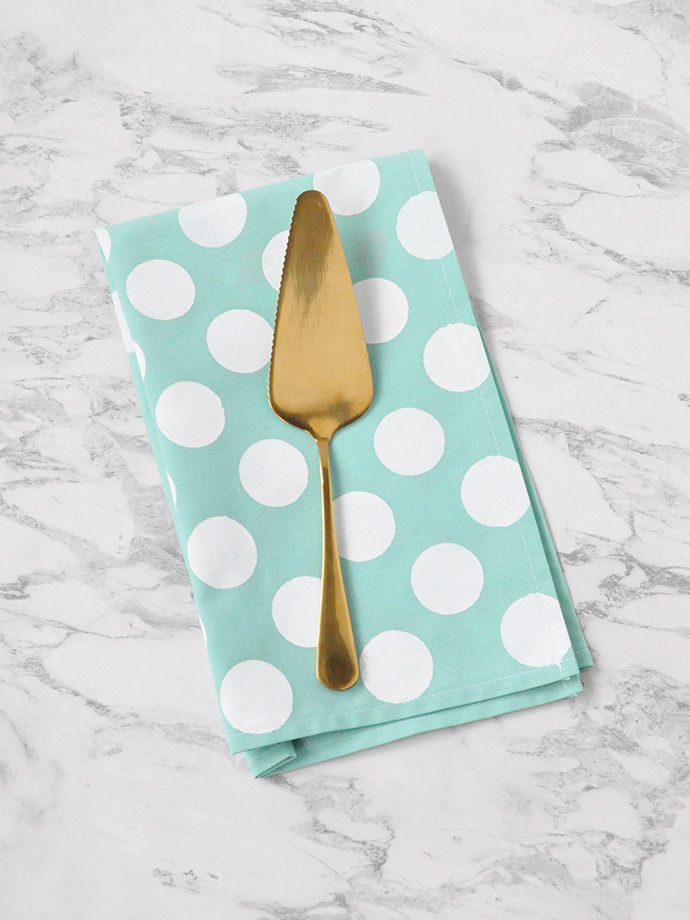
Use your new tea towels to wrap up smaller gifts or baked goods!

This post is sponsored by Plaid Enterprises.