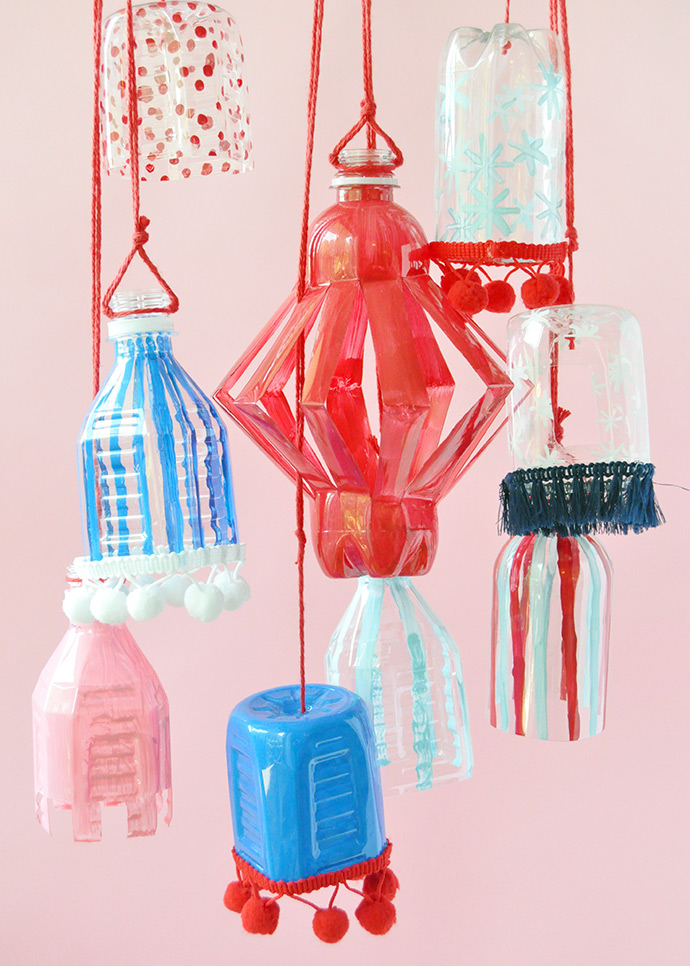
We love making lanterns to celebrate any holiday, but the bright red, white, and blue for the 4th of July is extra fun! For today’s DIY lanterns, we saved up a few empty plastic bottles from the recycling bin and instead turned them into these playful and festive decorations. With the 4th just a few weeks away now, start gathering and saving your recyclables so that you have enough on hand to make a whole bunch! We love that these can be hung inside from a ceiling hook, in a door frame, or even on handles and door knobs.
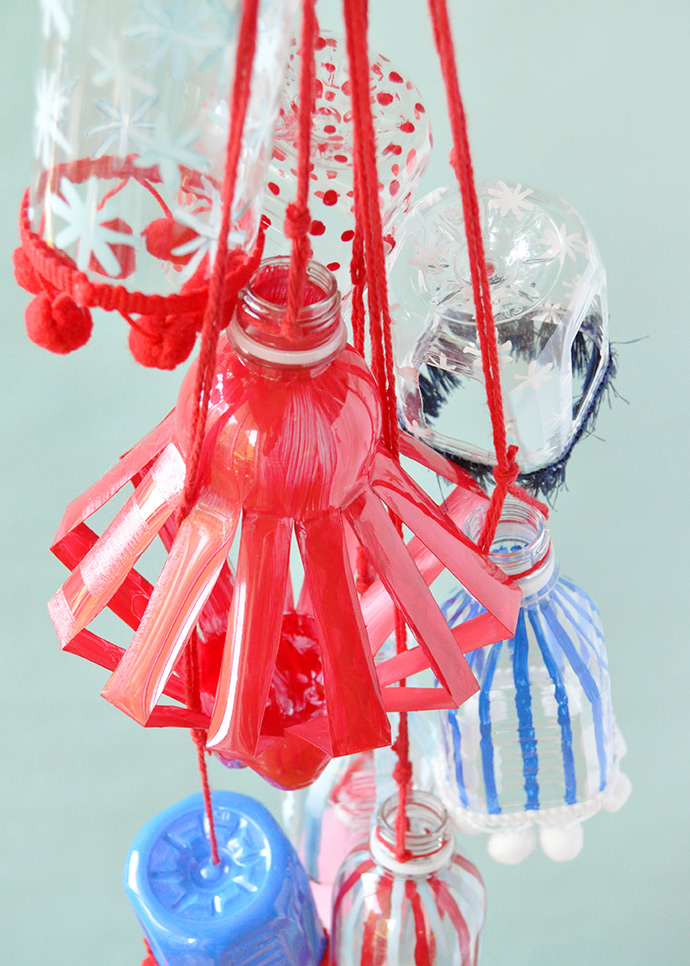
And of course, they’re also great for decorating your backyard for a BBQ! Make a whole bunch and hang them from your deck’s railing or your patio umbrella. We loved using Martha Stewart Crafts paints for this project because the formula is so saturated and perfect for both indoor and outdoor projects. Keep reading to learn how to make a set of your very own!!
what you need:
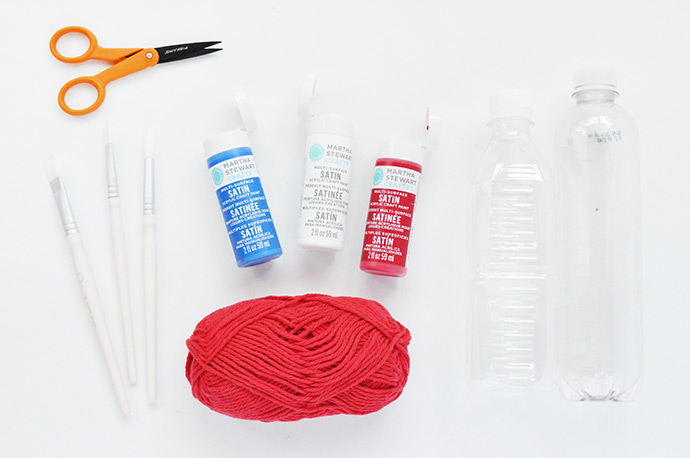
- Martha Stewart Crafts Multi-Surface Satin Acrylic Craft Paint
- Paintbrushes
- Empty plastic bottles
- Scissors
- Yarn or string
- Craft knife (optional)
- Trim (optional)
- Hot glue gun (optional)
how-to:
Step 1
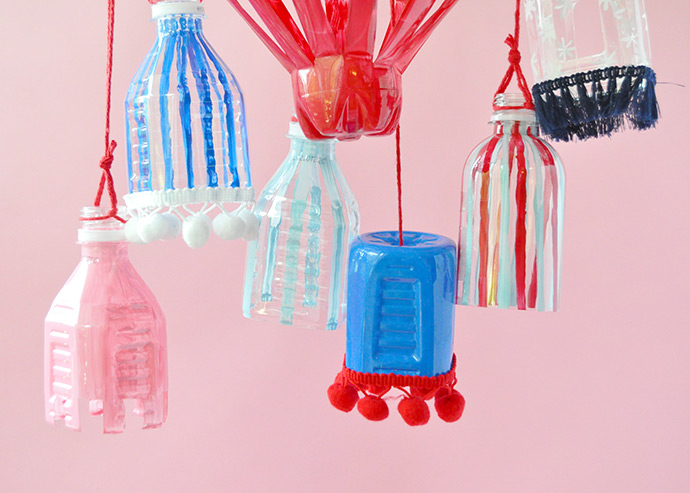
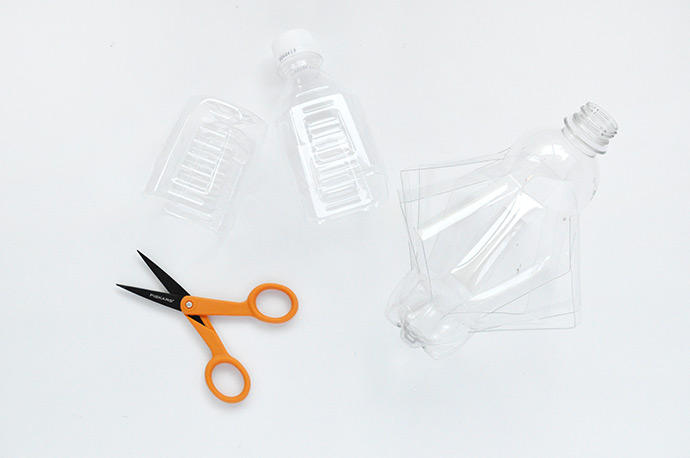
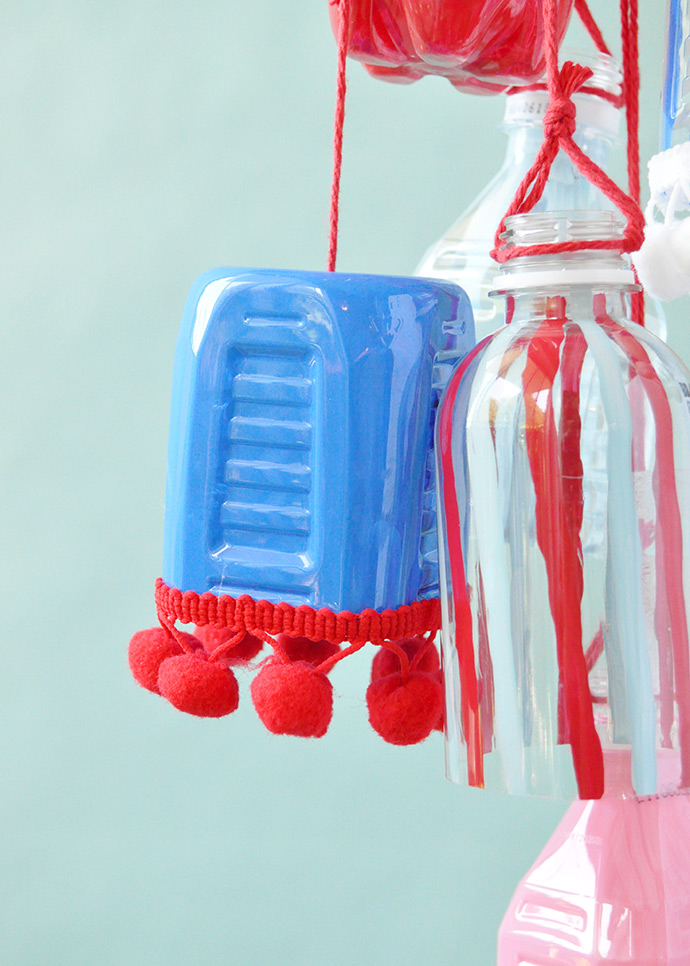
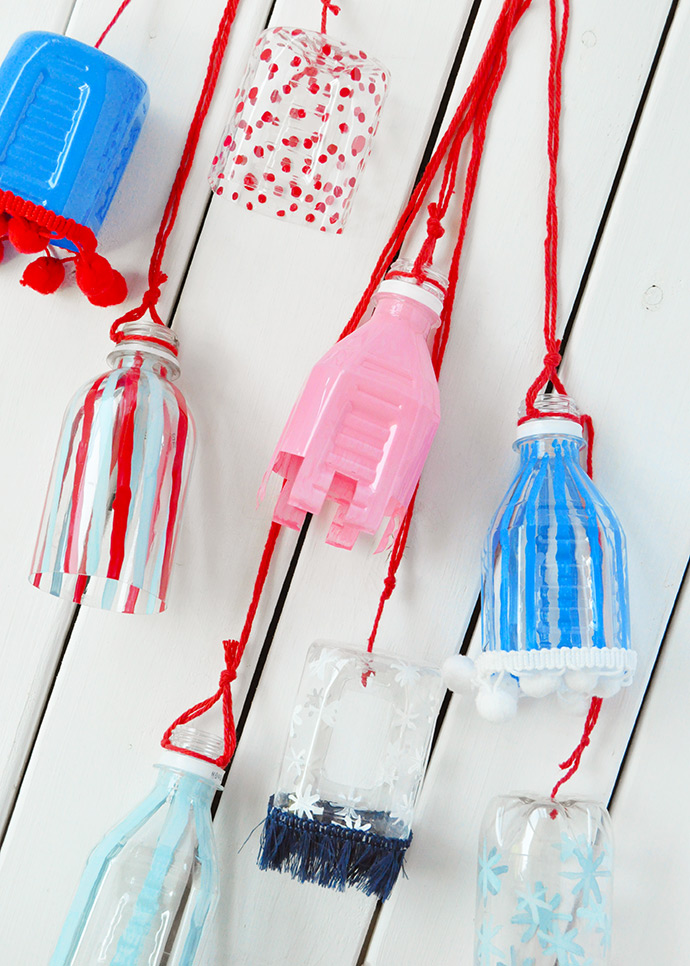
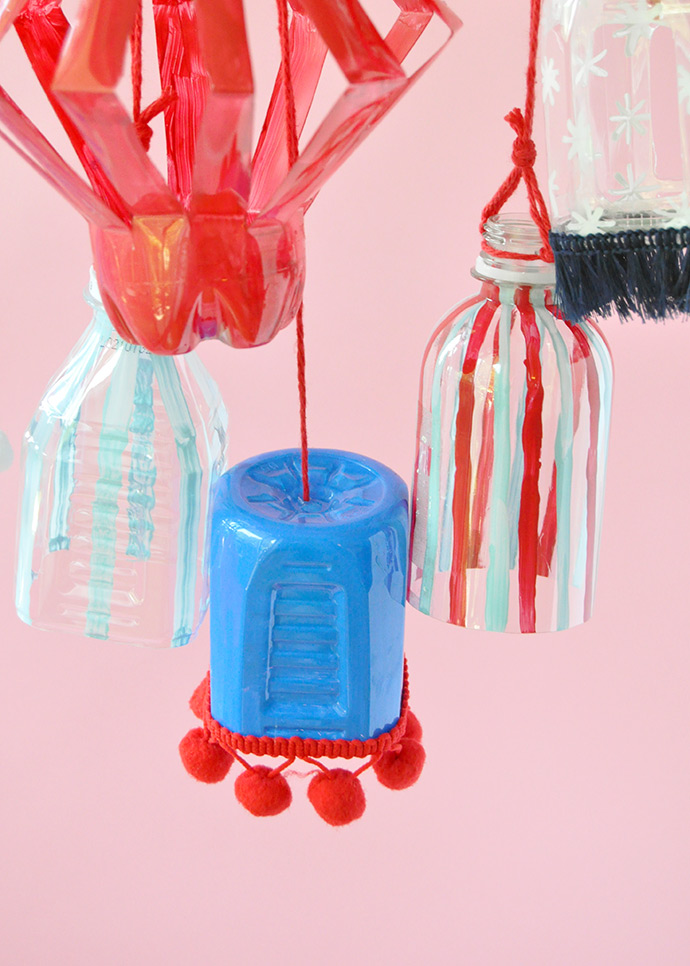
Begin by cutting your plastic bottles into fun shapes! You can do this in a variety of ways, and different shaped bottles will present different options. We had two shapes of bottles: the more square ones, and the smooth round ones. For the square ones, we cut them in half along an indented line in the design on the bottle and used both halves as lanterns. Cut out shapes into the sides, or cut a fancy edge along the bottom. For the round ones, we cut one simply in half, and for the other we used a craft knife to carefully cut vertical slits down the bottle about 3/4″ apart. Then we folded each plastic strip at the center point, as shown above. Take extra care when using a craft knife to cut the bottles, or use scissors if possible.
Step 2
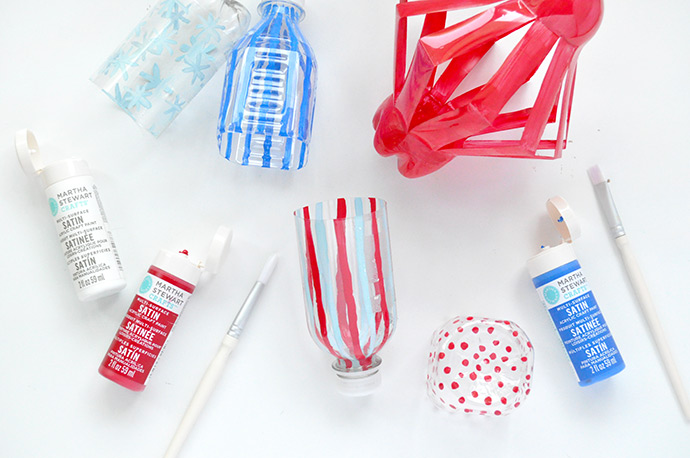
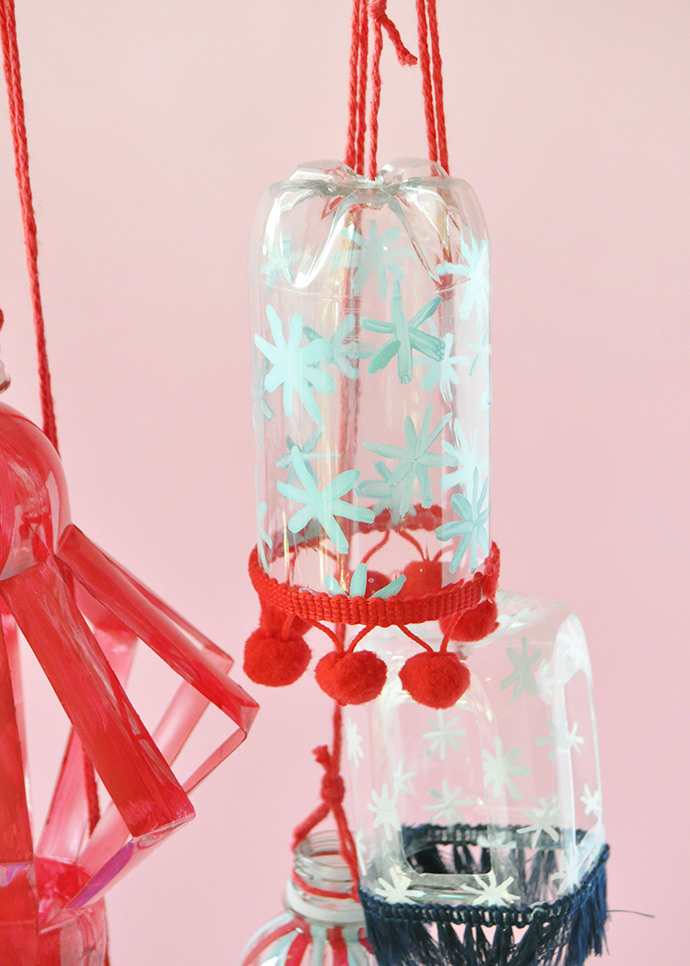
Time to get creative with paint and patterns! We used a handful of shades: wedding cake, habanero, indigo, blue sky, and camellia pink. For patterns, we went with stars and stripes, but with some polka dots and solids mixed in too. Mix, match, and have fun with this step! We chose to paint on the inside of the bottle so that the outside would have a super smooth and glossy look. Let dry.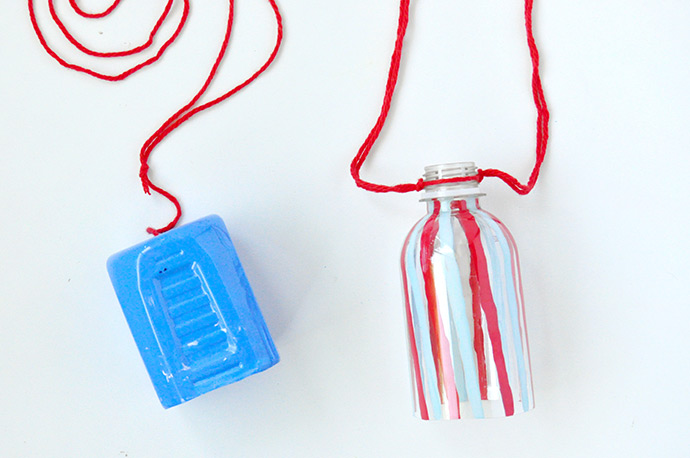
Step 3
Once dry, poke a hole in the bottom of the bottle (it will become the top) and thread some yarn into it. Tie a knot so that it stays in place and then tie a loop on the other end for hanging. For the top halves of the bottles, loop and tie yarn around the screw-top to secure, again tying a loop for hanging.
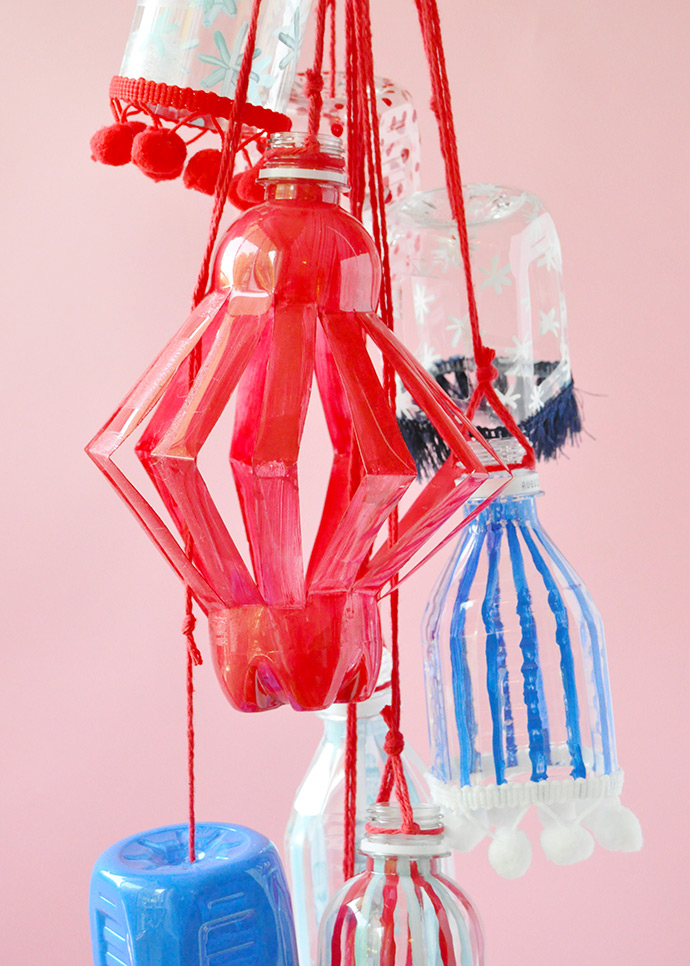
If you want to give your lanterns some extra flair, use a hot glue gun on the low-temperature setting to attach pom pom trim or fringe along the bottom edge.

Happy crafting!!
This post is sponsored by Plaid Enterprises.