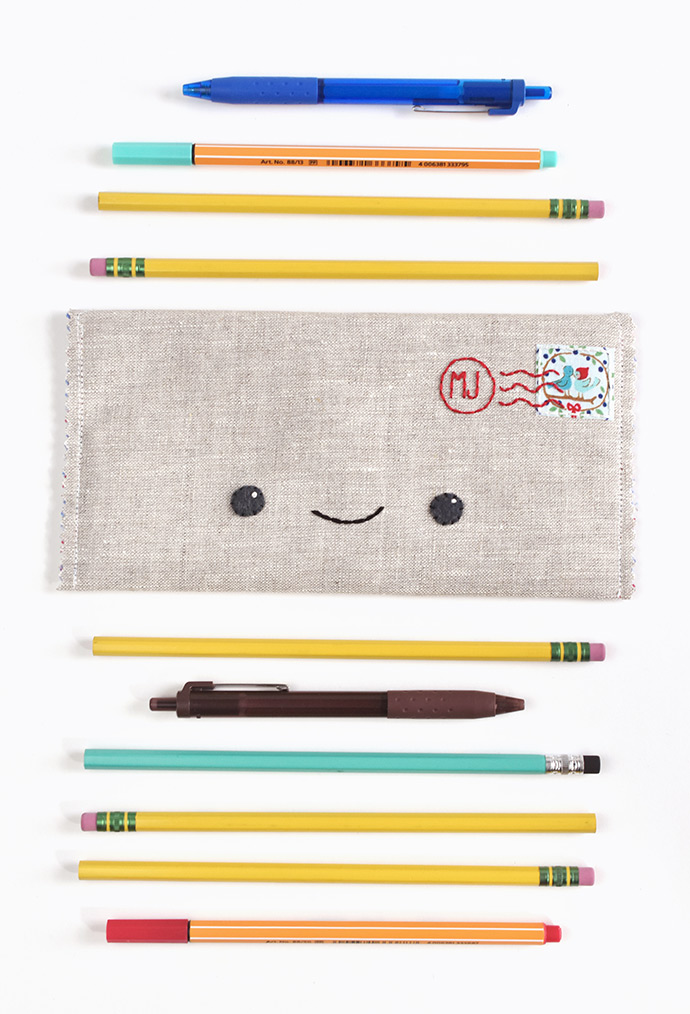
When you head to the mailbox and find happy mail, it’s always fun. And with this DIY pencil case, you’ll find happy mail filled with pens and pencils every time you open your backpack!
With a little bit of hand embroidery and some very simple sewing, you can create and customize a letter of your own.
The kawaii face makes this letter extra cute, but you could skip the face and embroider a name in the center of the envelope instead.
Ready for a DIY special delivery? Let’s get started!
what you need:
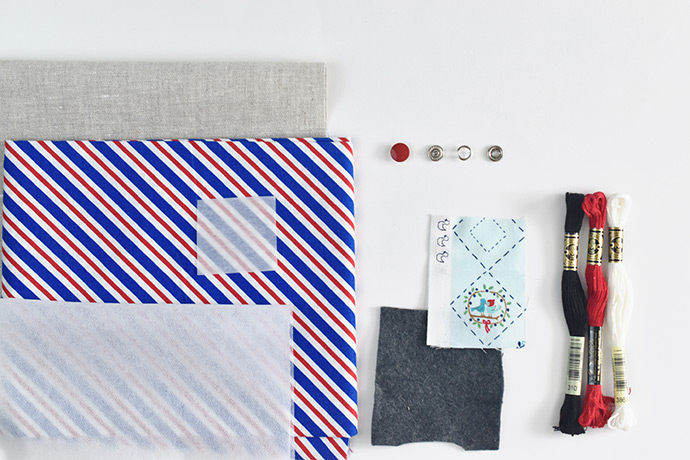
- 9″ x 12″ Piece of Linen
- 9″ X 12″ Piece of Cotton Fabric
- 2″ X 2″ Piece of Cotton Fabric With a Cute Design
- 9″ X 12″ Piece of Fusible Interfacing
- 2″ X 2″ Piece of Paper-backed Fusible Web
- 1″ X 1″ Piece of Black or Dark Gray Felt
- Embroidery Floss
- Hammer-on Snap
- Iron
- Scissors
- Pencil
- Ruler
- Needle
- Pins
- Sewing Machine
- Hammer
- Pinking Shears
- Printable template
how-to:
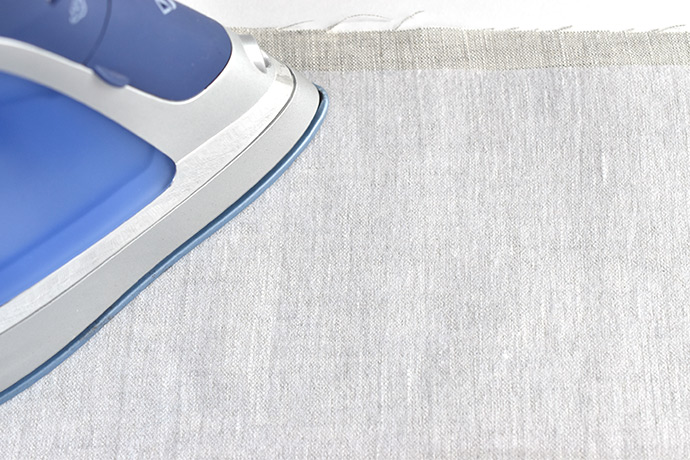
Step 1
Press the interfacing onto the back of the linen fabric, following the instructions on the interfacing packaging.
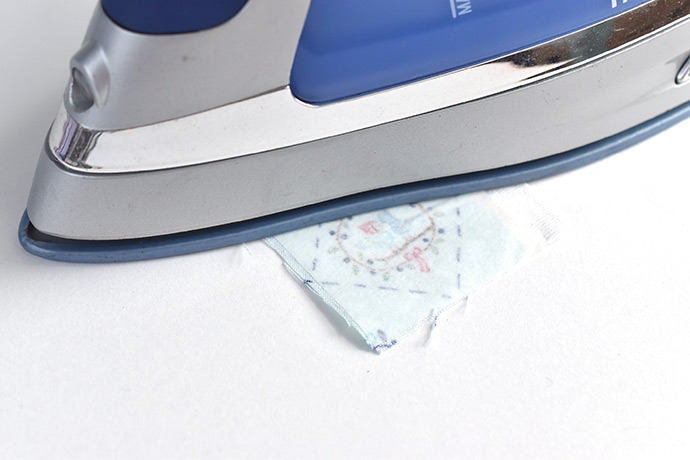 Press the fusible web on the back of the small piece of cotton fabric so it’s centered behind the design you want for the stamp.
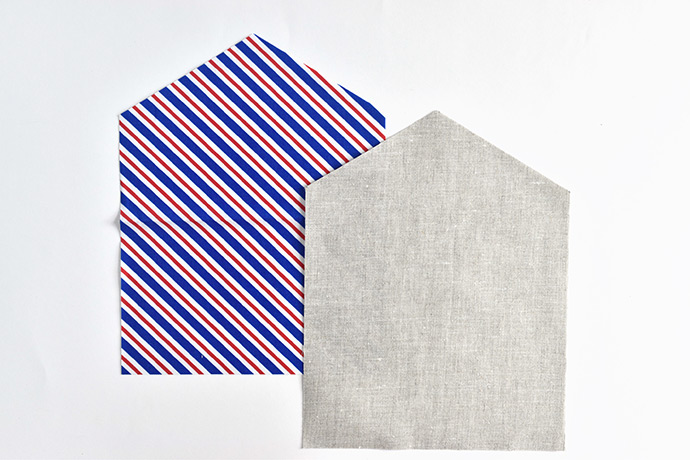
Step 2
Cut the linen and cotton fabric down to 8-1/2″ x 11″ (use a piece of US letter size paper as a guide).
On each piece, mark the center of the top and each side 2-1/2″ down from the top. Use a ruler to make a line from the center to each of the side markings and then trim off the corners. Each piece should now look like a house shape.
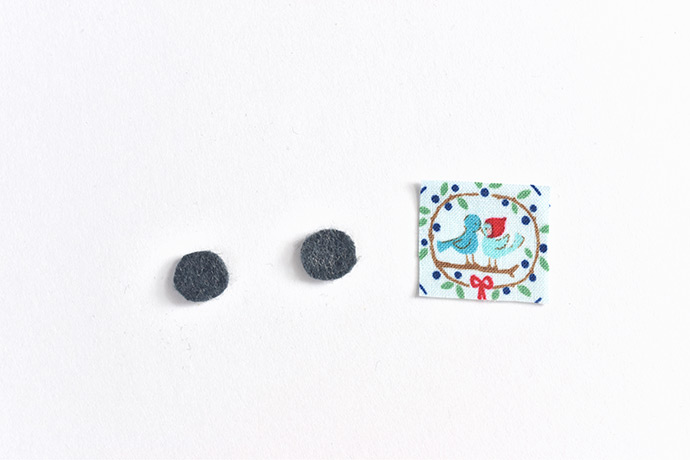
Use the printed PDF template to cut out two eyes from felt and the stamp from the small piece of cotton fabric. You can have the stamp turned in either direction depending on your fabric.
Step 3
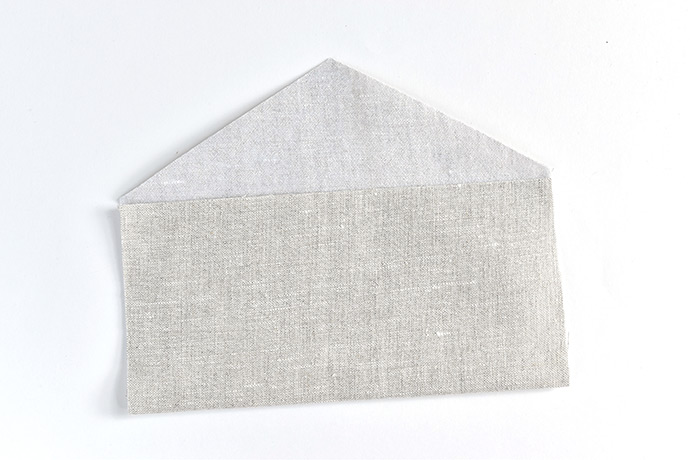
Fold the bottom edge of the linen up to the bottom of the triangle flap section and lightly crease it. Fold the triangle flap down and lightly crease it.
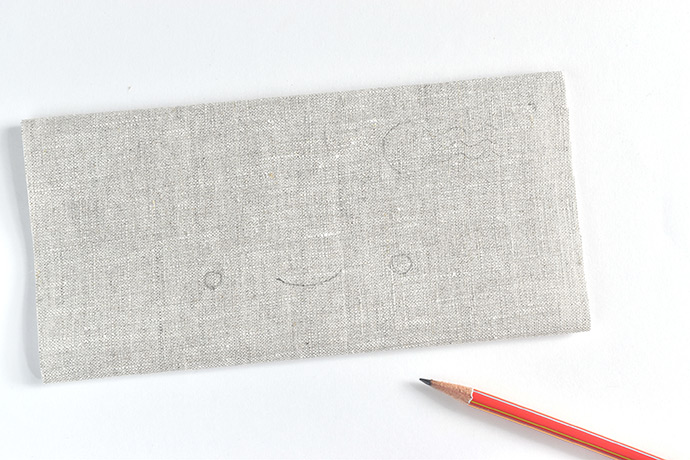
Trace the face and the postmark onto the center section of the envelope. Make the edge of the postmark at least 3/4″ from the right edge.
Step 4
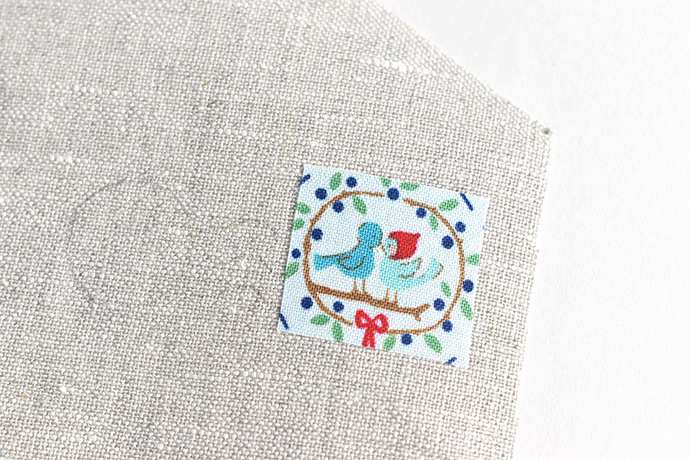
Peel the paper backing off the stamp and iron it in place in the top corner of the center section of the envelope. It should be at least 1/2″ from the edge.
The stamp may cover part of the postmark tracing, but you can redraw that so it’s pretty close to the pattern.
Step 5
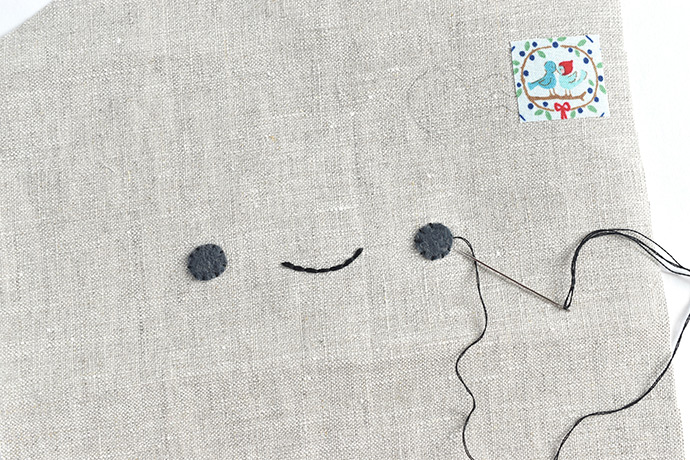
Stitch the mouth with six strands of black embroidery floss and back stitch.
Attach the eyes with two strands of black embroidery floss and tiny whip stitches around the edge. Add white french knots for a highlight.
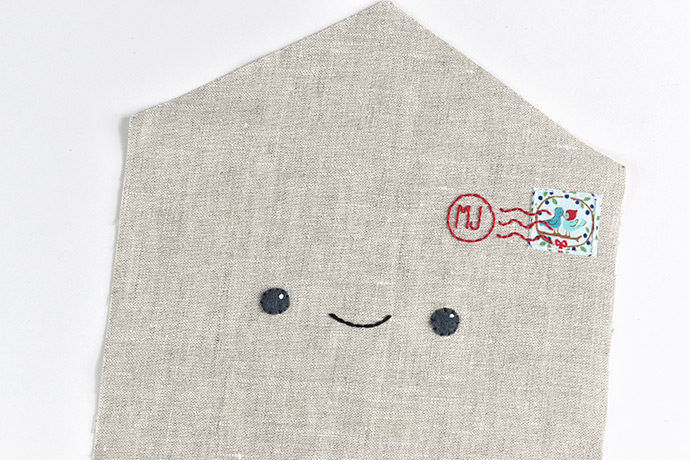
Stitch around the edge of the stamp with three strands of coordinating embroidery floss and back stitch. Use three strands of red embroidery floss and back stitch for the postmark. If you want to customize it, add initials in the center of the postmark!
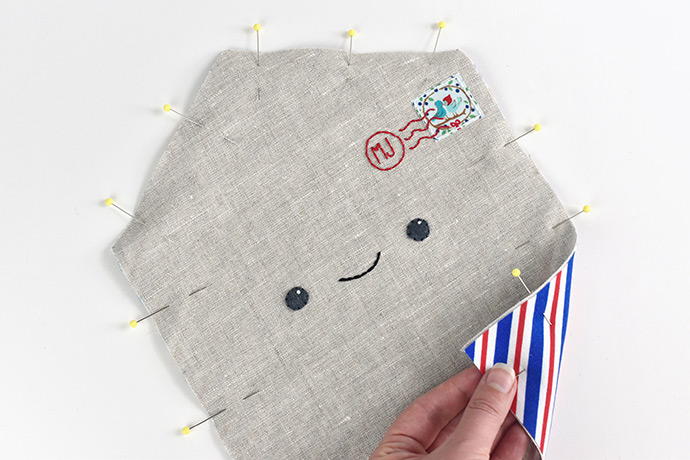
Step 6
Pin the two shaped fabric pieces with the wrong sides together.
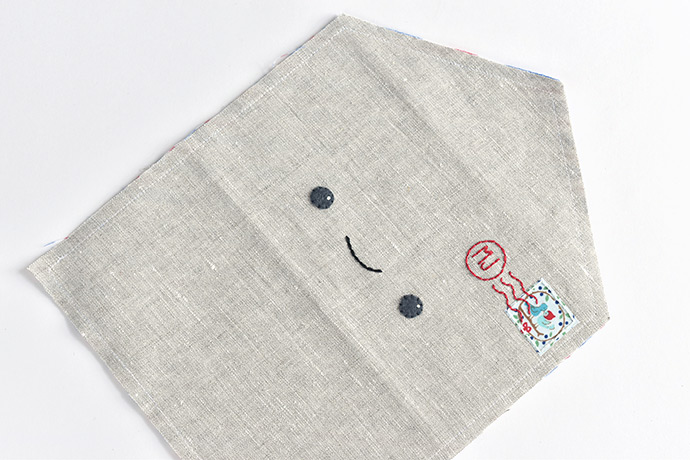
Sew around the entire shape with matching thread about 1/4″ from the edge.
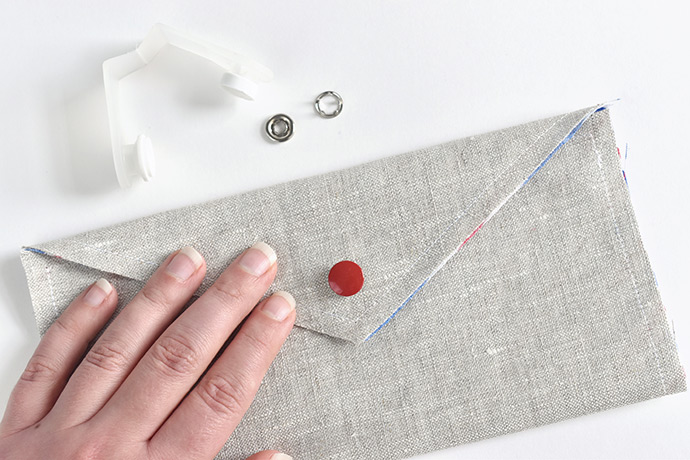
Step 7
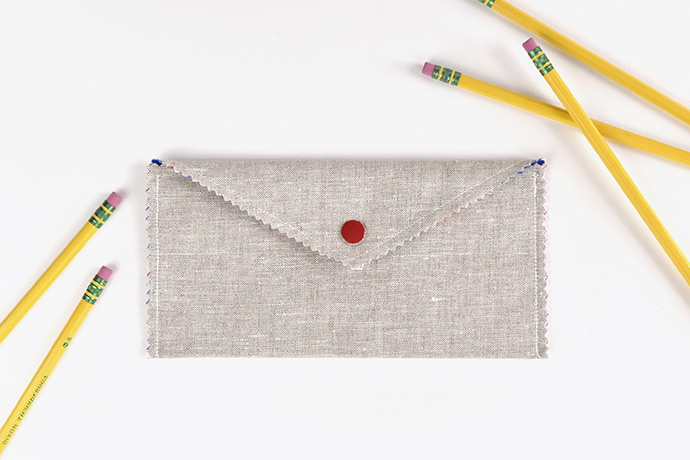
Fold the envelope pieces again and attach one half of the snap to the flap and the other half to the back of the envelope. Be sure that they will match up when it gets snapped closed!
Step 8
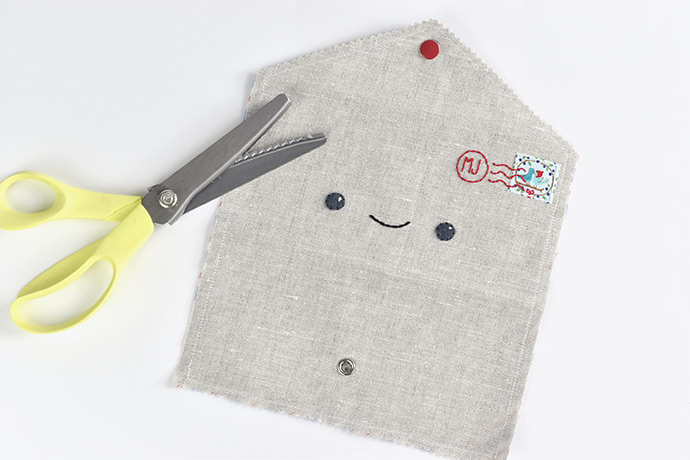
Use pinking shears to trim the angled edges of the flap and the bottom edge. This helps reduce fraying.
Step 9
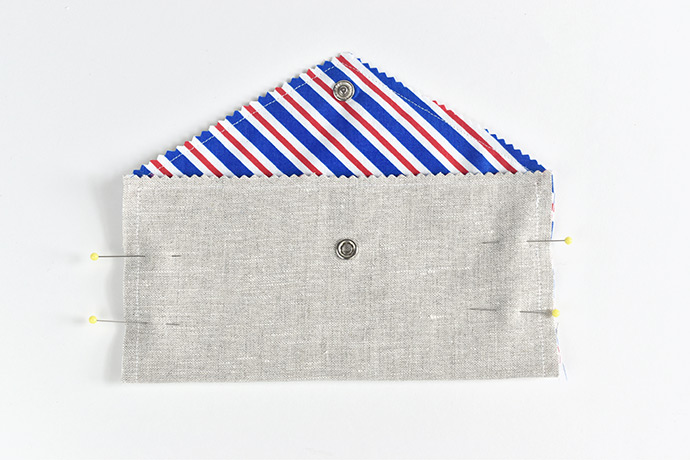
Fold the envelope again and pin the two sides. Sew the two sides, keeping the stitching on the previous stitching line. Be sure to back stitch at the top and bottom.
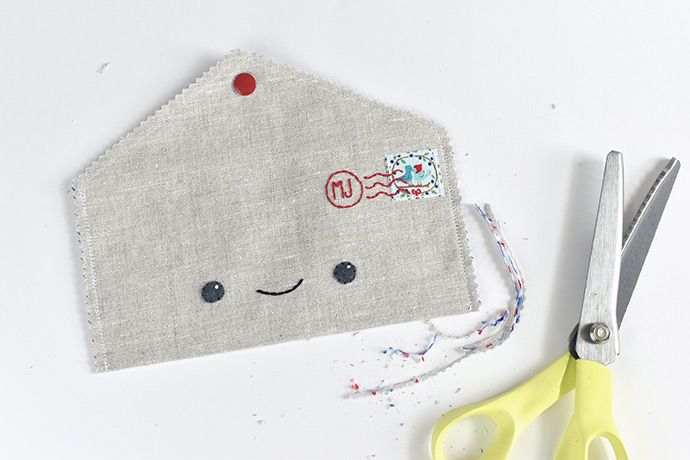
Trim the two sides with pinking shears.
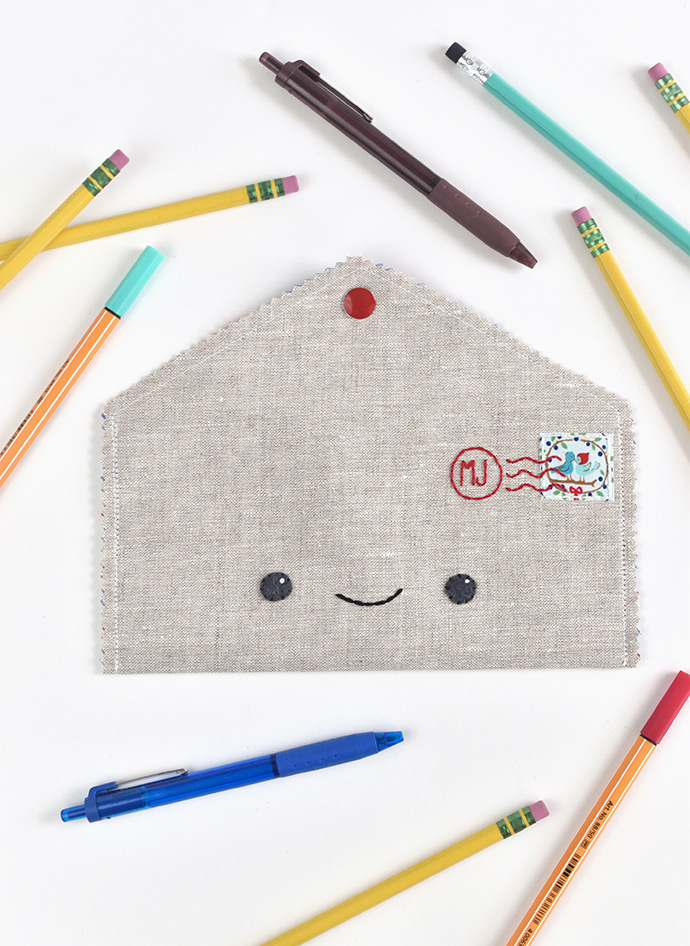
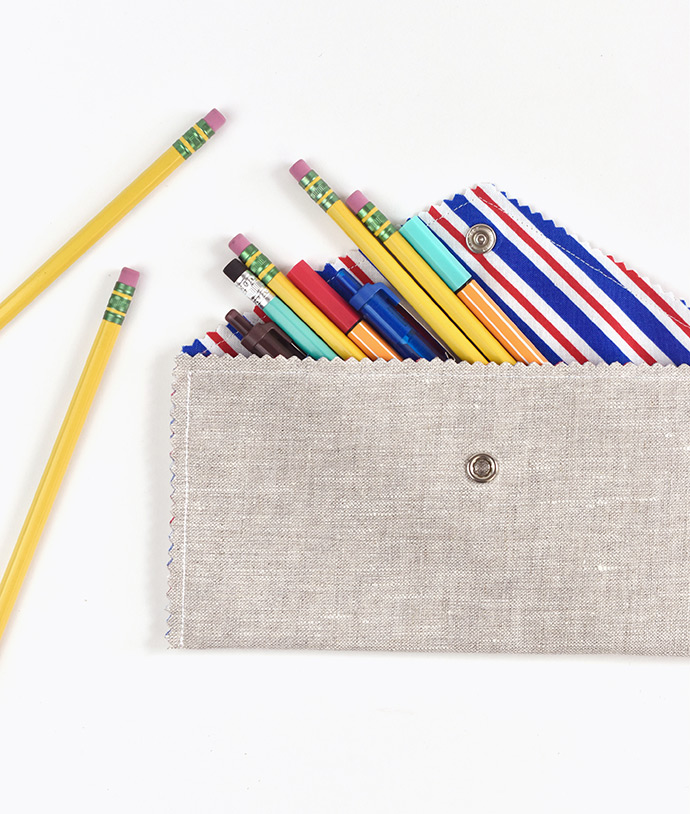
Now your kawaii envelope is ready to use. And what can you do to make it happier than it already is? Fill it with pens and pencils, of course!
Unsharpened pencils just fit in this case, but once they’re in use they fit even better.
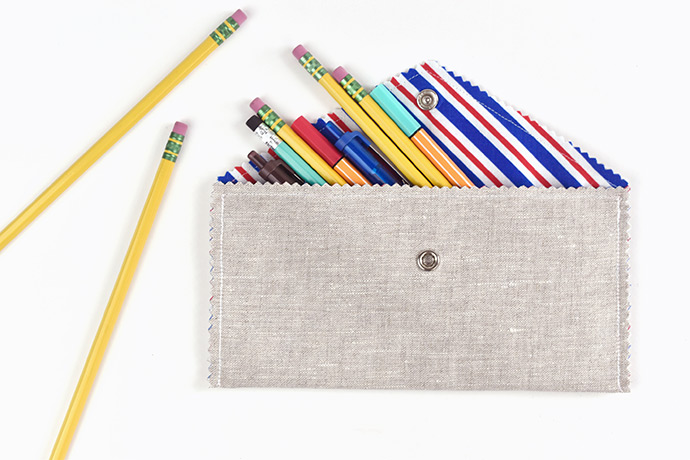
Want to simplify this project a little? Use felt for the envelope instead of linen and fabric. Instead of sewing it on a sewing machine, you can even sew it by hand!
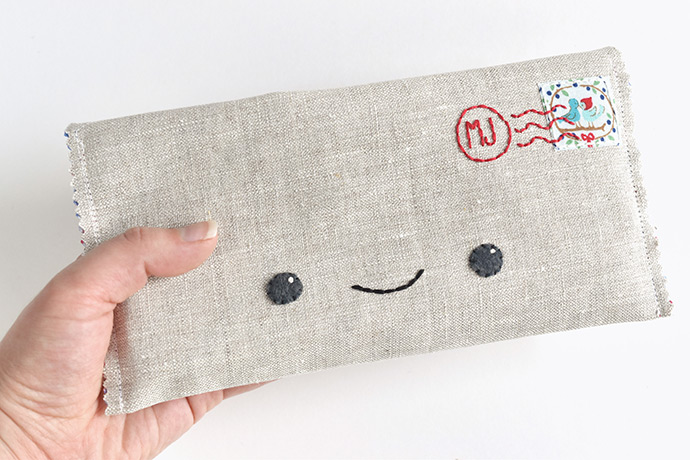
Add your favorite drawing and writing tools, and take this smiling case to school with you. Or, pull out a pen and write a real letter to a friend!
Happy crafting!