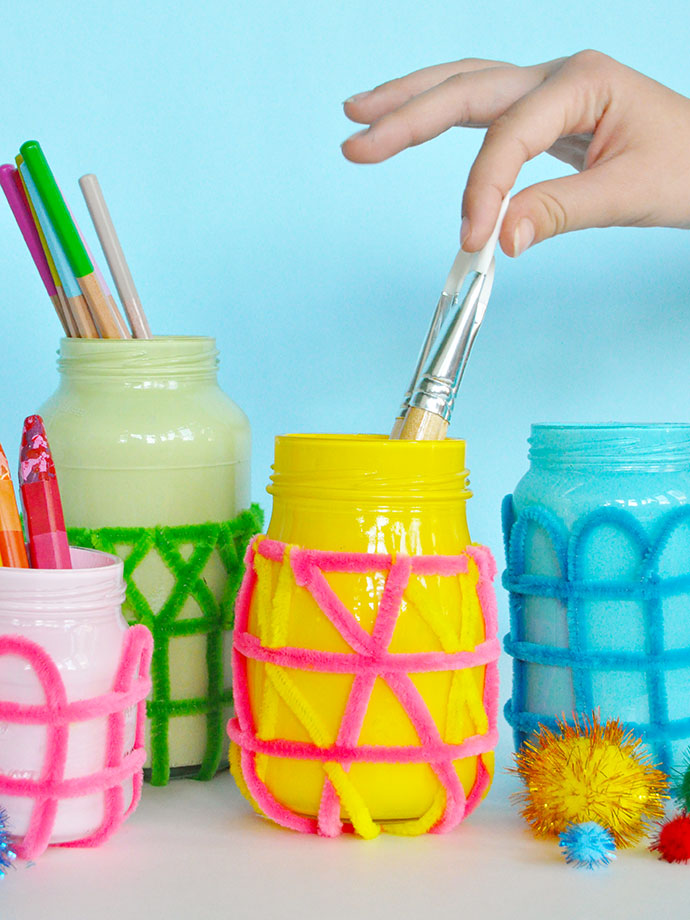
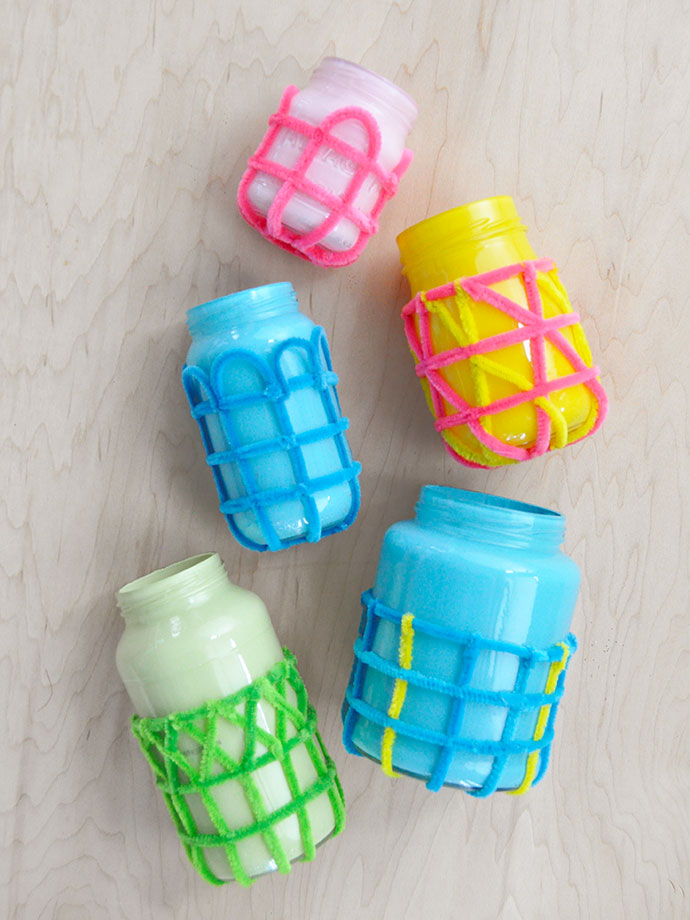
In case it isn’t already obvious, we are fully and completely in love with pipe cleaners. Which is perfect because our friends at Kid Made Modern have the best selection around and we love getting creative with them. Today we used these neon pipe cleaners to dress up some plain glass jars. We actually used a few jars from our recycling bin – these ones had pickles, pasta, and pesto inside – and are so happy with how they turned out. We love the weaving, rattan, and macrame trend that’s been happening, so we used that as inspiration for these DIY ones. And don’t worry – the word weaving can be intimidating at first, but these jars are super easy to make. The pipe cleaners lend themselves perfect and are SO forgiving.
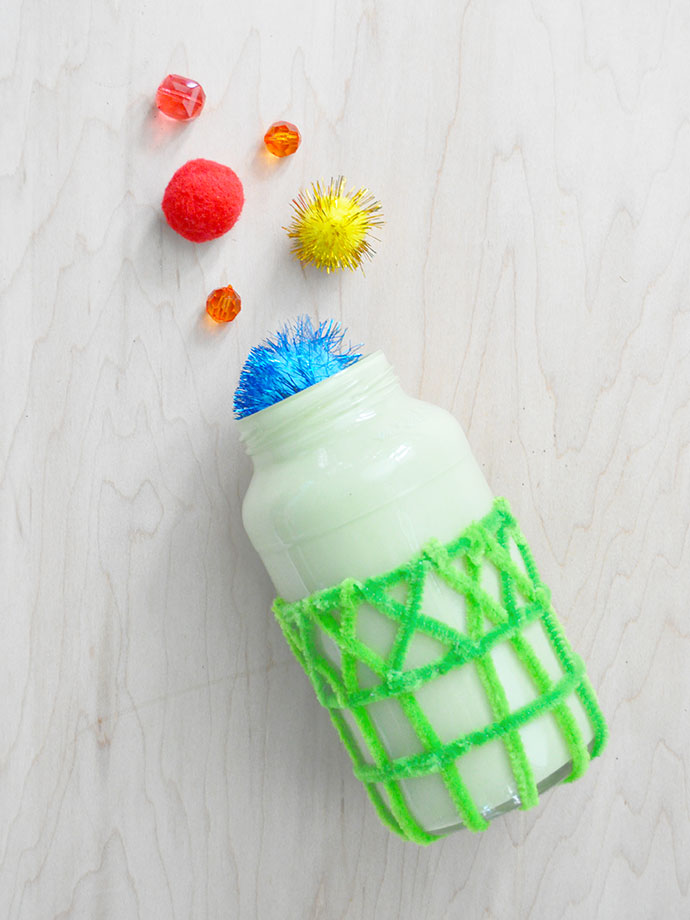
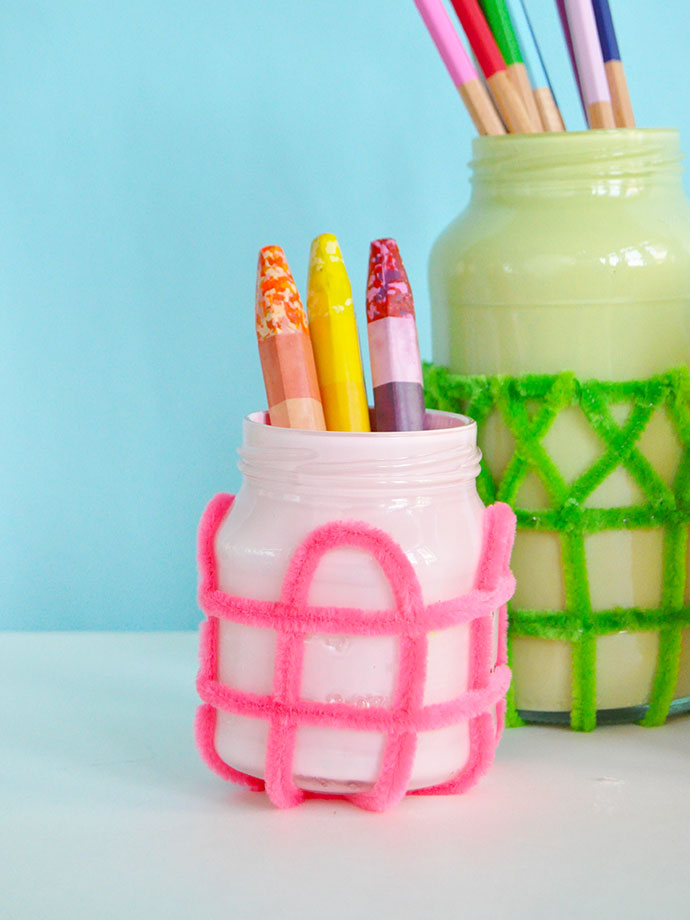
We had a blast mixing and matching colors, shapes, and designs. When we finished up all five of our jars, we’ve organized them on our desk for the most playful craft storage ever! Keep reading to see the full written instructions, and a DIY video too!!

what you need:
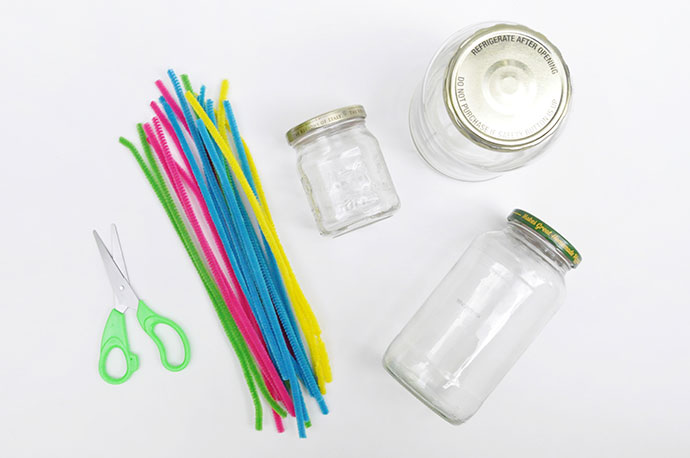
- Arts and Crafts Supply Library (pipe cleaners & scissors)
- Empty glass jars
how-to:
Step 1
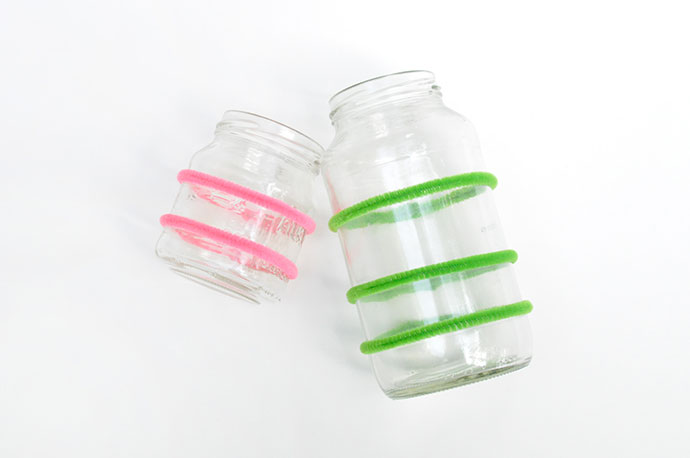
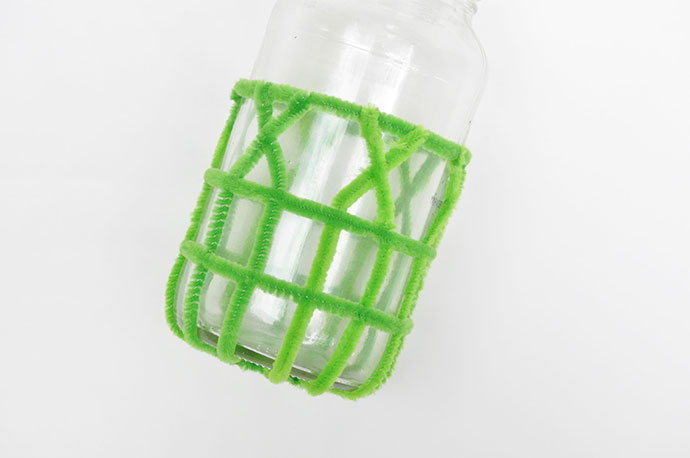
Wrap pipe cleaners around the outside of each jar. Depending on the height, you can adjust the number of rows. Twist the ends together so that they sit snugly in place on the jar and cut any excess.
Step 2
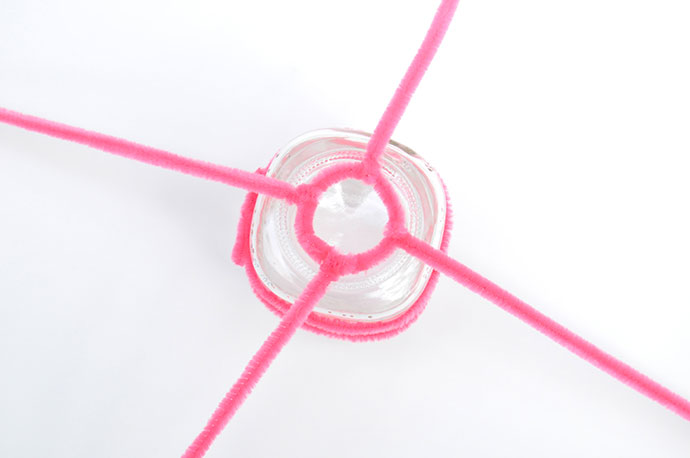
To make the vertical pipe cleaners, start by forming a pipe cleaner circle smaller than the base of your jar. Twist 4 more pipe cleaners onto this circle, evenly distributed.
Step 3
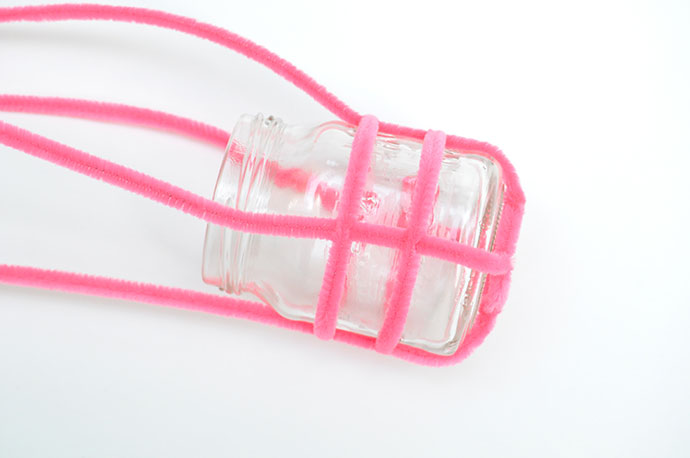
Weave these pipe cleaners up and under the horizontal ones so that you have a sort of grid.
Step 4
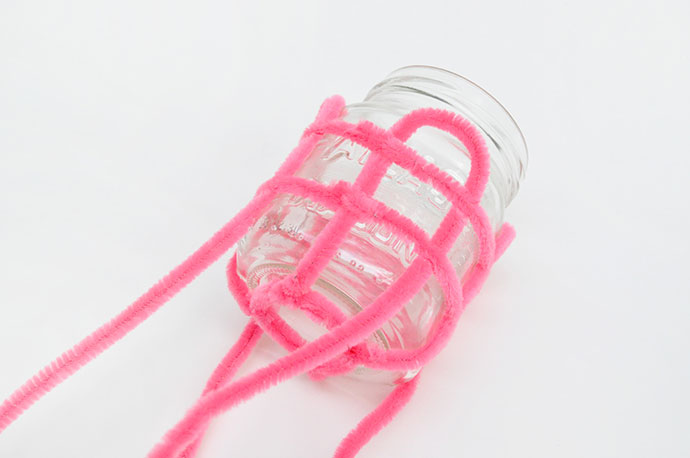
In this case, since the glass jar was so short, we bent the pipe cleaners back and weaved them back under again, attaching the ends to the circle. If you’re working with a taller jar, you can add more pipe cleaners onto the circle instead.
Step 5
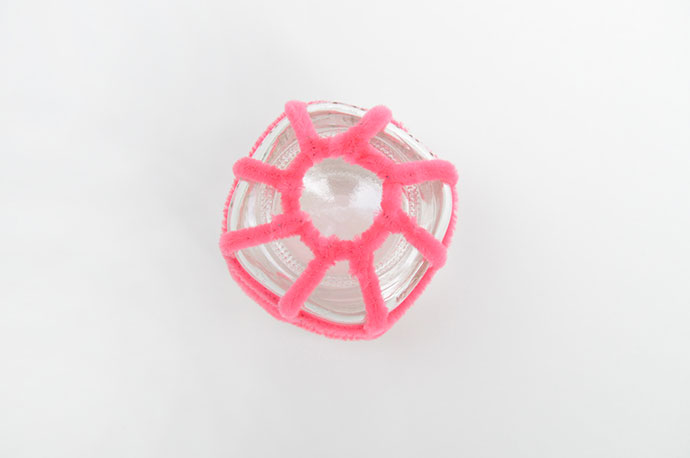
When you’re done weaving, twist all ends to the bottom circle and trim the excess.
Step 6
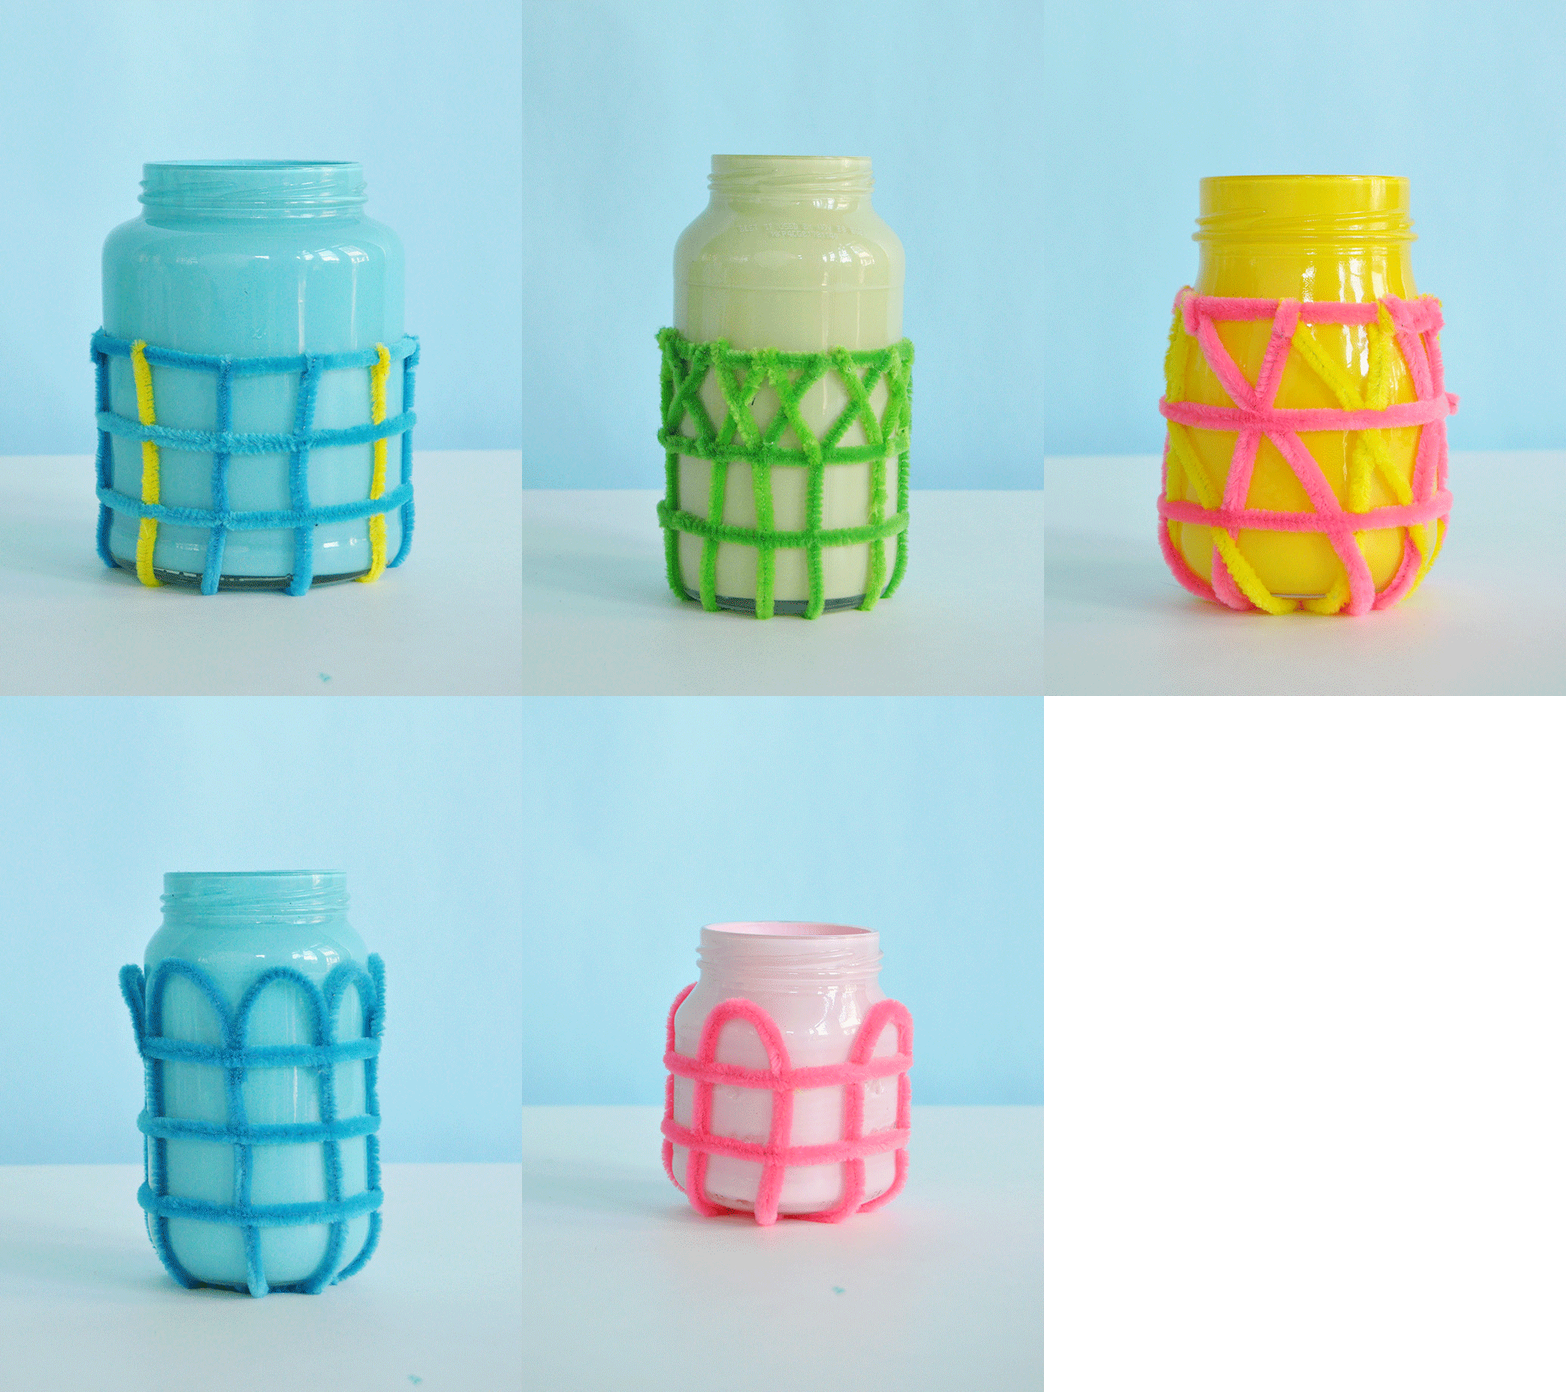
And repeat with different sized jars and designs! This technique looks a little more complicated but all we did was cross the pipe cleaners over each other for the top row and twisted them in place. You can also mix and match colors if you like!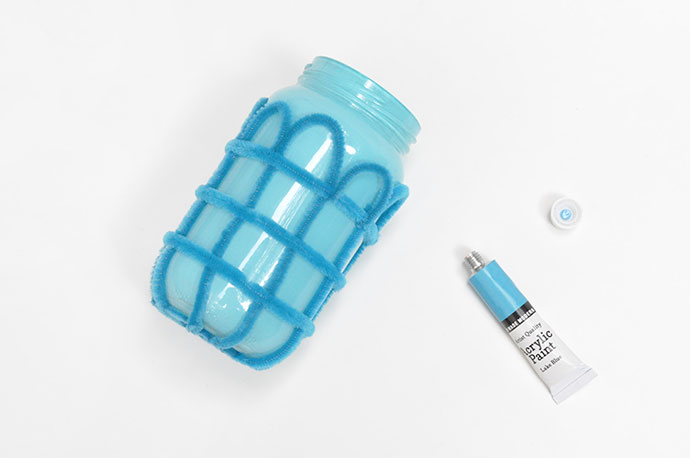
Step 7 (optional)
If you like, add some paint to the inside of the jars to give them even more color! Let dry completely before filling the jar.
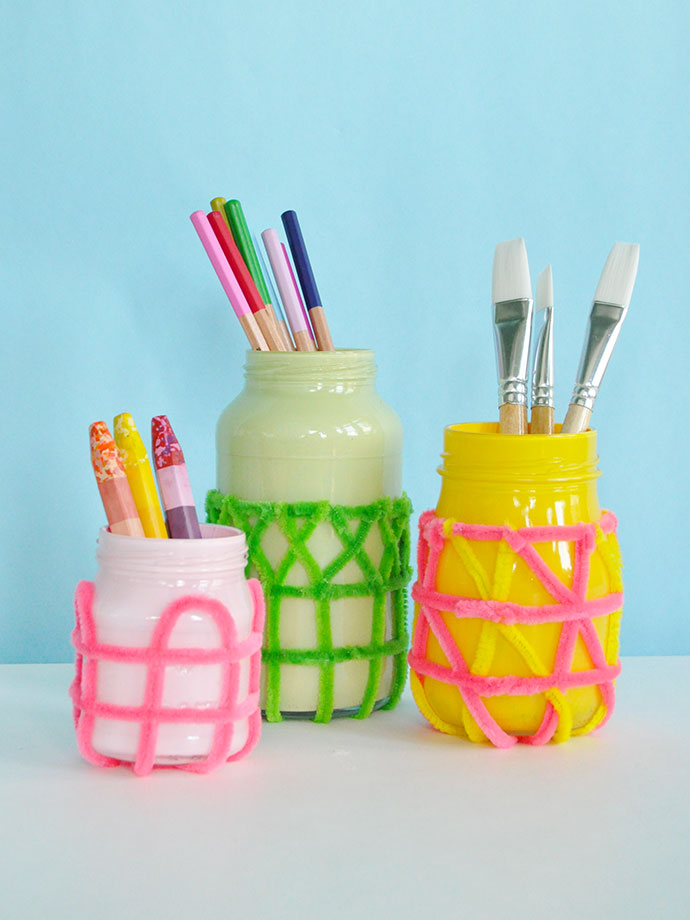
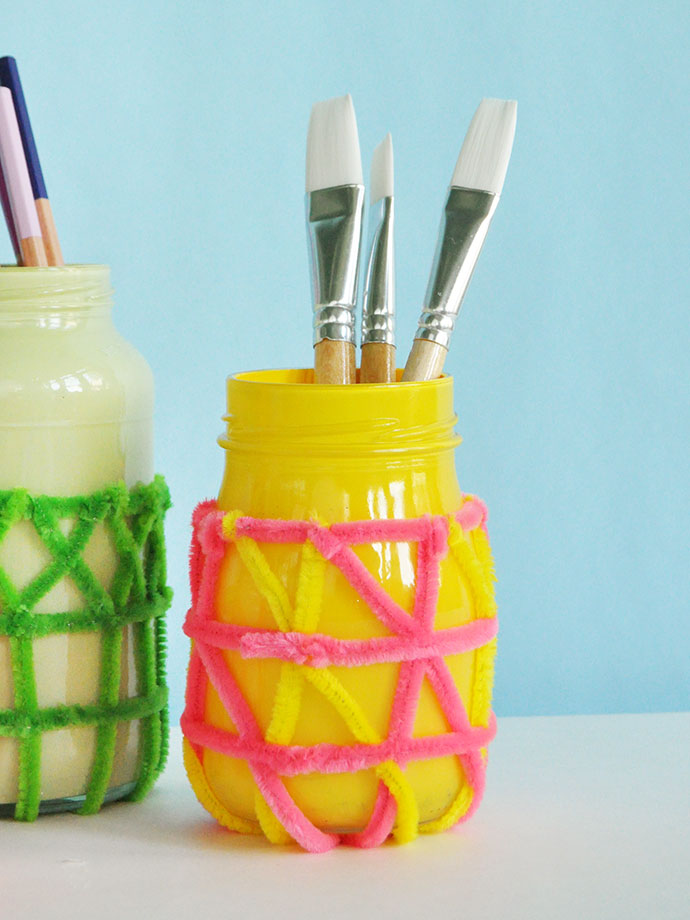
Happy crafting!
This post is sponsored by Kid Made Modern.