
Decorate your doors with DIY signs in a classic school room style! Sometimes school maps or science posters used to hang with wood pieces at the top and bottom, keeping them hanging straight. This easy project uses those maps as inspiration for a fun way to “frame” your sign!
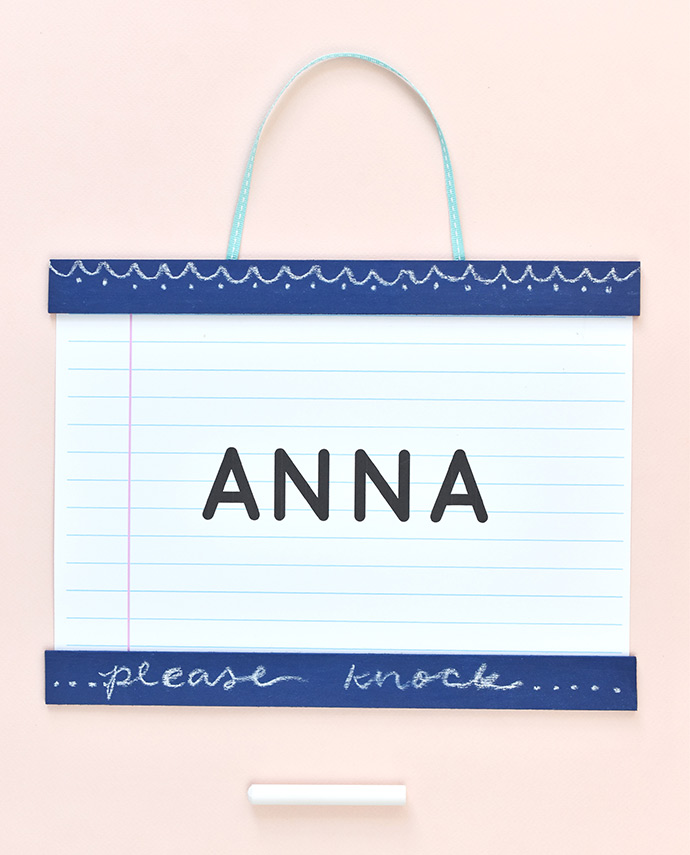
Just like in the original style posters, the wood slats help hold these room labels well. But when you use chalk paint on them, you also get mini chalkboards to decorate or add messages to!
But not only can you customize the decorations, you can also choose from different background paper types as well as two font versions to type right into the PDF. Or, write and draw on a basic background!
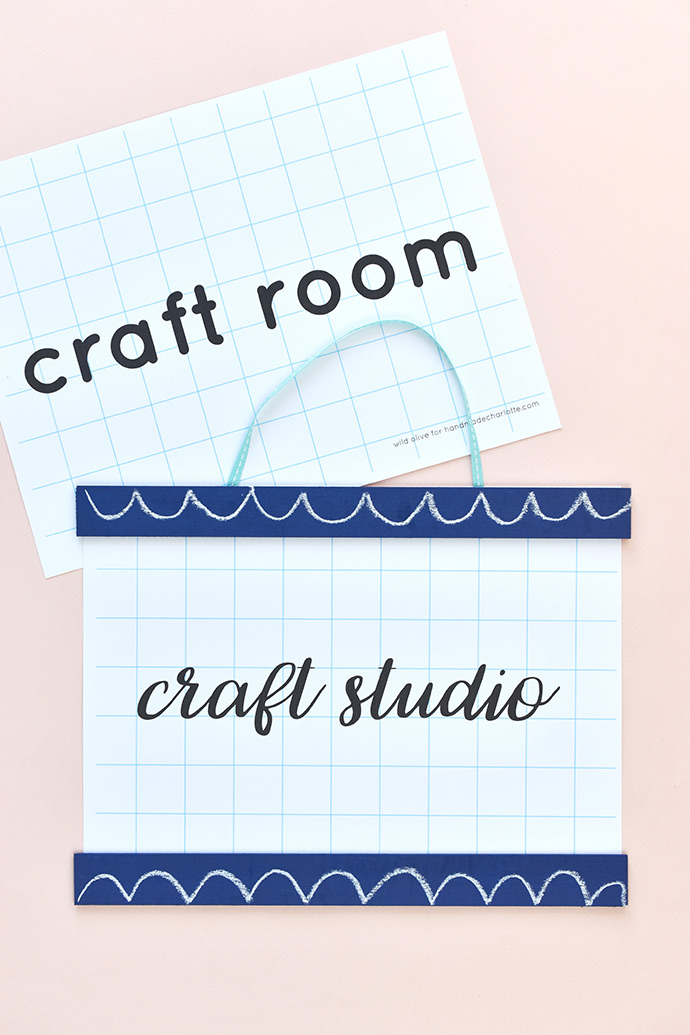
Hang your sign on your door to let people know who’s room it is, what room it is, or even to leave a message. And there’s no reason to only hang these on doors. Practice your handwriting and fill your page with a favorite quote or song lyric to make wall decor!
Ready to make your own sign? Here we go!
what you need:
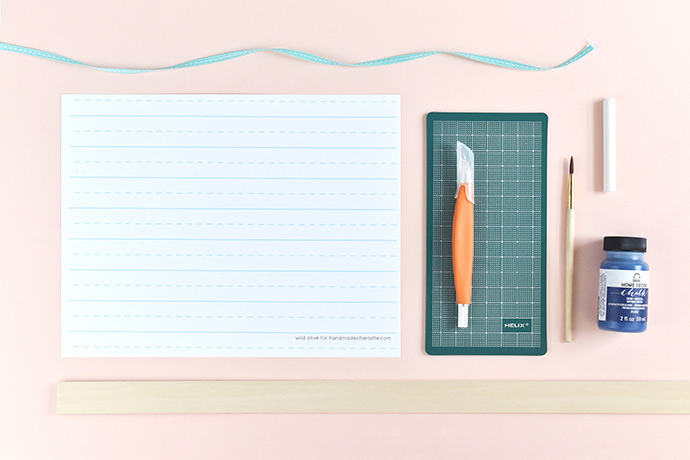
- 1-inch Wide x 1/8-inch Thick Wooden Slats
- Folk Art Home Decor Ultra-Matte Chalk Paint
- Cardstock
- Ribbon
- Chalk
- Craft Knife and Cutting Mat
- Paintbrush
- Scissors
- Craft Glue
- Printable sheet (script or plain)
Note: You can find basswood wooden slats in the hobby and model-making section at your local craft store. Paint sticks also work, but they may require a saw for cutting.
how-to:
Step 1
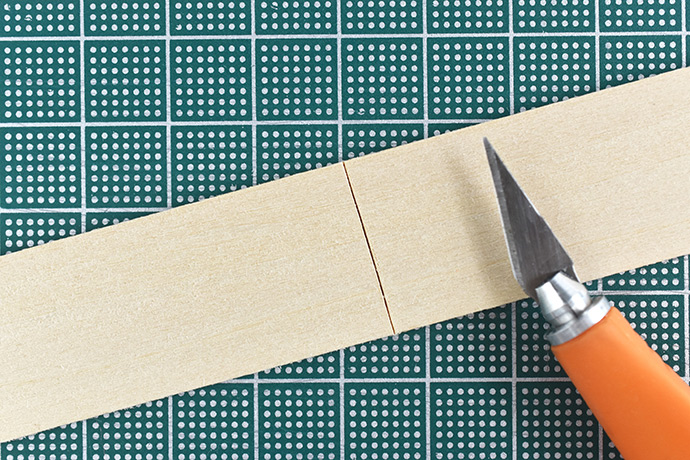
A grown-up needs to do this step. Use the width of the cardstock to measure and cut two wooden slat pieces. Make the length about 1/4″ longer than the cardstock.
Use a craft knife to deeply score the wood. Then score the other side on the same line. Break the wood on the scored lines. Sand the wood pieces if you want.
Step 2
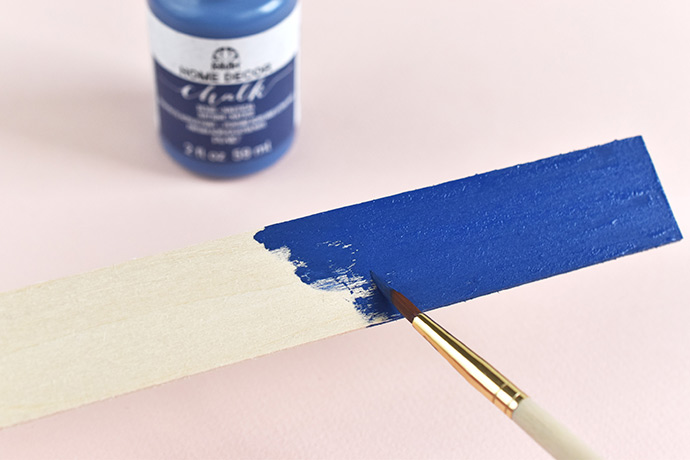
Paint one side and all the edges of the wood pieces with chalk paint. Follow the manufacturer’s instructions and add extra coats of paint if needed.
Step 3
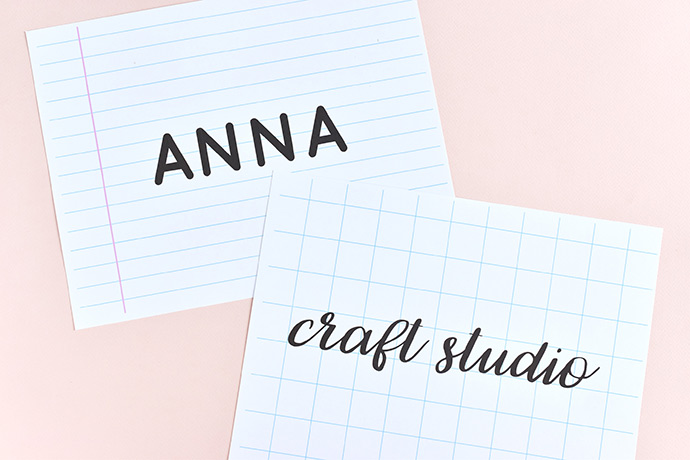
Choose if you want your sign to have plain lettering or a script font. Download the file for the one you want, choose the paper style you like, and then type in the PDF file. Print the correct page on cardstock.
The font will resize to fit the name or word(s) you type, but not all names or words will look quite right.
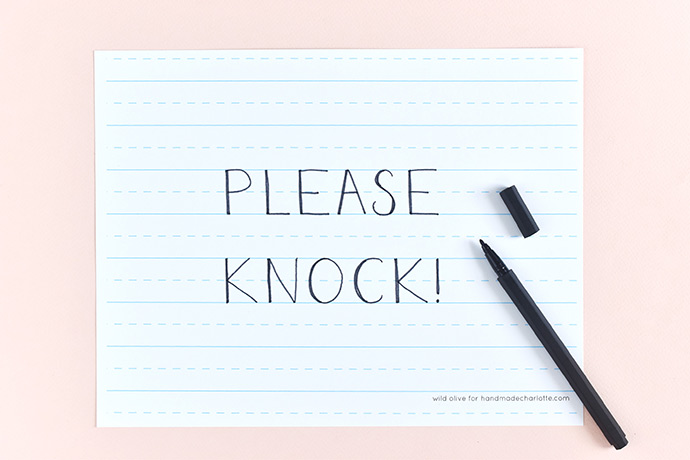
For names or phrases that don’t fit, or if you just want to add your own flair to the sign, print out a blank version of the PDF and write your own message. You could even add some drawings!
Step 4
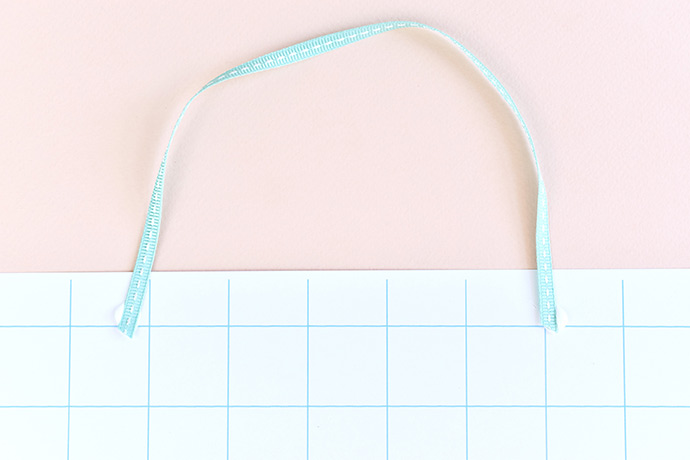
Cut an 11-inch piece of ribbon and glue the ends to the top of your printed sign. Keep the ends about 1/2″ from the top of the page so that they don’t poke out from under the wood piece later.
Step 5
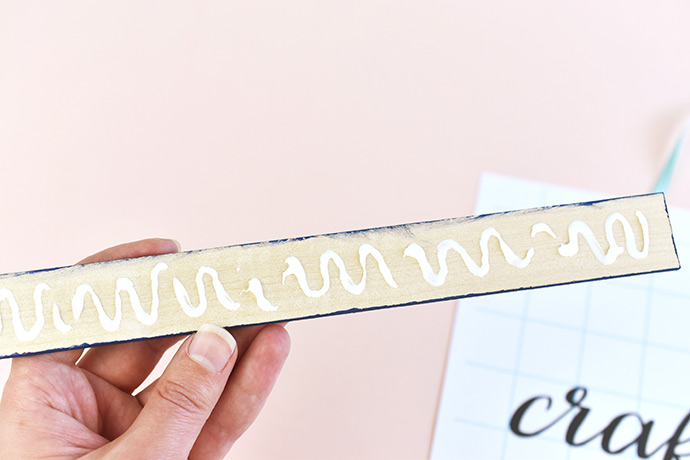
Once the paint is dry on the wood pieces, run a ribbon of craft glue on the back of the first piece.
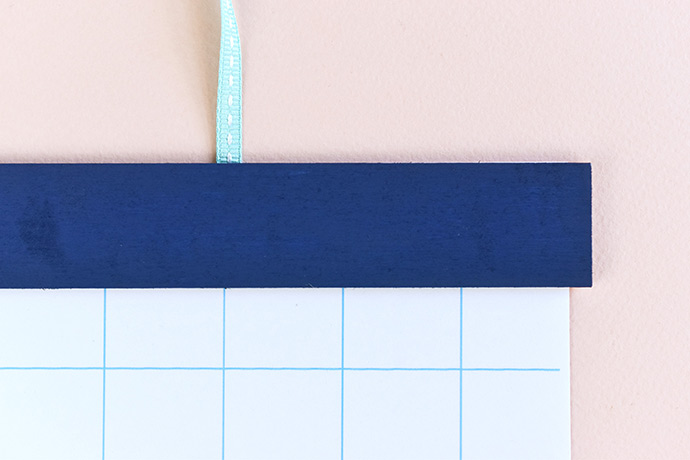
Place the painted wooden slat at the top of the sign so that it lines up with the top edge and pokes out a little on the two sides. Glue the second wood piece at the bottom of the sign in the same way.
Step 6
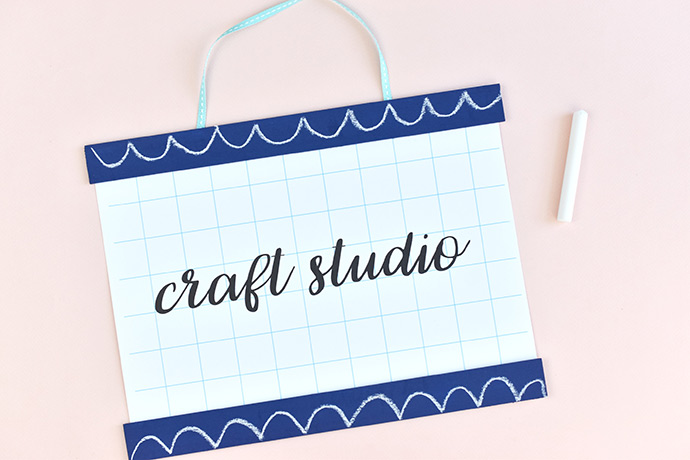
Add a few extra design elements to the wooden slats with chalk. Don’t worry if you don’t like them, because you can wipe away the drawings with a wet cloth and start again!.
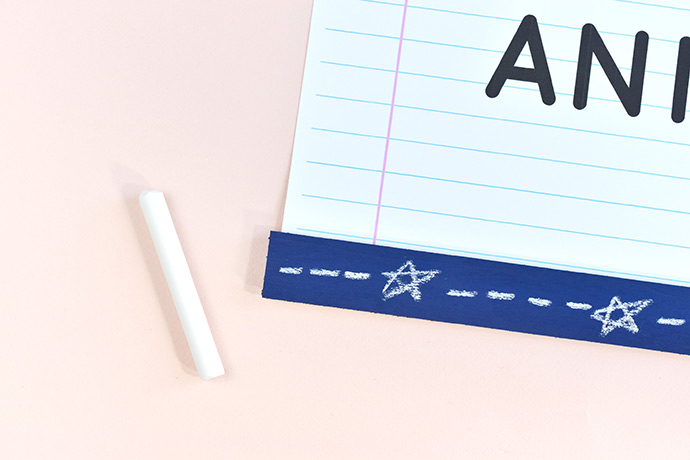
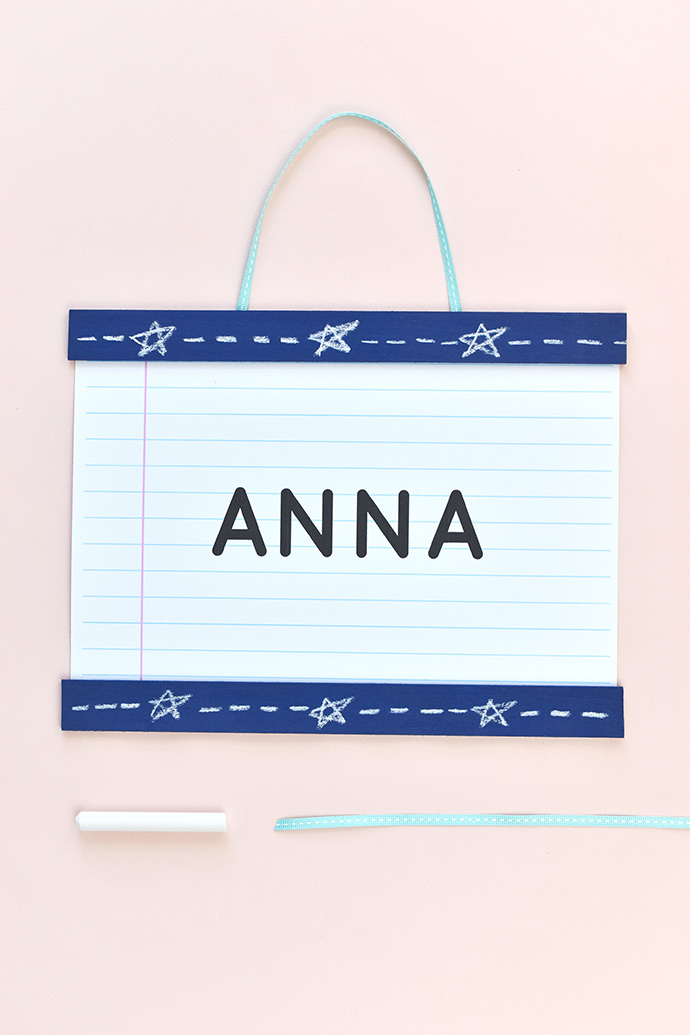
Of course, you don’t have to add chalk drawings to the top and bottom of this sign, but it sure is fun!
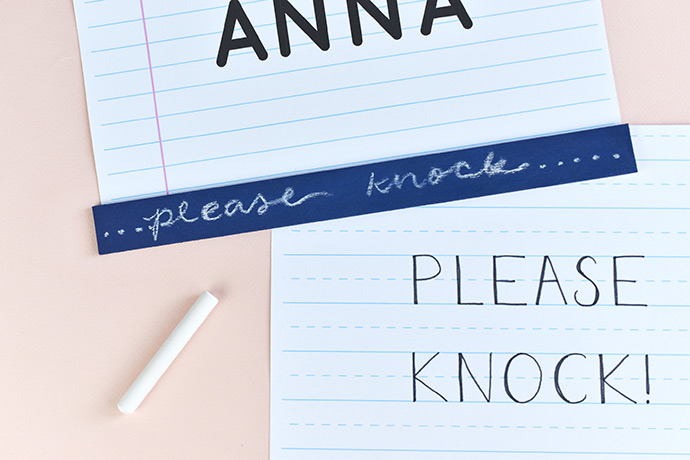
Not only can you decorate with chalk, but you can also use it to add temporary messages to your room sign!
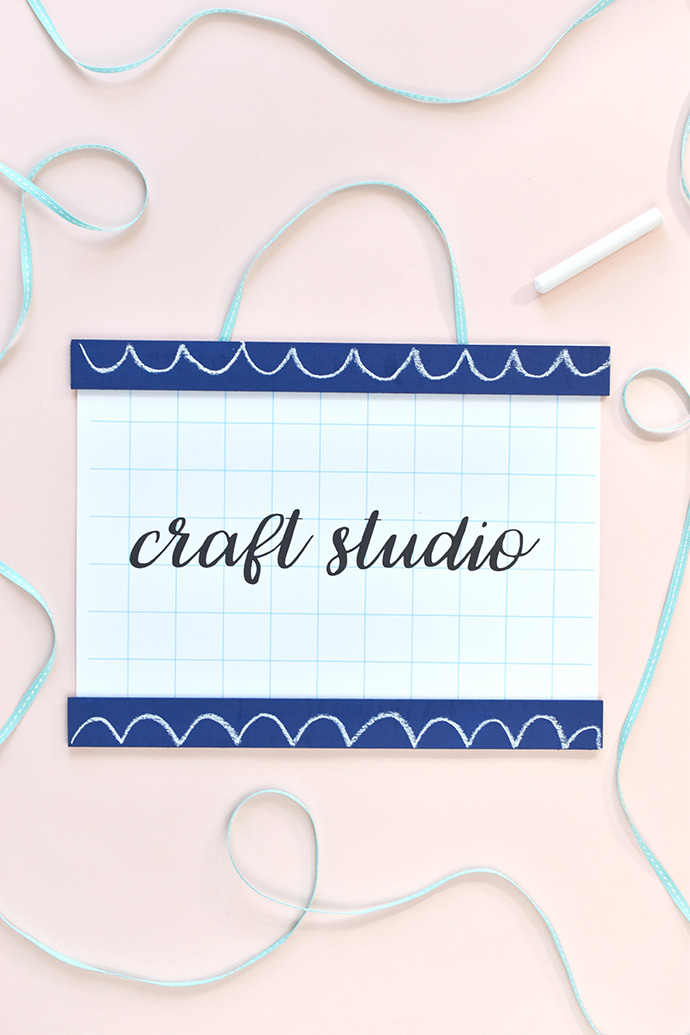
Whether you add a name, a description, or just a fun greeting to your door, these classic signs will add a fun element to your decorating!
Happy crafting!