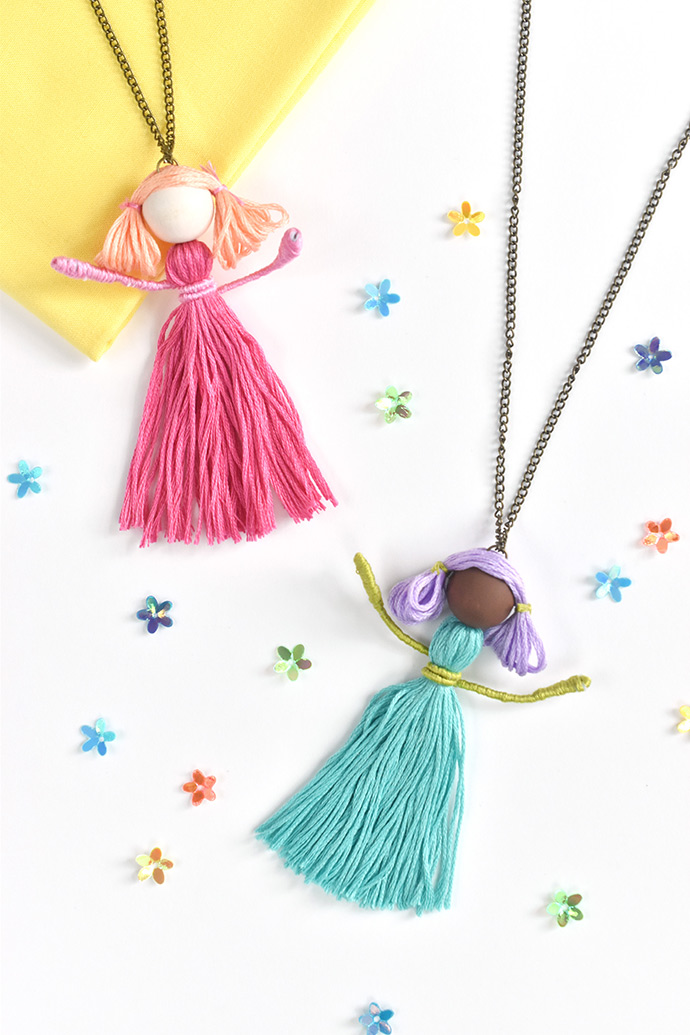
Kids and kids at heart will love wearing this tassel necklace that’s styled as a tiny dancer! It’s perfect for ballet dancers but really, anyone can make and wear these fun accessories.
There are lots of ways to customize these dancers, so plan on making a few. You may not want to wear more than one at a time, but you can still make a dance troupe of necklace charms!
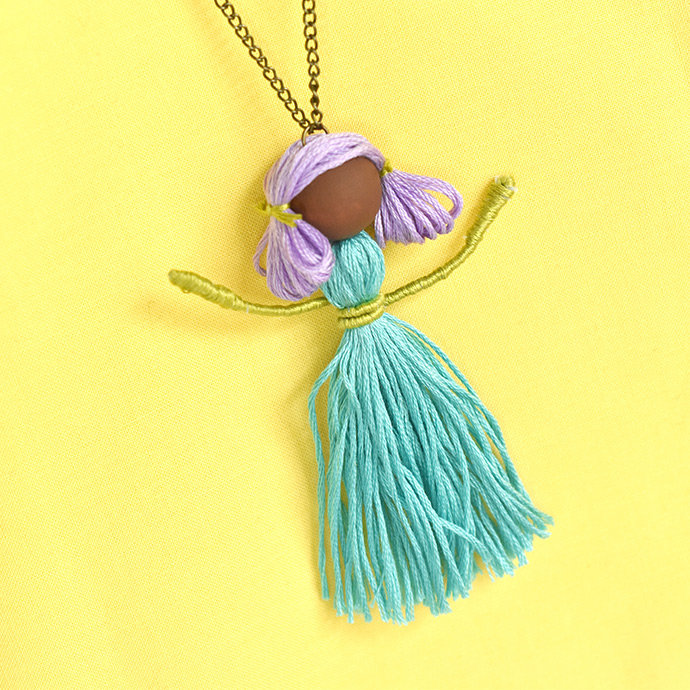
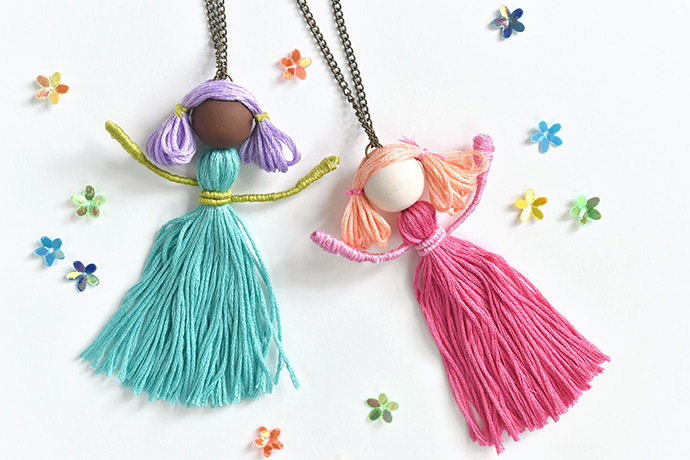
When I was a little girl, I loved ballet class and always wanted to wear the beautiful long dresses that the older girls got to wear. Add in a dose of fantasy cotton candy hair, and you have the inspiration for these dancer necklaces!
Turn on some Tchaikovsky music and take this project step by step!
what you need:
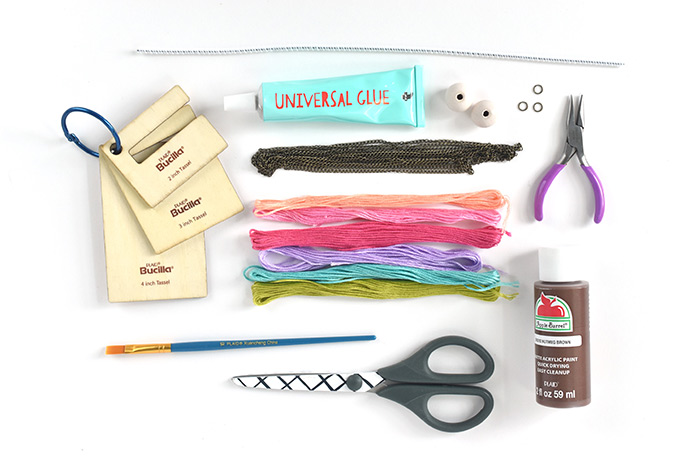
- 3/4-inch Wooden Bead
- Apple Barrel Acrylic Paint (in various skin tones)
- Paintbrush
- Thin Pipe Cleaner
- Scissors
- Embroidery Floss
- Glue
- Bucilla 3-Inch Tassel Maker
- Jump Rings
- Thin Necklace Chain
- Pliers
how-to:
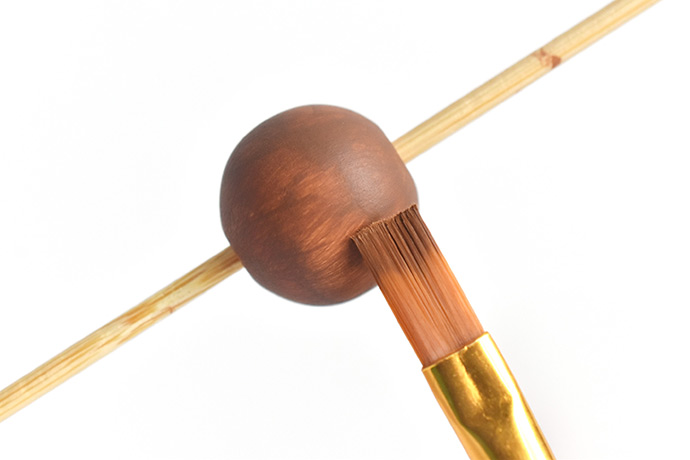
Step 1
Paint the bead (or leave it natural).
Let each coat of paint dry before adding another and keep going until the color is even. It helps to place the bead on a skewer or toothpick while you paint.
You can add coats of paint as you continue on with the next steps.
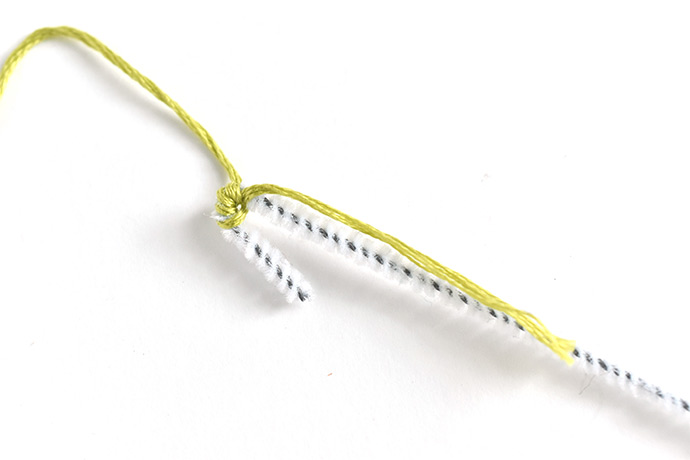
Step 2
Make the wrapped arms.
Cut the pipe cleaner in half and fold the ends in about 1/2″. Start wrapping embroidery floss around the first folded end. Once the fold is wrapped, start wrapping around the two layers of pipe cleaner and down the rest of the stem.
It’s easiest if you hold the embroidery floss close to the pipe cleaner and then turn the pipe cleaner.
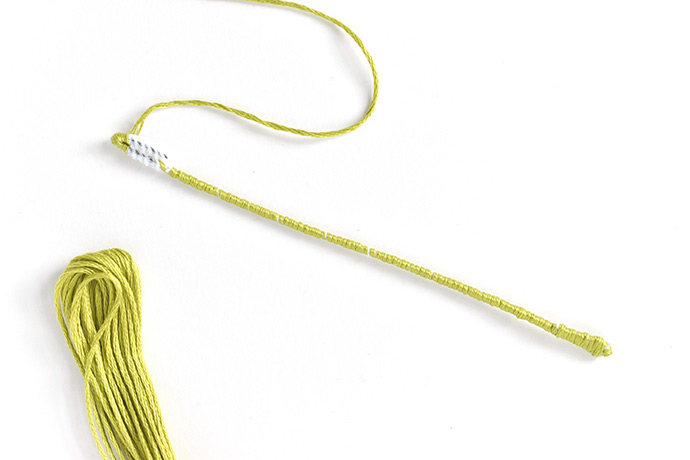
When you reach the other end, wrap around the fold just like at the beginning. Finish wrapping around the double layer of pipe cleaner.
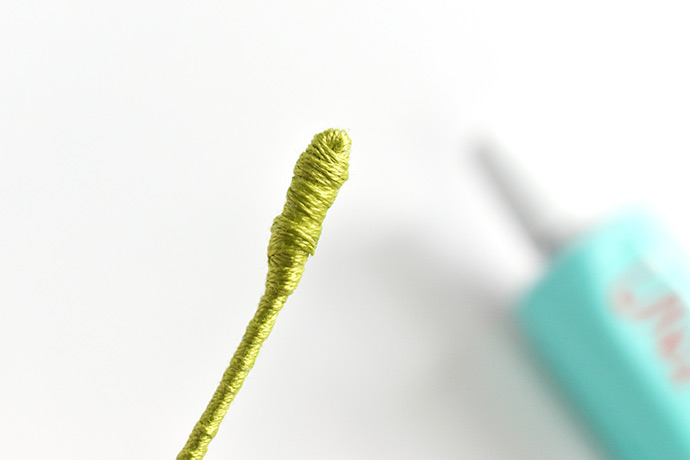
Trim the embroidery floss and glue the end in place. Let the glue dry before using this piece in the next step.
Step 3
Make the tassel dress.
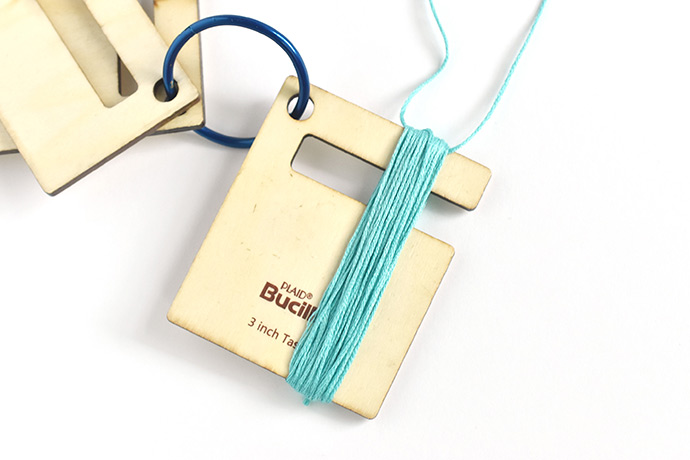
Cut a 5″ piece of embroidery floss and hold it at the top of the tassel maker. Wrap embroidery floss around the tassel maker until the tassel is as full as you want it.
For a multicolor skirt, hold two colors of embroidery floss together as you wrap.
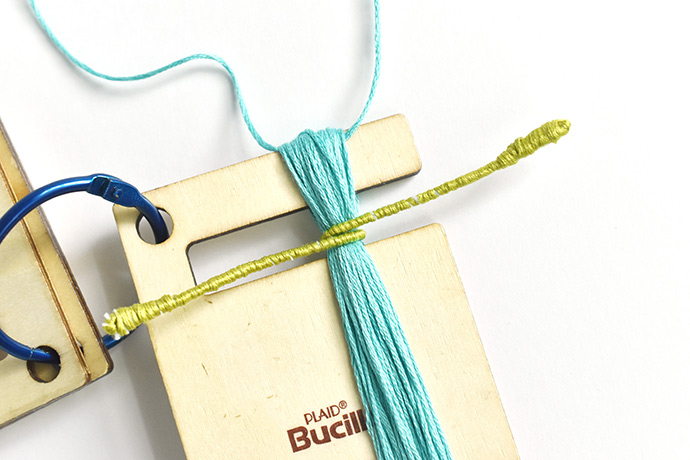
Wrap the arms around the tassel in the cut-out section of the tassel maker. Tie a double knot at the top with the short piece of embroidery floss.
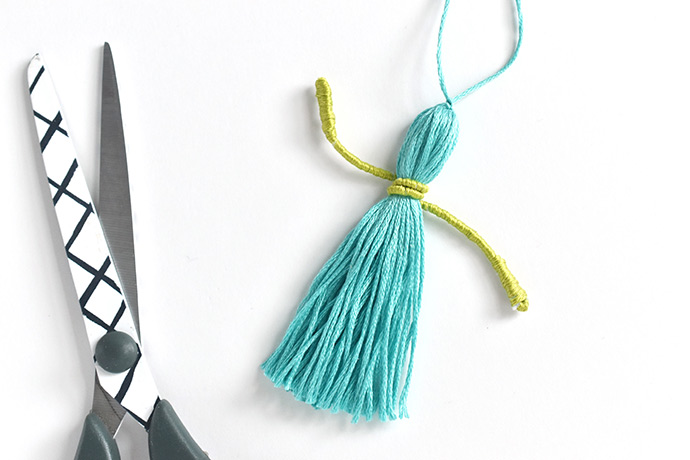
Slide the tassel off the tassel maker and wrap the arms again to tighten them around the tassel. Trim the embroidery floss at the bottom.
You can also leave the bottom untrimmed for a “bubble hem” dress.
Step 4
Assemble the dancer.
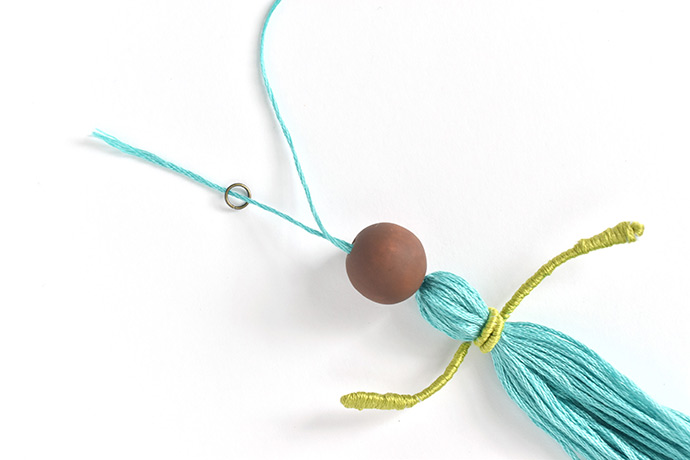
Thread both pieces of the knotted embroidery floss tie through the bead head. Slide a jump ring onto one of the pieces of embroidery floss.
Tie the ends of the embroidery floss together with a strong knot. Trim the ends.
Step 5
Make the hair.
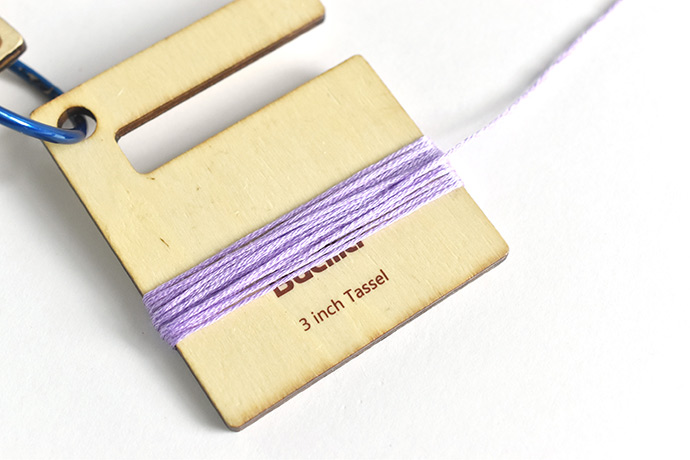
Wrap embroidery floss around the tassel maker in the opposite direction from how you wrap for making a tassel. Wrap 12-15 times.
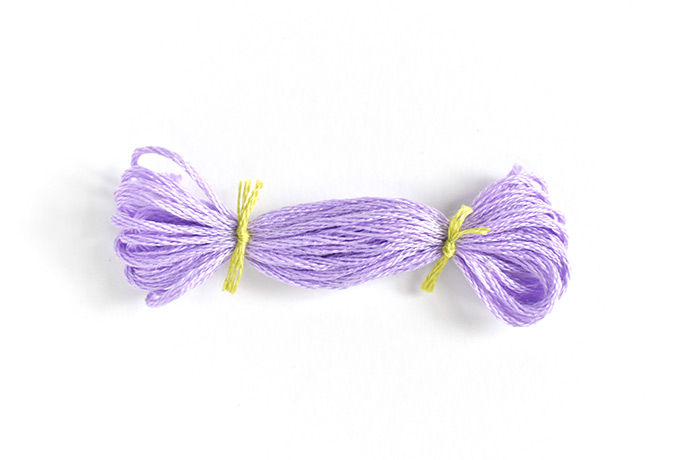
Slide the embroidery floss off the tassel maker and tie a knot near each end in a contrasting color. Trim the ends of the ties.
Step 6
Attach the hair.
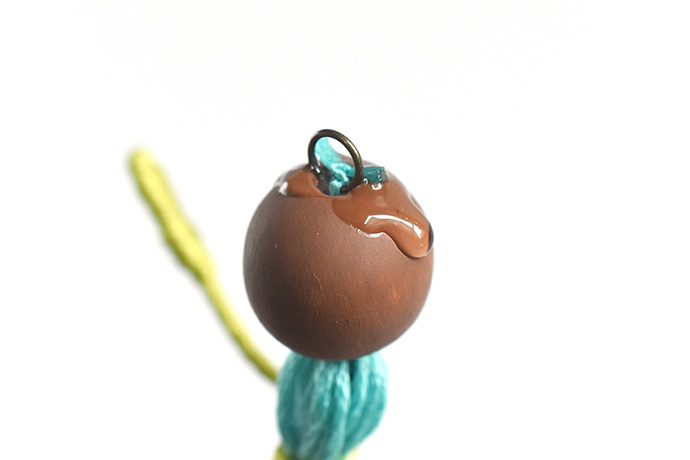
Apply glue to the top of the head and on the knot holding the jump ring. Use less glue at the front, a little more at the back and down the sides.
You can always add more glue later, but it’s difficult to get excess glue off.
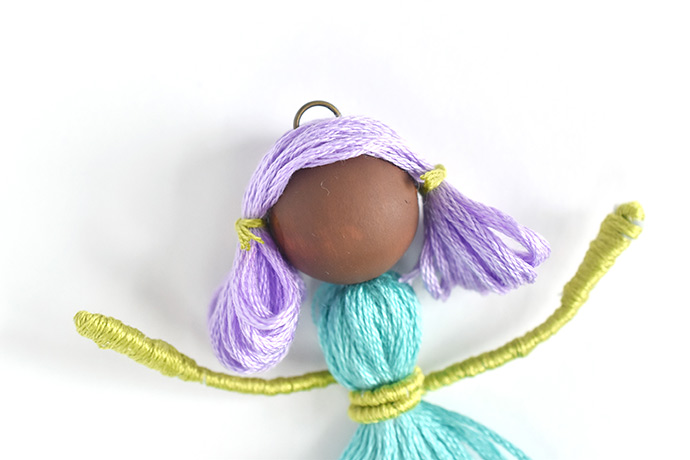
Place the hair on the head, letting the jump ring split through the hair. You should have a little less hair at the front and a little more at the back.
Hold the hair in place for a few minutes as the glue starts to set up.
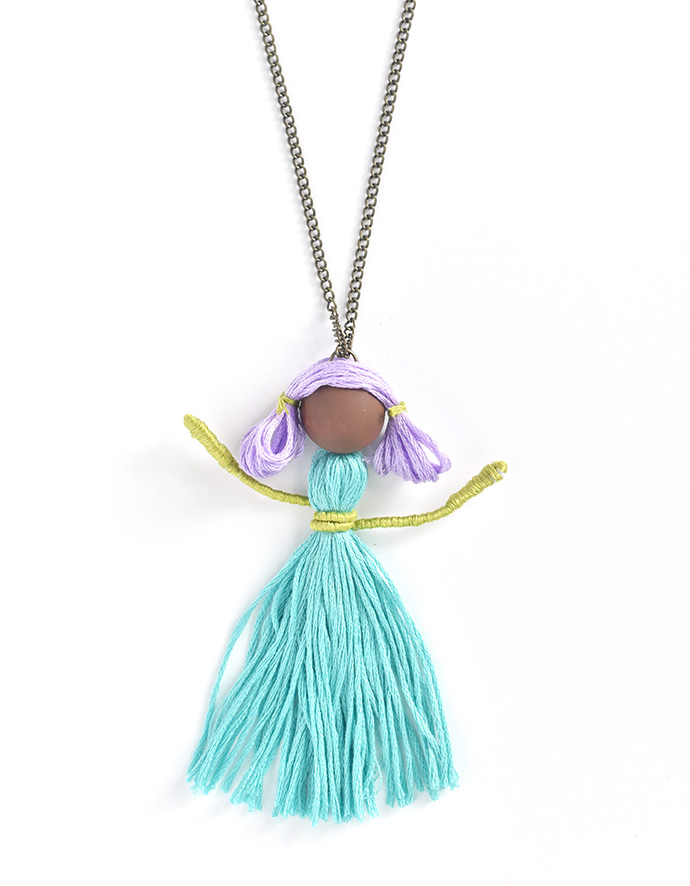
Step 7
Slide the necklace chain through the jump ring.
If you have pre-made necklace chain, once you slide it through, you’re done!
If you’re using plain jewelry chain, cut it to the length you want. This style necklace is usually a little longer, so you can use a jump ring to hold the ends together instead of a clasp.
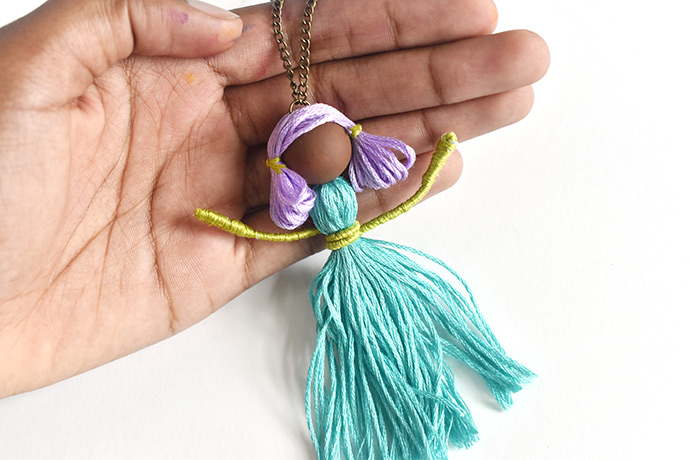
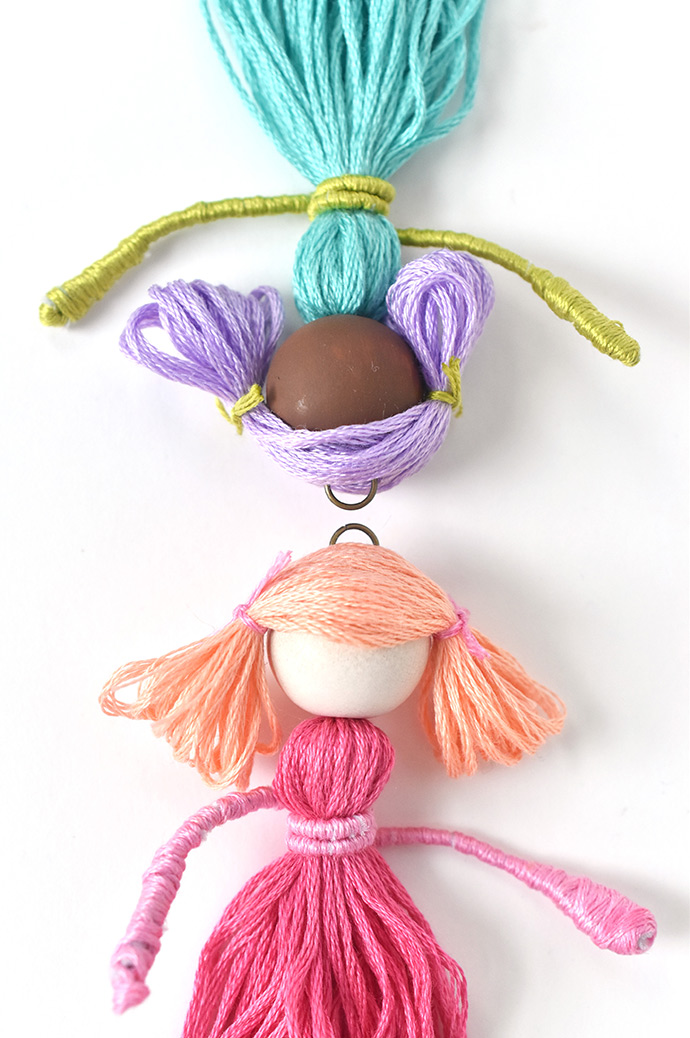
Make a necklace for your little dancer, for yourself or for a friend! These would be so much fun as favors for a dance-themed birthday party. And ballet-loving best friends will want matching necklaces and can even make them together.
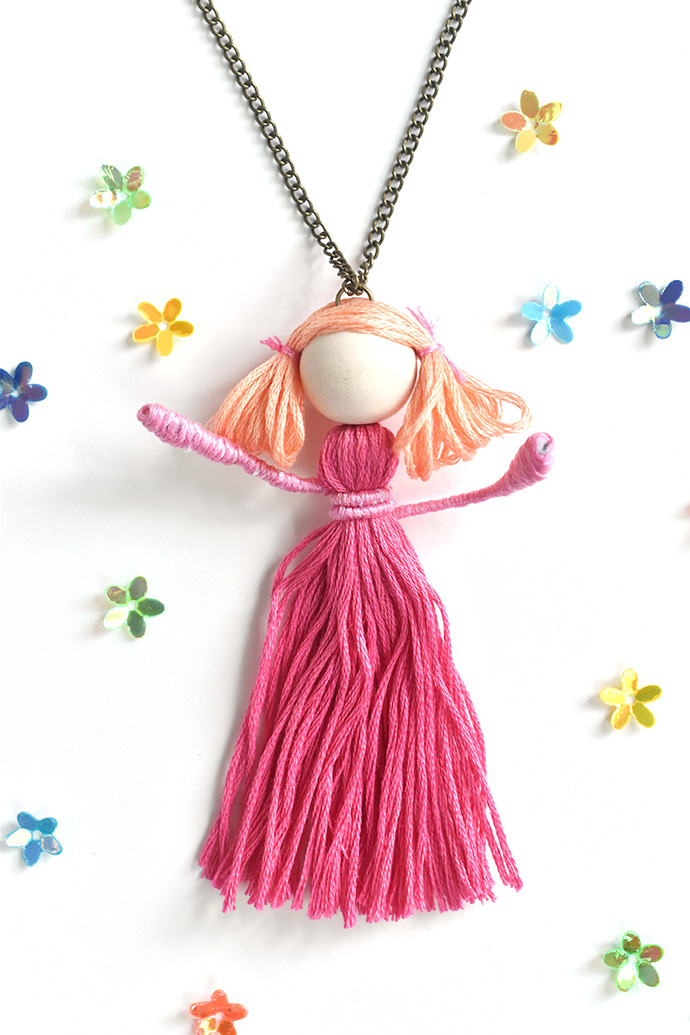
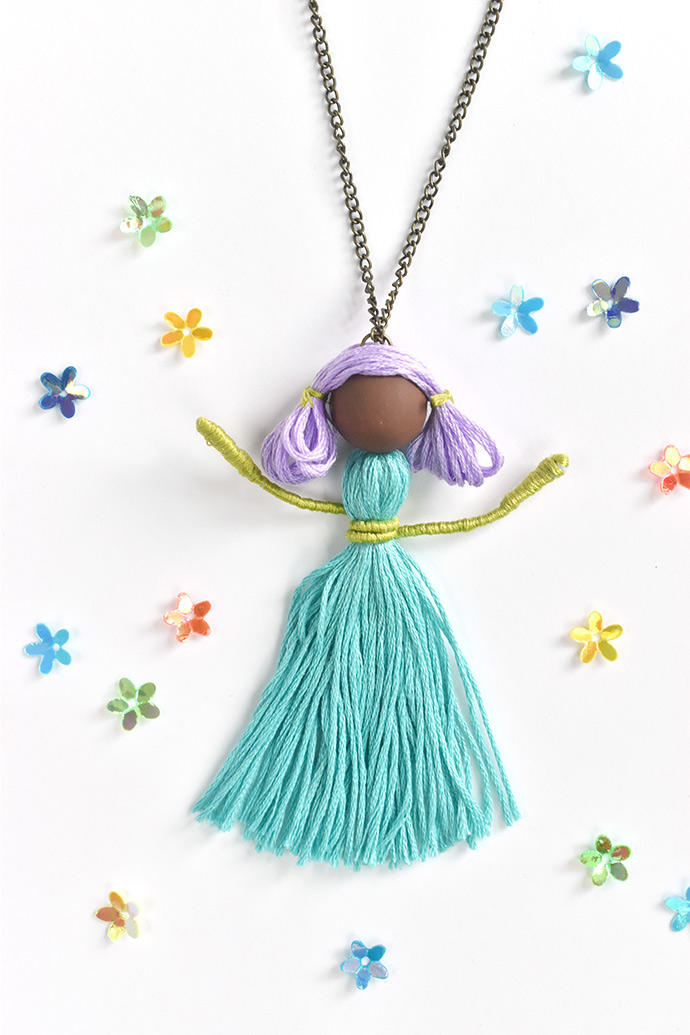
Once you make one, they get easier and you’ll want to try out more ideas for styling your dancing tassel necklace.
I listed a few ideas along the way, but here are a few more to get you started:
- Make tiny braids for hair.
- Add sequins to the wrapped middle or even in the tassel.
- Make wrapped legs and add them into the tassel, then trim the skirt shorter.
- Use a smaller bead and tassel maker for a smaller charm.
- Craft a tiny paper crown and make a princess.
- Add some sparkle with metallic embroidery floss.
- Use iridescent cellophane to cut out wings and make a fairy.
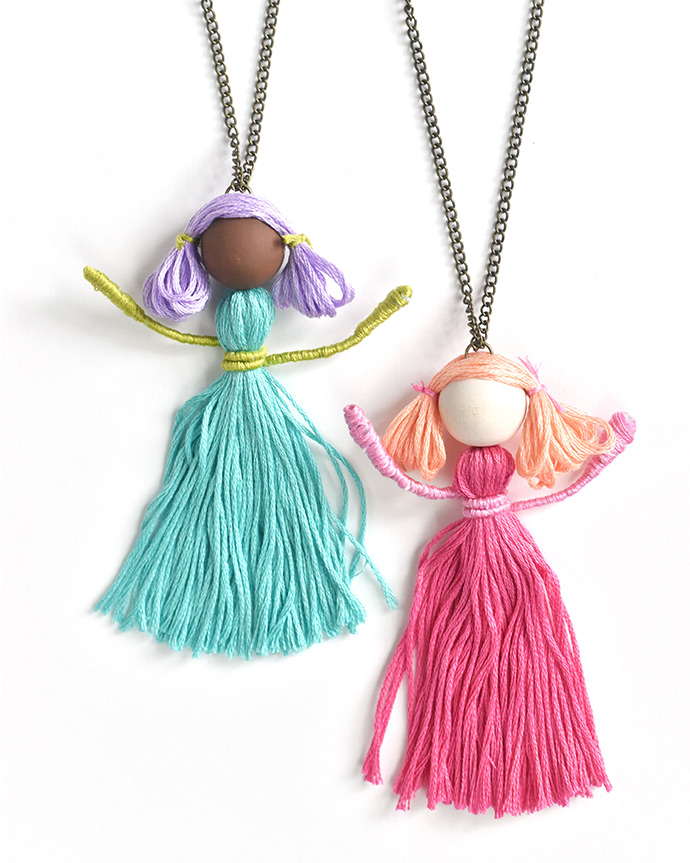
Happy crafting!