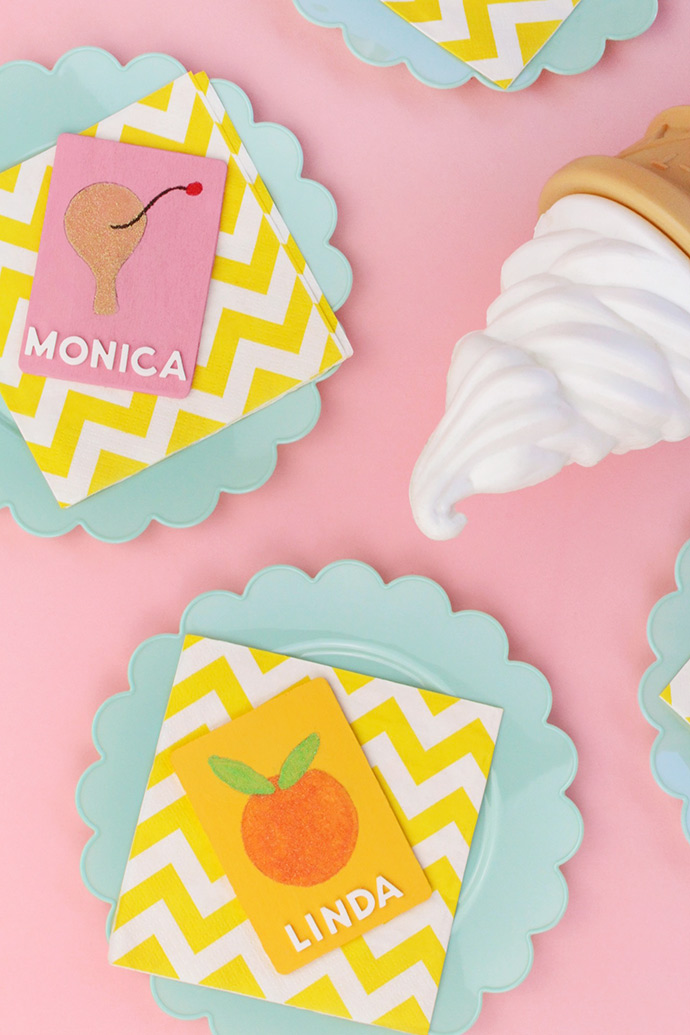
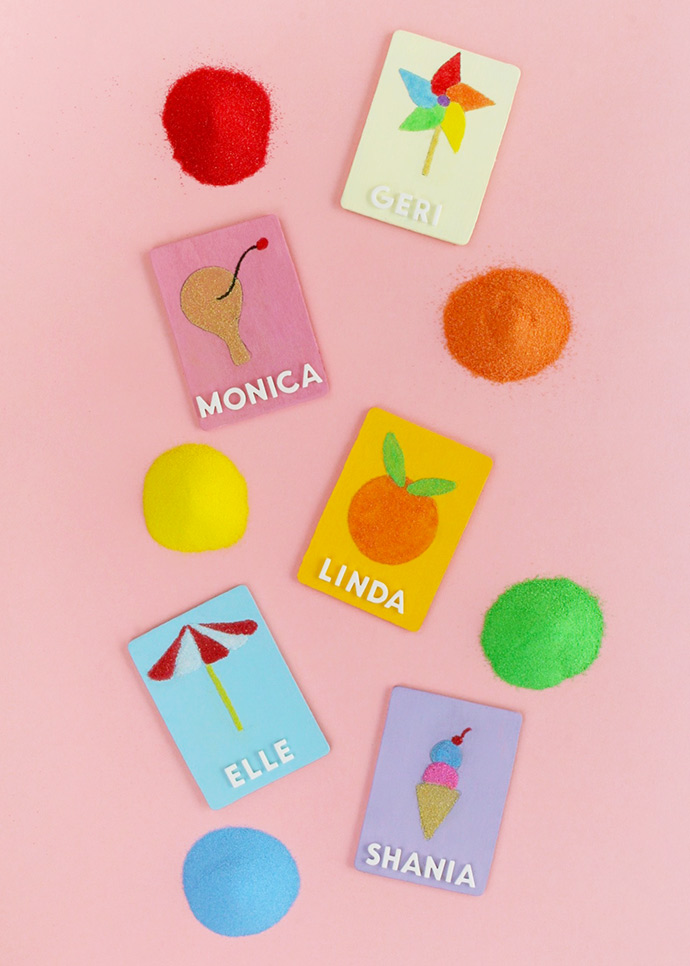
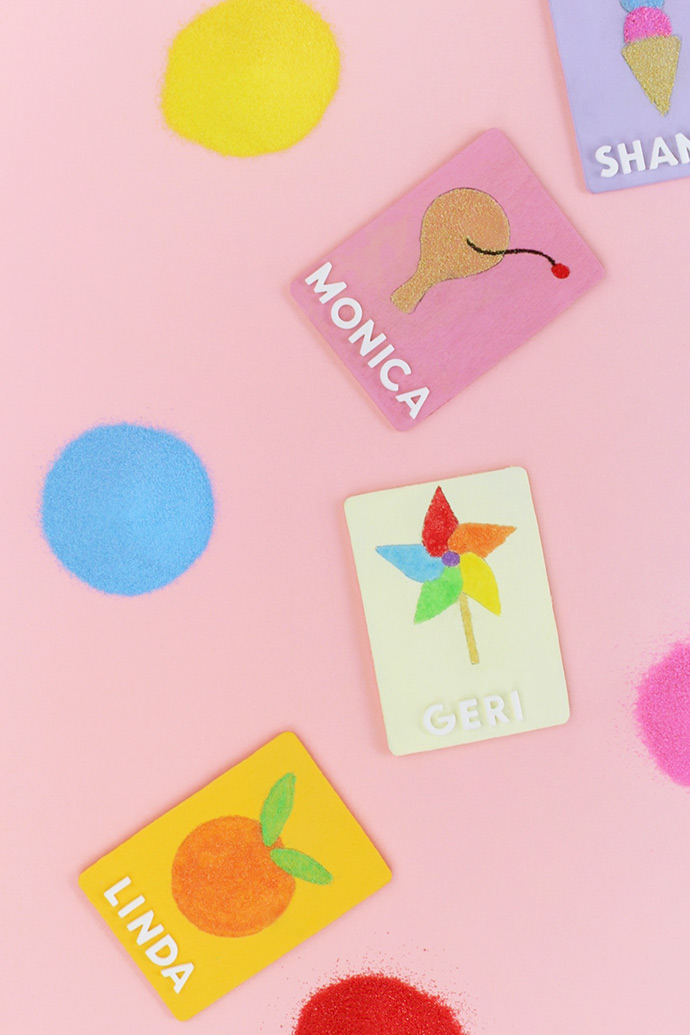
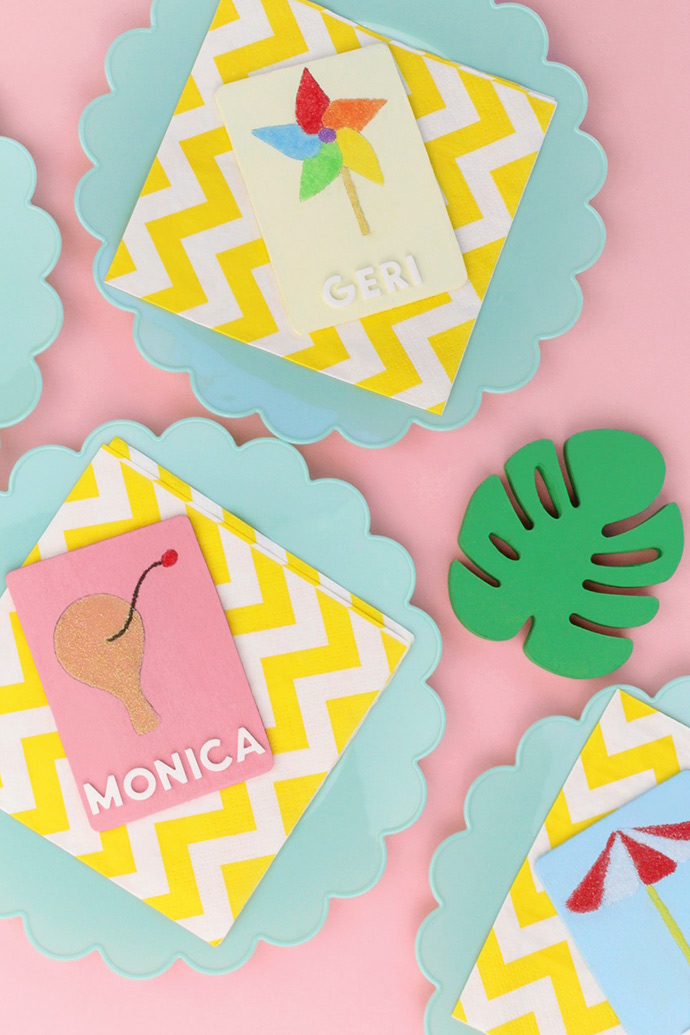
Save a trip to the beach and play with colorful sand instead with these DIY sand art place cards! These fun summer scenes are perfect for outdoor entertaining and they make the cutest favors for guests, too. While I went with a summer theme, you can definitely alter these to fit any party or occasion. All it takes is a little creativity!
I love making handmade place cards because they add a fun personal touch to tablescape décor. Plus, they bring people together to sit at a table and I think there’s always something special about that. Craft up a batch of these place cards for your next party and there’s no doubt your guests will be impressed!
what you need:
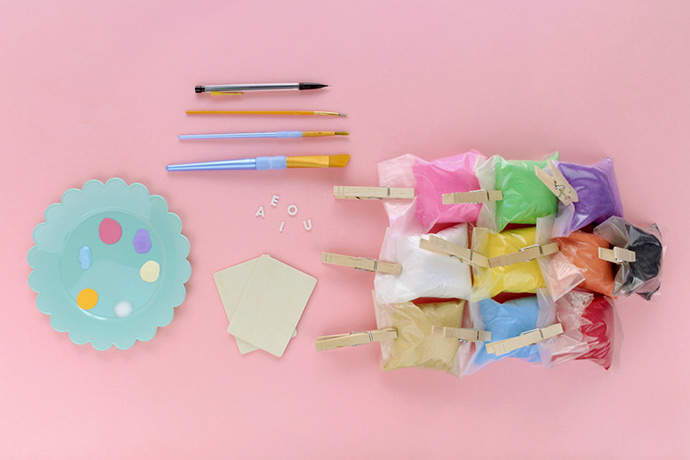
- Sand (Red, Orange, Yellow, Green, Blue, Purple, Pink, Beige, White, Black)
- Apple Barrel Acrylic Paint
- Wooden tiles
- Pencil
- Three paint brushes (one for paint, one for glue, and one to dust off any excess sand)
- Glue
- Small foam letter stickers
how-to:
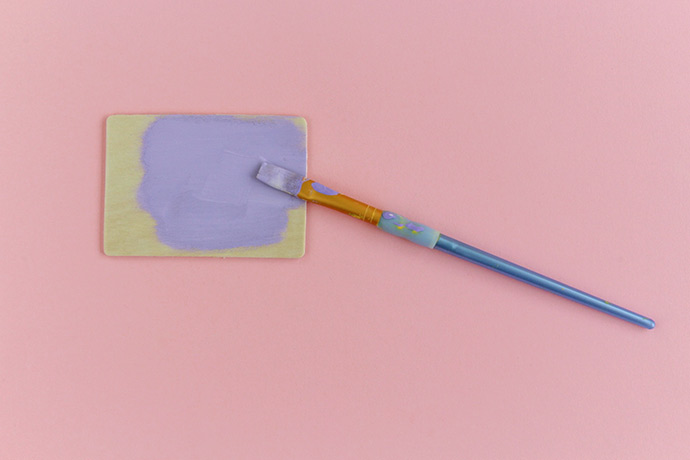
Step 1
Paint each of your wooden tiles a different color and allow them to fully dry. I recommend painting with lighter colors because they don’t bleed through the sand as much as darker ones do.
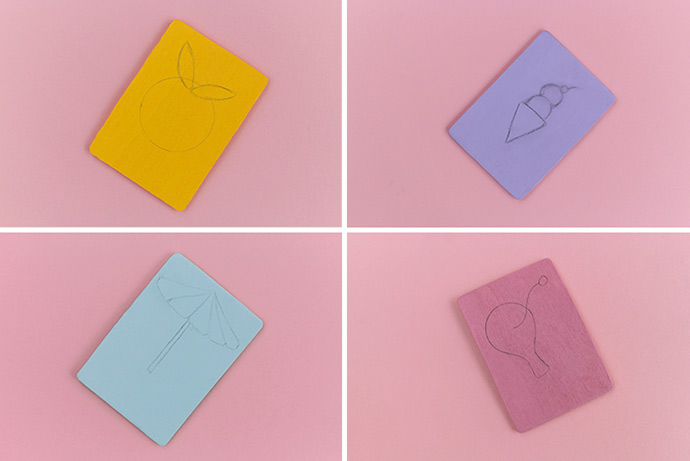
Step 2
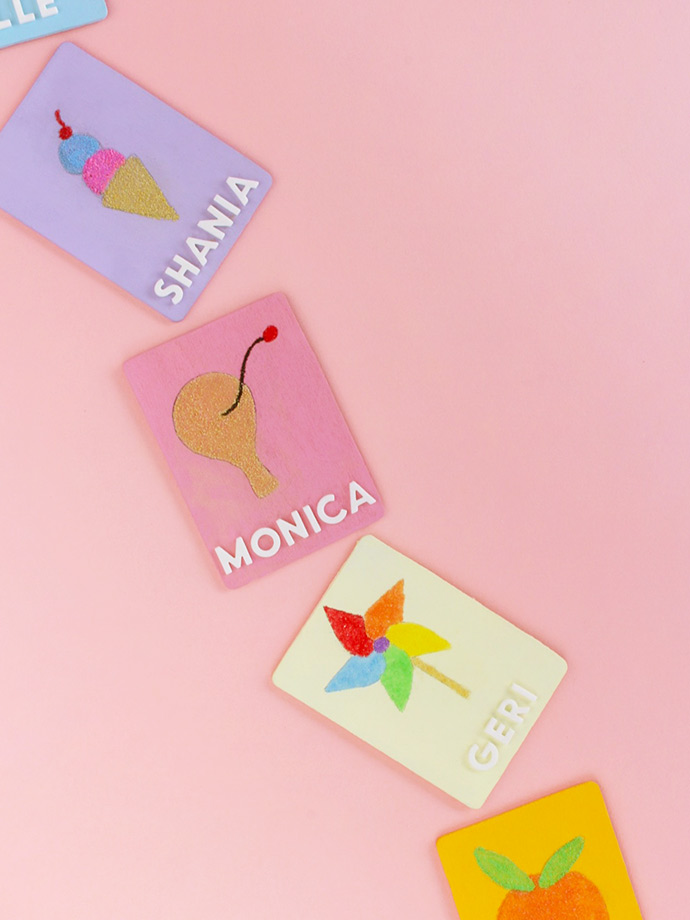
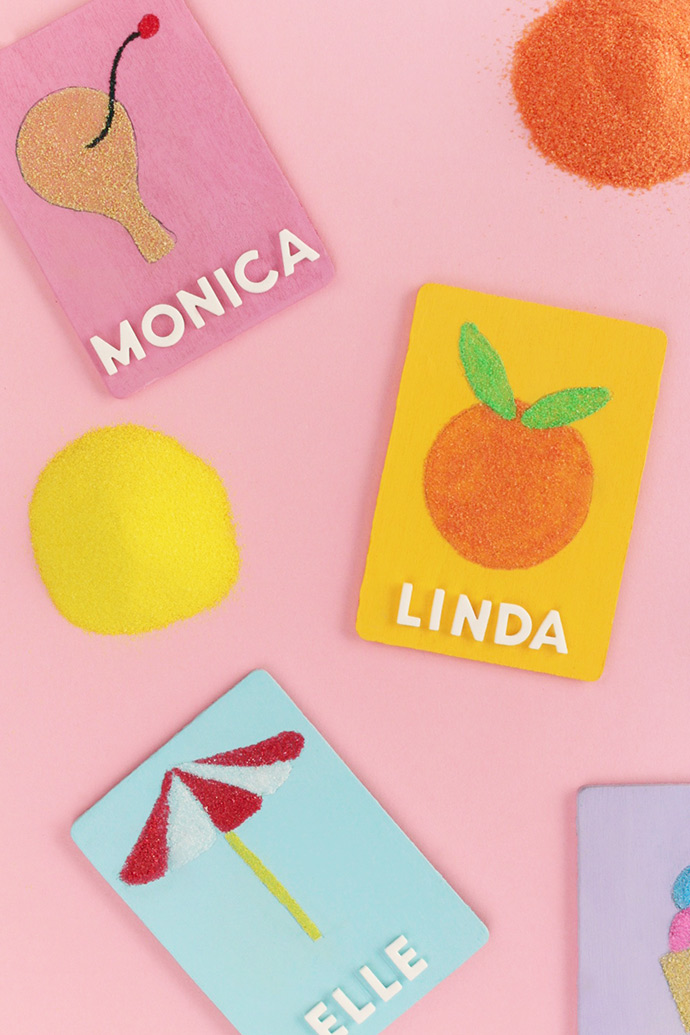
Sketch simple summer shapes onto your tiles with a pencil. Be sure to leave some space for the foam letters below each sketch. I drew an orange, beach umbrella, pinwheel, ice cream cone, and paddle ball game but the creative opportunities are truly endless here. If you don’t feel comfortable drawing shapes freehand, you can totally use stencils for this part, too!
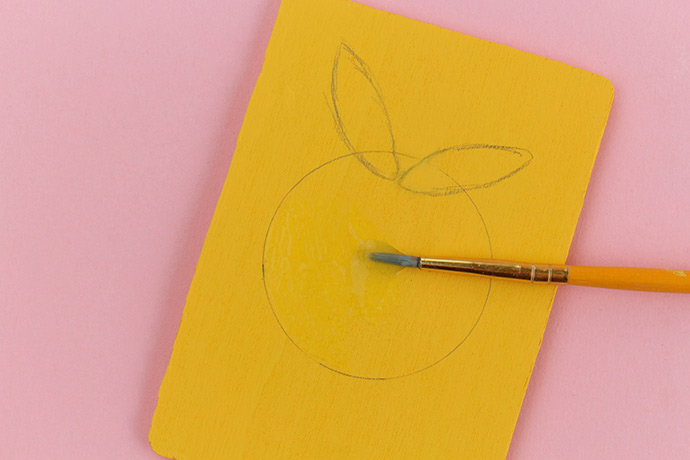
Step 3
Dip a small paintbrush into a dollop of glue and paint the glue onto your tiles one section at a time.
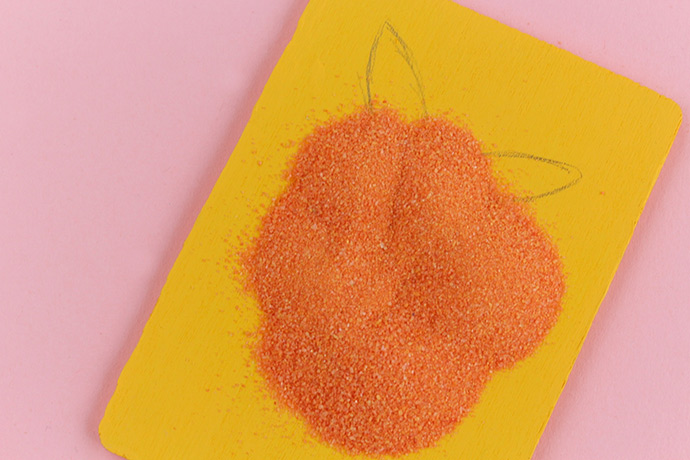
After you’ve painted a section, cover it with sand, and then remove any of the excess. If you need to clean up any lines, use a small paintbrush to dust off any lingering sand.
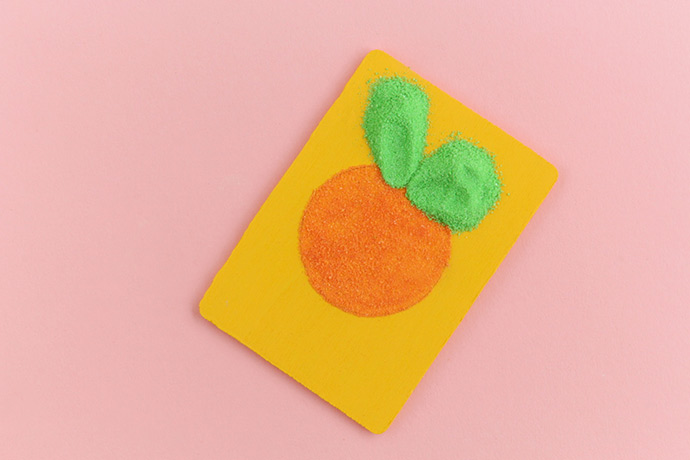
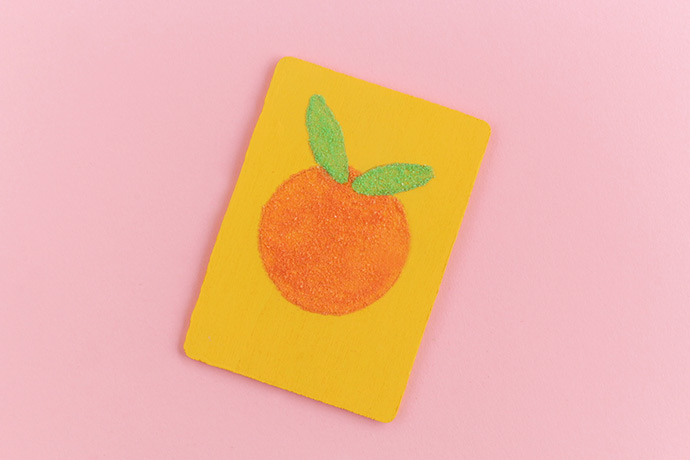
Repeat these steps until your sand art is complete. Repeat for remaining shapes.

Step 4
Use your foam letter stickers to add the names of your guests below your sand art.
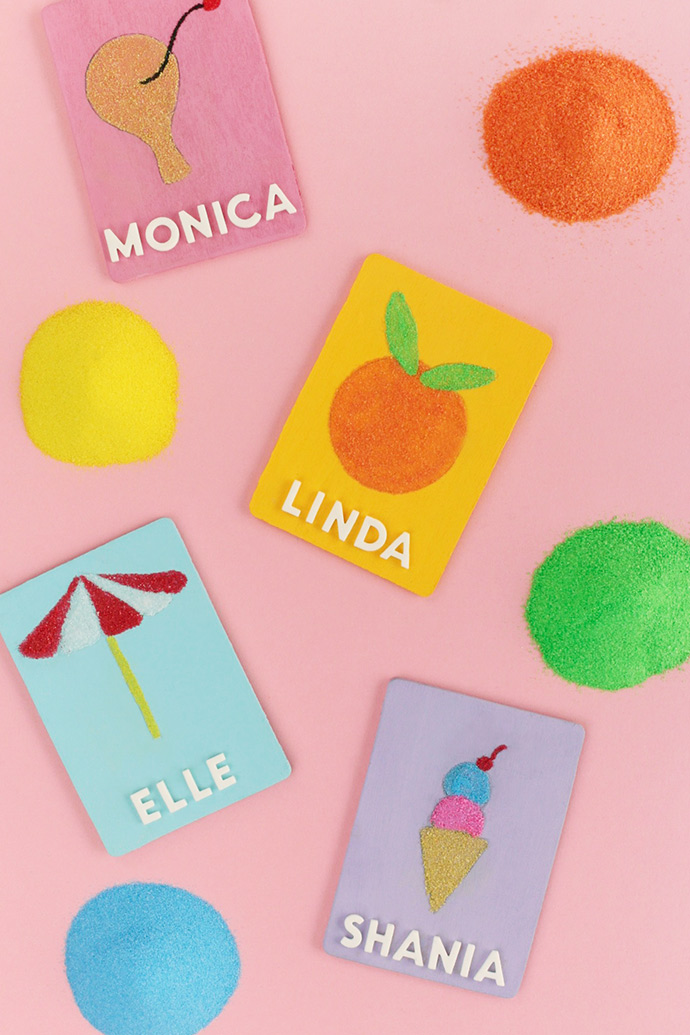
Now you’re all set to party!
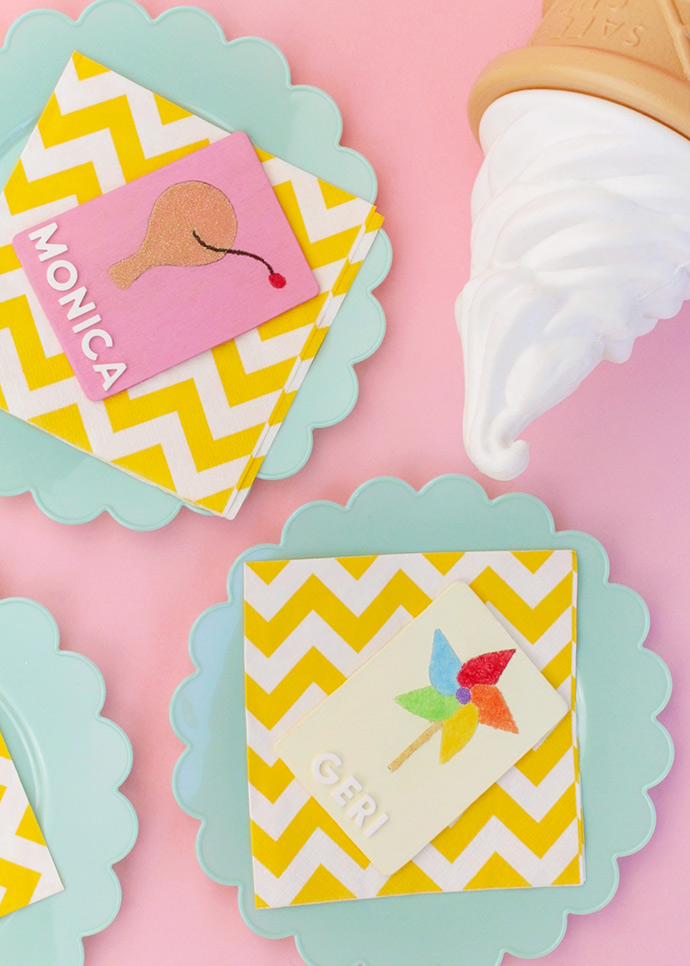
Happy crafting!!