This post is sponsored by Plaid Enterprises.
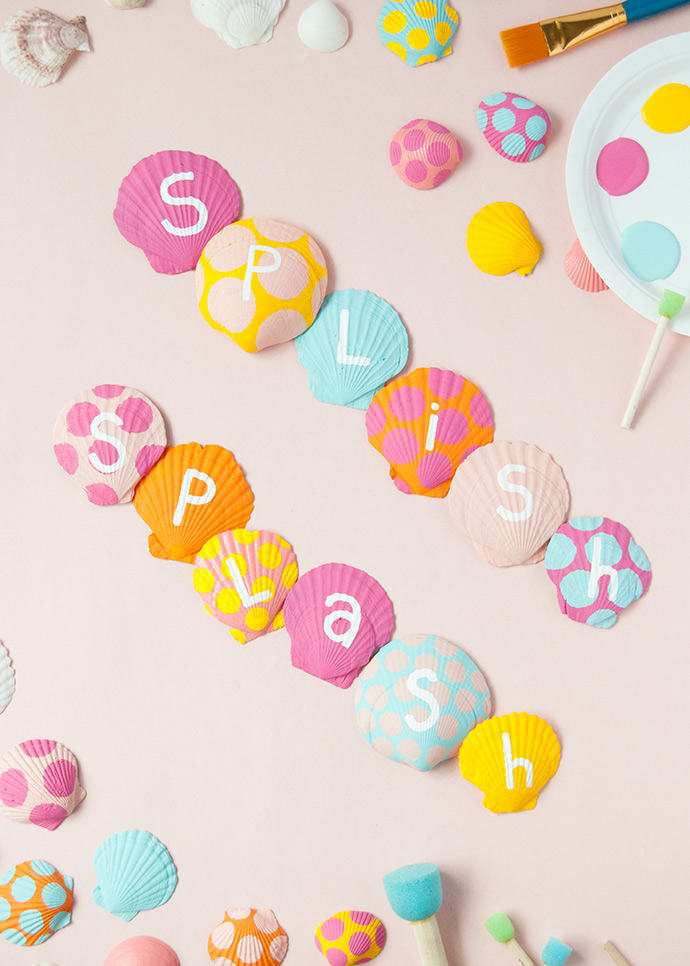
With only a few more weeks left of summer, we’re all about embracing every last second of it! With that in mind, today’s craft is positively beachy, with a colorful spin thanks to our handy set of Apple Barrel Acrylic Paint. We’re big fans of painted rock crafts, so why not grab some seashells and paint those too? If your kids already have a shell collection going from your last trip to the beach, this is a great project to let them shine!
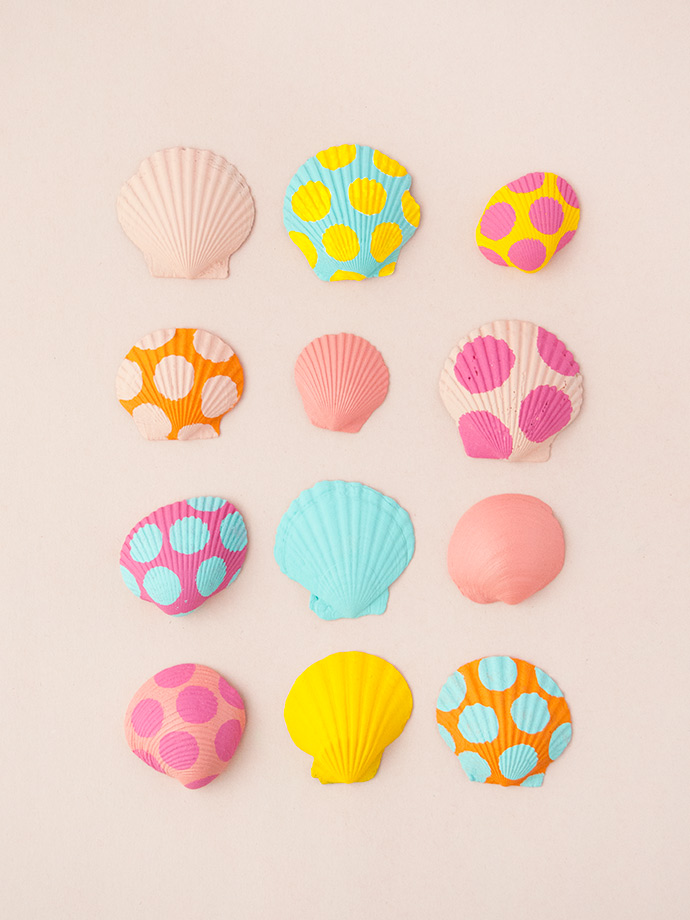
We love this idea as a way to make your own souvenirs too! Paint your shells so that they’re inspired by the location you got them, and you can even paint or write the spot and date on the inside of each one. And if you’re not near a beach this summer, not to worry – most craft or dollar stores sell shells too, and we even saw some at our local thrift store too! So grab your seashell collection and let’s get painting!
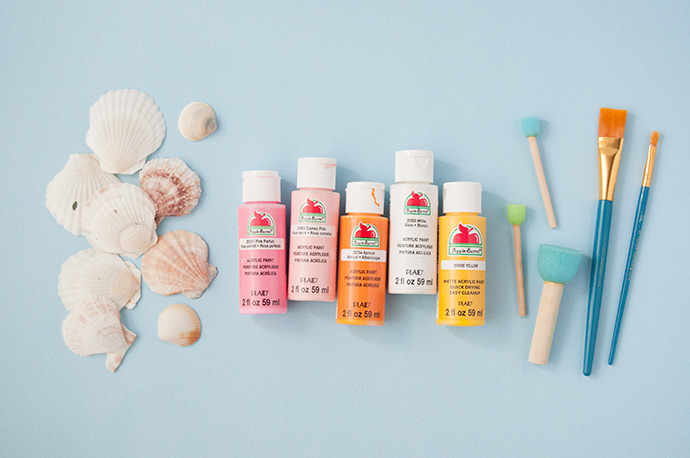
what you need:
how-to:
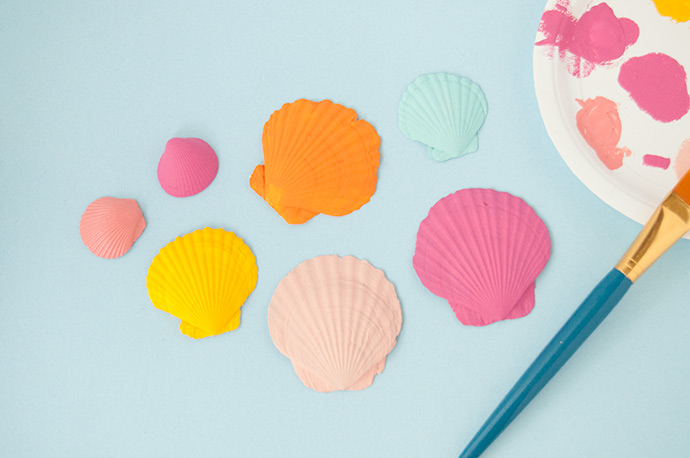
Step 1
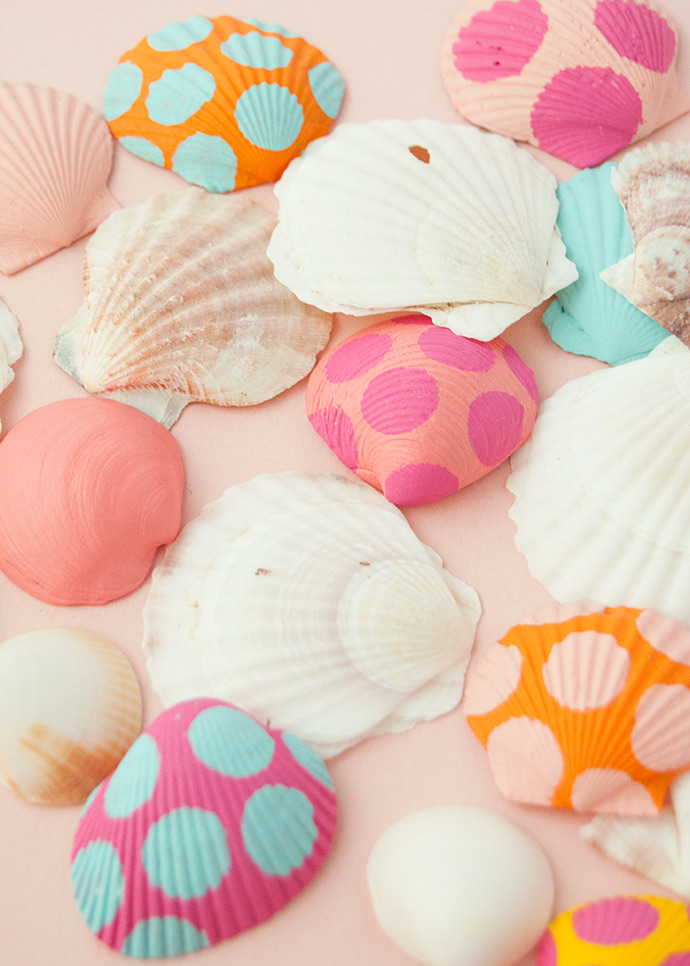
Gently wash your seashell collection in warm, soapy water and dry completely. Once they’re ready, cover your work surface with scrap paper and apply a coat of paint onto each shell. You can paint both sides the same color or mix and match! Depending on the colors of your shells, you may want to apply a couple coats for the best coverage. For white and pale-colored shells, we found that one coat was perfect, but brown shells looked better with a couple coats. Let dry completely.
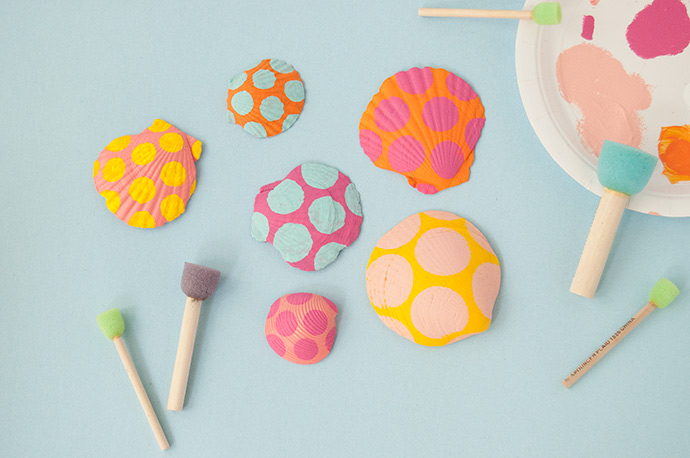
Step 2
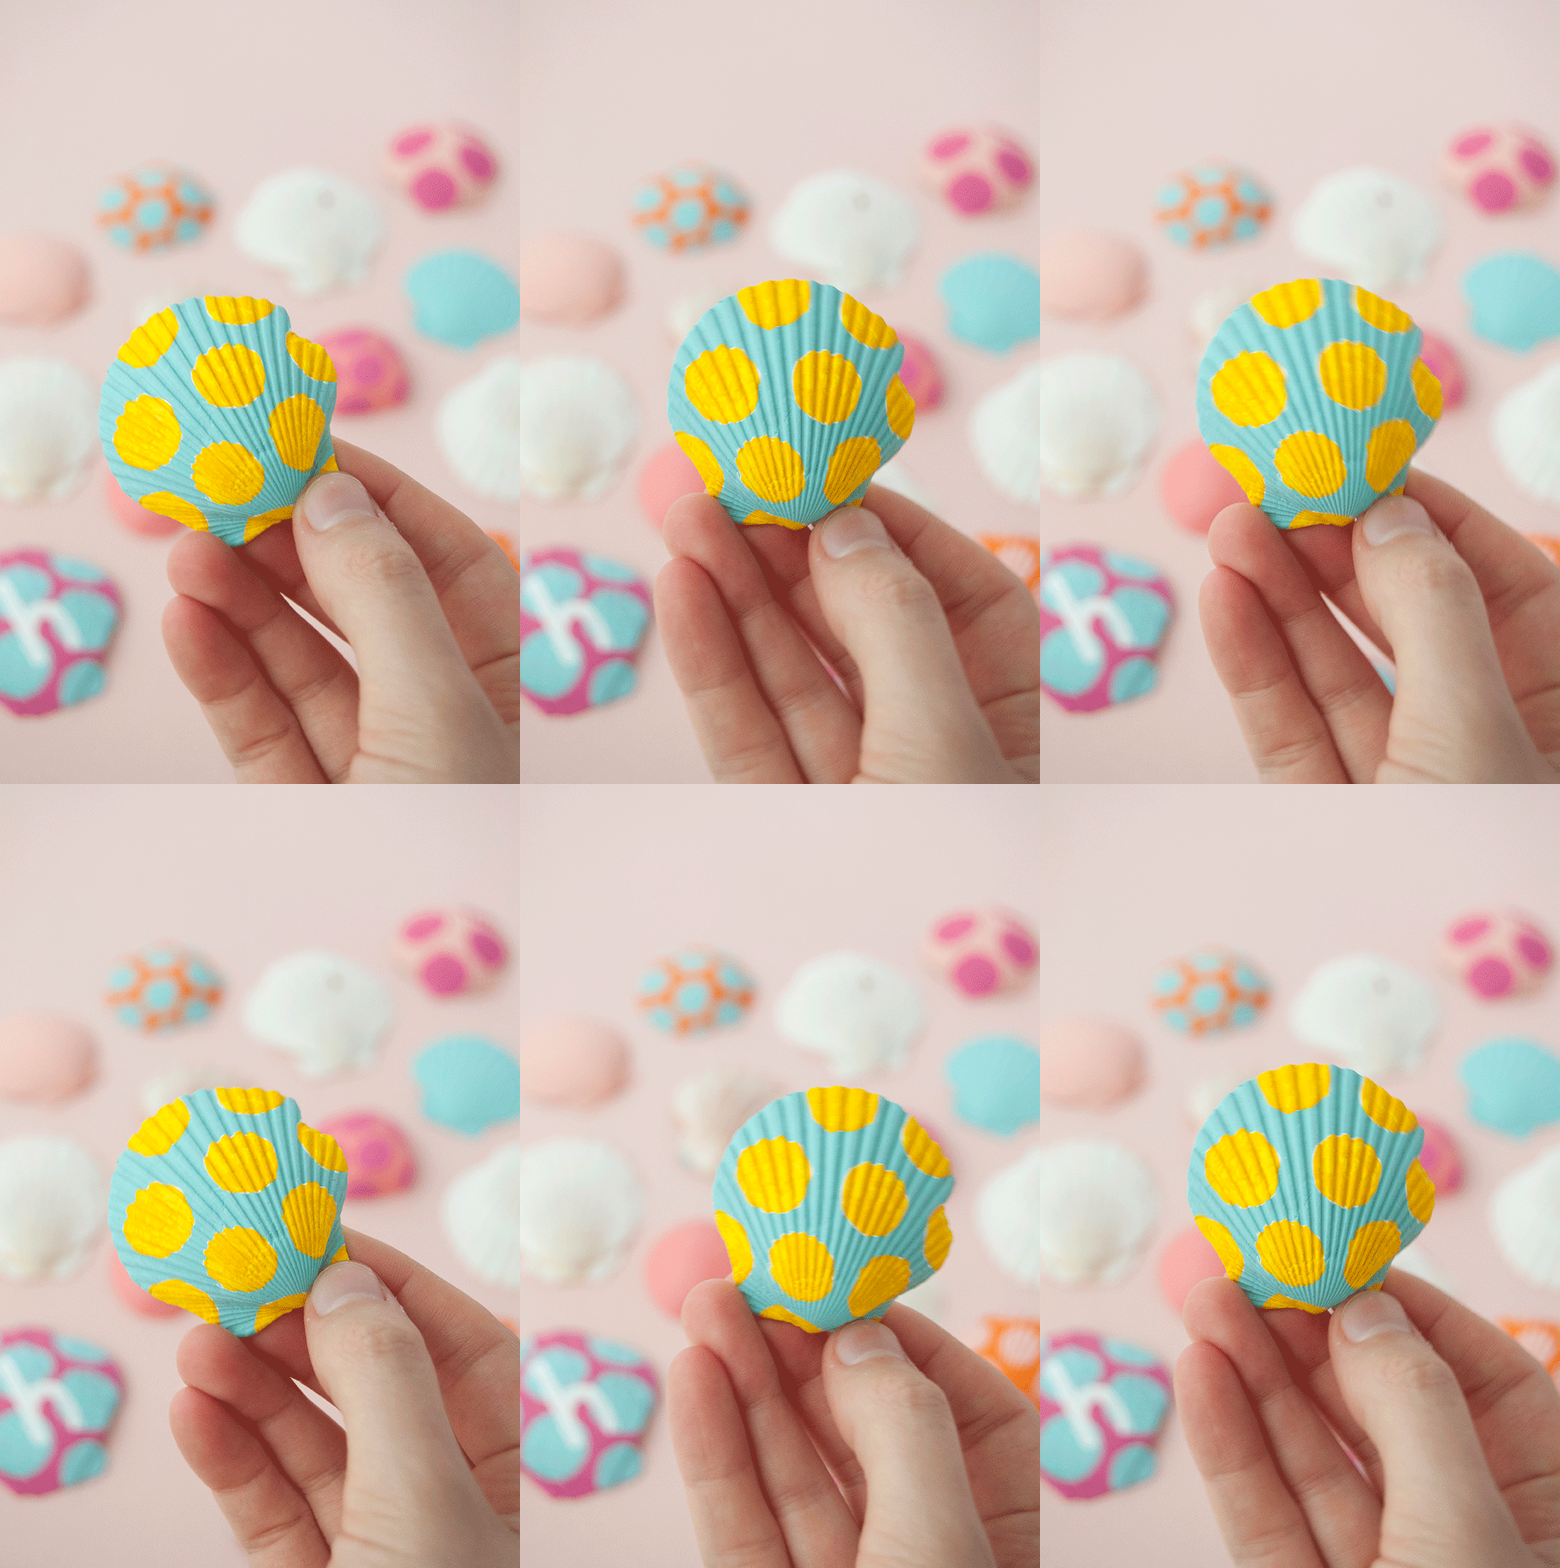
Time to add some fun patterns onto the shells! We used these round foam spouncers to make perfectly round polka dots on the shells. Simply dip the spouncer into paint, dab it a few times on a paper plate or scrap paper to remove any excess, and then press onto the shell, kind of like a stamp. Repeat on as many shells as you like, using different sized spouncers and different colors. You can also paint on other patterns if you like: stripes, squiggles, or even colorblock designs.
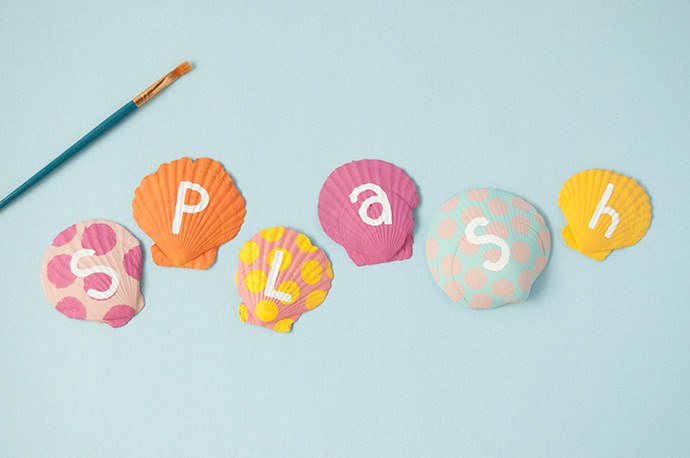
Step 3
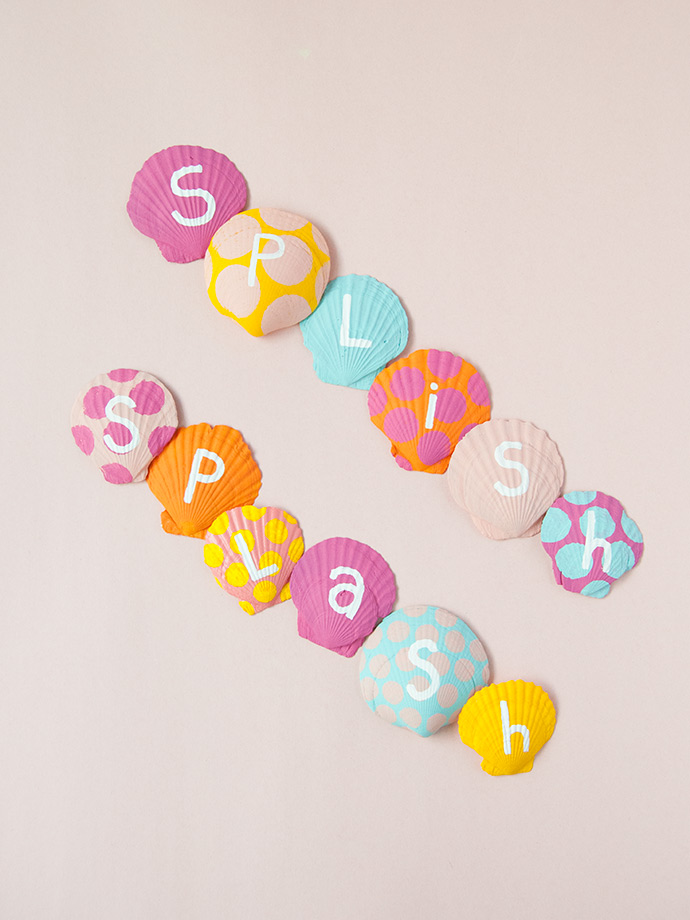
If you want to paint a message on your shells, let the polka dots dry and then use a fine tip brush and a contrasting paint color – we found that white worked nicely with the colors we used here. You can freehand the letters like we did, or use a pencil to draw a guide in first. Let dry.
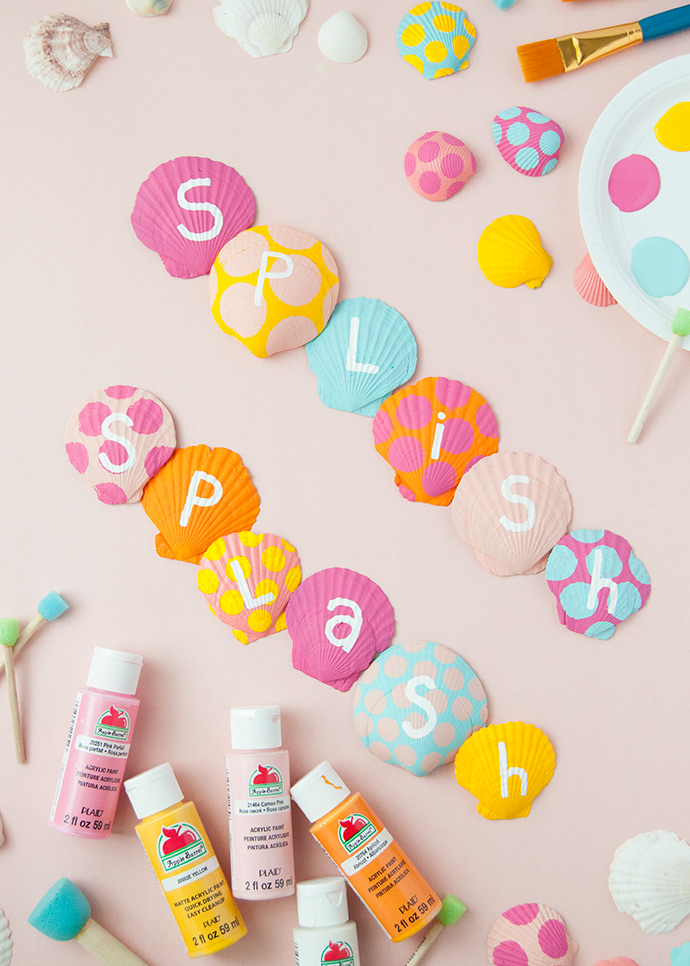
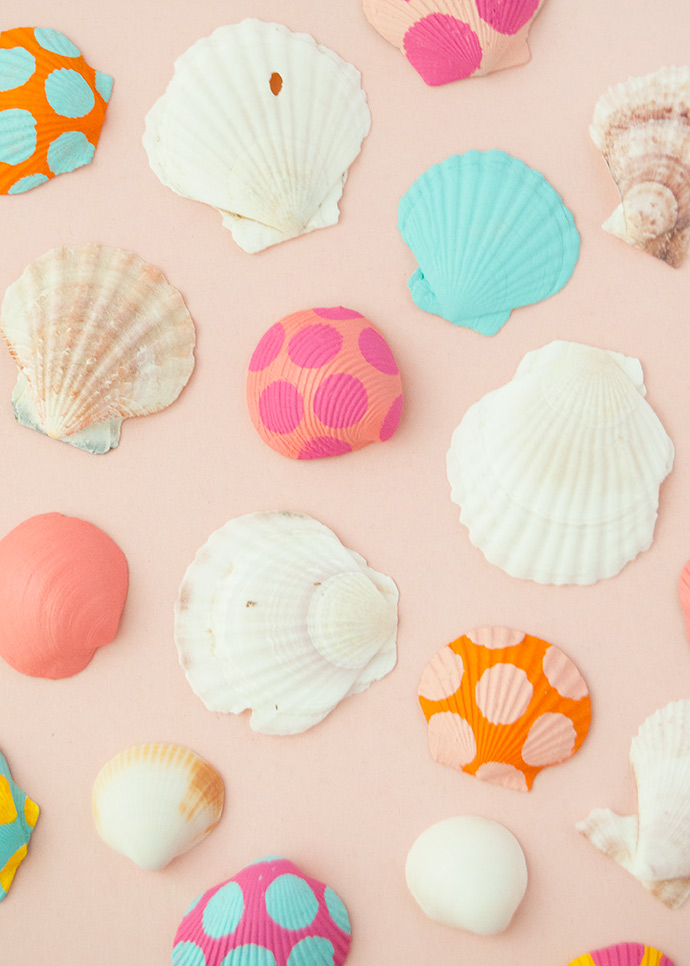
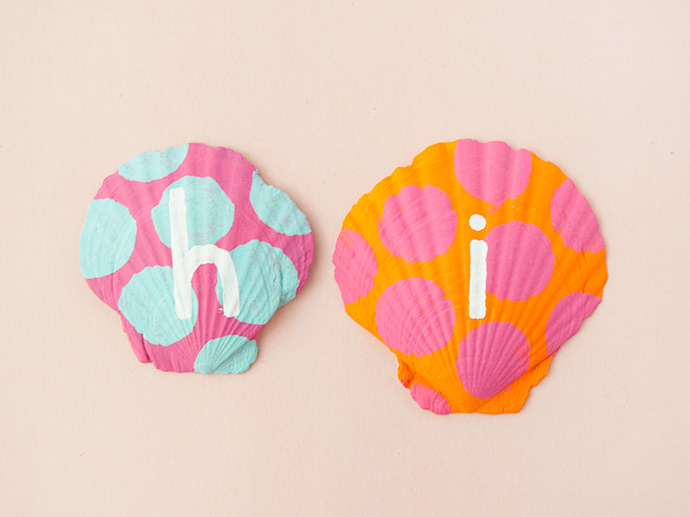
Your shells are ready to go! Attach magnets onto the back to decorate your fridge, glue them onto a blank canvas to use as wall art, or play with them as is.
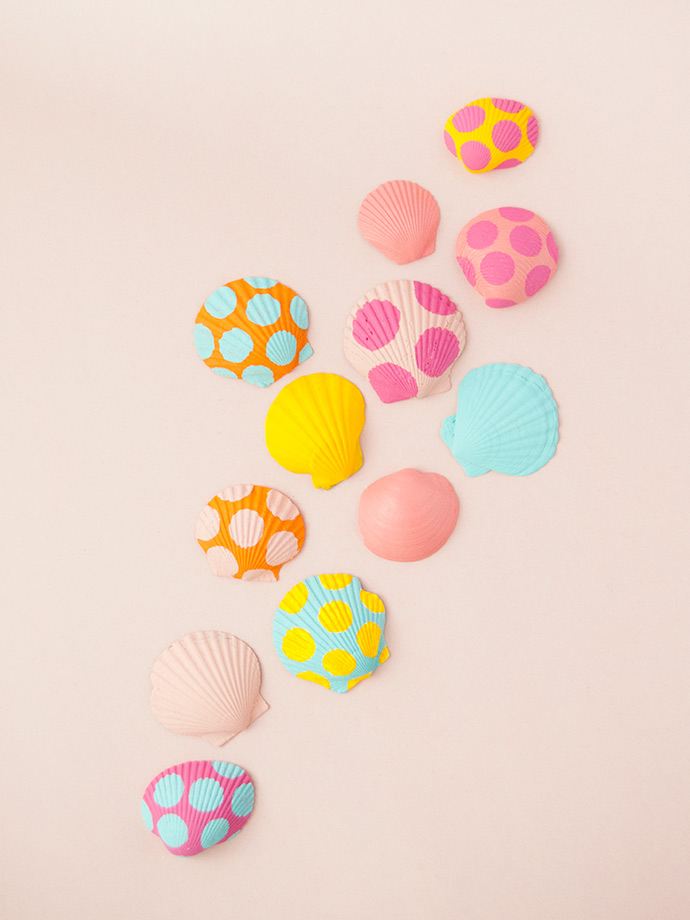
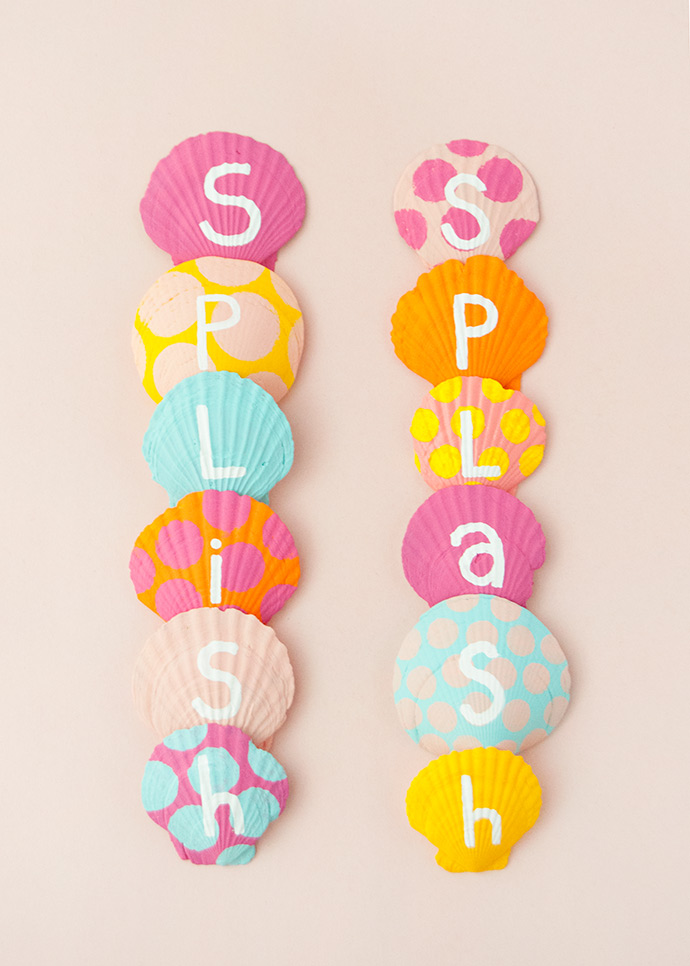

Happy crafting!