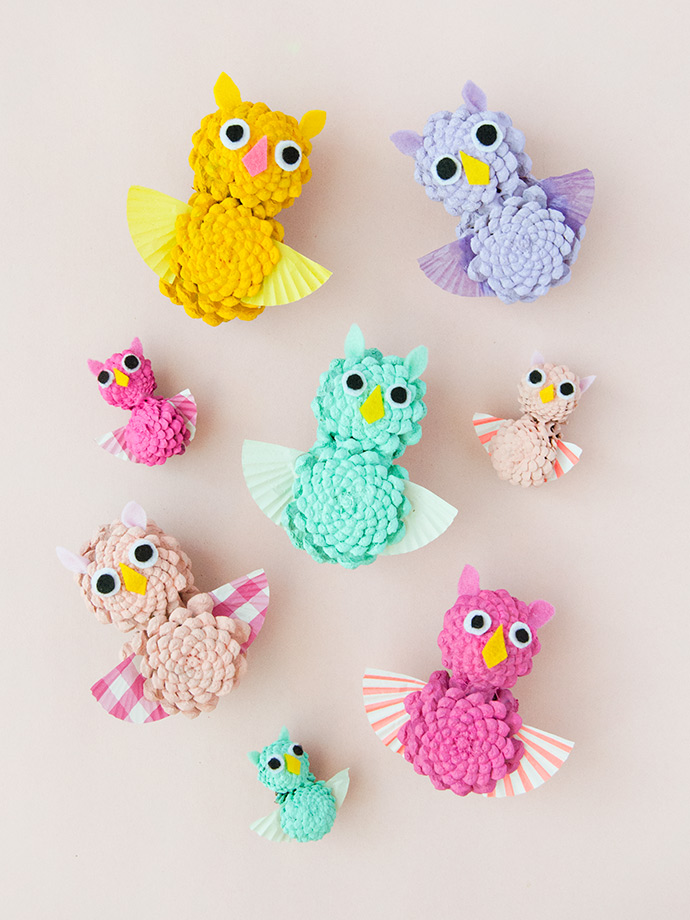
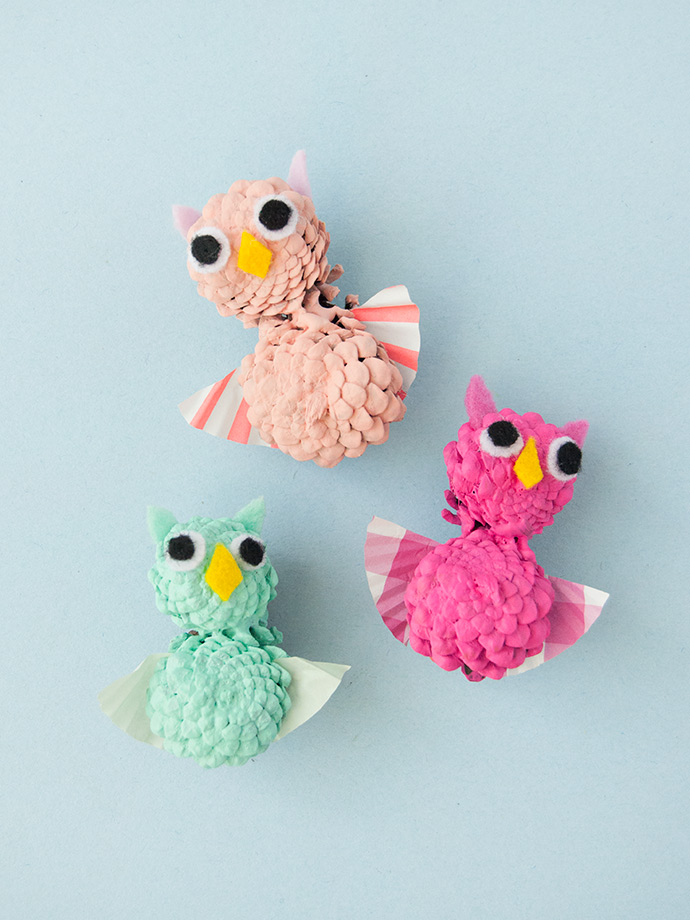
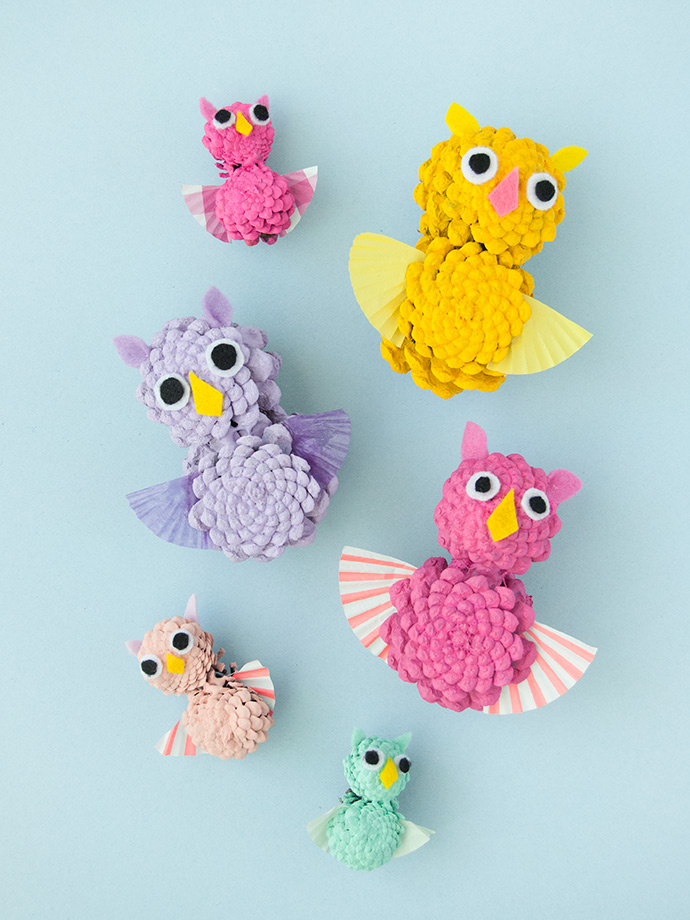
Hoooo is almost ready for fall? These cheerful owls sure are! On your next walk around the neighborhood or visit to the park, gather some pinecones to bring home to craft with. This craft was inspired by a 1970s craft book we found at the thrift store recently. In the original, the owls were left unpainted and without wings, but we knew some color and pattern would really give them a fun, modern look.

Kids can use these little owls as toys, display them on a shelf or windowsill, or even tie a loop of string to the top and hang them from a doorknob for decoration! Keep reading for the full instructions below.
what you need:
- Pinecones
- Martha Stewart Multi-Surface Satin Acrylic Craft Paint
- Paint brush
- Felt
- Scissors
- Hot glue gun
- White glue
- Cupcake papers
how-to:
Step 1
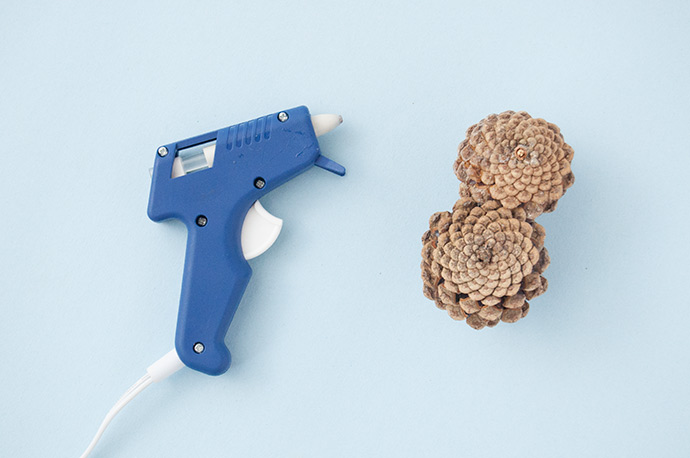
Begin by gluing two pinecones together, forming an almost figure 8 shape. If possible, choose a slightly smaller pinecone for the top for the owl’s head.
Step 2
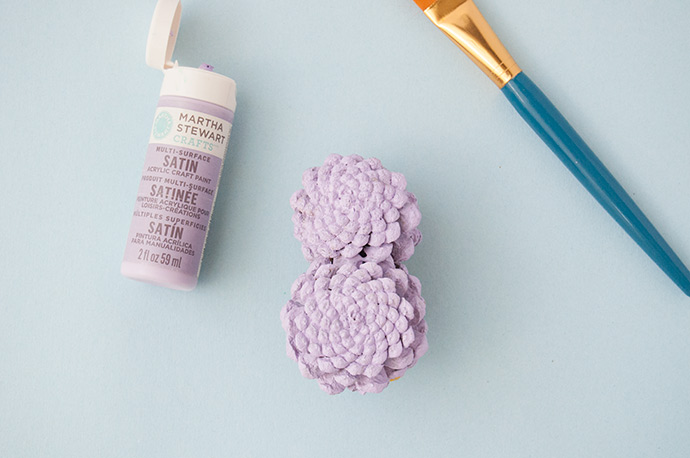
Paint the owl in whatever color you like, focusing mainly on the front of the owl which is actually the bottom of the pinecones. You don’t necessarily need to paint every single spot on the back since it isn’t very visible from the front of the owl. Let dry.
Step 3
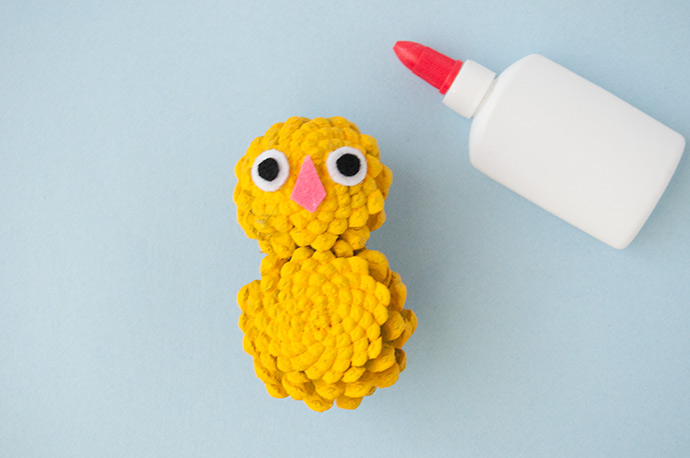
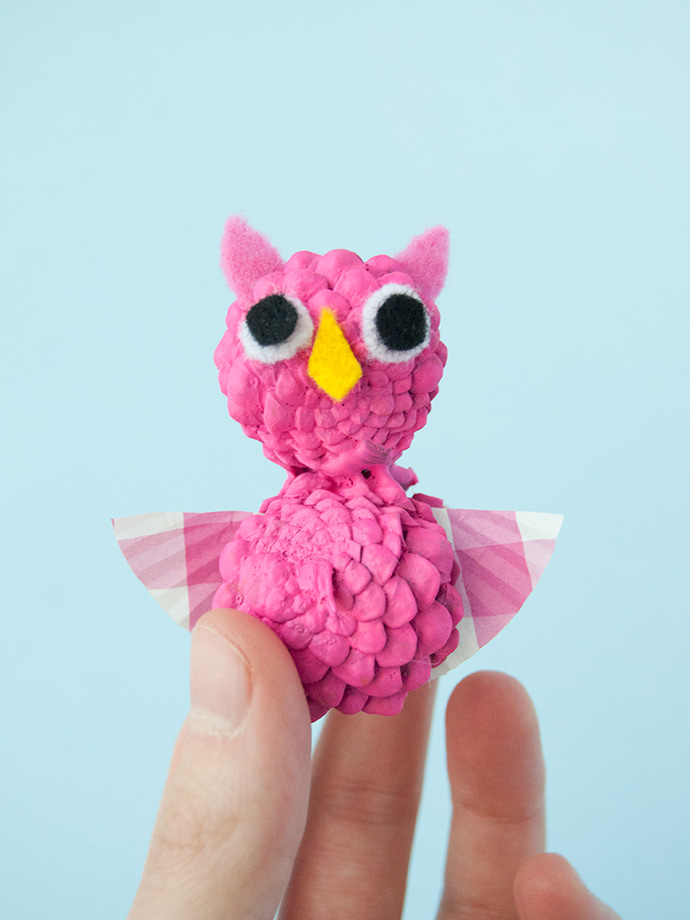
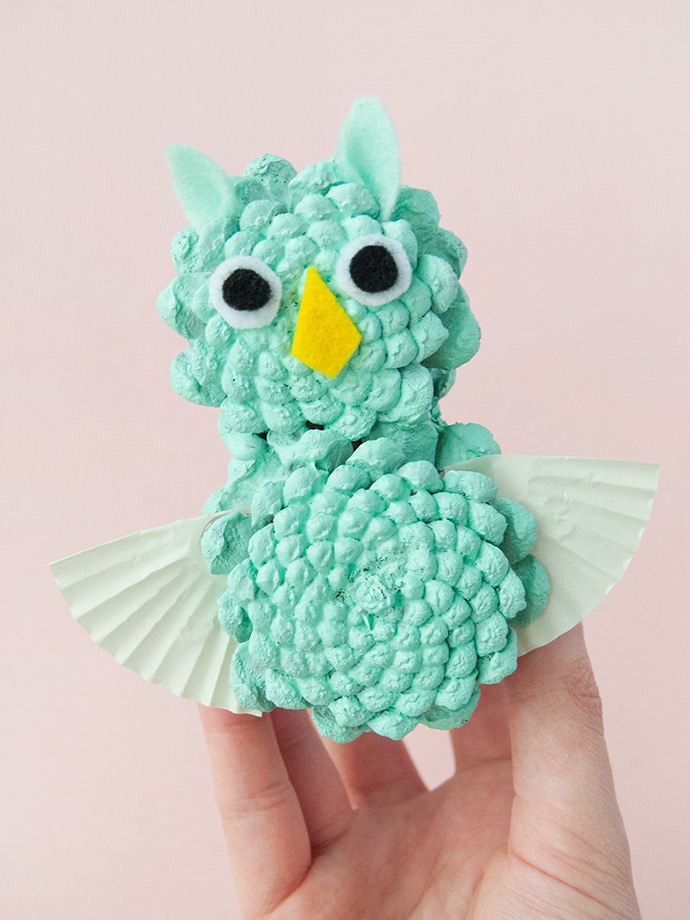
Cut eyes and a beak from felt and glue onto the owl’s face. You could even use googley eyes here if you like!
Step 4
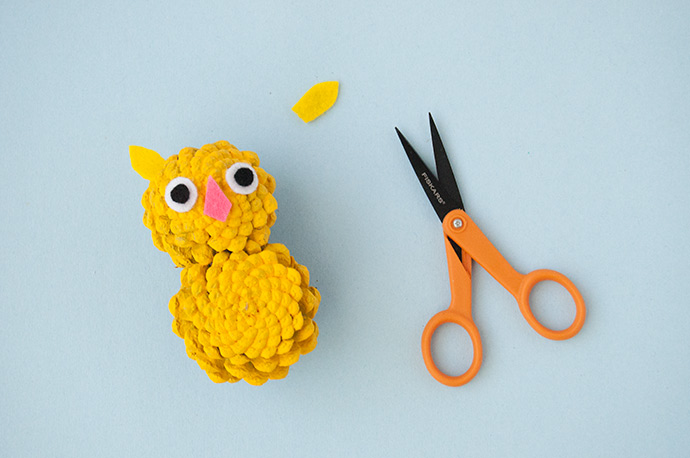
For the owl’s horns/ears, cut matching felt into two almost teardrop shapes. Glue to the head of the owl so that they’re tucked inside the pinecone a little bit.
Step 5
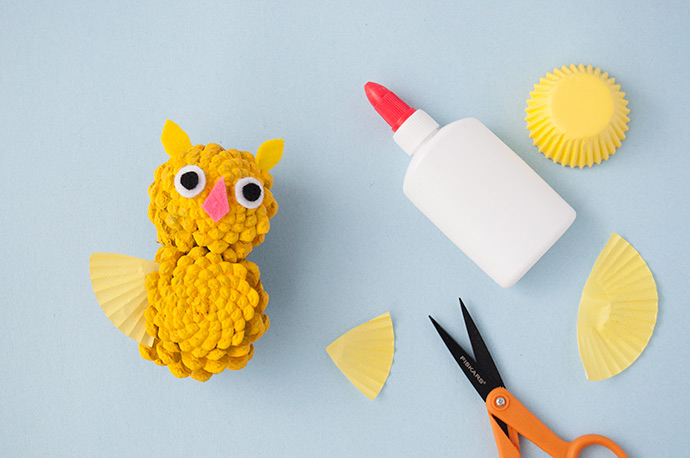
For the owl’s wings, fold a mini cupcake paper in half and cut along the fold. Fold one half in half again, and cut. Glue a piece to either side of the owl’s body, again tucking the edges inside the pinecone.
Note: feel free to trim the cupcake papers as needed, or even use scrap paper instead if that’s what you have handy.
Step 6
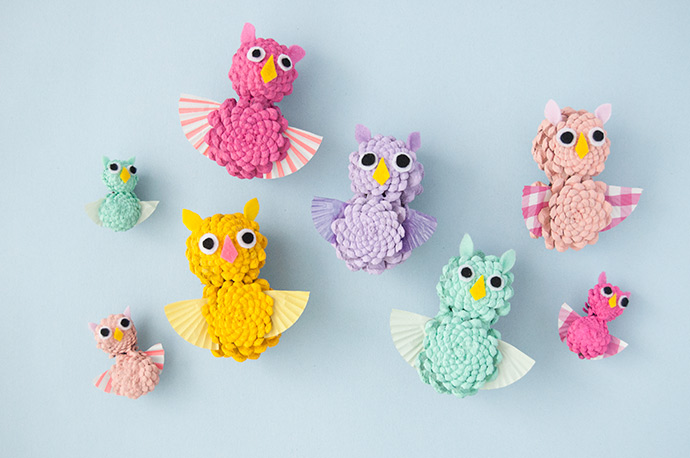
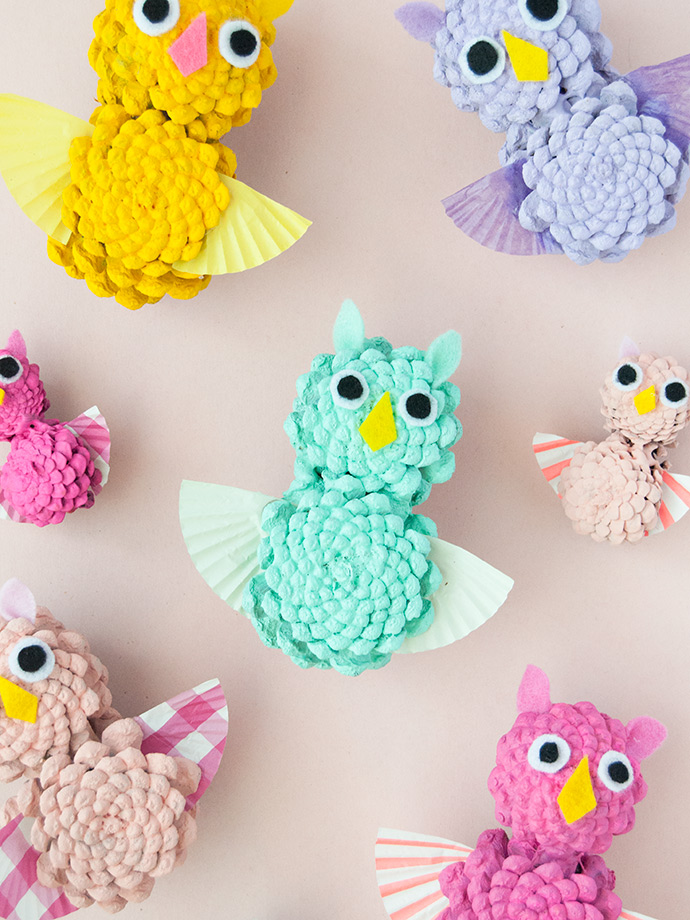
Repeat until you have owls in every shade!
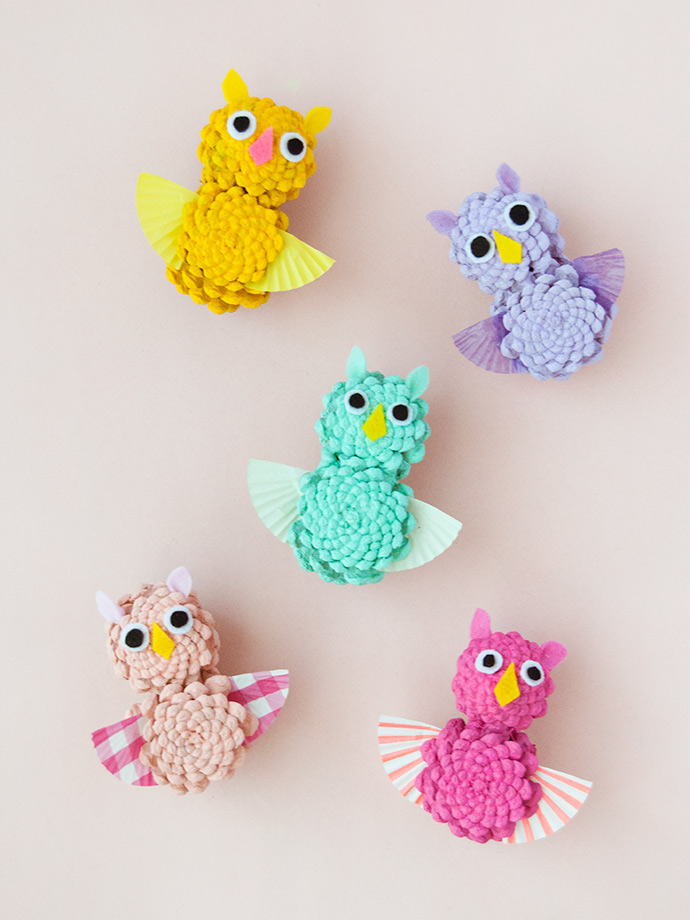
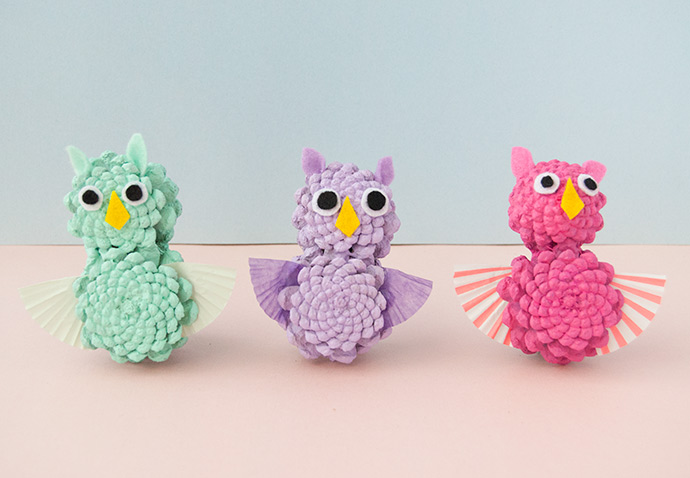
Did you know that a group of owls is called a parliament? We had no idea!
Happy crafting!