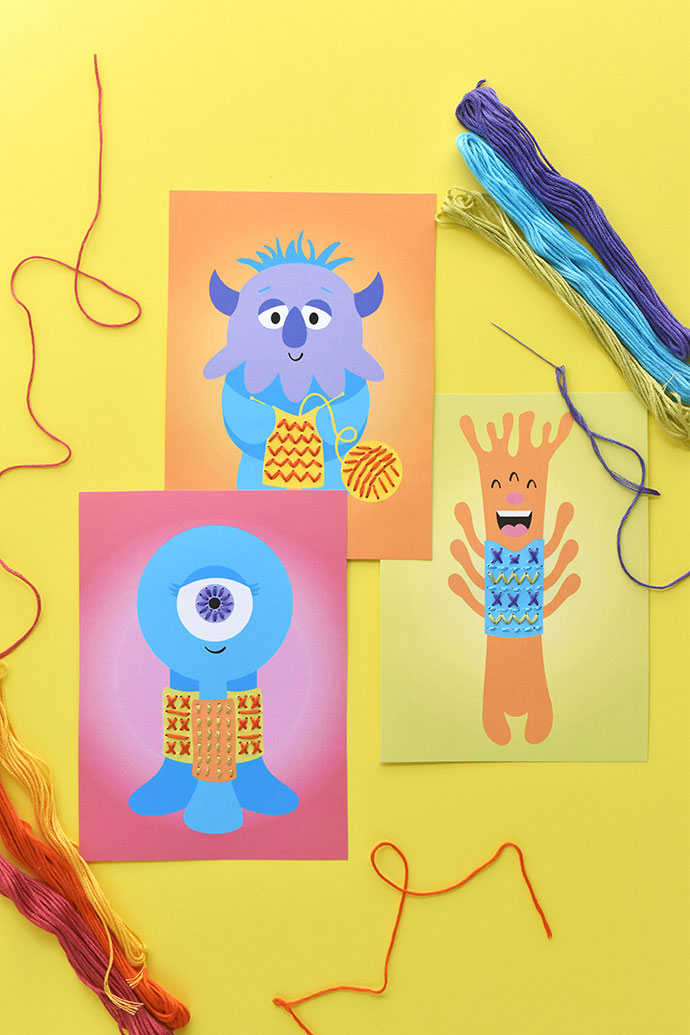
Friendly monsters love staying cozy in the fall, just like humans do! You can practice your embroidery while sewing on these monster stitching cards. The monsters are wearing their favorite hand-knit accessories, knit by one of their friends, and your colorful stitches are the finishing touches.
Each hat, scarf, leg-warmer, and more has lines marked where you can stitch the details. You can also add a few furry bits to the monsters if you’d like!
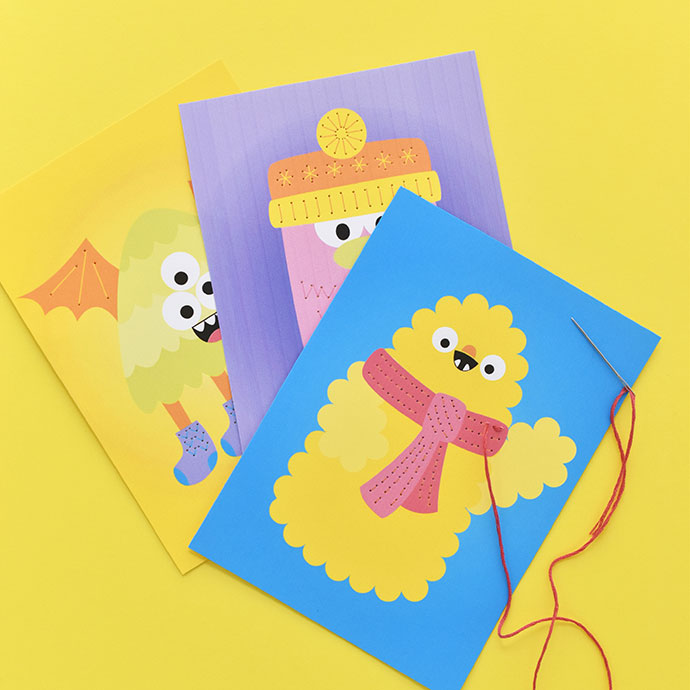
Sometimes people are afraid to try embroidery. But just like these sweet monsters, stitching isn’t so scary! Even if you’ve never taken a single stitch, you can learn with these helpful cards that double as artwork. The printable PDF includes six designs to choose from, each with an adorable monster in something different…and even their knitting pal!
As you stitch, you can use the colors on the cards, or choose your own to customize the look.
Ready for some not-so-scary stitching fun?
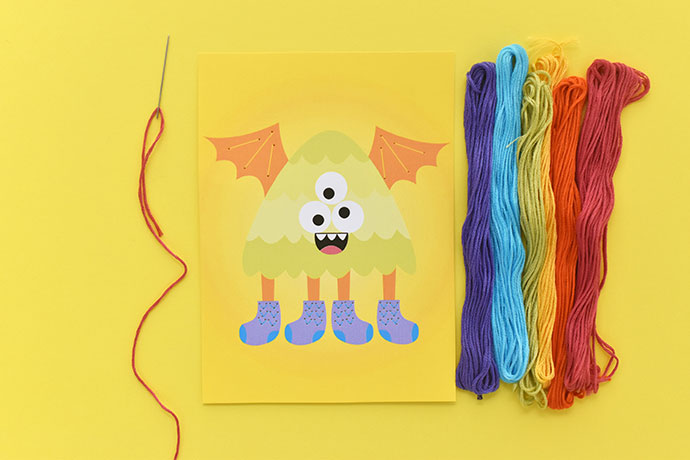
what you need:
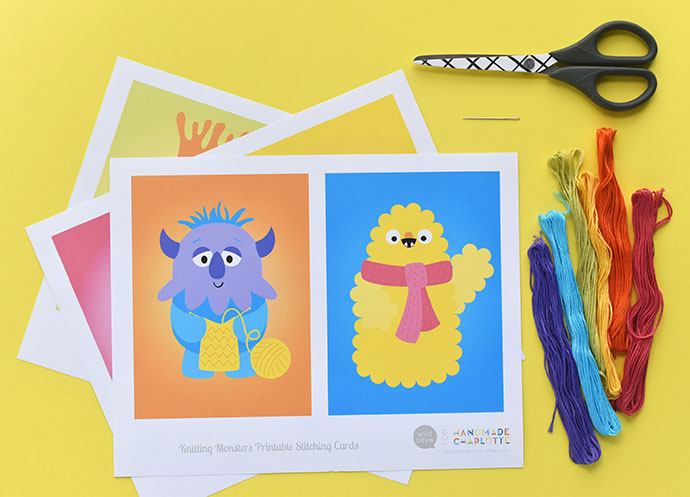
- Heavy Cardstock
- Embroidery Floss
- Large Embroidery or Crewel Needle
- Scissors
- Printable stitch cards
how-to:
Step 1
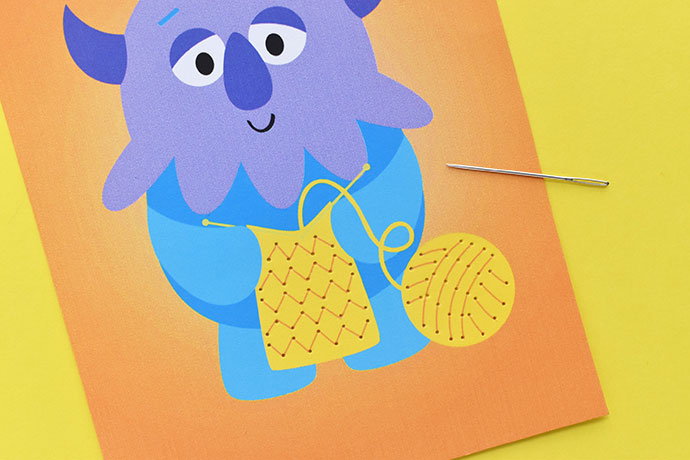
Print the Monsters in Knitwear Stitching Cards on heavy cardstock. Cut out around the colorful rectangles.If you don’t have cardstock, you can print the cards on regular paper and then glue them onto corrugated cardboard, but it does take a little more effort to pre-punch the holes.Use your needle to pre-punch the holes for stitching. Make a hole at the end of each place where you will stitch. For long, curved lines, make a few holes along the line so you can stitch on the curve.
Tip: It helps to place the card on cork, cardboard or even some carpet as you make the holes.
Step 2
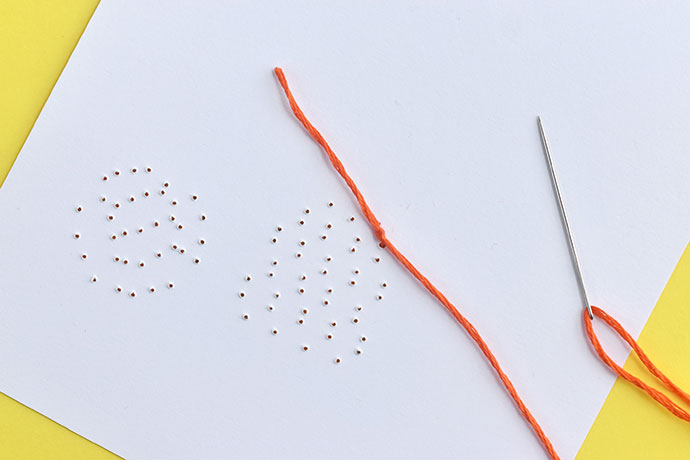
Cut a piece of embroidery floss that’s about 24 inches long. Thread one end through the needle.Bring the needle from the back of the card to the front, leaving a tail of thread on the back. Go back down through the card and tie a knot to secure the embroidery floss.
Step 3
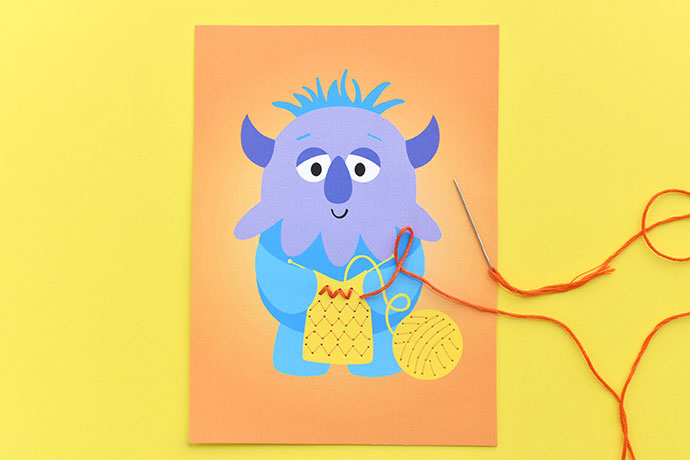
Stitch the lines on the cards. It helps to flip the card from front to back with each stitch so you can see where the hole is when inserting the needle.Some of the lines, like the zig zags or long curved lines, use back stitch. For this embroidery stitch, come up through the second hole on the line, then go back to the first hole. Next, come up at the third hole and go back to the second hole.
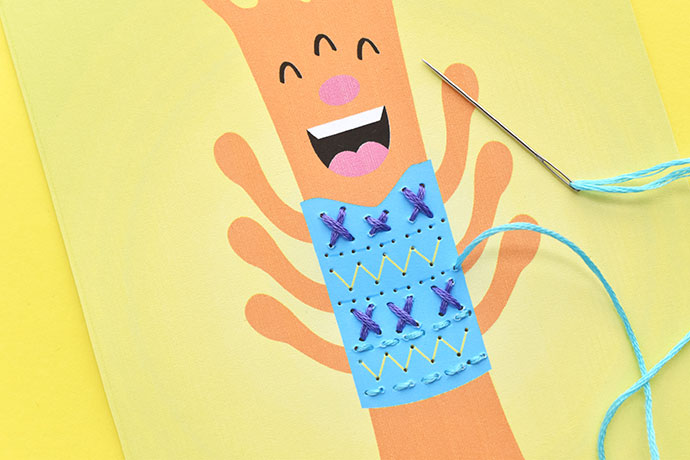
Other areas of the cards use running stitch (where you just go up and down through the holes as you follow the lines), cross stitch (make an X!), or long straight stitches (they’re the easiest).
When you’re finished stitching or need to end the thread, tie a knot on the back of the card. Trim the extra thread with scissors.
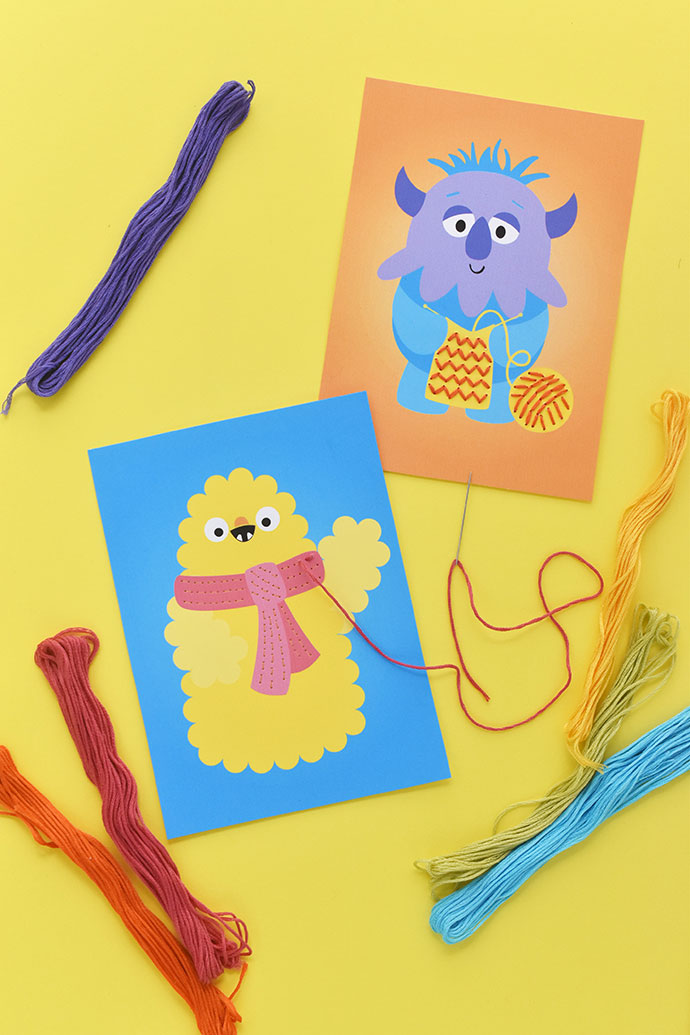
After you finish one, start the next monster! You can also work on more than one at a time if you have extra thread left.
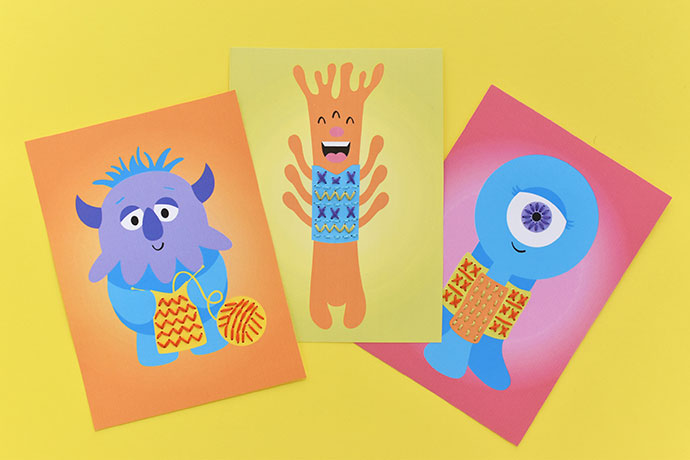
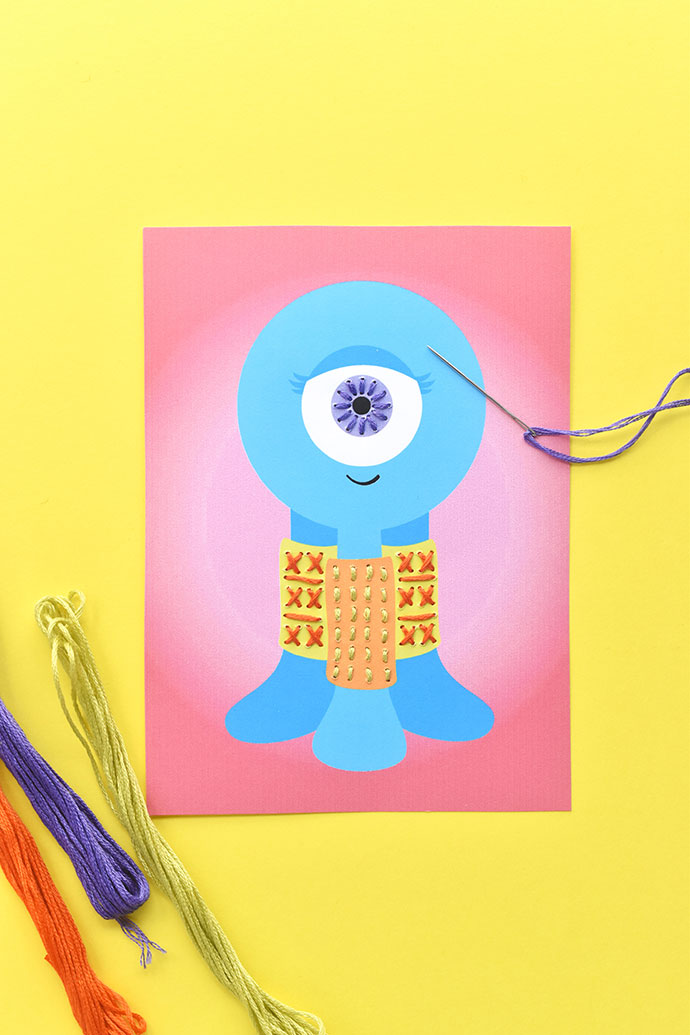
Some of the stitching lines are obvious, but you might find some other lines that are also perfect for stitching. Like shoelaces or a giant eye! You can even add more stitches around the edges of the cards so they have a fun border.
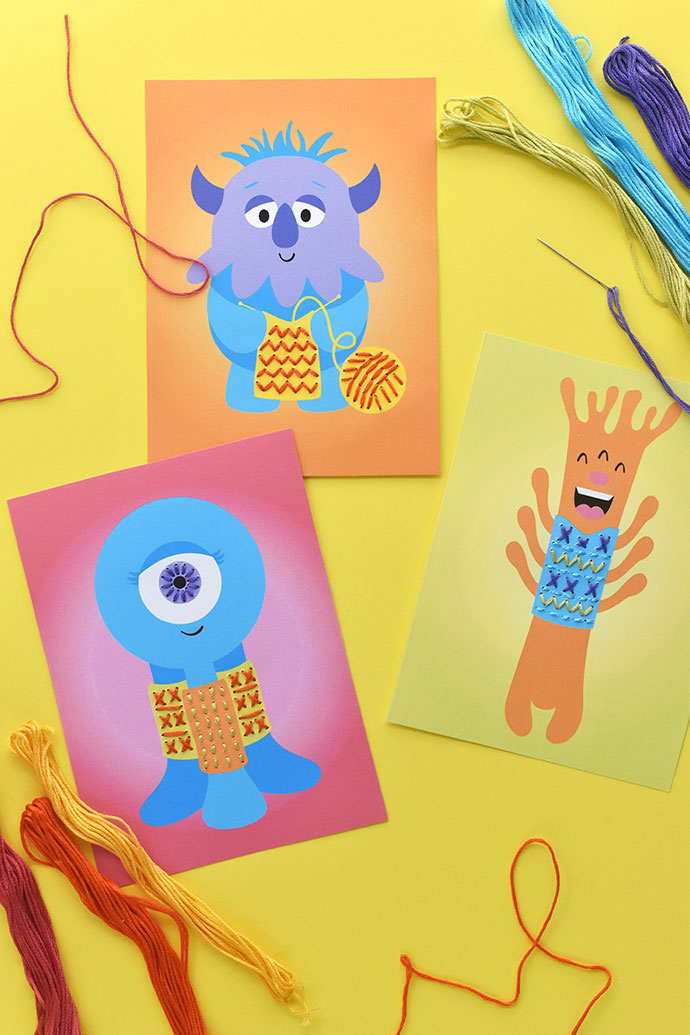
Happy crafting!