This post is sponsored by The Arthritis Foundation.
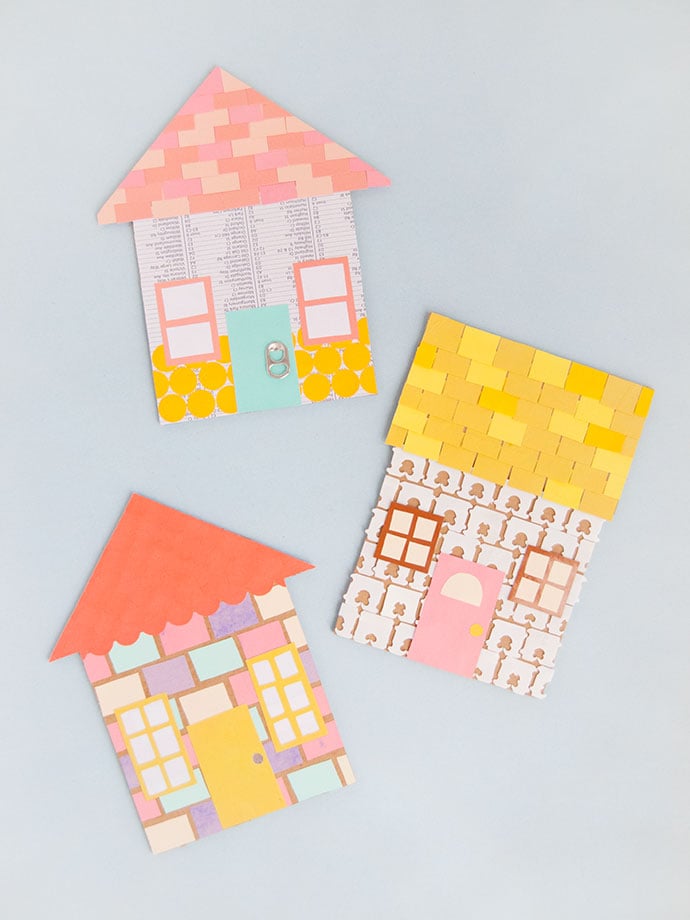
As you know, we absolutely love crafting with recycled materials and odds and ends from around the house. Today we’re thrilled to be doing just that while also partnering with the Arthritis Foundation to help raise awareness and spread information about arthritis. Did you know that over 300,000 kids in America have arthritis?
We connected with Isabel Castro, who was diagnosed with Juvenile Rheumatoid Arthritis in middle school after noticing she couldn’t bend her fingers properly and that sometimes it hurt to walk. At first, she tells us, it was especially overwhelming because she played softball and instruments in her free time, but after starting medications, going through physical therapy, and adjusting her mindset, she used her diagnosis as an opportunity to push herself in every part of her life.
Isabel was kind enough to look over the step-by-step instructions for today’s craft and provided insight, tips, and tricks that might help make various aspects more approachable for kids who live with JA.
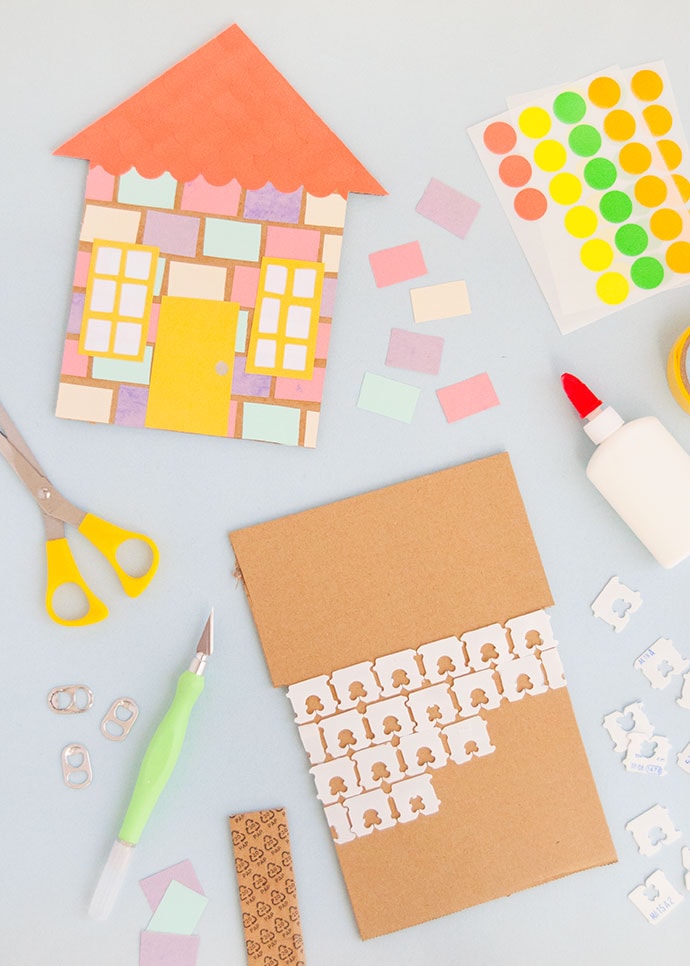
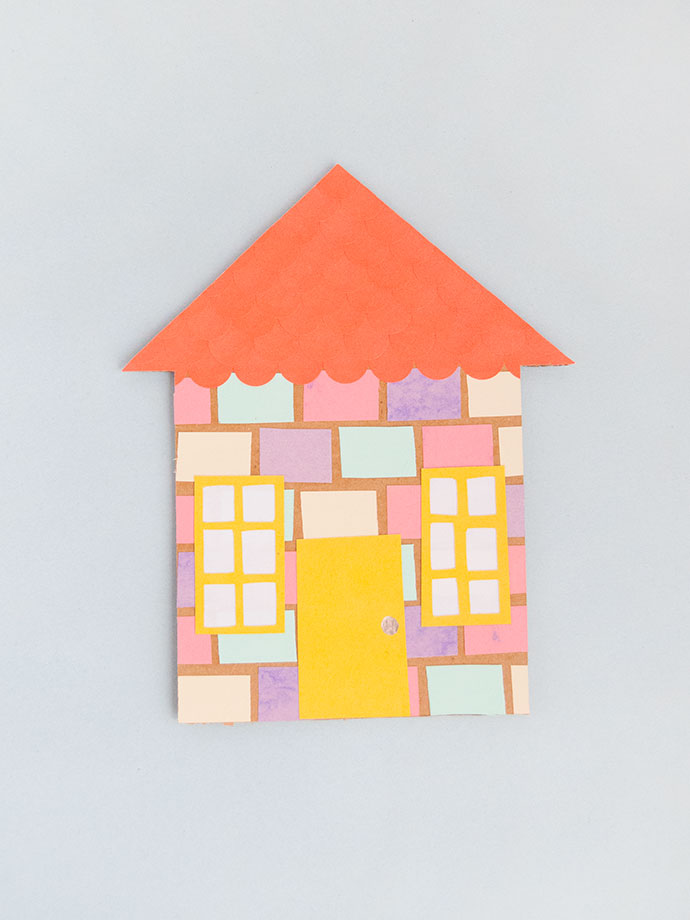
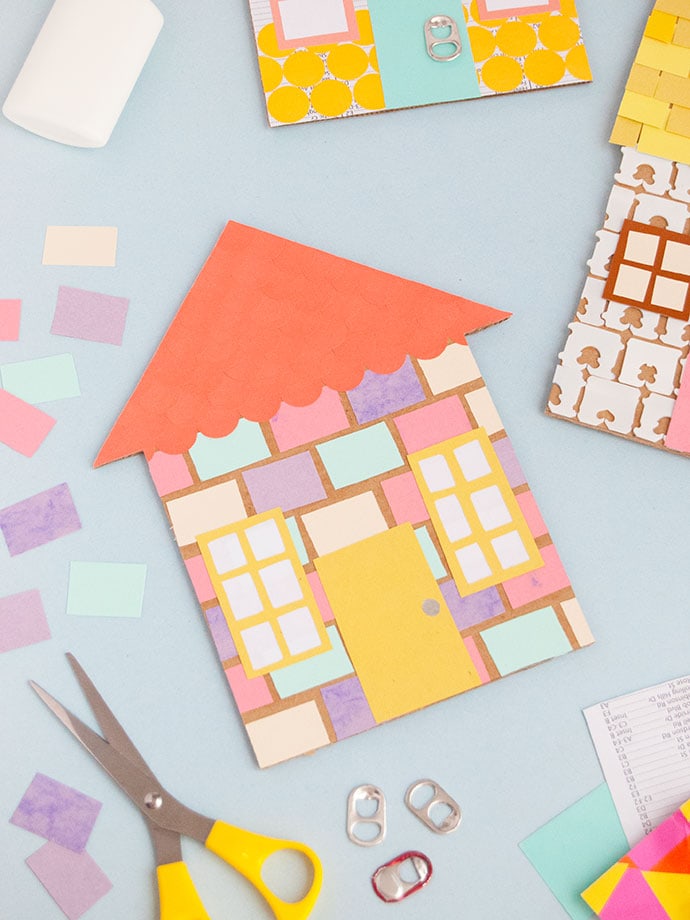
For this craft, we’re embracing recycled materials and our cozy homes – you can even think of this as a home self-portrait! We only wish we lived in such colorful, candy-hued houses, so these house mosaics pictured lean more to the idea of crafting your dream house, which can be even more fun. Whether you choose to recreate a collage inspired by your real family home or dream up a rainbow-tinted neighborhood instead, make sure to gather up some recyclables, paper scraps, and odds and ends from your craft stash. This is the perfect opportunity to put them to good use, especially now since everyone is cuddled up at home!
The Arthritis Foundation is the Champion of Yes. Their goal is to guide families in developing personalized plans for living a full life – and making each day another stride towards a cure.
Live Yes! INSIGHTS is going to change the future of arthritis forever. The program makes connections in person and online to empower kids and adults living with arthritis to live their best life, find strength in each other, and take control of their health care.
Keep reading to see the full arthritis-friendly instructions for this craft below, learn more about Junior Arthritis, and how you can help.
what you need:
- Cardboard
- Craft knife
- Ruler
- Pencil
- Cutting mat
- Scissors
- White glue and/or glue stick
- Scrap paper (various colors)
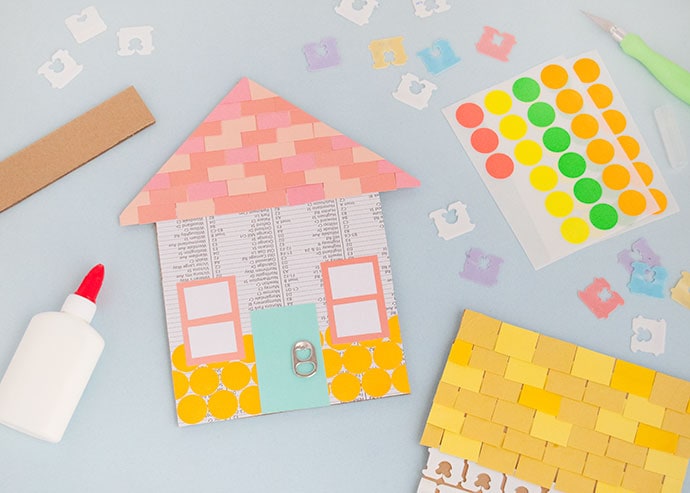
- Odds and ends from recycling bin (soda can tabs, lids, boxes, wrappers, etc)
how-to:
Step 1
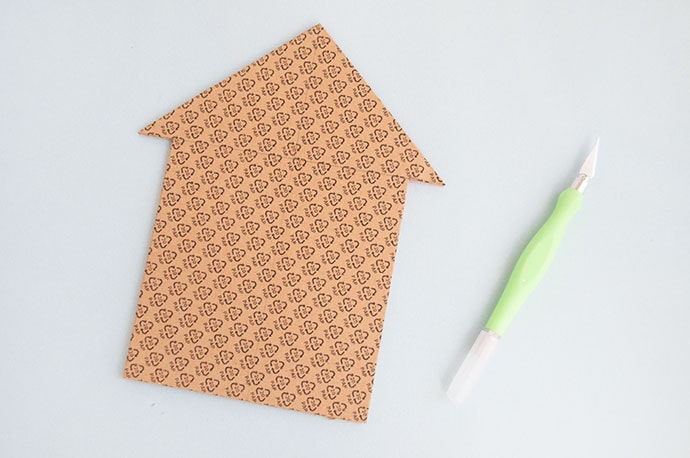
Use a pencil and ruler to draw out a simple house shape on cardboard. We used corrugated cardboard because it’s nice and strong. If you don’t have any, cereal box cardboard will work too though! When making the house shape, remember that kids can recreate your own house or instead create a dream house if they prefer. Cut the shape out using a craft knife and cutting mat – an adult should do this step.
Step 2
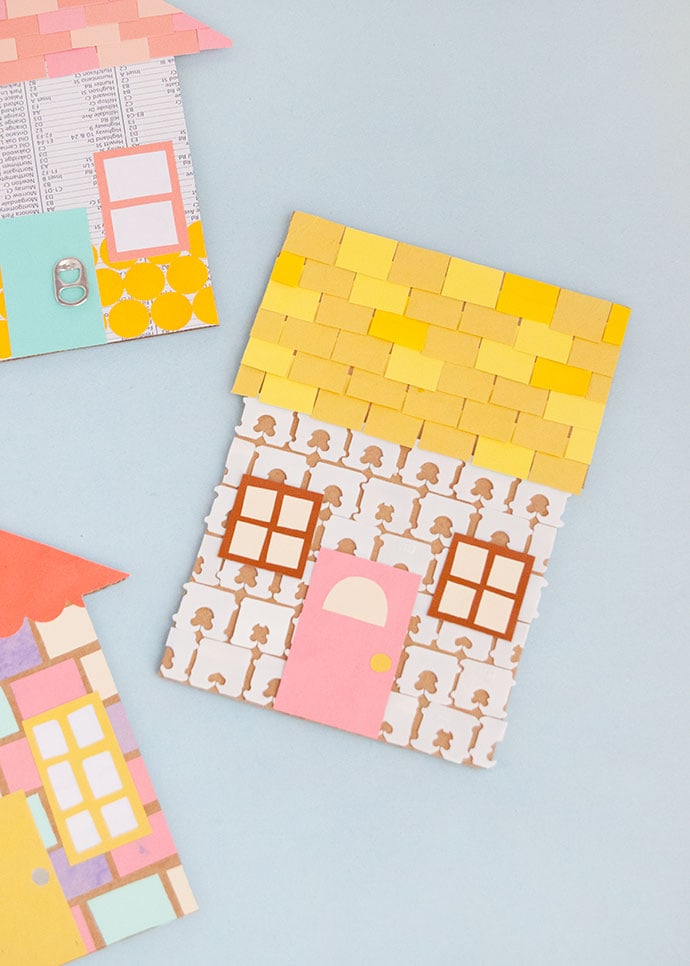
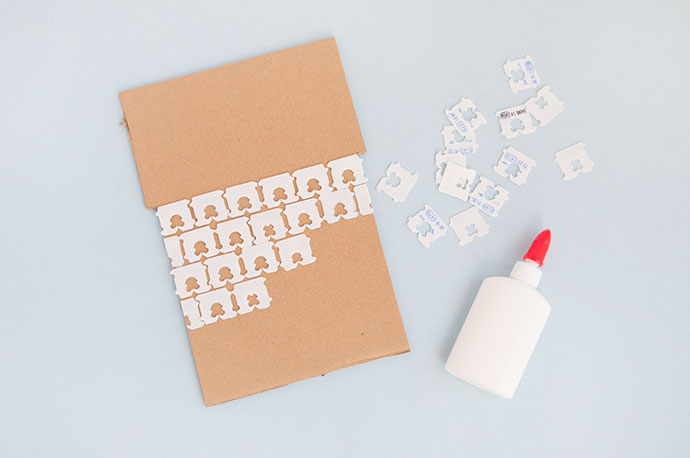
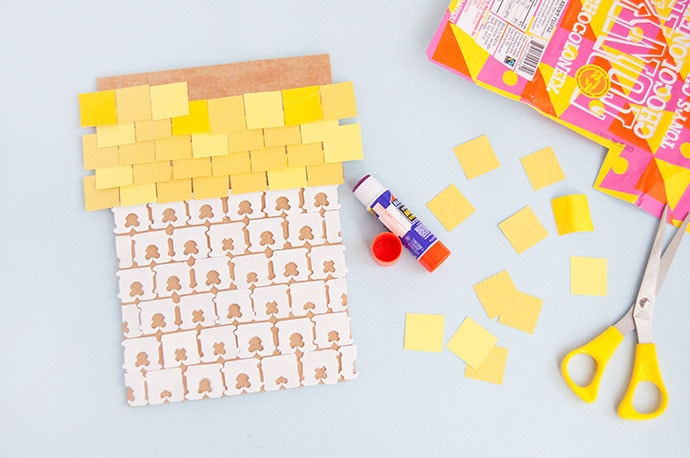
Time to start decorating your house! If you haven’t already, gather up odds and ends from your recycling bin and around the house. Things like paper scraps, recycled boxes, soda tabs, plastic lids, bottlecaps, bread tags, magazine clippings, and popsicle sticks are all great! You can use whatever supplies you have on hand. We’ve been collecting bread tags for a little while, so we glued them onto the bottom of the house, lining them up like bricks. You can use white glue to do this or instead use double stick tape – simply apply horizontal lines of tape along the cardboard house and then kids can simply place and press the bread tags onto the tape to secure. You can also squeeze out some white glue into a little cup and give kids a cotton swab to apply it onto the house before sticking the bread tags on. Pick whichever technique works best for you and your kids!
Step 3
For the roof, we cut up scraps of yellow paper and wrappers into squares. Apply a row of glue along the cardboard roof area at the bottom and secure a row of the yellow squares like shingles. If kids want to help with the cutting step, remind kids with JA to make little cuts and to take their time with it.
And don’t forget, these techniques are all just suggestions that you can completely adjust to suit whatever supplies you have and your kids. If cutting and gluing this many small pieces poses a challenge to your little one, they can instead draw a brick or shingle pattern right onto the cardboard or a colored piece of paper and glue that one piece on instead.
Step 4
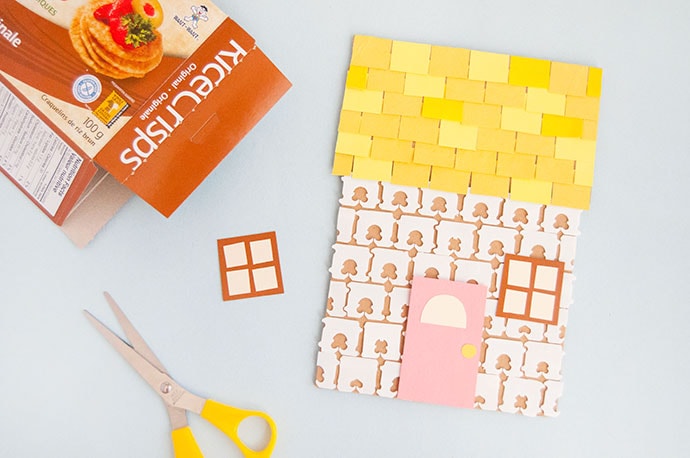
Add more details onto the house! We used scrap pink paper for the door and turned the brown cardboard tabs on a box into windows.
Step 5
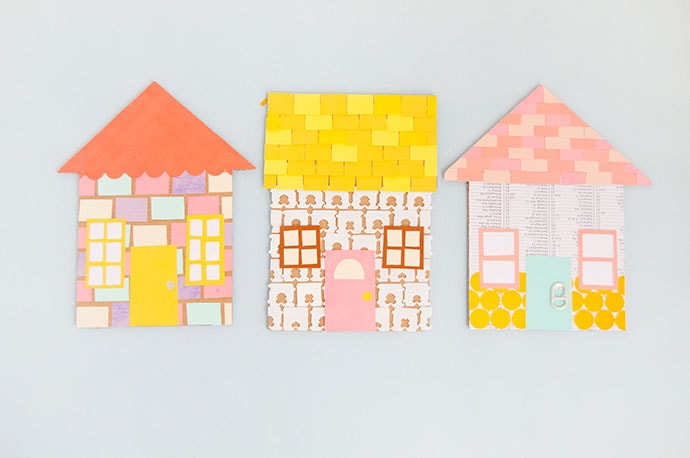
Make as many houses as you like! You and your kids will have so much fun turning everyday items like round office stickers, soda pop tabs, and old newspapers into an adorable neighborhood. Encourage kids to take their time and to be adaptable as the mosaic process happens – sometimes you come up with the best ideas in the middle of a project, or based on what supplies you do or don’t have. We know your mosaic neighborhoods will turn out great!
At this time, the arthritis community needs our support now more than ever given they are at a higher risk, so this is just another reason why it’s important to join the Live Yes! Arthritis Network – to get the most up to date info relating to COVID-19 and how it relates to arthritis from a trusted source. It’s important for the arthritis community and those with severe chronic medical conditions to stay at home as much as possible and avoid crowds so we hope that today’s arthritis-friendly craft is a fun activity that your family creates at home while you’re keeping your distance.
