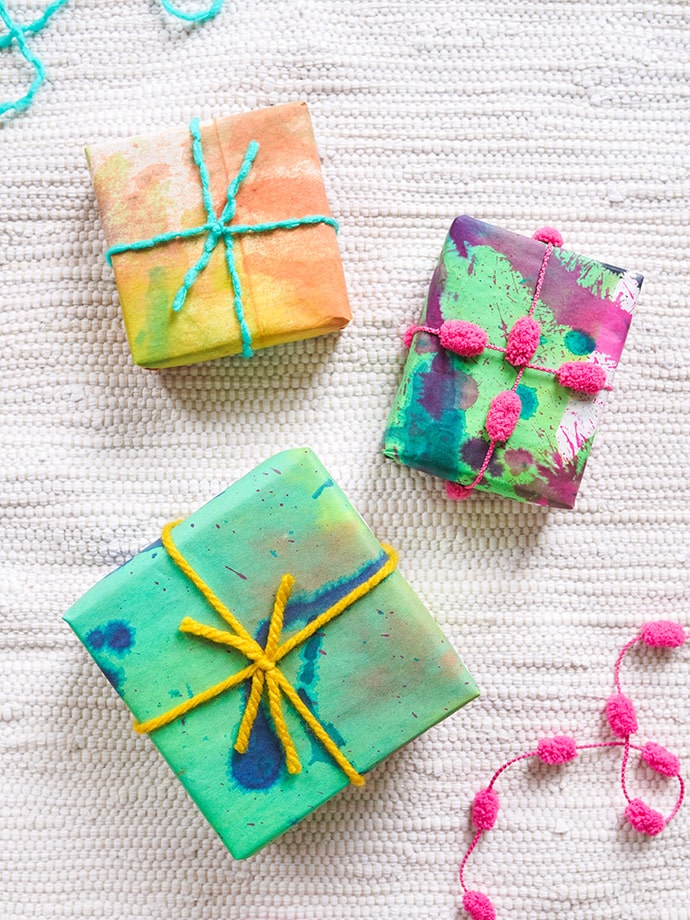
If you’ve ever worked on a tie dye project, you probably have ended up with some extra dye leftover. After dying anything you can get your hands on, if you still have some extra dye left, this DIY wrapping paper (and our bonus project below!) are great ways to use it up. Most tie dyes aren’t as effective after being mixed and let to sit for 72 hours, but since these projects won’t be put through the wash, using older dye is perfectly okay here! Don’t let that dye go to waste and make a whole bunch of wrapping paper to last you throughout the year. Keep reading for all our tips and tricks below.
what you need:
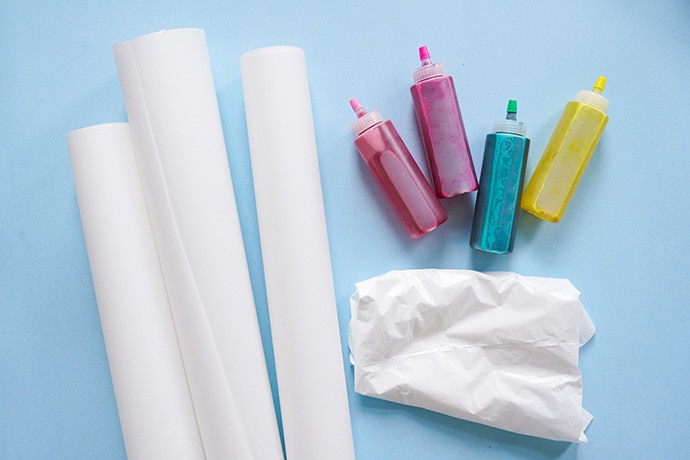
- Plain white wrapping paper
- Tie dyes
- Plastic tablecloth
- Gloves
- Ribbon or yarn
how-to:
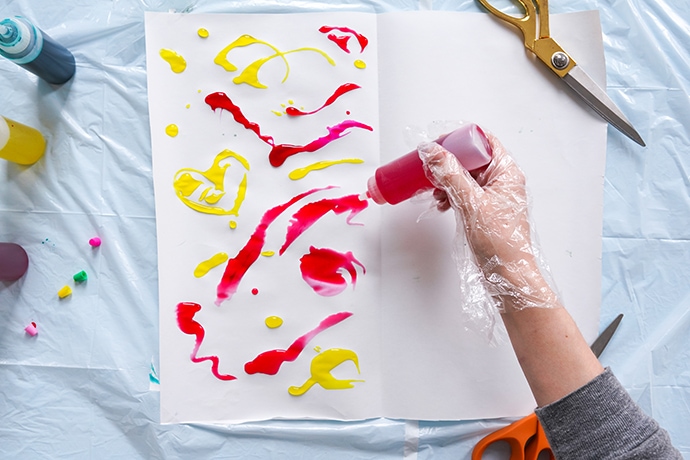
Step 1
Set up your work station by laying out your plastic tablecloth. To create a really cool mirror-image dyed wrapping paper, first fold your piece of wrapping paper in half and then unfold, laying flat on your work surface. Apply squiggles, blobs, and drops of the dye onto one half of the paper.
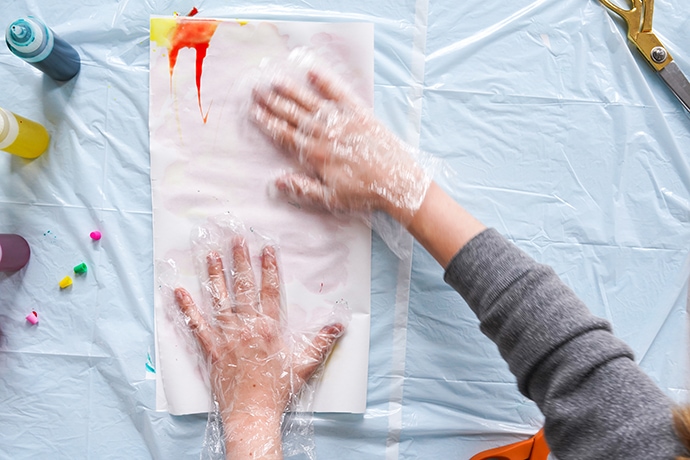
Step 2
Once you’re happy with the design, fold the other half over and press it into the dye.
Step 3
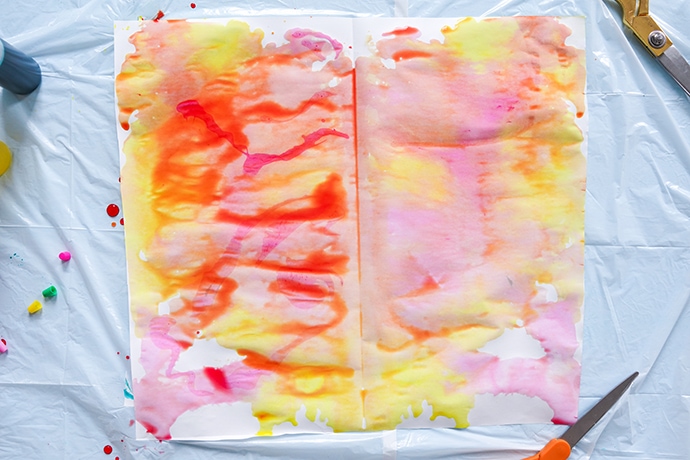
Unfold the paper and you’ll have a super colorful version of an inkblot test! Set aside onto another plastic-covered surface to let dry. Note: letting them dry in the sun, or even outside, will help the wrapping paper dry more quickly!
Step 4
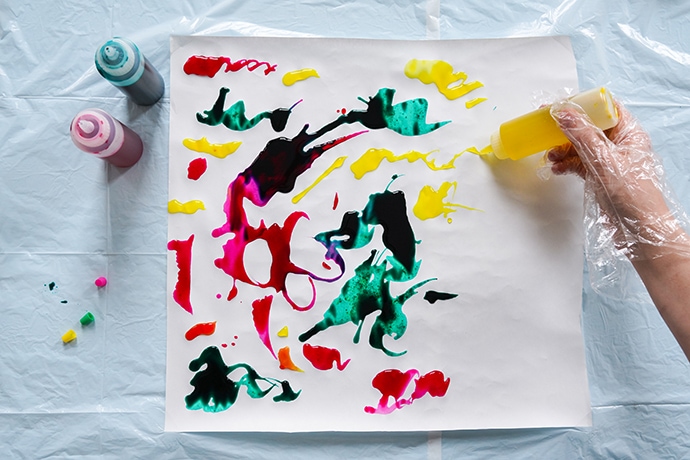
For a more abstract look, simply lay out another piece of wrapping paper (make sure you wipe down the tablecloth between papers if you don’t want any excess dye from the last step to accidentally soak into this paper!) and apply the dye onto the paper in whatever shapes and color combinations that you like best!
Step 5
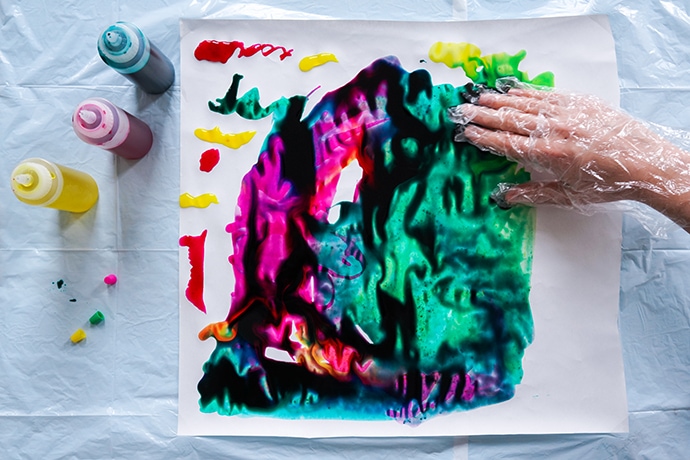
Use your gloved hand to swirl and mix the dyes together all over the paper. It almost looks like a galaxy, don’t you think? Again, set to the side to dry completely.
Once the papers have dried, you can use an iron on the lowest setting to flatten them if you like, or set them under a pile of heavy books. Wrap your gift as you normally would and tie a piece of matching ribbon or yarn around it to finish the look!
And here’s an added bonus – do you have any leftover dye? Use it to make super quick wall art!
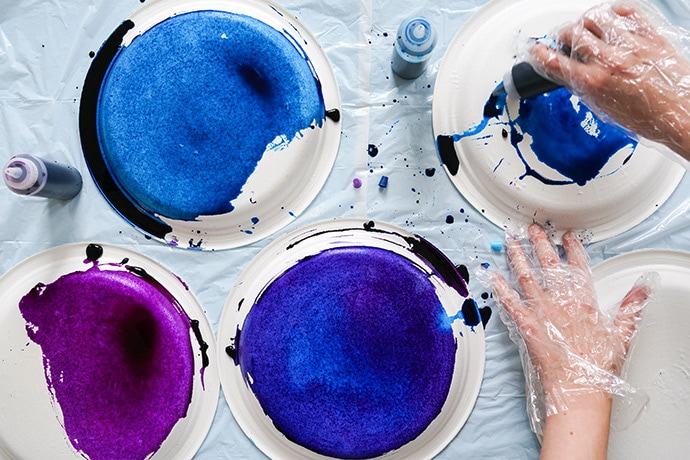
Simply lay out paper plates (you want the sturdy paper ones for this – if they’re too thin or made of shiny paper, they won’t absorb the dye) on your covered work surface and apply dye onto the backs of them. We used blues and purples for a magic outer space feel.
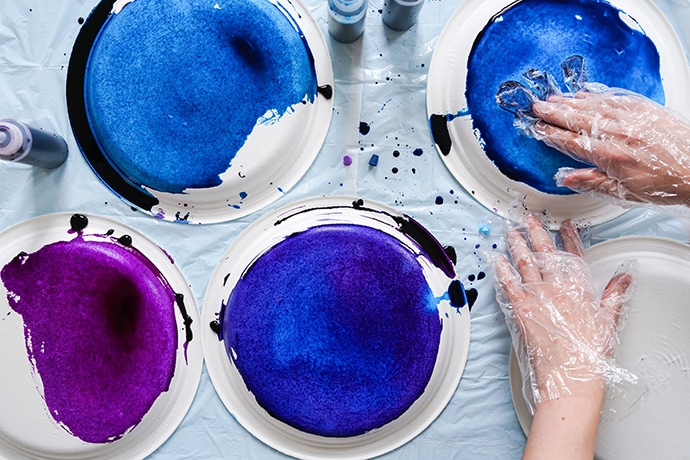
Use your gloved hand to swirl and mix the dyes together. When done, set the plates aside to dry completely.
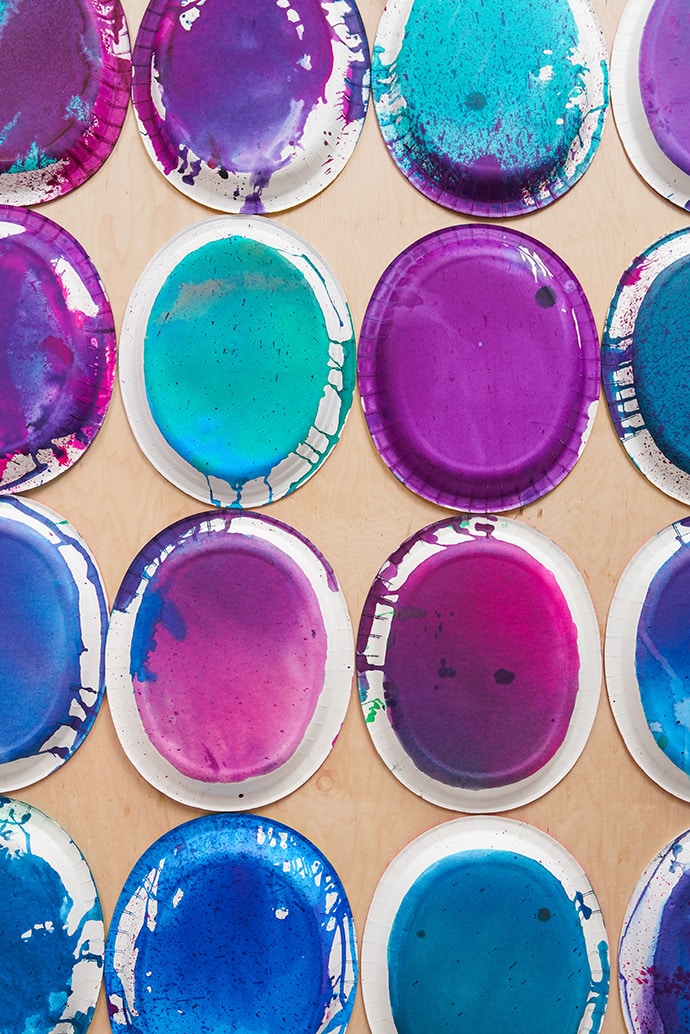
Your galaxy plates are ready to display! Simply tape to the wall and you’ve got an instant showstopper.
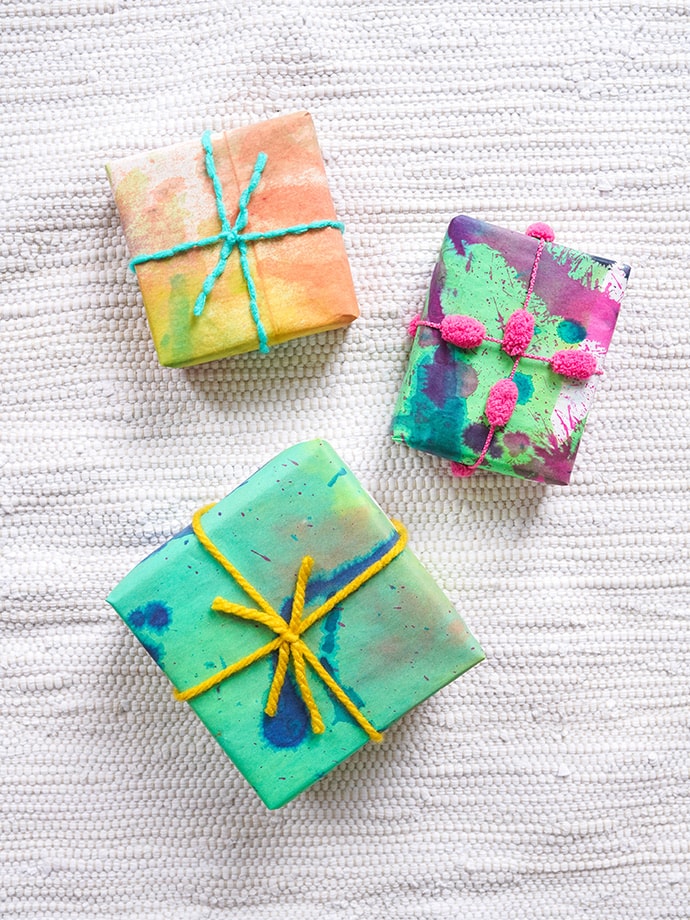
Happy crafting!!