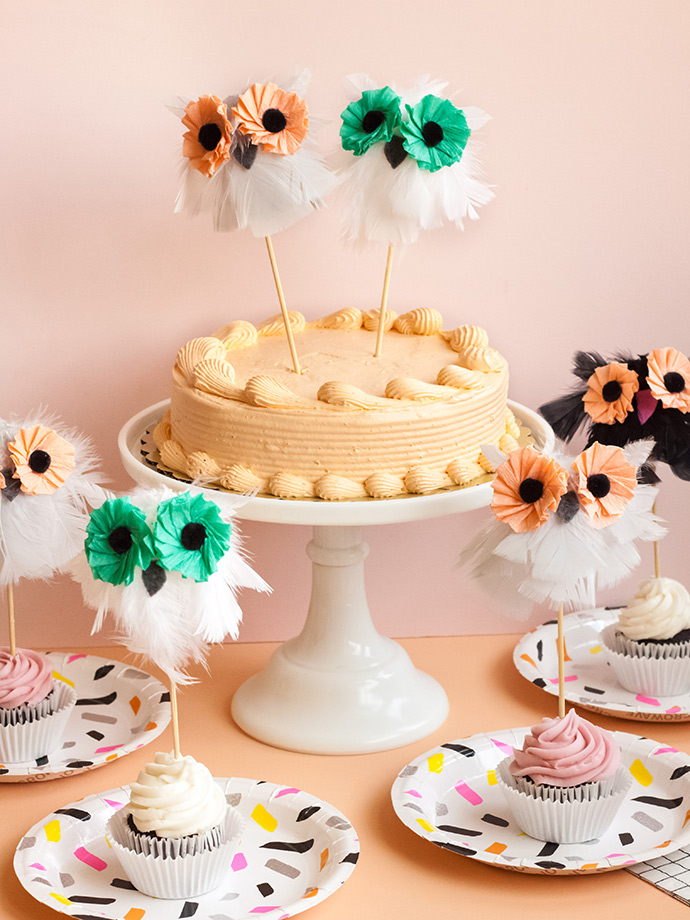
These whimsical owl cake toppers are such a hoot! They are a nice addition to a Halloween cake (or cupcakes), but could be created in a lot of fun color schemes for fall, or even a 70’s soiree! Apparently, October is “owl month”, and they are often associated with Halloween since they are night creatures and can be pretty spooky with their glowing eyes and eerie hoots.
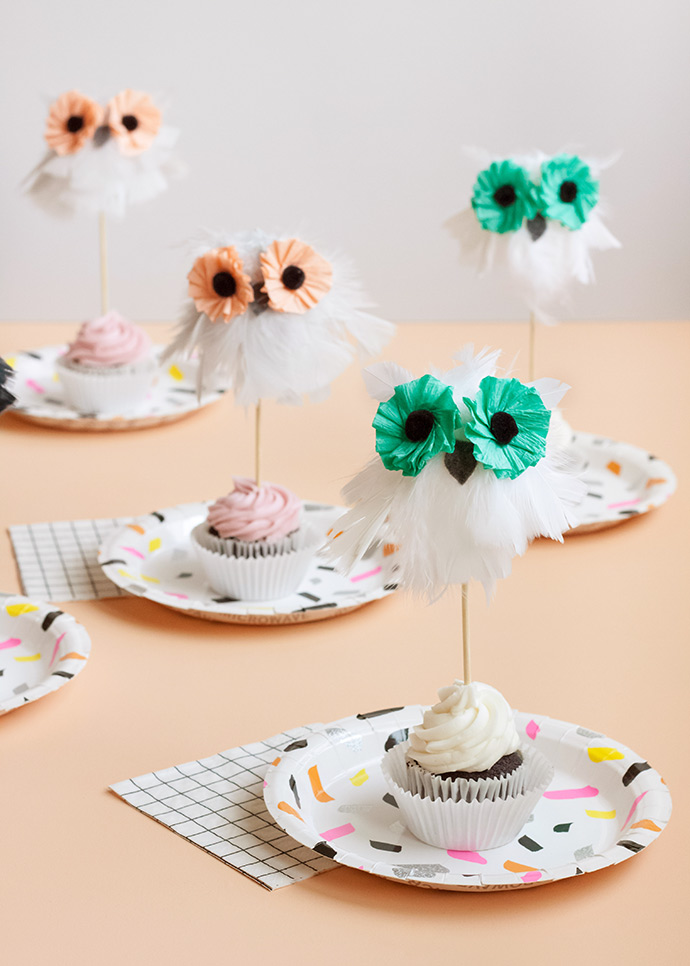
These fellas may look somewhat time-consuming and complicated, but looks are deceiving. You could probably make one owl in less than ten minutes – easily! Oh goodness, this could be the cutest Halloween theme EVER! You could call it a h-OWL-oween party! Whooooo’s in?
If you’re looking for another fun project, try these painted pinecone owls or these darling owl cupcakes!
what you need:
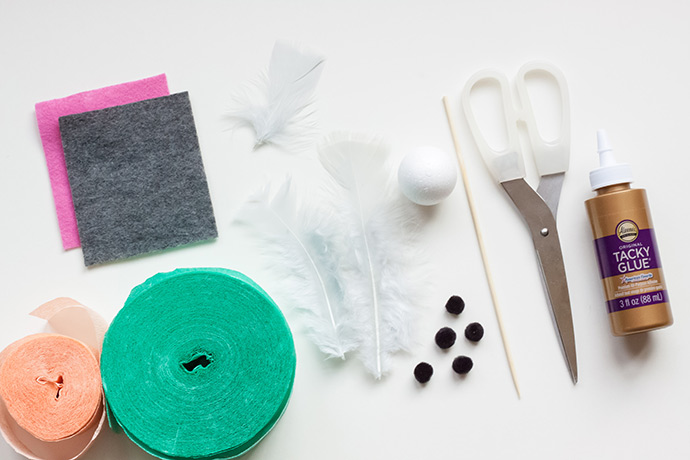
- 1 ½” Styrofoam ball
- Feathers
- Tacky glue
- Scissors
- Streamers
- 0.25 in Black pom poms
- Felt
- 8-inch bamboo skewers
how-to:
Step 1
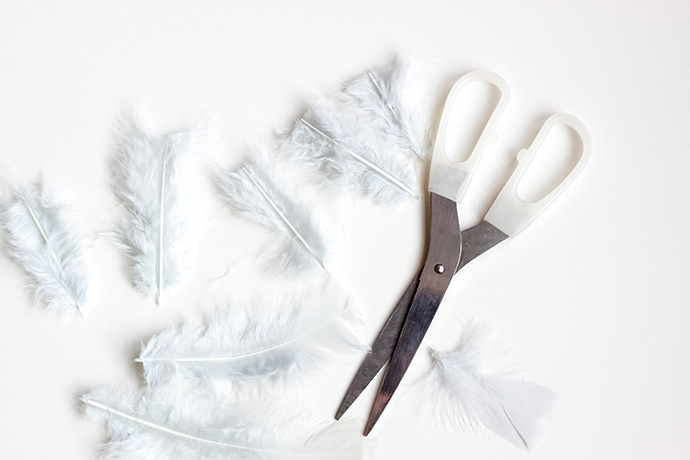
Cut the hardest part of your feather stems off, so that your pieces are softer and more pliable. Run your fingers through the cut pieces and pull off any loose feathers.
Cut the hardest part of your feather stems off, so that your pieces are softer and more pliable. Run your fingers through the cut pieces and pull off any loose feathers.
Step 2
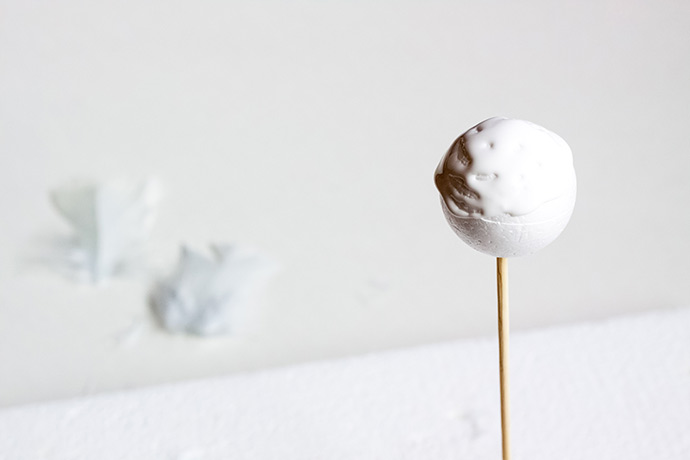
Place your Styrofoam ball on the pointy end of your skewer, and spread tacky glue all over the top half of the ball.
Place your Styrofoam ball on the pointy end of your skewer, and spread tacky glue all over the top half of the ball.
Step 3
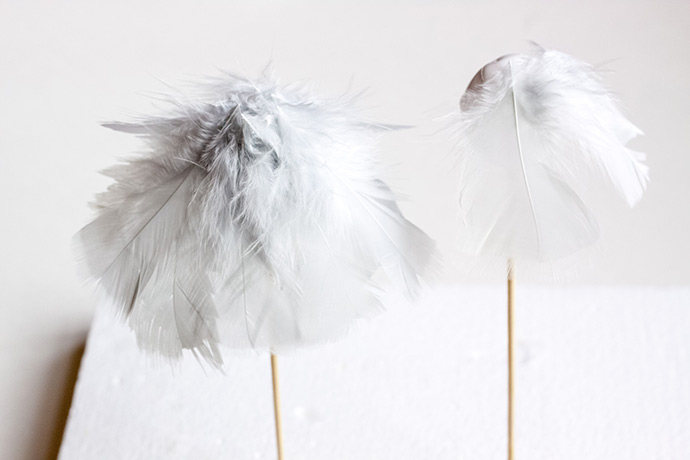
Place the tips of the feathers in the glue, and cover the entire ball. You may have to bend a few of them over the top, and add glue to second or even third layers of feathers for complete coverage. You don’t necessarily have to worry about creating wings. We didn’t, and they appear to have them just from layering the feathers! Allow to dry.
Place the tips of the feathers in the glue, and cover the entire ball. You may have to bend a few of them over the top, and add glue to second or even third layers of feathers for complete coverage. You don’t necessarily have to worry about creating wings. We didn’t, and they appear to have them just from layering the feathers! Allow to dry.
Step 4
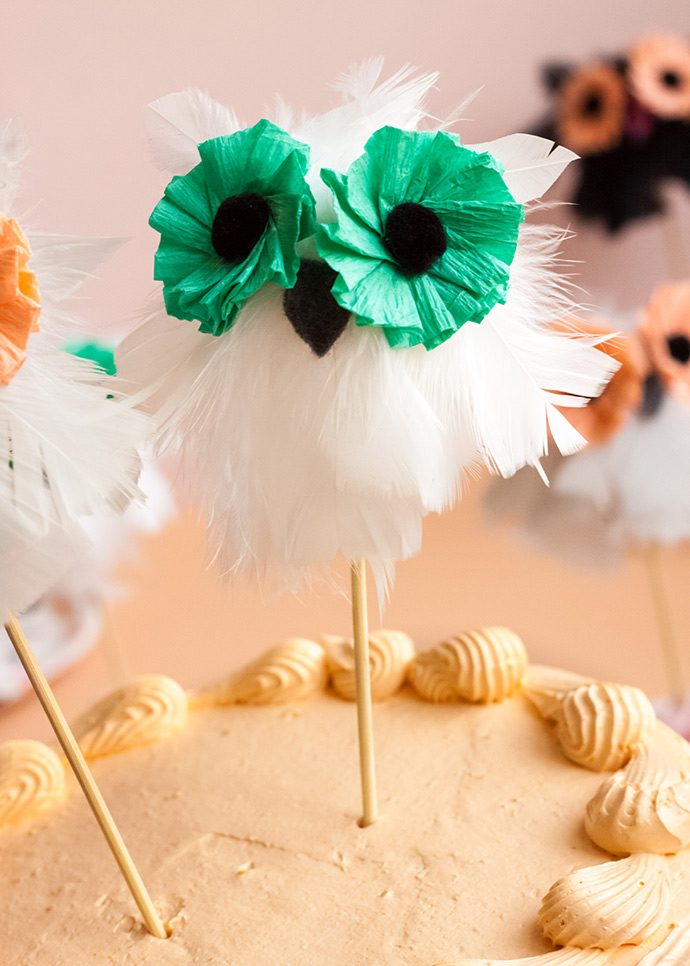
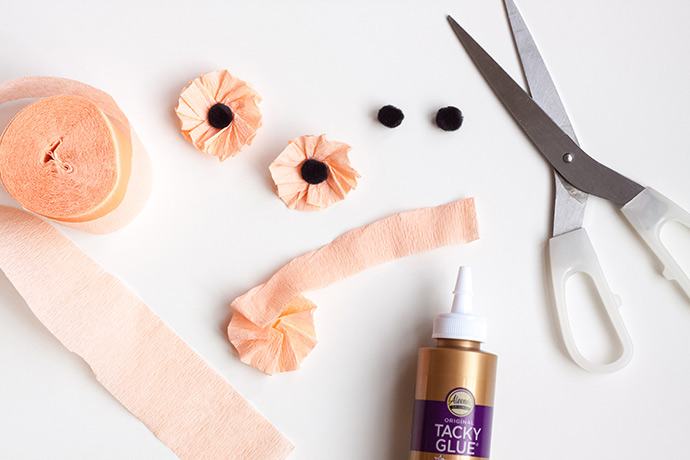
Cut a 13.5” piece of streamer, and fold the piece in half so that it is skinnier. Accordion fold and layer the streamer in a circle, holding it in the middle, until the ends overlap. Glue the end piece to the back, and fold the top end under, and glue it down as well. Make a second one, and allow to dry. Glue a black pom pom to the middle of each streamer circle, and these will be your owl’s eyes.
Cut a 13.5” piece of streamer, and fold the piece in half so that it is skinnier. Accordion fold and layer the streamer in a circle, holding it in the middle, until the ends overlap. Glue the end piece to the back, and fold the top end under, and glue it down as well. Make a second one, and allow to dry. Glue a black pom pom to the middle of each streamer circle, and these will be your owl’s eyes.
Step 5
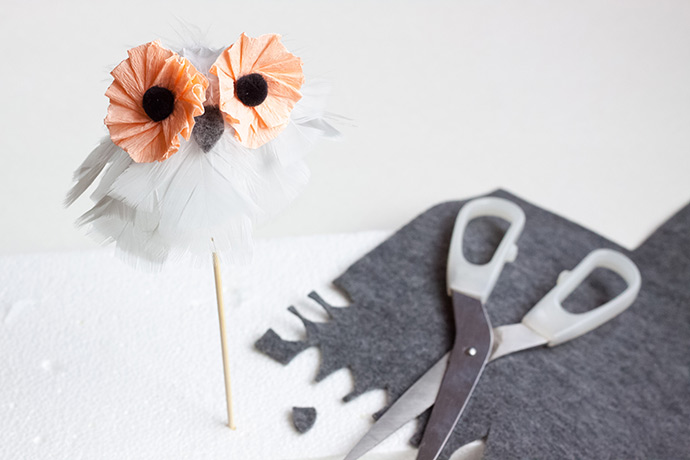
Glue the eyes to the feather owl, and then cut a beak shape out of felt. Glue the beak between and slightly below the eyes.
Glue the eyes to the feather owl, and then cut a beak shape out of felt. Glue the beak between and slightly below the eyes.
Step 6
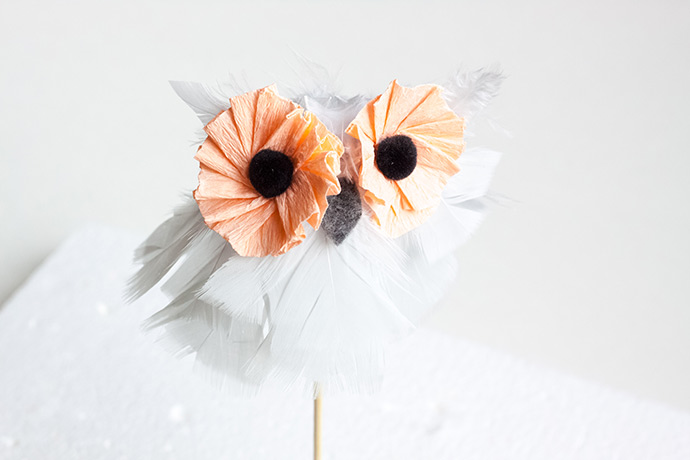
Cut two feather tips about 1 ¼” long, and shape them into pointy “ears” using scissors. Glue them to the back of the owl’s eyes, with the points facing outward to the sides.
Cut two feather tips about 1 ¼” long, and shape them into pointy “ears” using scissors. Glue them to the back of the owl’s eyes, with the points facing outward to the sides.
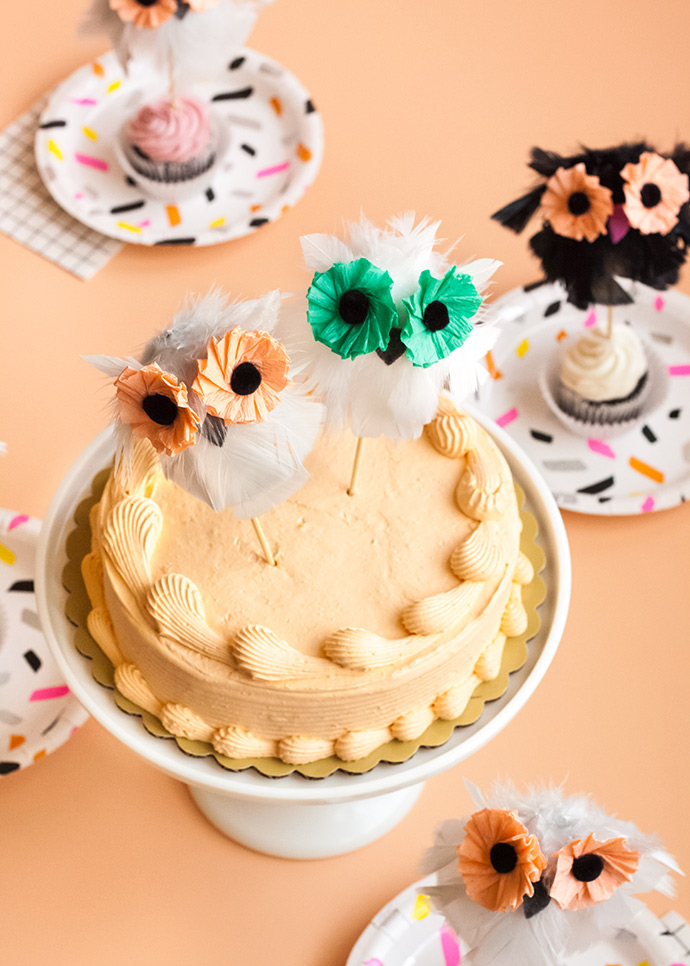
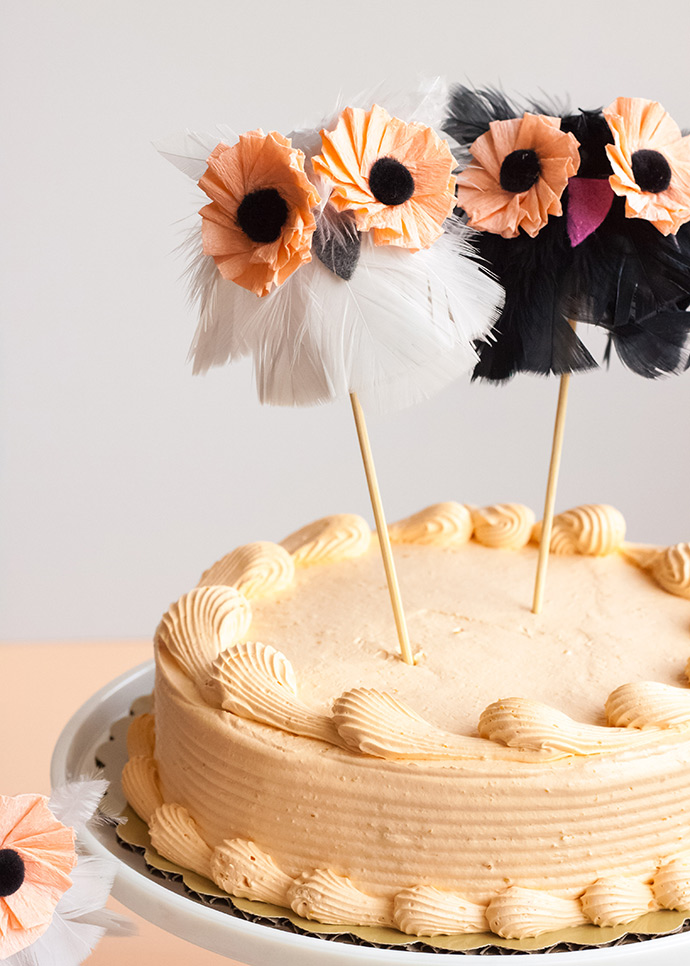
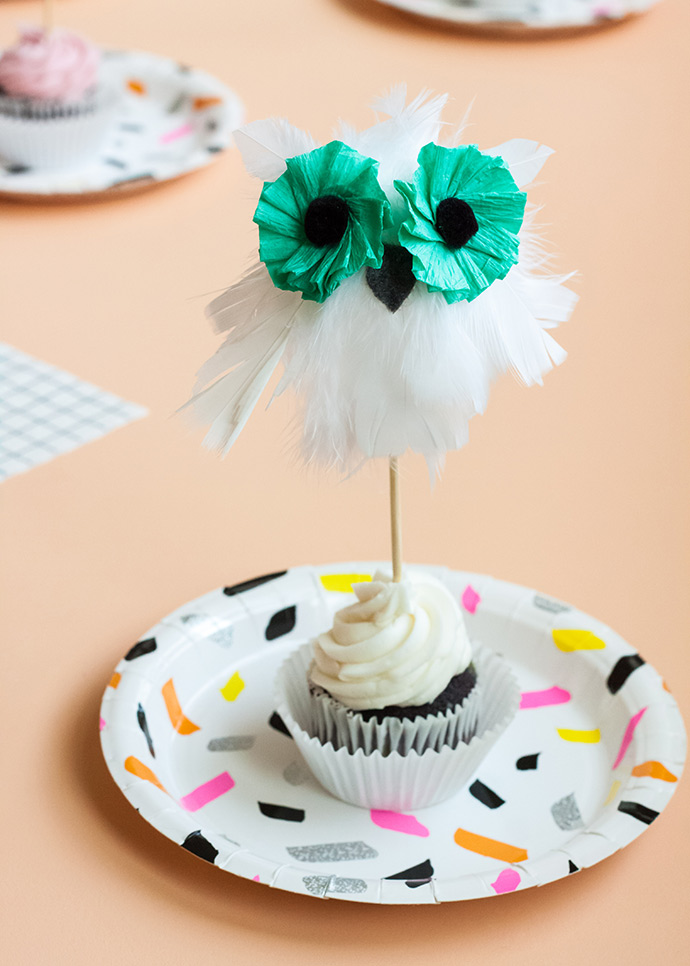
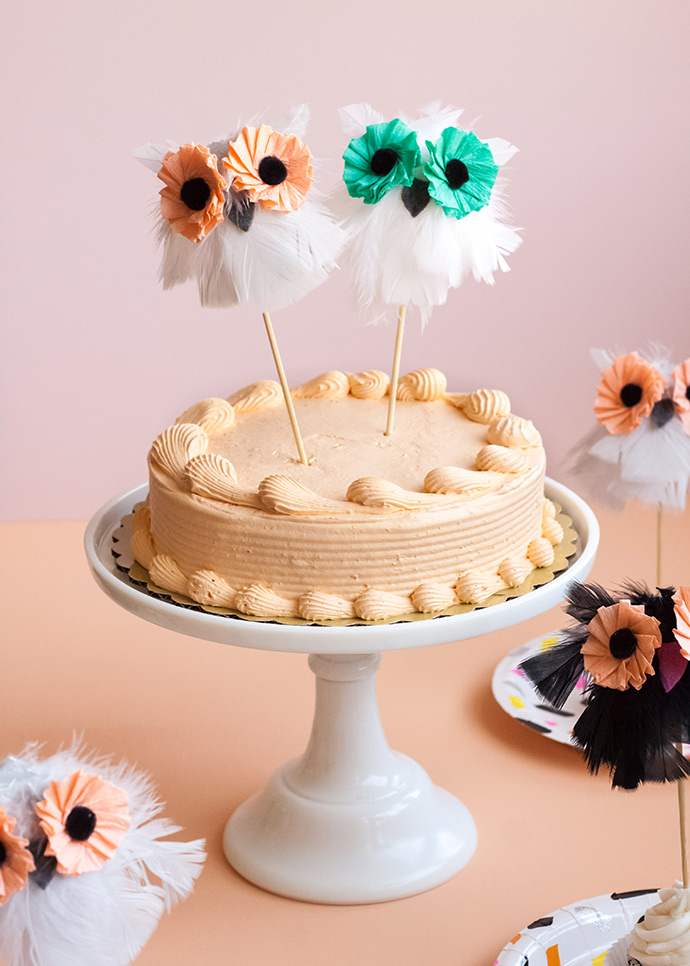
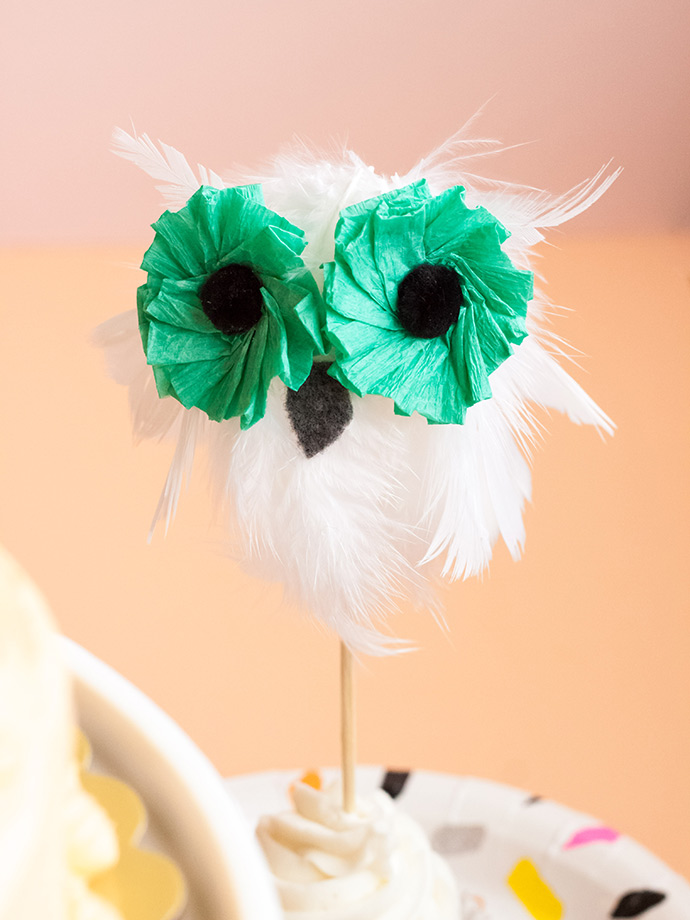
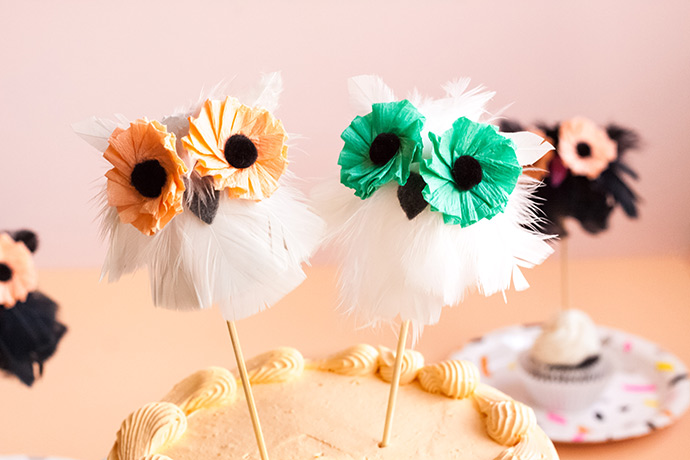
Your owls are ready to party! Happy H-owl-oween!