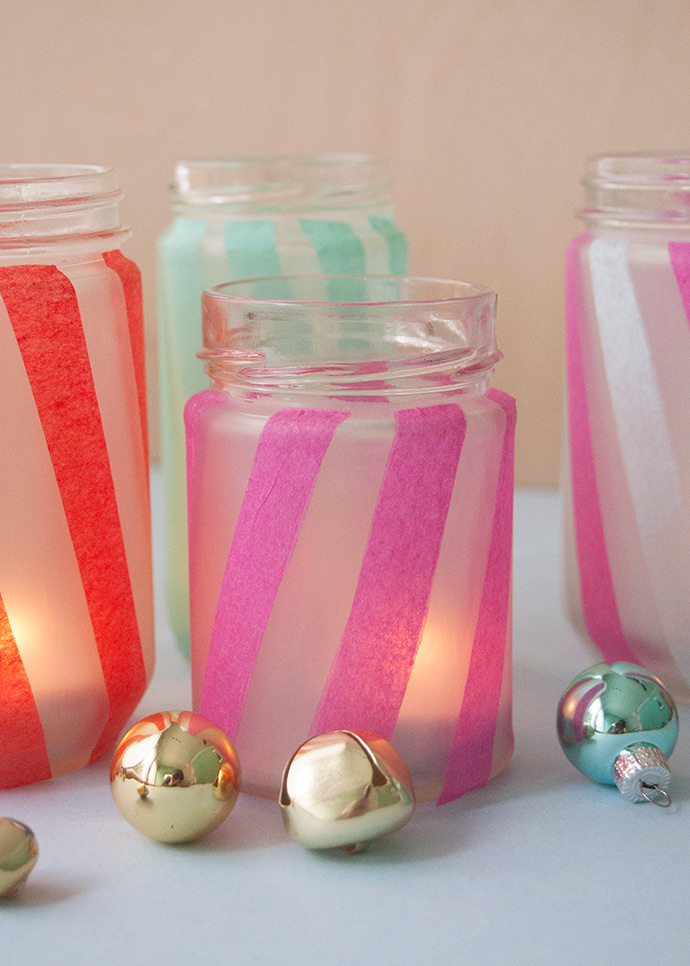
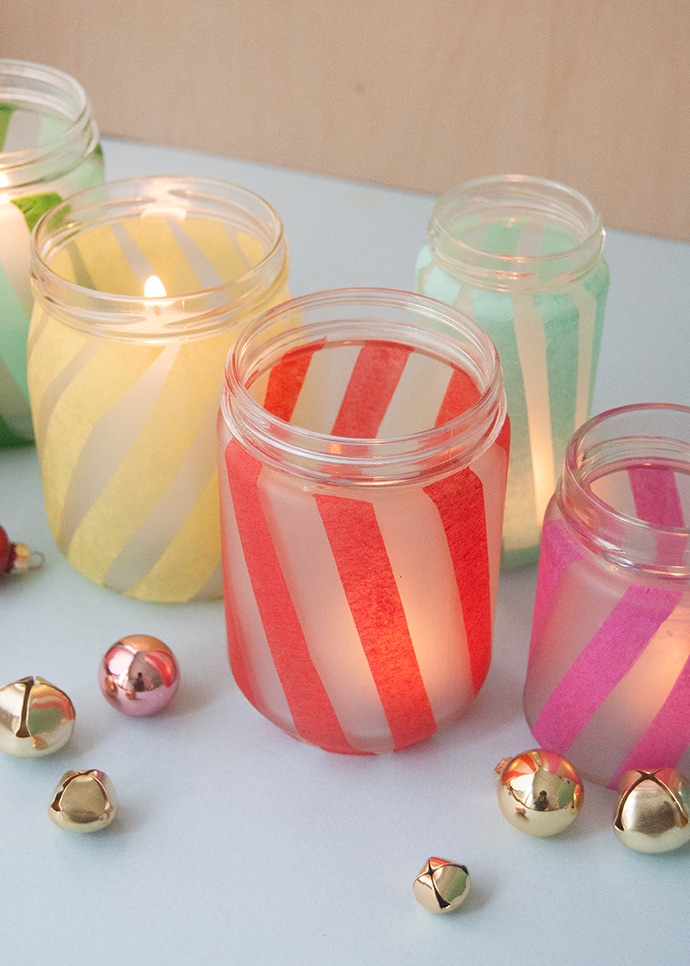
Winter is officially here and we’re all ready to keep cozy inside. Having candles burning is a great way to add a comfy cozy feeling to any space, so we decided to raid the recycling bin and make these festive votives to decorate for the season!
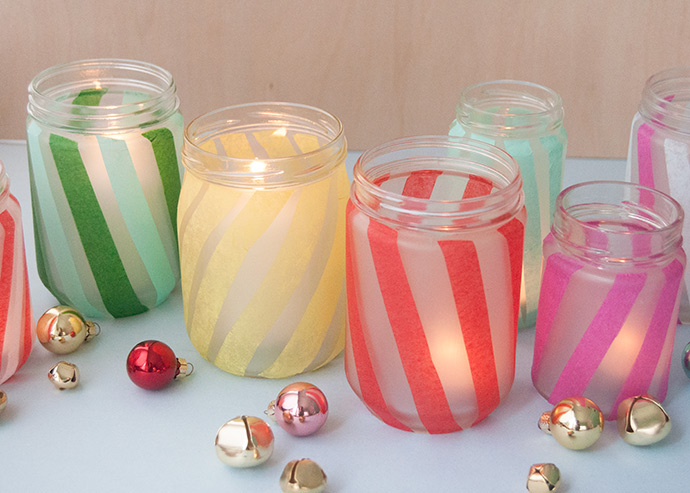
We oftentimes will repurpose glass jars for food or craft storage, but since this project doesn’t require the lids it is a great way to use up those jars that have lids with less than desirable patterns or logos on them. Make a whole bunch and arrange them down the middle of your dining table for a fun, upcycled centerpiece!
what you need:
- Empty glass jars
- Colored tissue paper
- Scissors
- Ruler
- Pencil
- White glue
- Paintbrush
how-to:
Step 1
Make sure your glass jars are cleaned and dry – if you have any sticky label residue, try soaking them in water until it’s softened and scrub away with a sponge. Letting olive oil soak into anything really stuck on the jar helps, too! You’ll want to stick to glass jar for this project unless you plan on using battery-operated candles with plastic jars.
Step 2
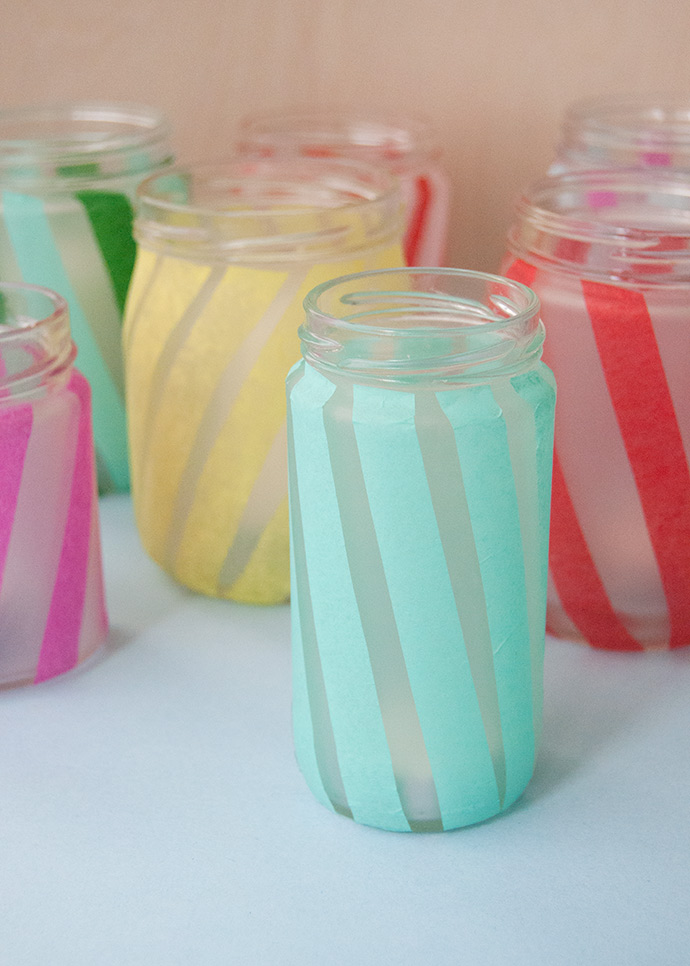
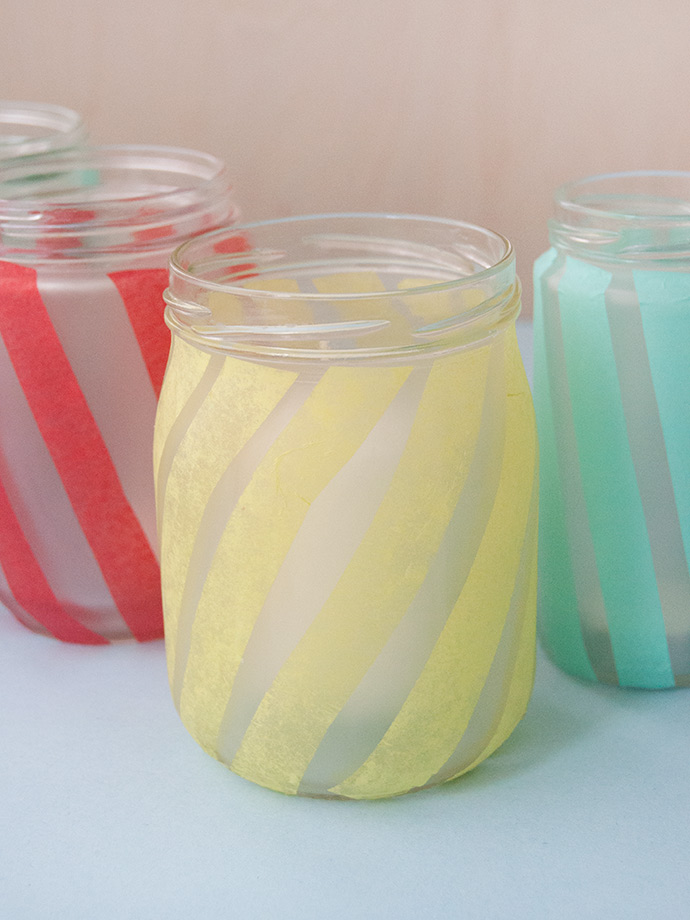
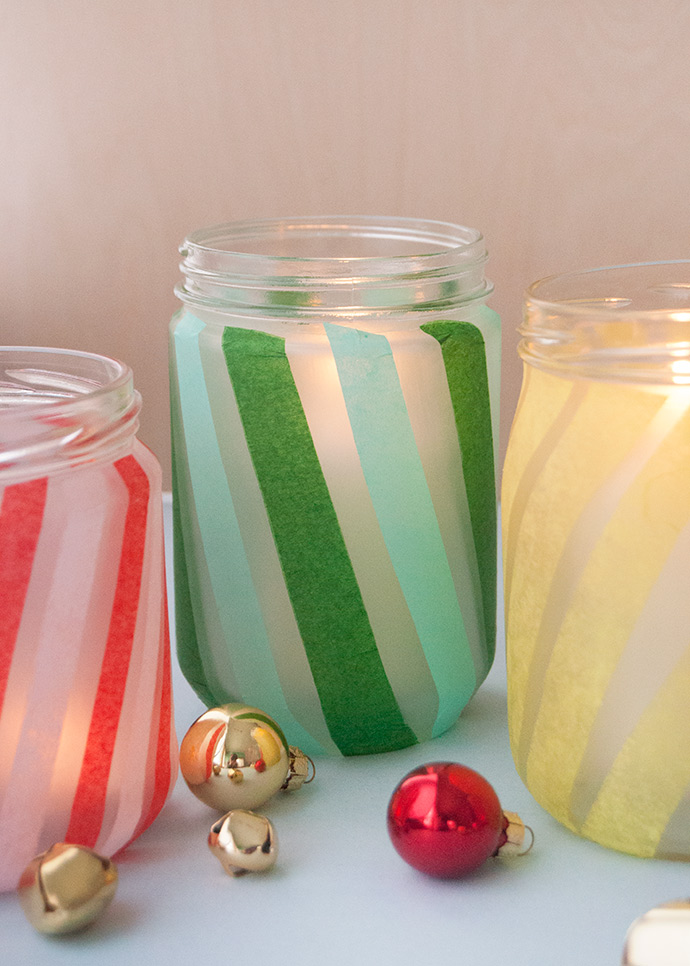
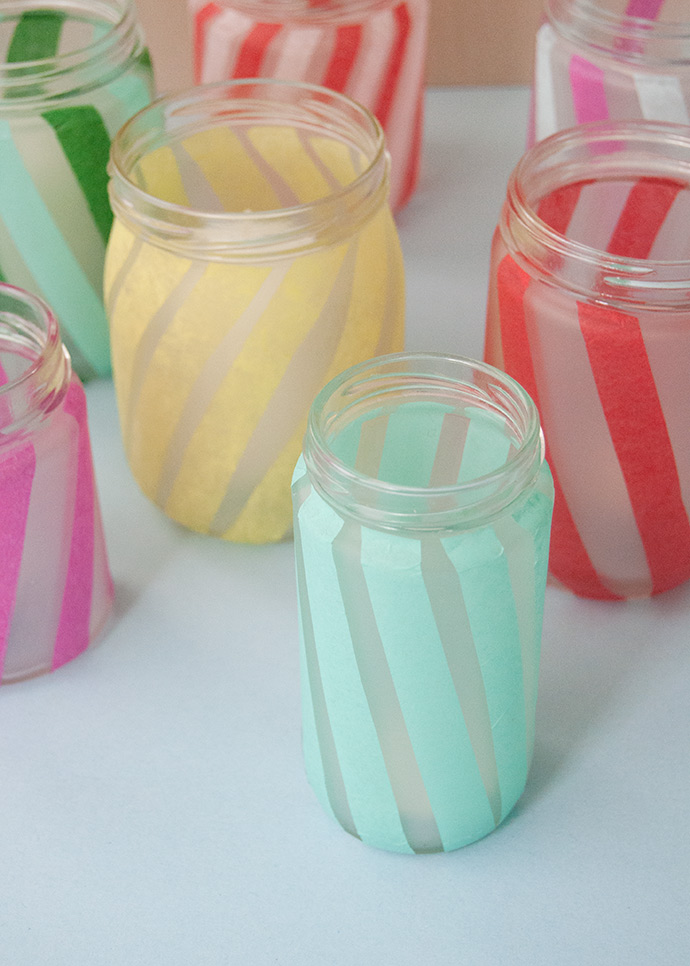
Pick out your colors of tissue paper. We were going for a candy cane look but wanted to use a bunch of bright colors instead of just red, green, pink, and white. We love that these colors definitely look festive but can be great for anytime of year too.
Step 3
Use a ruler and pencil to draw strips of equal width onto the tissue paper. Make them longer than you think and you can cut off any extra later. You can also skip the pencil and ruler and just freehand the stripes!
Step 4
Use a paintbrush to apply a coat of white glue onto the outside of the glass jar, starting by applying only to one section. Gently lay the first stripe onto the glue-covered area of the jar. We did all the stripes on an angle but you can totally mix it up and do vertical, horizontal, or even a grid. Once the tissue paper stripe is attached, use scissors to carefully trim any excess from the top or bottom of the jar.
Step 5
Repeat this process, adding tissue paper stripes onto the jar keeping them equally spaced. You can even alternate colors on the same jar like we did on a few pictured here.
Step 6
Apply another coat of white glue on top to seal in the tissue paper. The first layer is probably dried by now, but if it isn’t, be gentle with the brush when applying the glue over the tissue stripes so as not to accidenally tear or wrinkle them.
Note – for lighter/more transparent tissue papers, you can also add another piece of tissue on top of the first to create a more saturated hue.
Step 7
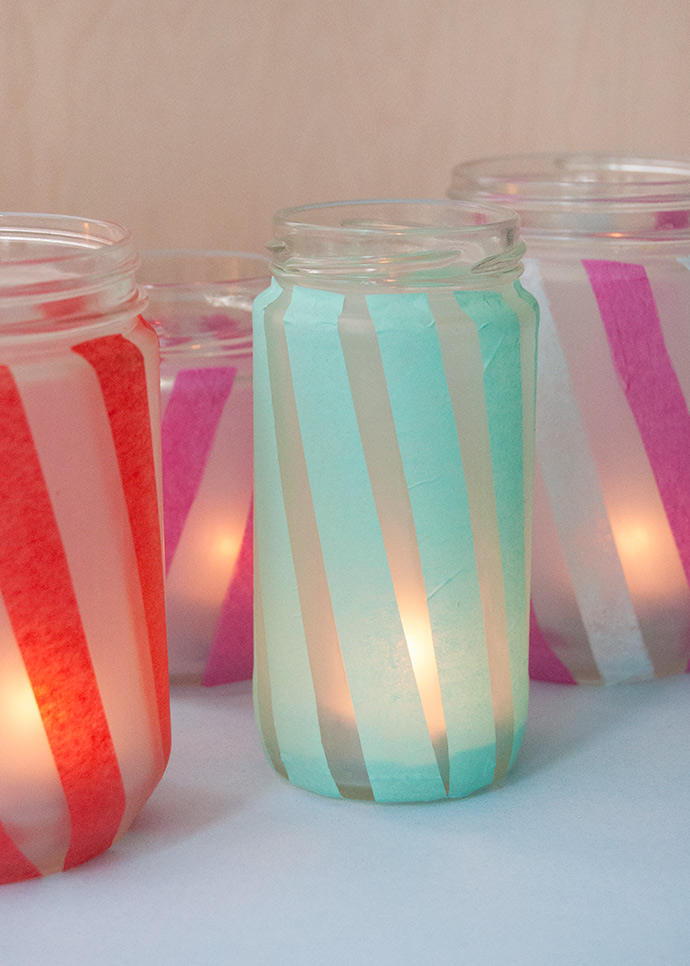
Set aside to dry completely and then place a candle inside!
Happy crafting!