This post is sponsored by Tulip.
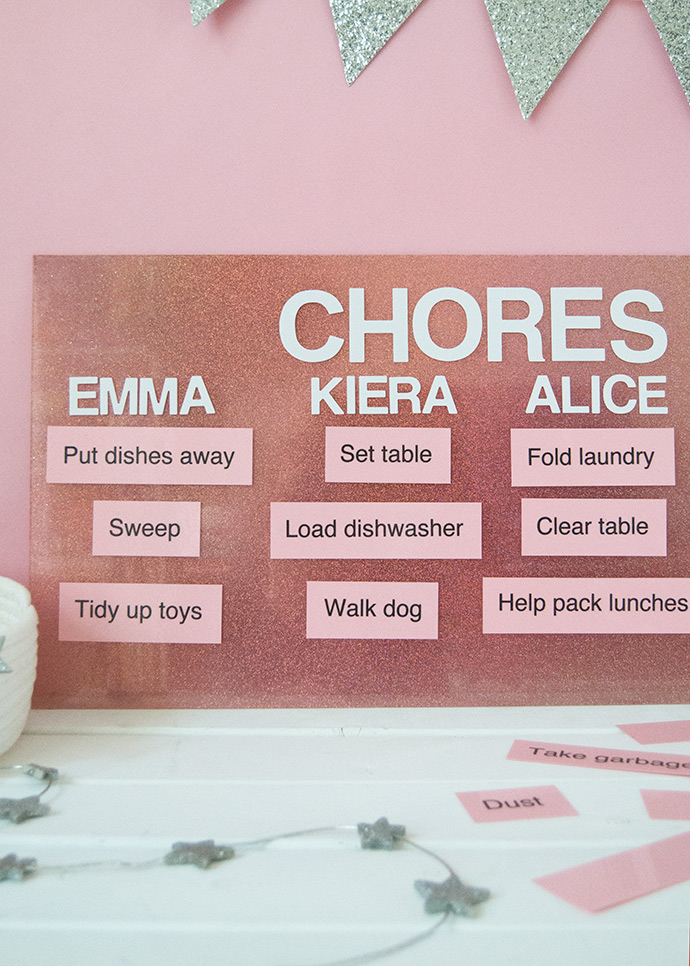
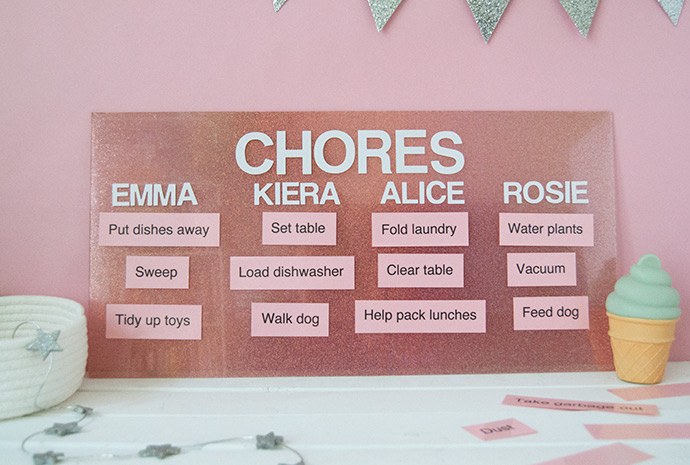
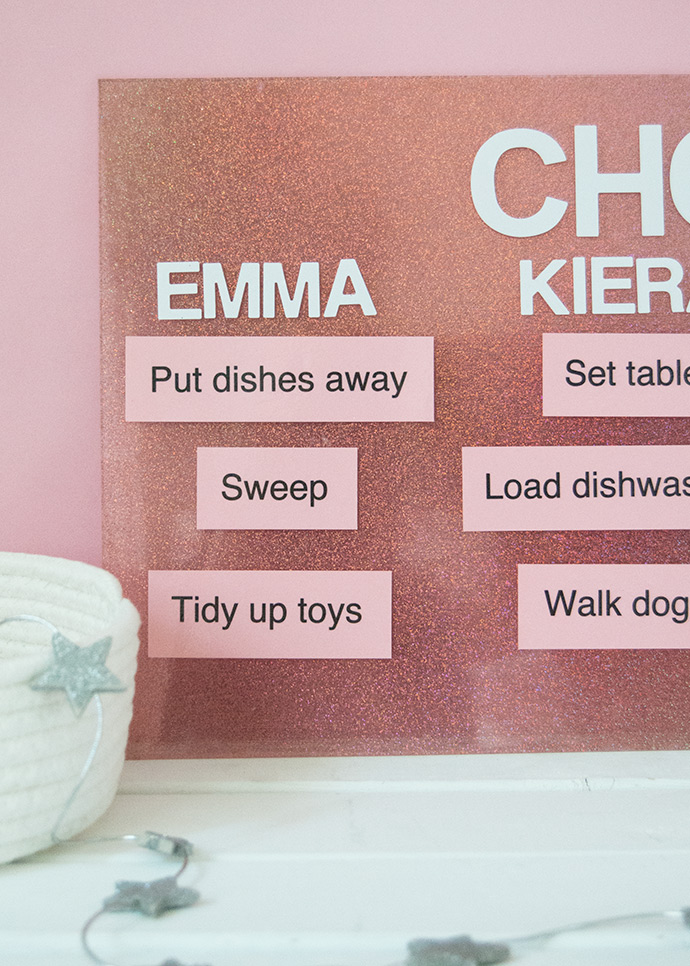
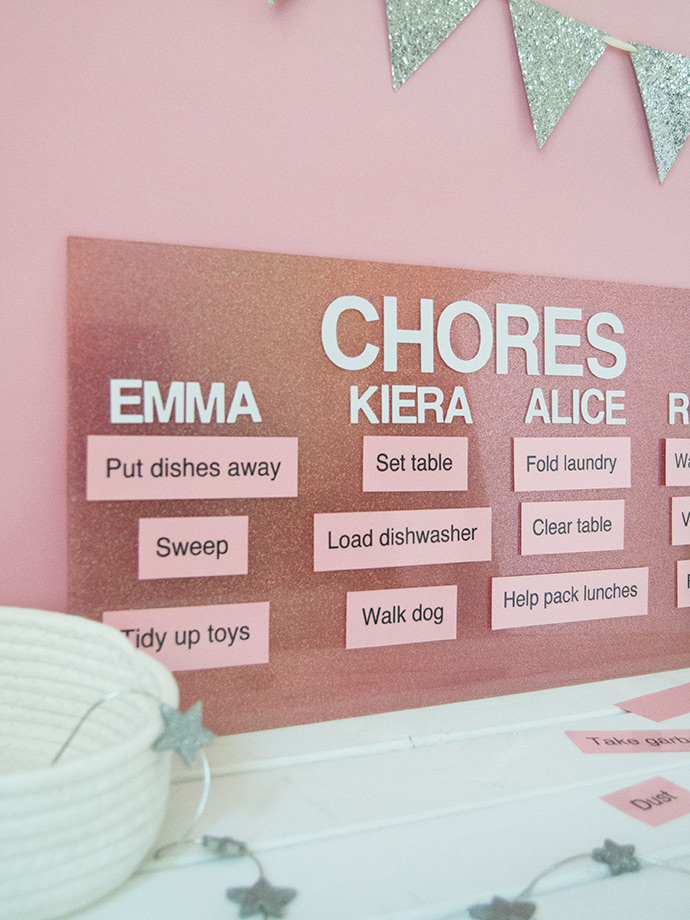
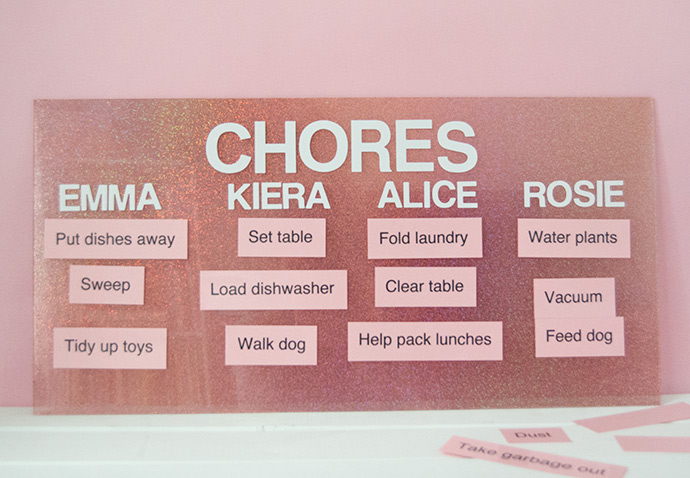
Make chores fun with this sparkling chore chart! Have you ever seen something so ordinary look so spectacular? This was our first try at the Aleene’s Tack-It Over and Over method for applying glitter and we are hooked! The combination of the glue and holographic glitter gives the most amazing effect that you would never have thought you could do yourself.
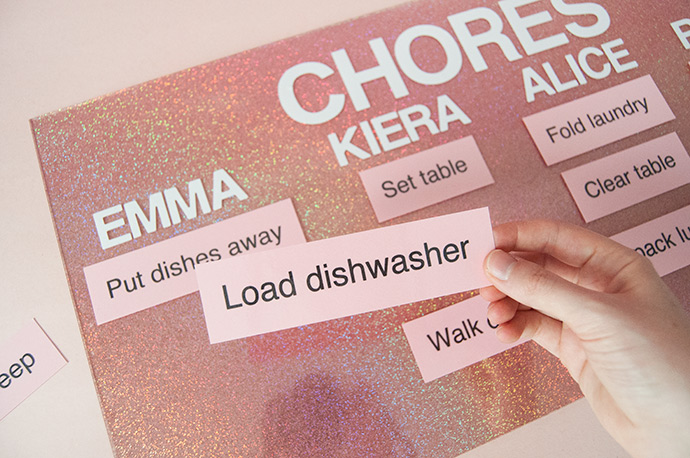
We used a rose gold holographic glitter, but you can completely customize your chore chart with whatever color of glitter you like. The chart is made of plexi-glass so when you apply Aleene’s Tack-It Over and Over to the backs of the chore cards, you can move them around as needed when swapping chore responsibilities. Keep reading to see all our tips and tricks and watch the video tutorial of this amazing DIY holographic method!
what you need:
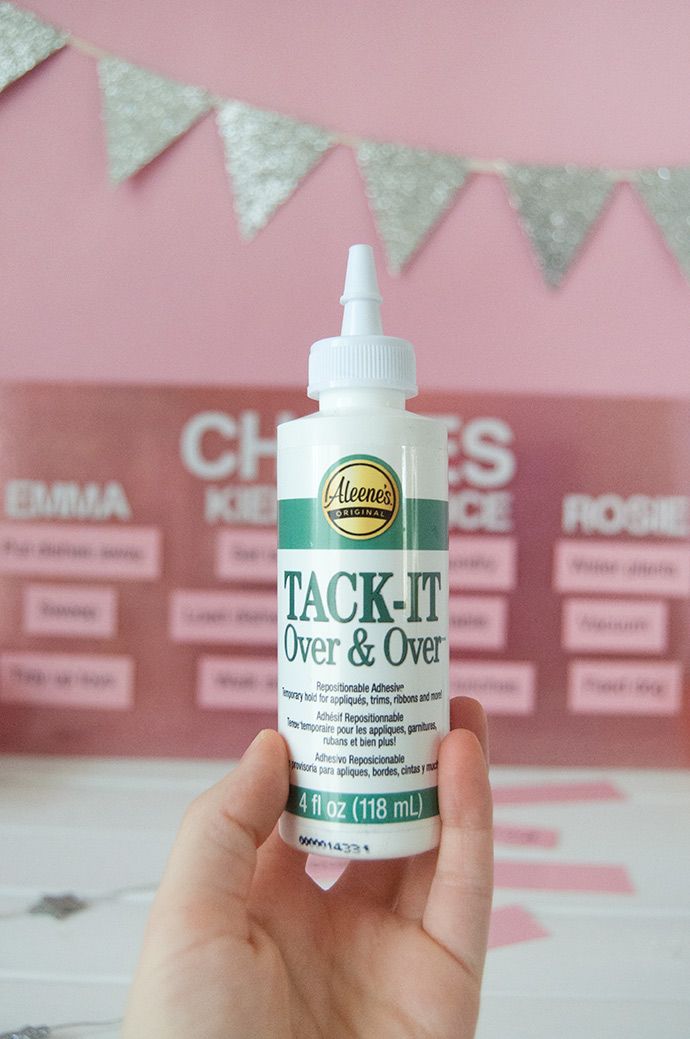
- Aleene’s Tack-It Over and Over
- Plexiglass sheet (this one is 24” x 12”)
- Large paintbrush
- Holographic glitter
- Vinyl alphabet stickers
- Ruler
- Masking or washi tape
- Colored paper or cardstock
- Laminating pouches
- Scissors
how-to:
Step 1
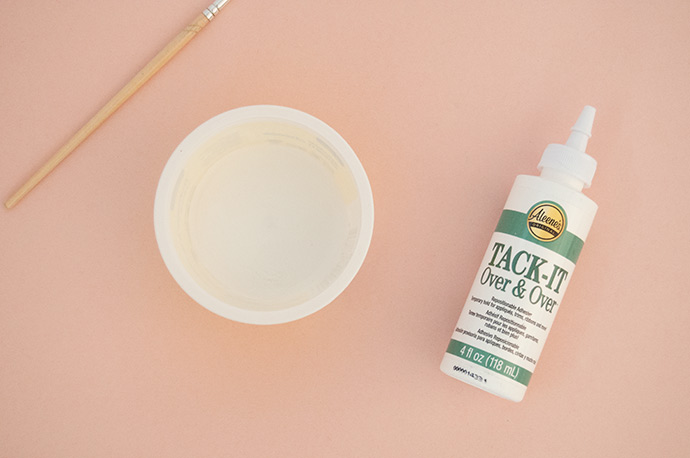
Begin by preparing your glue: mix 1 Tbsp Aleene’s Tack-It Over and Over with 1 Tbsp water in a small container and stir well until combined. Prepare your work surface by covering it with wrapping paper or a plastic tablecloth. This will help contain the glitter when it’s time to tidy up.
Step 2
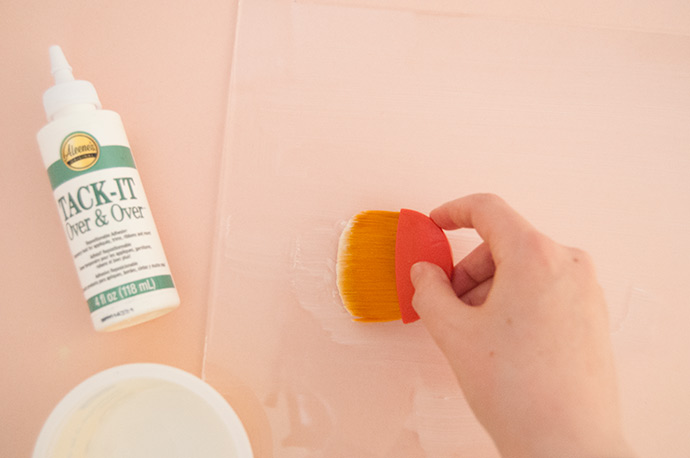
Place your piece of plexi-glass onto the work surface and use the large brush to apply a thin layer of the Aleene’s Tack-It Over and Over mixture over the entire thing. Let the glue dry until it’s clear and feels tacky to the touch.
Step 3
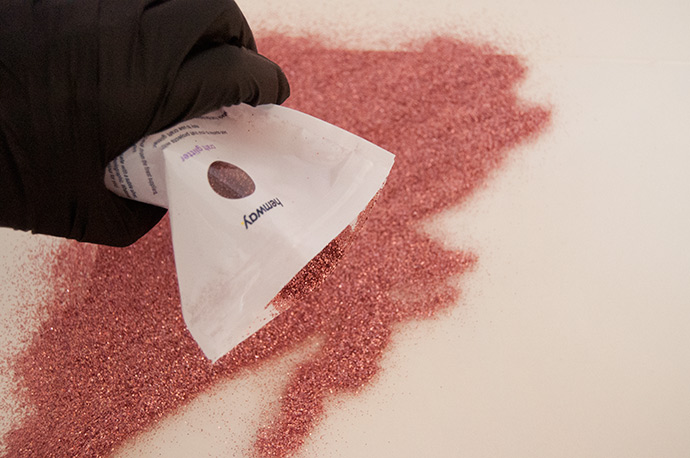
Sprinkle holographic glitter over the entire tacky surface.
Step 4
Tilt the plexi-glass so that the excess glitter falls off onto your covered work surface. If you want to save this glitter for another project, put it back into the glitter jar or bag before moving onto the next step.

Step 5
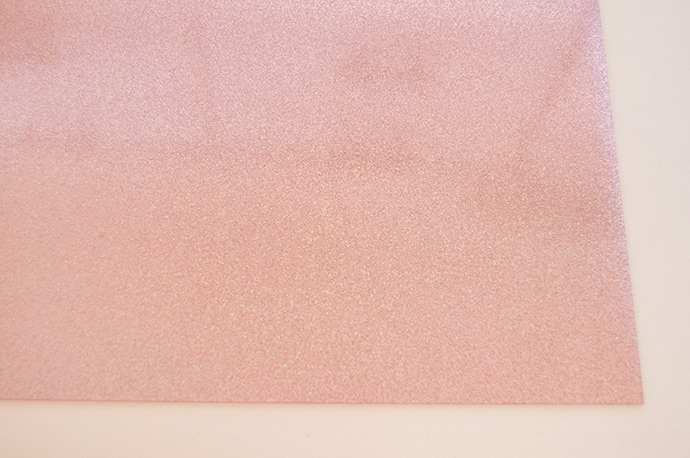
This is where the magic happens! Use your hand to gently rub the glitter off of the plexi-glass. You’ll see that part of the glitter comes right off, but the holographic part stays attached leaving a really neat finish! Do this over the entire piece. The glitter that falls off can be reused for another project but keep in mind that this leftover glitter isn’t holographic on both sides anymore.
Step 6
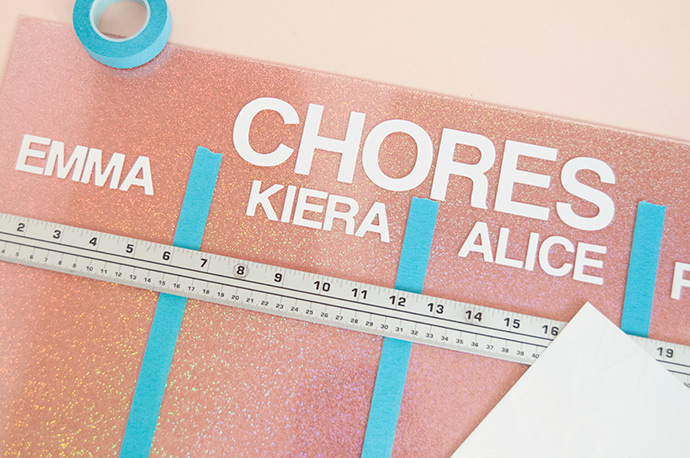
Flip the plexiglass over so that the side you just worked on is now the back. On the front, use a ruler and tape to divide up the plexi-glass into segments and place your stickers accordingly. We used 2” stickers to spell “CHORES” at the top and then 1” stickers for the names below.
Step 7
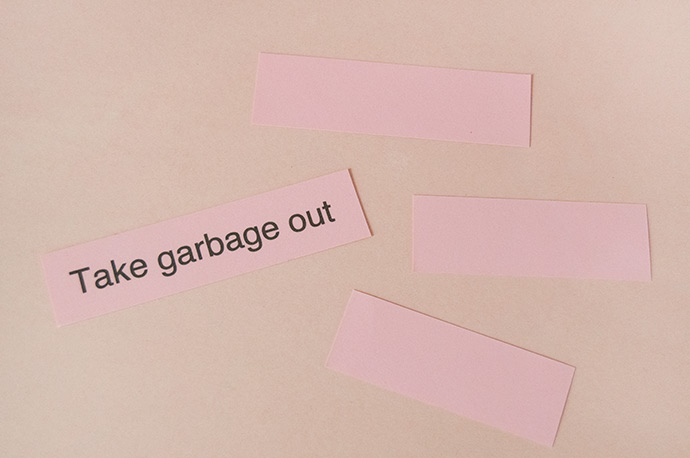
To make the chore cards, print your chores onto paper and laminate using non-heated laminating pouches or with a heated laminator if you have one. Cut the chores apart into cards and apply Aleene’s Tack-It Over and Over (straight from the bottle this time, not the diluted solution from step 1) onto the backs with a paintbrush.
Let the Aleene’s Tack-It Over and Over dry so that it’s clear and tacky. Place onto the chart and move around as needed!
Happy crafting!