This post is sponsored by Tulip.
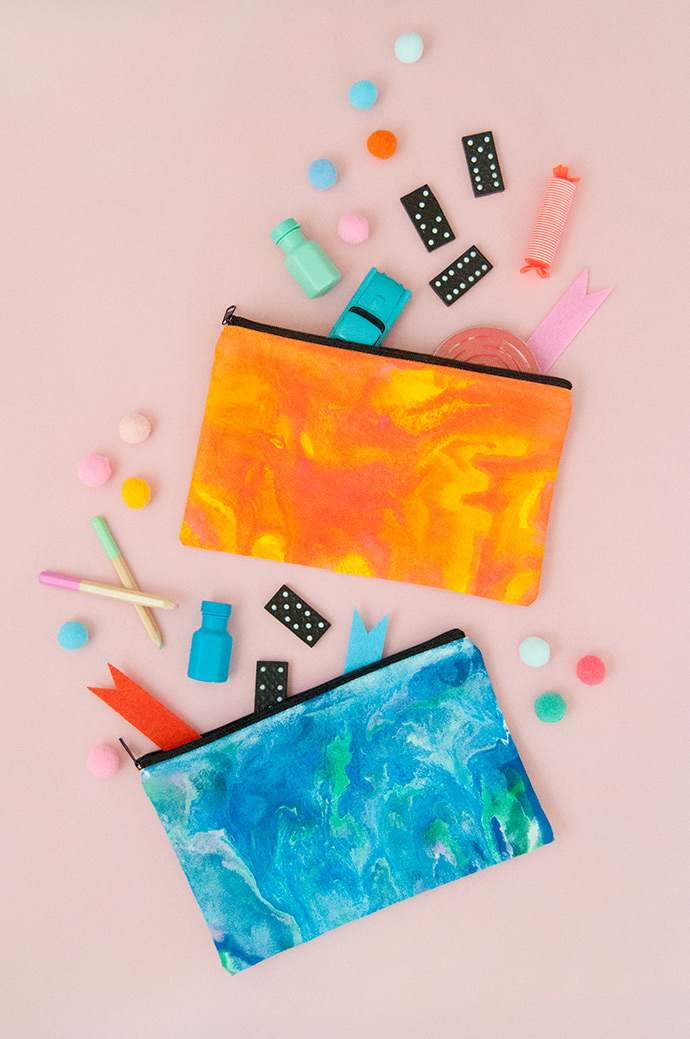
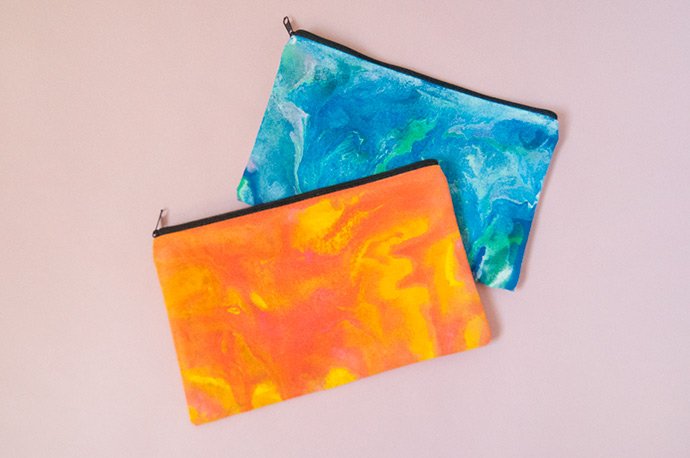
Have you heard of paint pouring before? The results look similar to marbling, but instead of dipping your item into paint, you get to pour paint all over it! If you do research on how to do this technique, some of the tutorials and suggested materials can be unfamiliar and seem overwhelming. But don’t fret – today we’ve teamed up with Tulip to show you how to do this technique using their Brush-On Fabric Paints and just a few other everyday items!
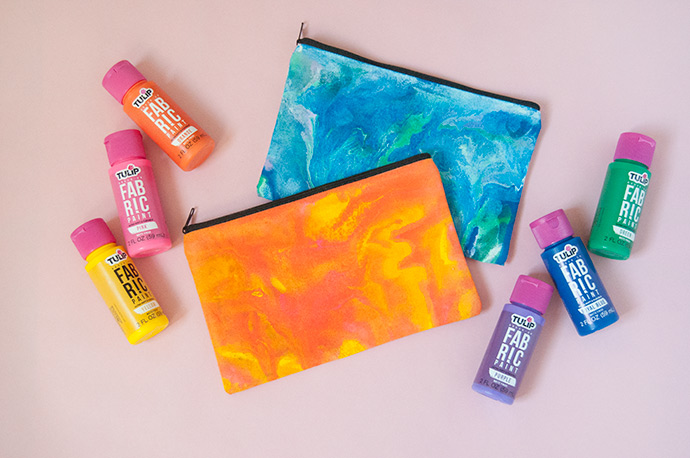
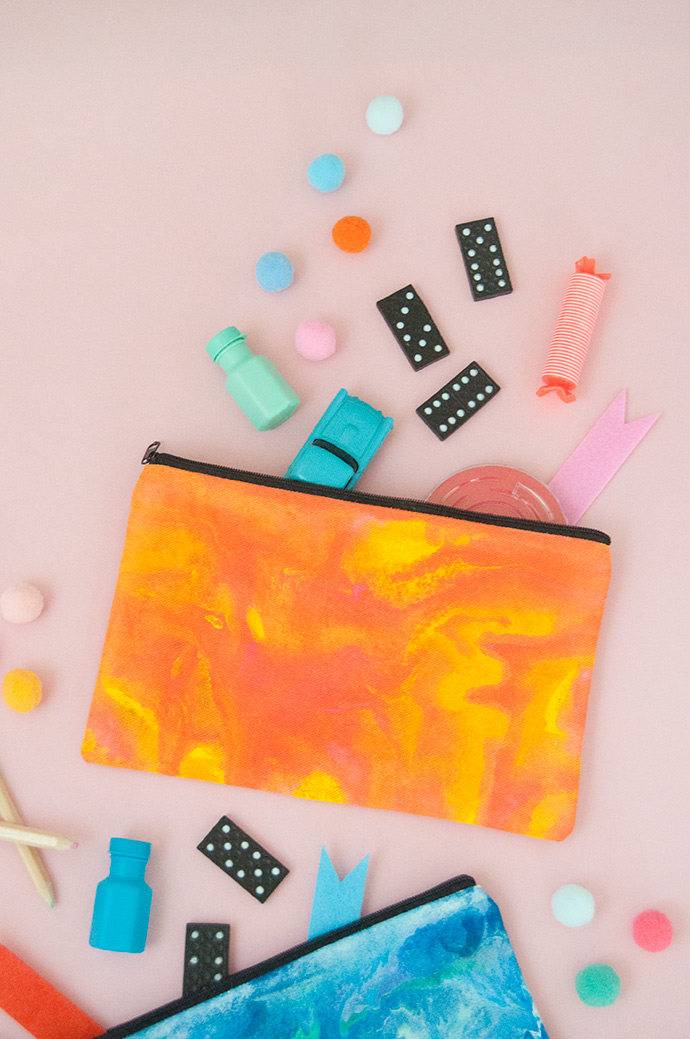
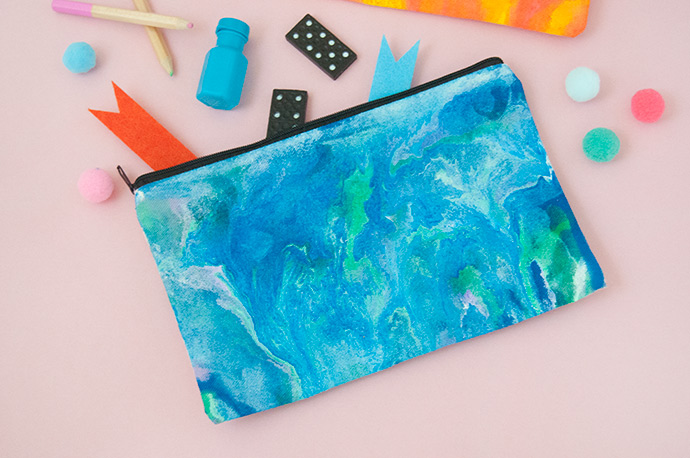
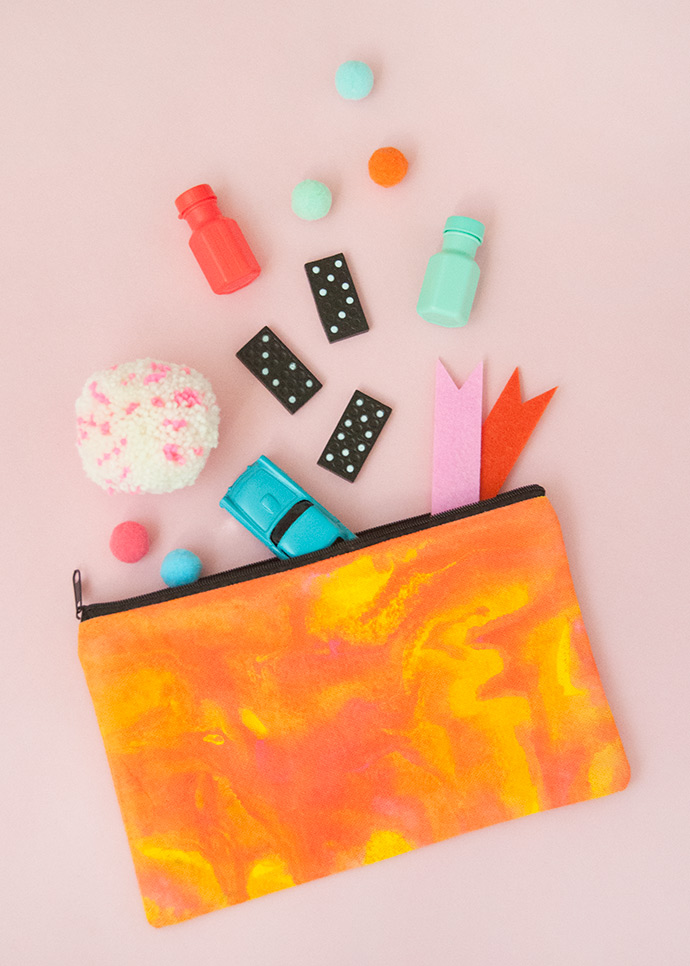
We love a good little pouch or pocket – they come in so handy for organizing but also for keeping little treasures and trinkets! Canvas pouches like these are sold in packs of 10 or so for a very reasonable price and that makes them perfect for paint pouring. You can try all sorts of color combinations and experiment with different techniques! Learn how to do it yourself in the how-to video below and for even more tips, keep reading!
what you need:
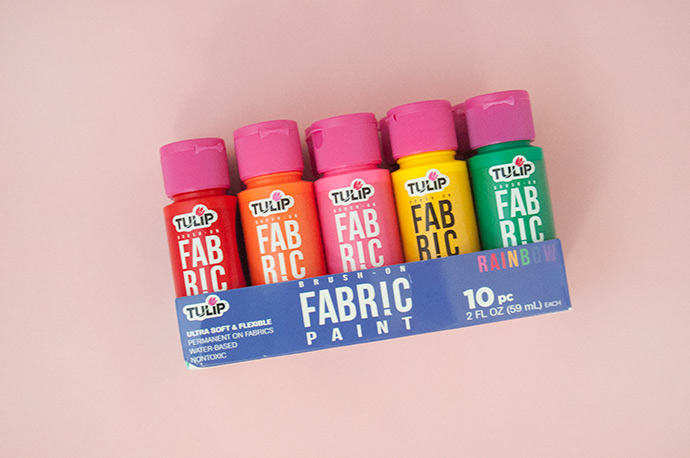
- Tulip Brush-On Fabric Paint
- Canvas pouches
- Painter’s tape
- White glue
- Cardboard
- Plastic bag
- Plastic cups
how-to:
Step 1
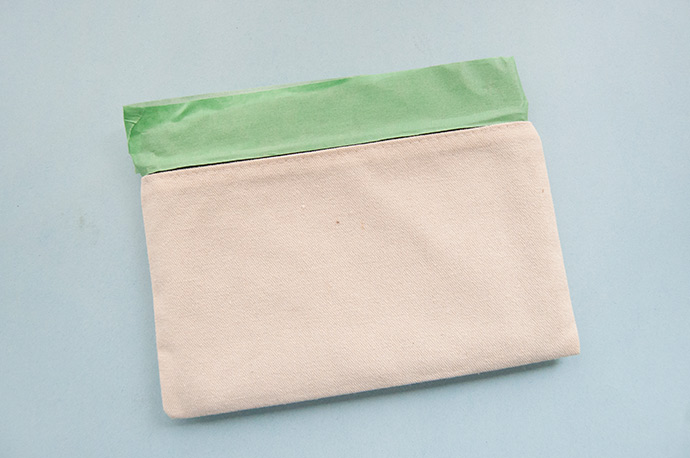
Prep your canvas pouch by cutting a piece of cardboard to fit inside so that it sticks out the zipper side a little bit – it will help to have a spot to hold onto later. Cover the cardboard with any type of plastic, keeping it as smooth as possible as any bumps will make this process tougher. Place into the pouch and use painter’s tape to cover the zipper and keep the cardboard in place.
Step 2
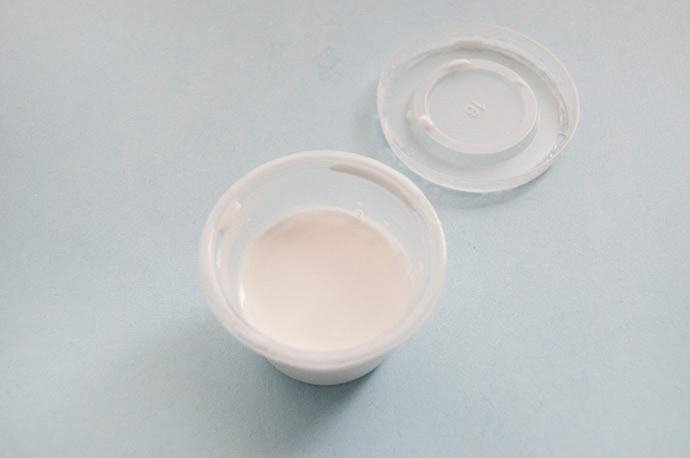
In a cup, mix 1 part glue to 1 part water and stir.
Step 3
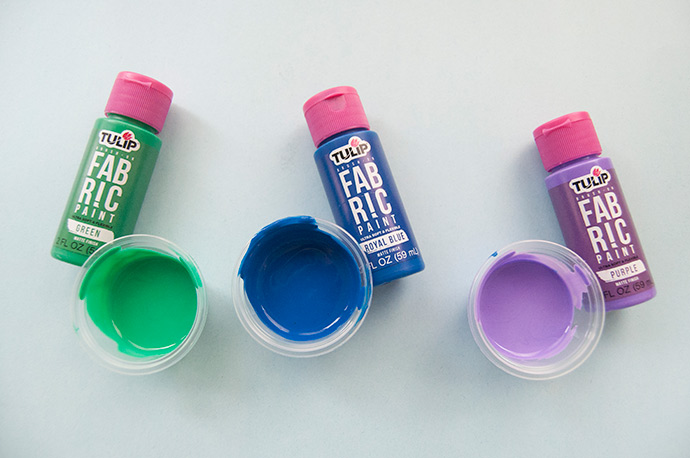
Pick out your colors and pour each into its own small cup. Add about 1 part of glue-water to 4 parts paint and stir. You want it to be pourable but not too runny. Add more glue-water mix if needed.
Step 3
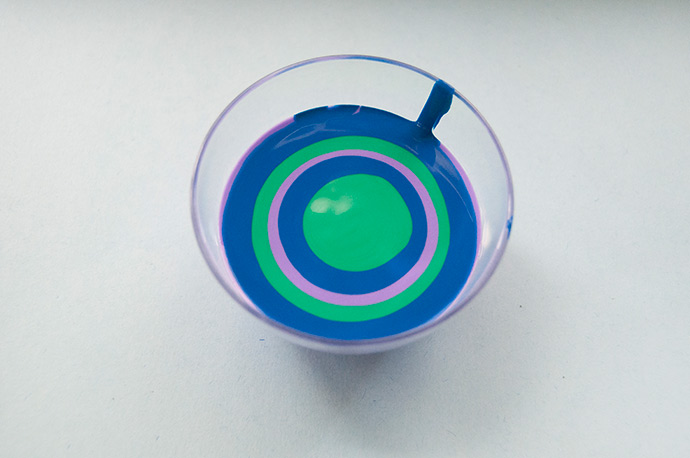
Time to layer the paints together in another cup. Start with one color and then pour another on top so that it forms a paint bullseye in the cup.
Step 4
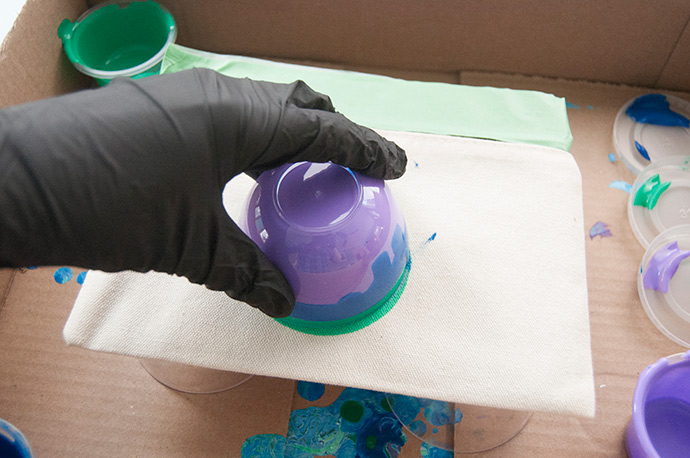
Place the pouch against the top of the cup and quickly flip them together so that the cup is inverted on the pouch, as if you were trying to flip a pineapple upside-down cake onto a plate. Let the cup sit upside down that way for a few seconds to allow the paint to flow down.
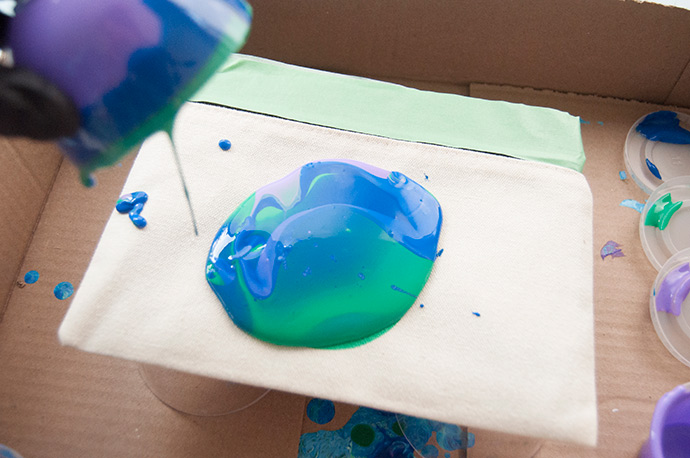
Lift the cup and watch the paint flow!
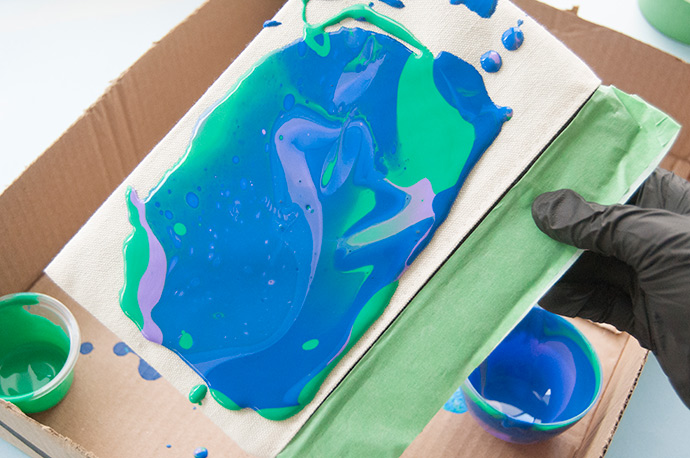
Step 5
Set the cup aside and use your hands to tilt the pouch so that the paint flows to cover it. If there are spots that you can’t quite get the paint to cover, don’t worry, just pour any leftover single-color paints, or any paint left in the mixed cup on those spots.
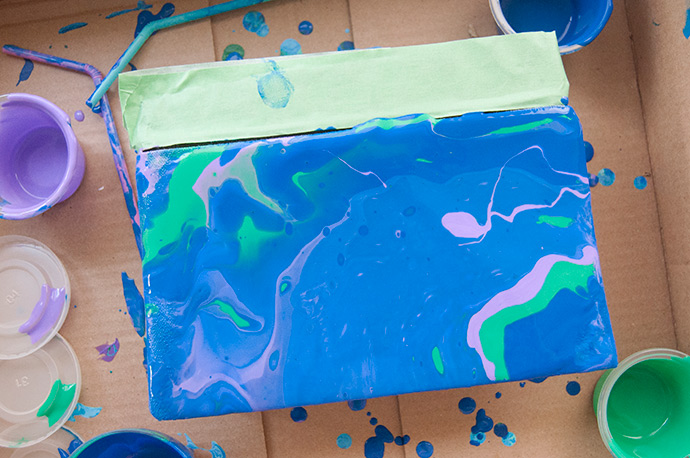
Step 6
Don’t tilt the pouch around too too much or all the nice patterns will blend together and look muddy. Once it’s covered, set aside on cups in a cardboard box to dry for at least 24 hours.
Happy crafting!