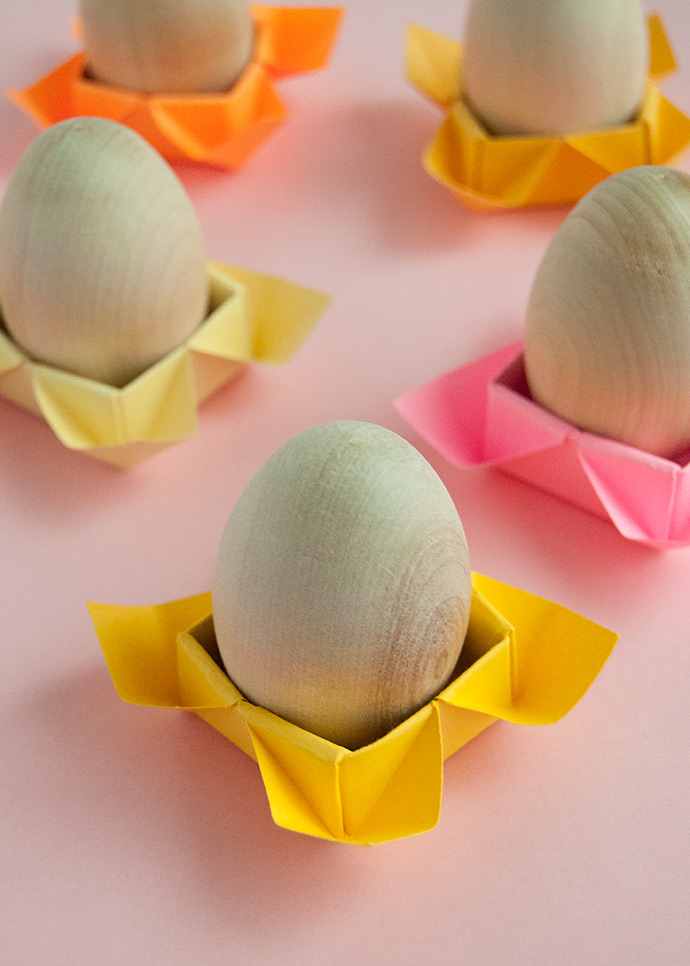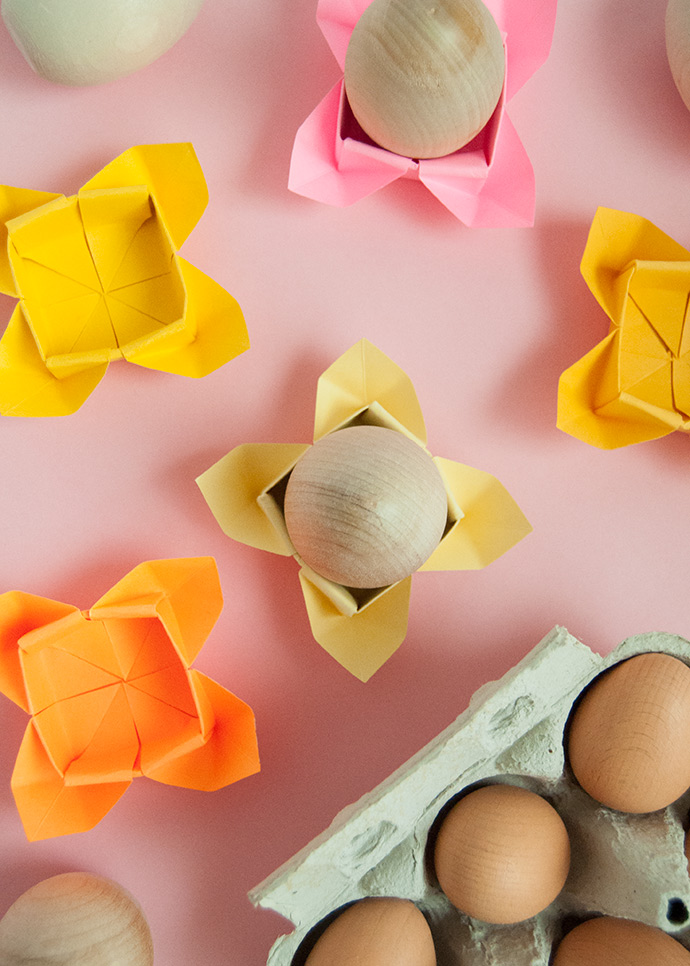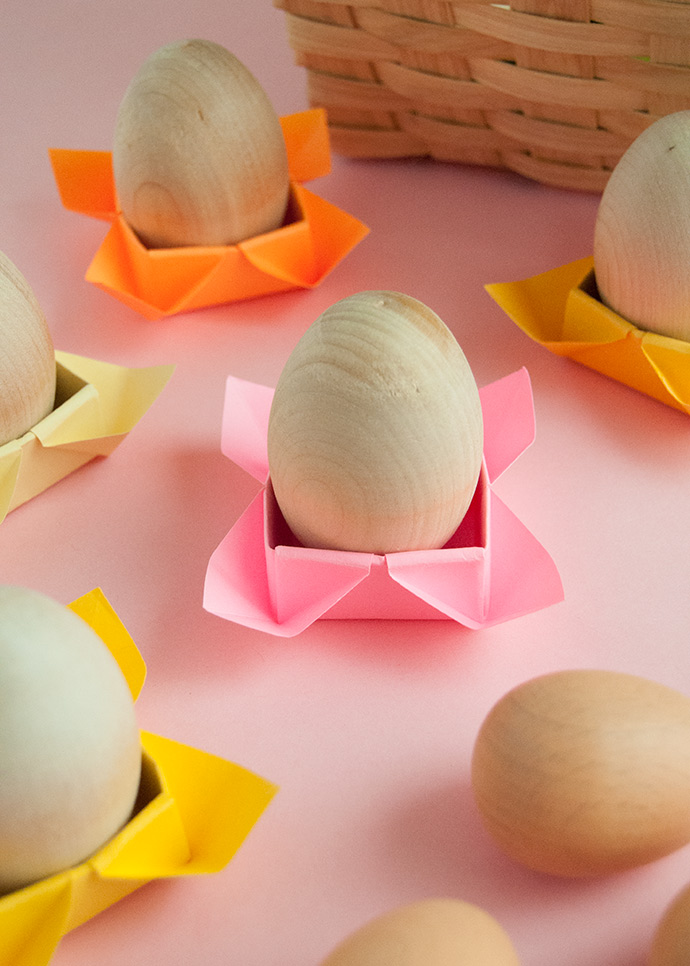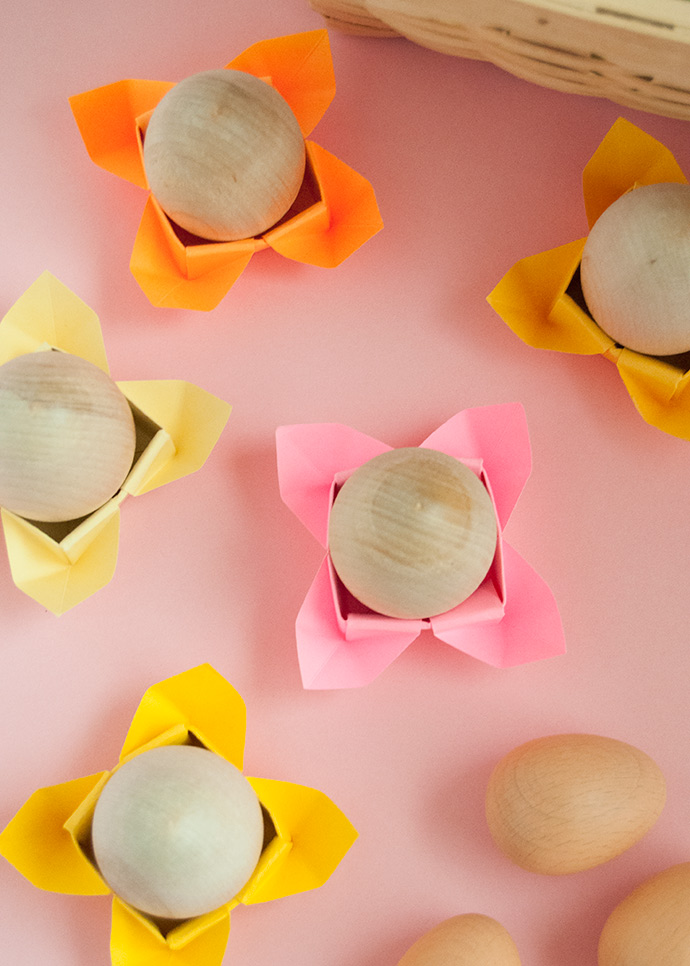
Whenever I see egg cups at the thrift store, I am quick to grab them up. I very rarely actually eat eggs but egg cups are just so cute that I can’t resist. They definitely do come in handy for displaying eggs at Easter though!
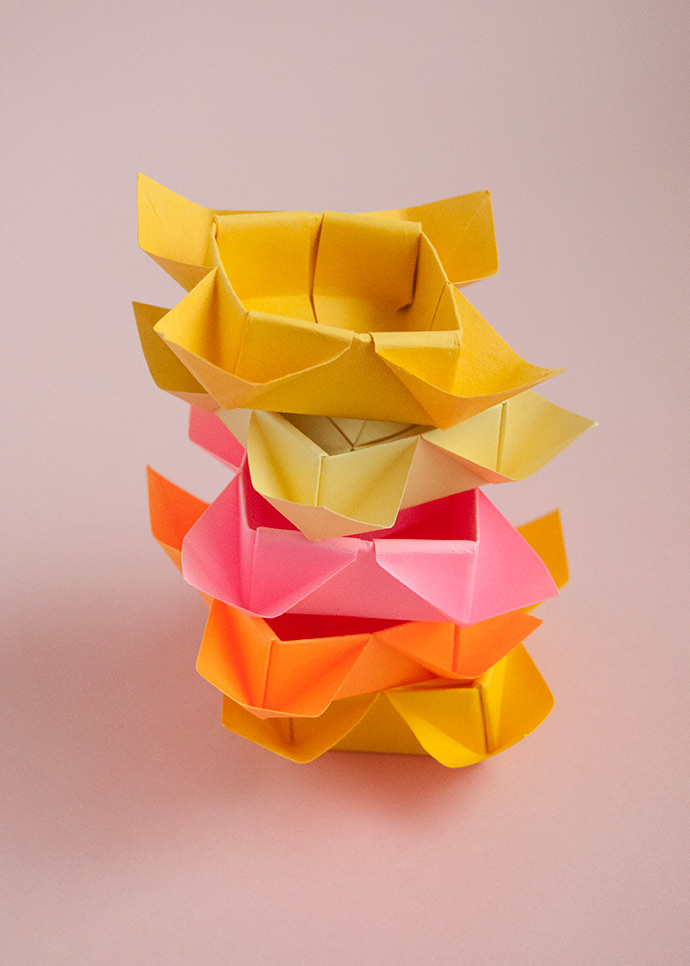
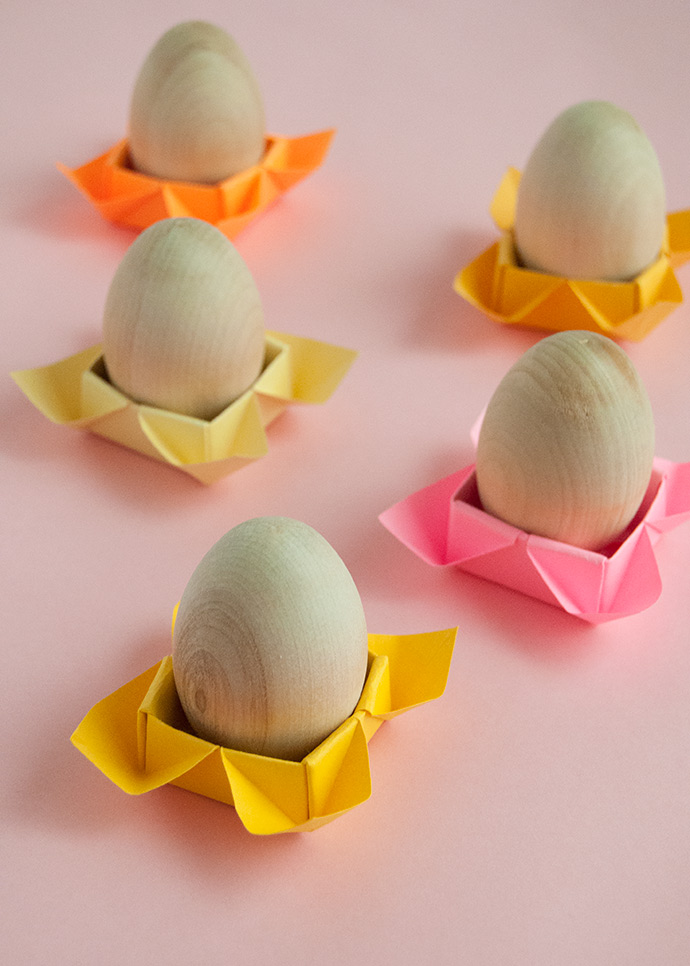
I was scrolling Pinterest when I came across this video tutorial from Mica’s Paper Craft Channel showing how to make an origami flower box and I knew I wanted to try making them as little flower egg cups for Easter. At first the tutorial seems a bit overwhelming, but once you’ve made a couple, the folds are so easy to remember without even checking the tutorial. These would also be super cute as little cups for jelly beans and other Easter treats!
what you need:
- Colored paper
- Ruler
- Scissors
- Easter eggs
how-to:
Step 1
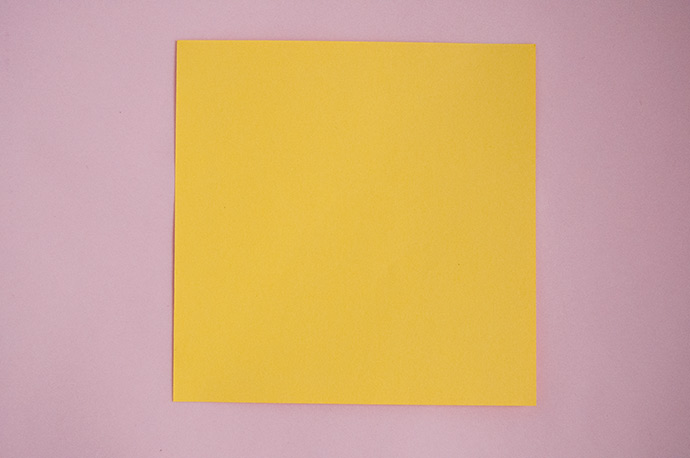
Cut a piece of paper in a 16cm by 16cm square. This is approximately the size of standard origami paper but measure to double check. Starting with this size of paper will give you a finished flower that is just right for an average-sized egg.
Cut a piece of paper in a 16cm by 16cm square. This is approximately the size of standard origami paper but measure to double check. Starting with this size of paper will give you a finished flower that is just right for an average-sized egg.
Step 2
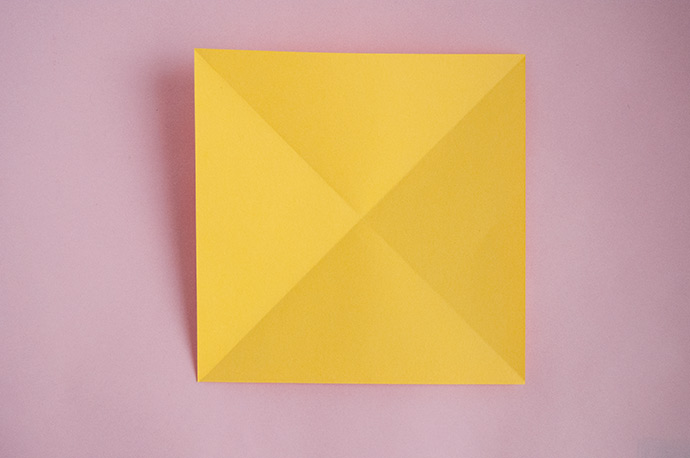
Fold the paper in half diagonally, unfold, and then diagonally the other way and again unfold.
Fold the paper in half diagonally, unfold, and then diagonally the other way and again unfold.
Step 3
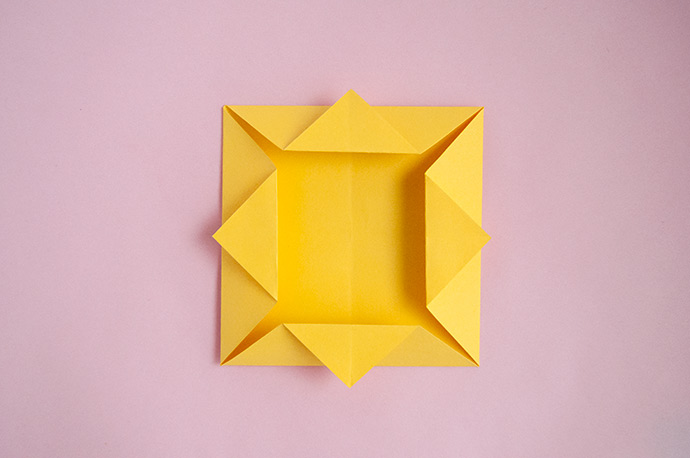
Fold each of the four corners into the center using the creases from the previous step as a guide and then fold each of the four paper corners (that are now in the center of the square) out to touch the outer folded edge.
Fold each of the four corners into the center using the creases from the previous step as a guide and then fold each of the four paper corners (that are now in the center of the square) out to touch the outer folded edge.

Step 5
Flip the paper over and fold each of these corners into the center so that the corners are all just touching.
Flip the paper over and fold each of these corners into the center so that the corners are all just touching.
Step 6
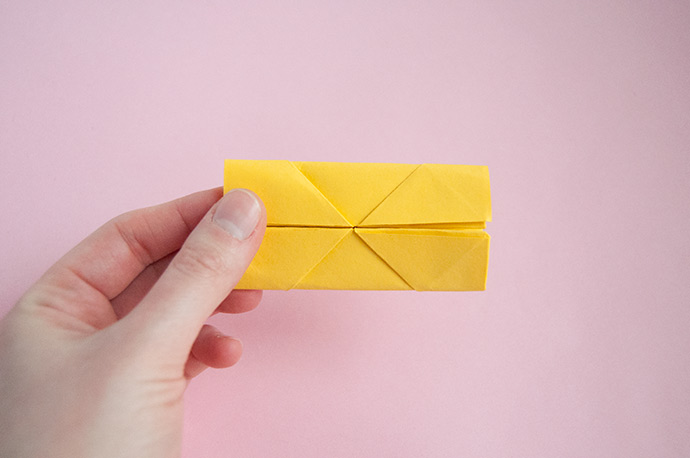
Keeping the paper the same side up, fold one edge into the center line and do the same for the opposite edge, kind of like a hot dog bun. Unfold.
Keeping the paper the same side up, fold one edge into the center line and do the same for the opposite edge, kind of like a hot dog bun. Unfold.
Step 7
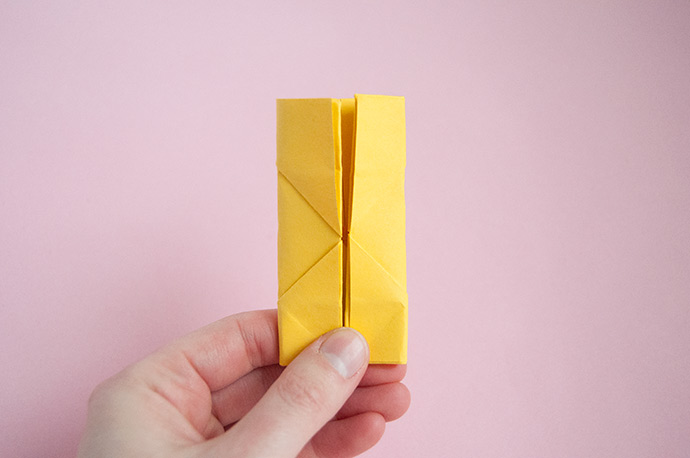
Repeat step 6 but for the two edges that you didn’t do the first time, and then unfolding to return to the folded square shape.
Repeat step 6 but for the two edges that you didn’t do the first time, and then unfolding to return to the folded square shape.
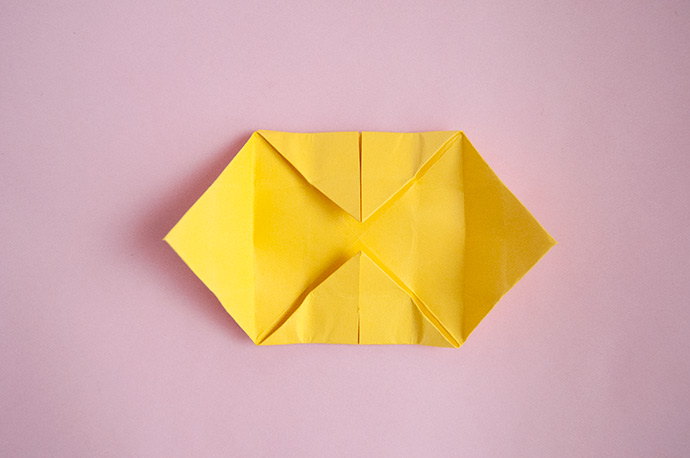
Step 8
Unfold two of the points from the center of the square.
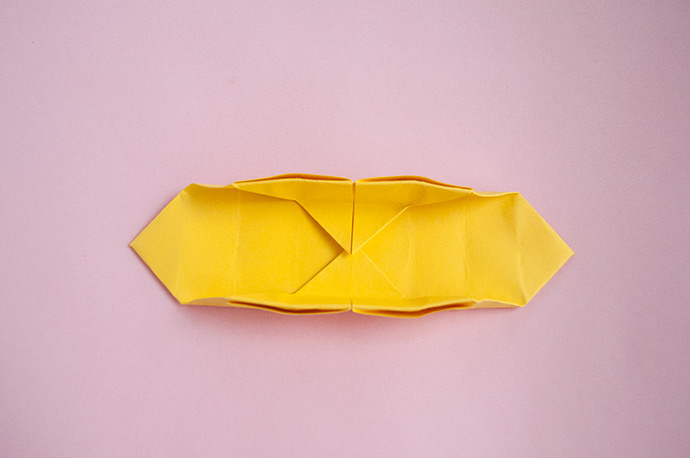
Step 9
Along the crease, fold up the two sides to form sides of the flower box.
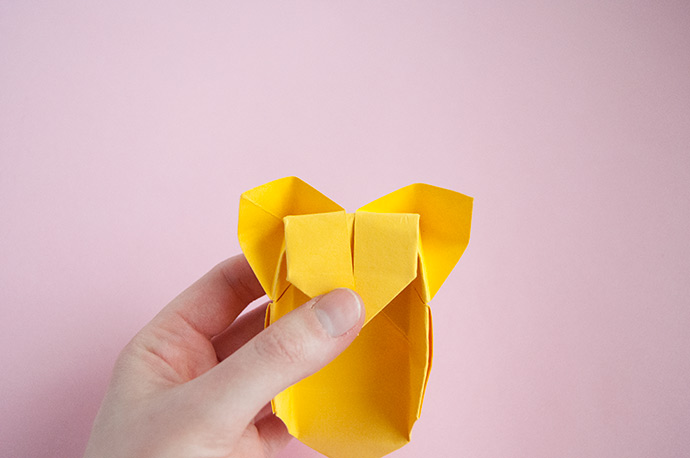
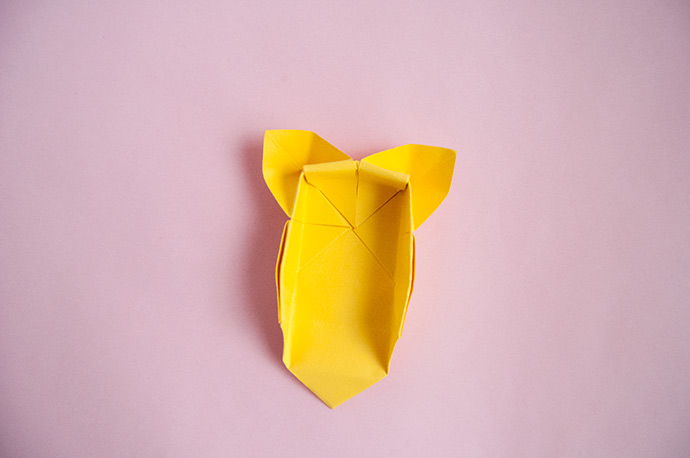
Step 10
Pull one point into the center, popping out the petals from the underside of the box as you go. Seeing this step in action is very helpful!
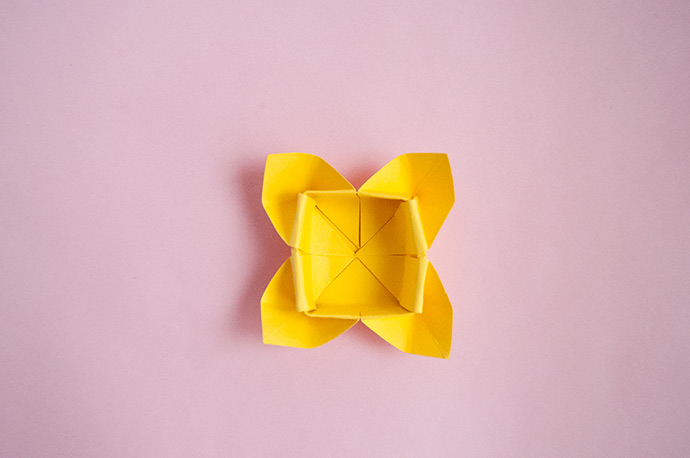
Step 11
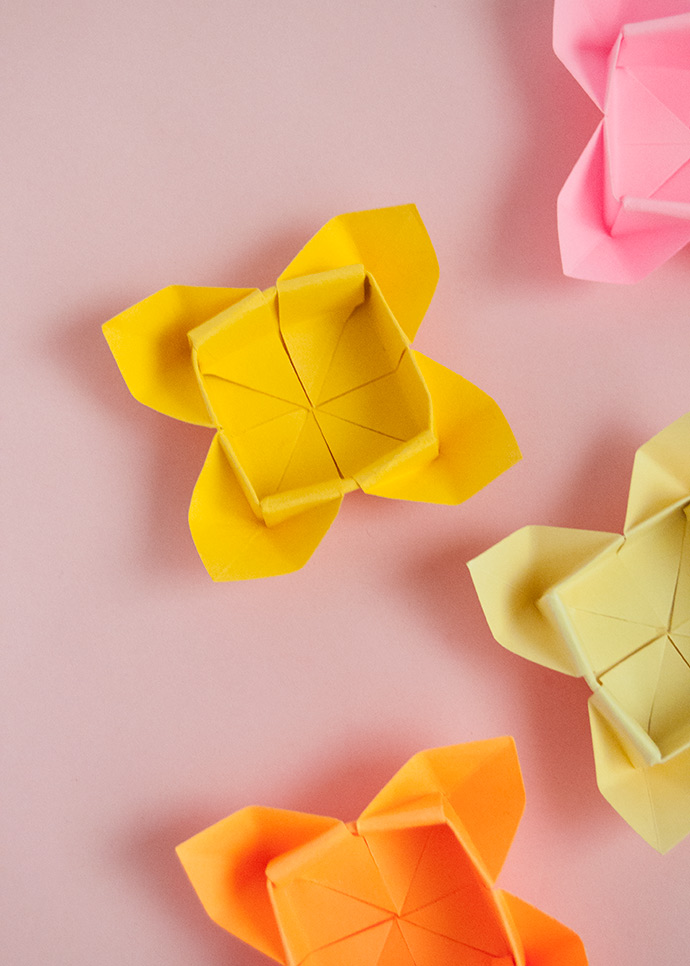
Repeat for the remaining point and voila! Your flower box should stay nicely in shape without any glue, but you can add a dot or two into the center if you find it helps. If the box ends up being a little too big for the eggs you have to put in them, make a small loop from matching paper that the egg does sit nicely in and put this into the center of the flower to help keep the egg standing upright.
