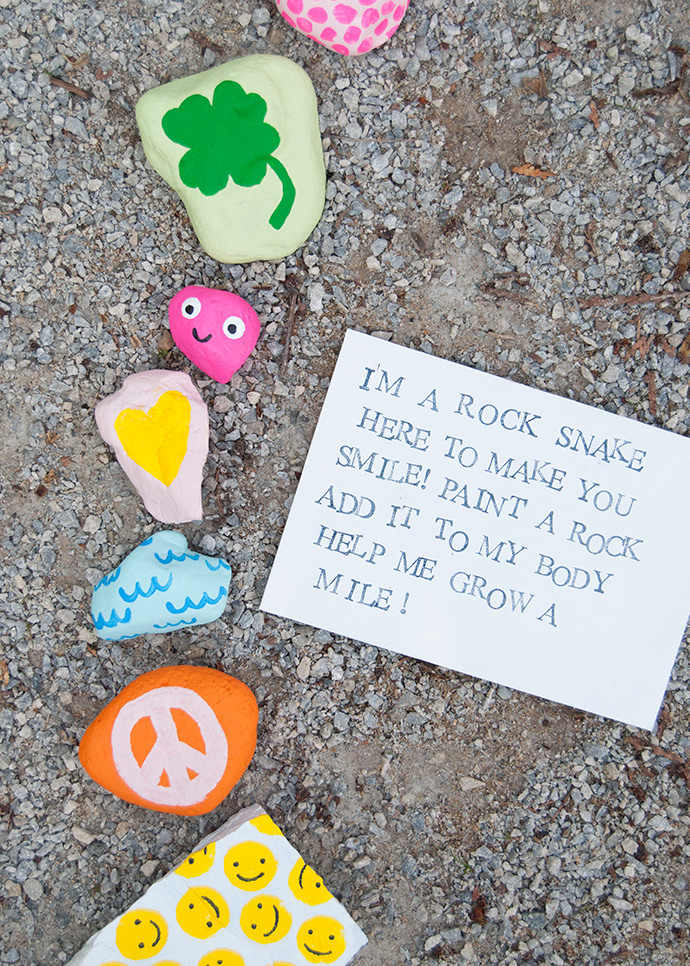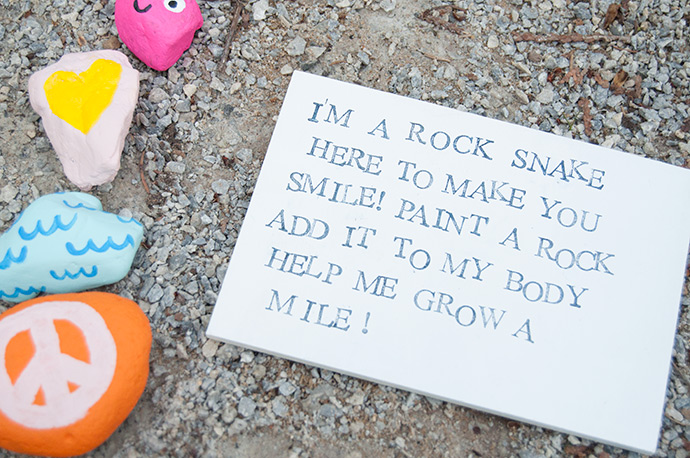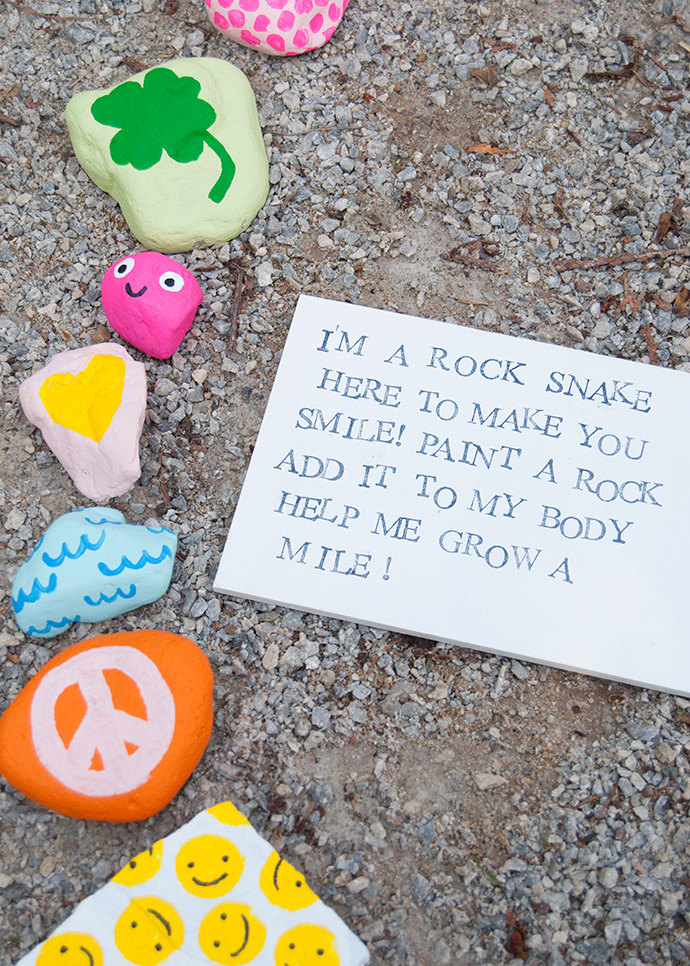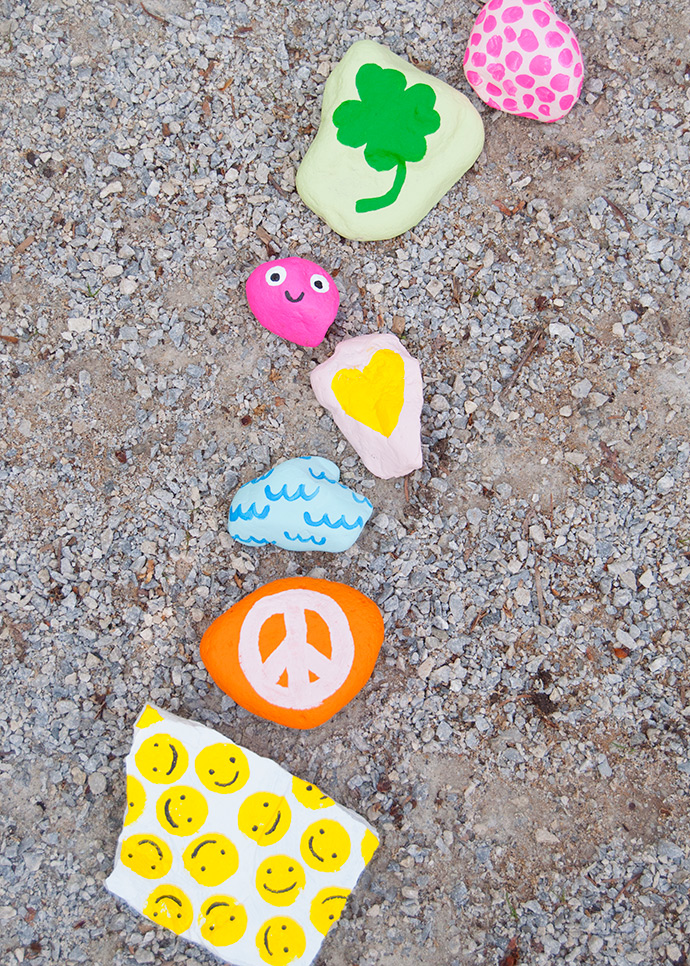
Have you ever heard of a rock snake before? You might first think of rocks painted to look like a snake, and you’re not too far off but it’s actually a lot cooler than just that! Recently I heard about a rock snake project not too far from me started by 7-year-old Lucas Walker. He painted a handful of rocks, set them up in a row on the beach, and added a sign that said “I’m a rock snake here to make you smile. Paint a rock, add it to my body, help me grow a mile!” I love his idea so much and I think it is such a great way to get your neighbors involved in a community art project! Starting your own rock snake isn’t hard and kids of all ages will love getting involved.

what you need:
- Rocks
- Acrylic paint
- Mod Podge or waterproof sealer (optional)
- Paintbrushes
- Wooden board (or paper and laminator)
how-to:
Step 1
Paint a handful of rocks to start off the rock snake! You can paint them however you like, so get creative. There are a bunch of fun rock painting projects in the blog archives if you’re looking for inspiration – these painted party rocks, painted rock babies, and beach rocks are a good start!
Paint a handful of rocks to start off the rock snake! You can paint them however you like, so get creative. There are a bunch of fun rock painting projects in the blog archives if you’re looking for inspiration – these painted party rocks, painted rock babies, and beach rocks are a good start!
Step 2
Once the paint is dry, apply a coat of Mod Podge or any outdoor/waterproof sealer to help protect the rocks and make them last. If you use outdoor acrylic paint you can skip this step.
Once the paint is dry, apply a coat of Mod Podge or any outdoor/waterproof sealer to help protect the rocks and make them last. If you use outdoor acrylic paint you can skip this step.
Step 3
Make your sign! Decide on where you will set up your rock snake and keep this in mind while making the sign. If you live in a dry climate without much rain, or if you’re setting the rock snake up in a sheltered area you won’t need to worry so much about waterproofing it. Otherwise, it’s a good idea to paint the words onto a piece of wood as Lucas did here. You could also print out the sign on regular paper and laminate it or seal with into a plastic pocket. In this case, you’ll want to use some tent pegs or similar to keep the paper sign attached to the ground!
Make your sign! Decide on where you will set up your rock snake and keep this in mind while making the sign. If you live in a dry climate without much rain, or if you’re setting the rock snake up in a sheltered area you won’t need to worry so much about waterproofing it. Otherwise, it’s a good idea to paint the words onto a piece of wood as Lucas did here. You could also print out the sign on regular paper and laminate it or seal with into a plastic pocket. In this case, you’ll want to use some tent pegs or similar to keep the paper sign attached to the ground!
Step 4
Set up your rocks in a row along with the sign nearby. Tell your neighbors about it and watch your rock snake grow as people add to it!
Set up your rocks in a row along with the sign nearby. Tell your neighbors about it and watch your rock snake grow as people add to it!
Thanks so much to Lucas for the inspiration for this project! Check out his rock snake named Rocky Smiles over on his Instagram page.

